- Capabilities
- Getting started
- Architecture center
- Platform updates
Display and annotate spreadsheets
Spreadsheets with a consistent table structure are well suited to normalization into datasets. To normalize spreadsheets into datasets, use Pipeline Builder's Extract rows from an Excel file transform, the Microsoft Excel connector, or Transforms Excel Parser.
Spreadsheet media sets preserve each .xlsx file and support workflows where file structures vary or the original spreadsheet must remain the source of truth. This guide shows how to import spreadsheet files, create objects and extract their contents in Pipeline Builder, and configure display and annotation in Workshop.
Review the supported spreadsheet formats and restrictions before importing files.
Prerequisites
Before you begin, ensure you have:
- Permissions to create media sets in the folder where you want to work.
- Permissions to create and deploy a Pipeline Builder pipeline.
- Permissions to create action types in your Ontology. See ontology permissions for more information.
Part 1: Import spreadsheet files
To create and populate the media set:
-
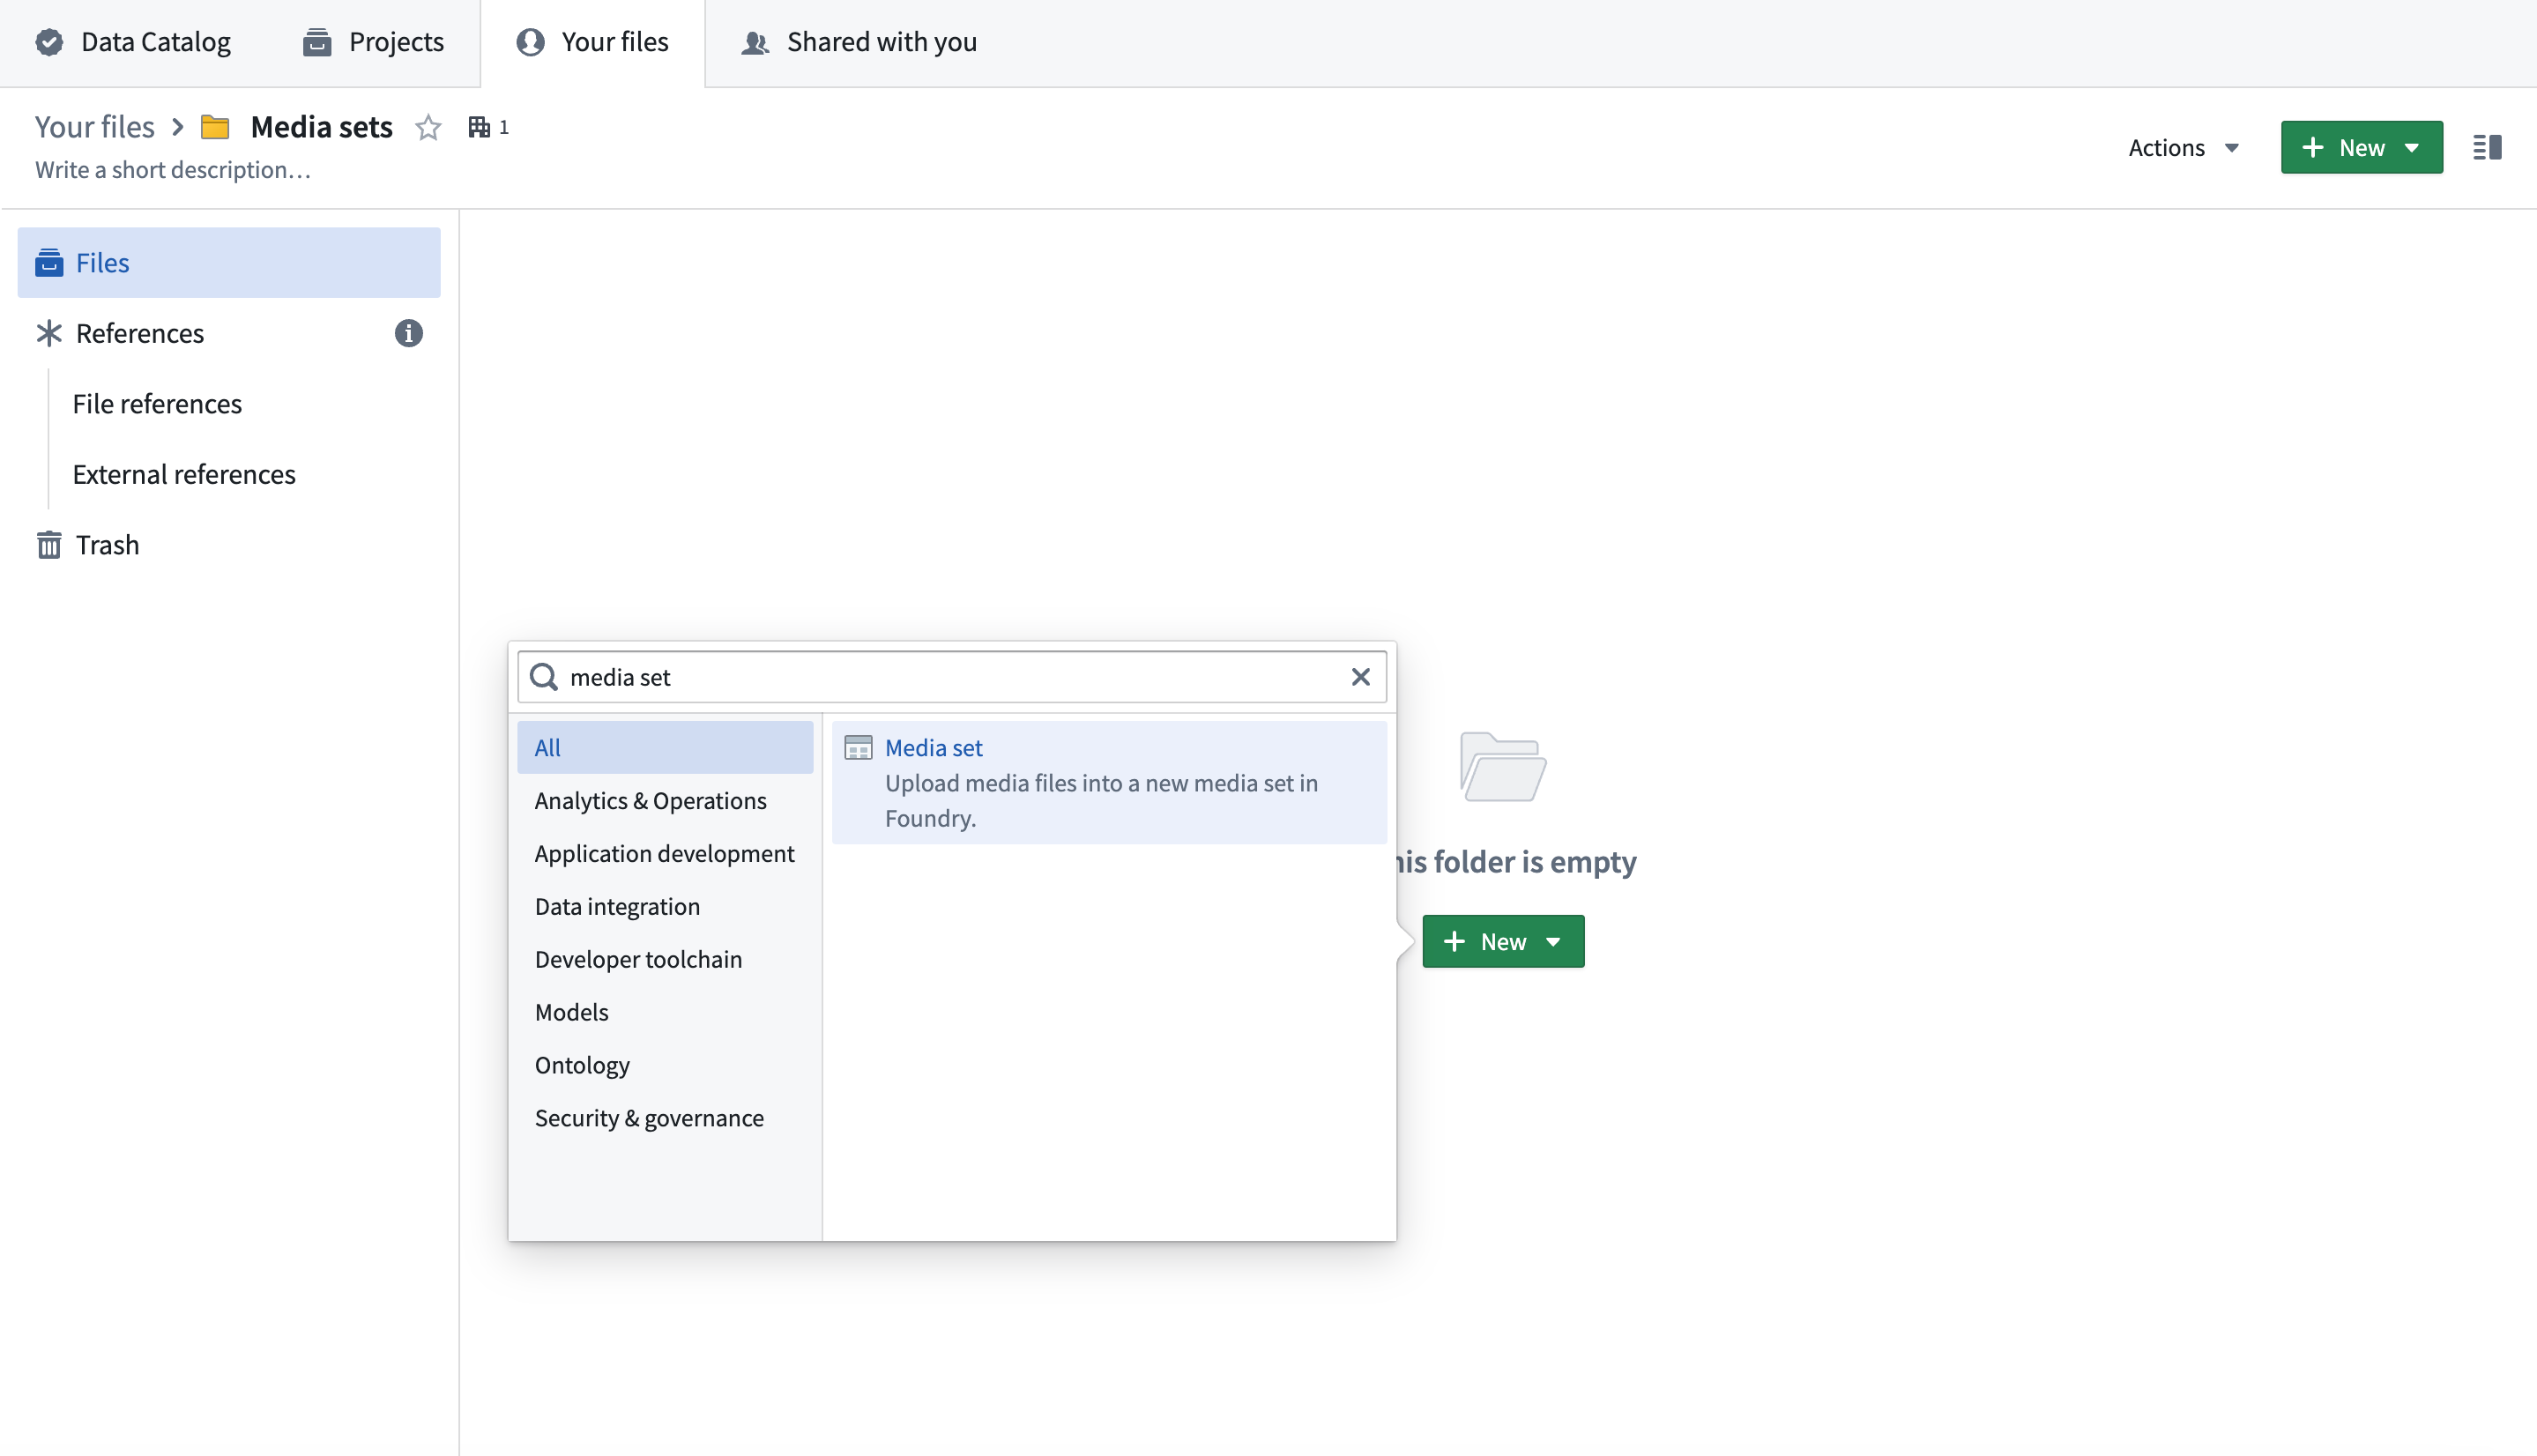
Navigate to the folder where you want to create the media set. Select New > Media set.
-
Enter a name for the media set and select Spreadsheet as the media type. Choose a transaction policy, then select Create media set.
-
Add one or more
.xlsxfiles to the media set.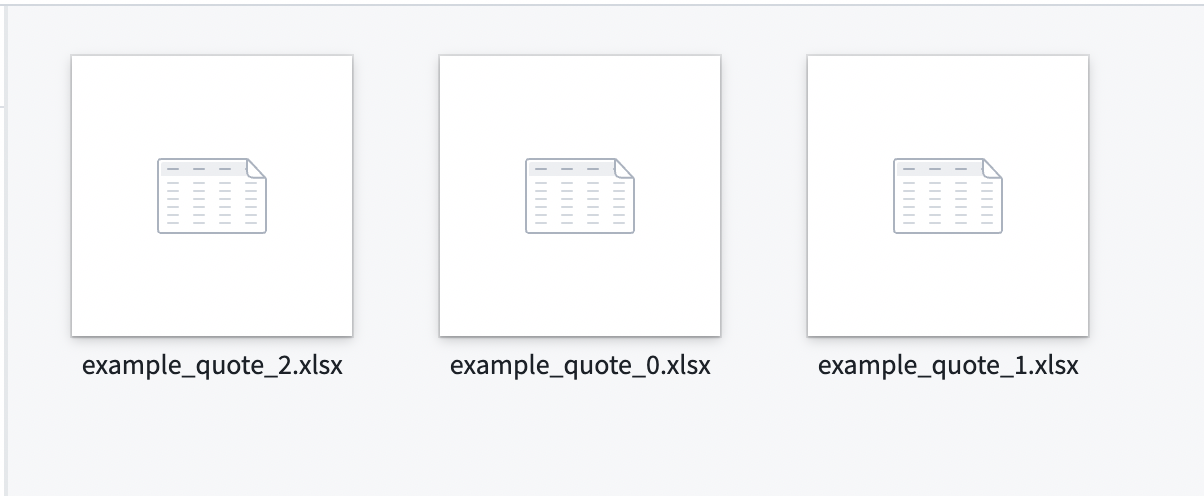
Once added, the Spreadsheet media items include metadata such as the author, title, and size. Select a file to preview its sheets and cells in Foundry.
Part 2: Create objects from spreadsheet files
Create a batch pipeline to make each spreadsheet available as an object:
-
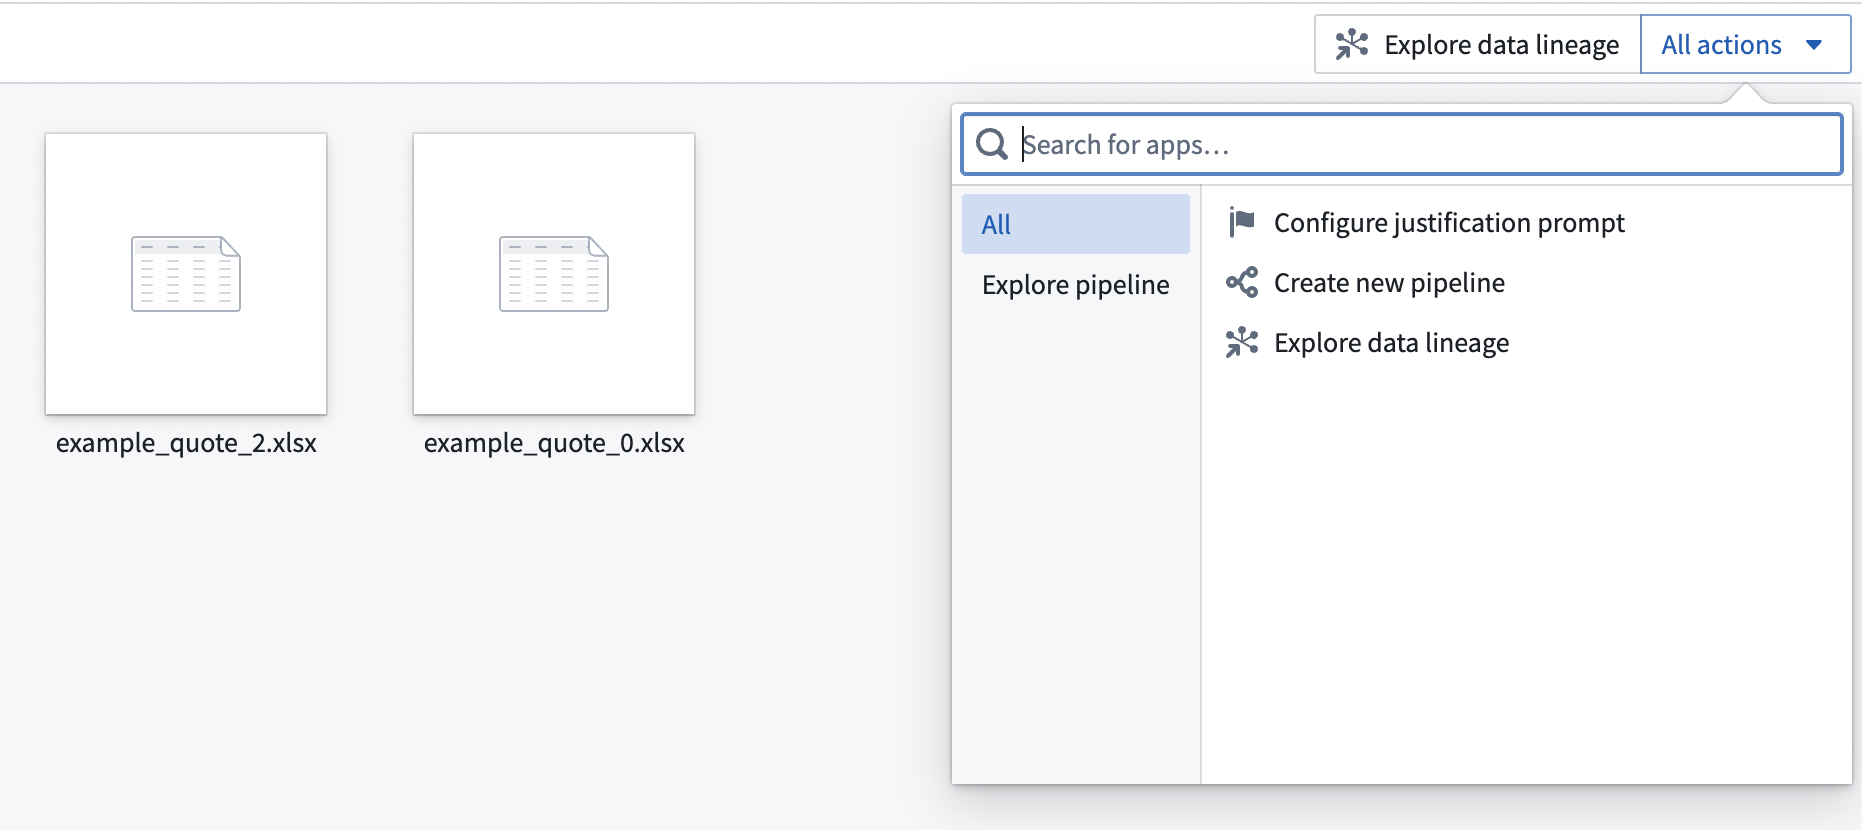
From the media set, select All actions > Create new pipeline.
-
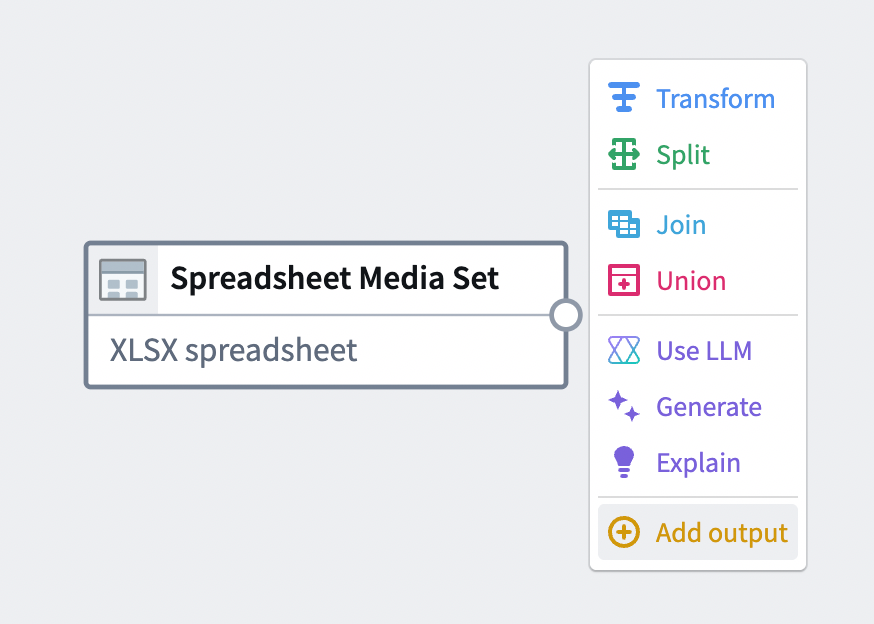
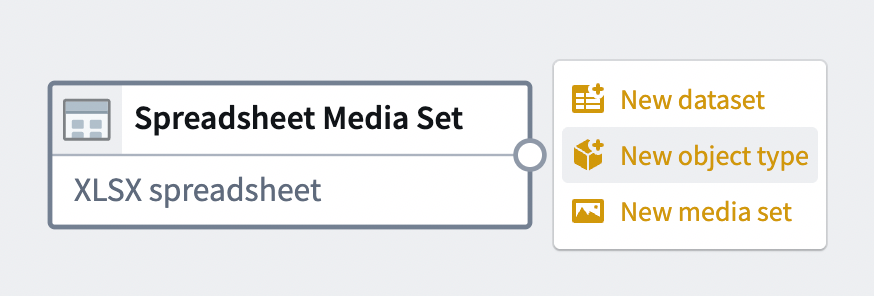
From the media set node, select Add output.
-
Select New object type.
-
Enter a name for the object type, such as
Spreadsheet. Keep themedia referenceproperty mapped and setmedia item RIDas the primary key.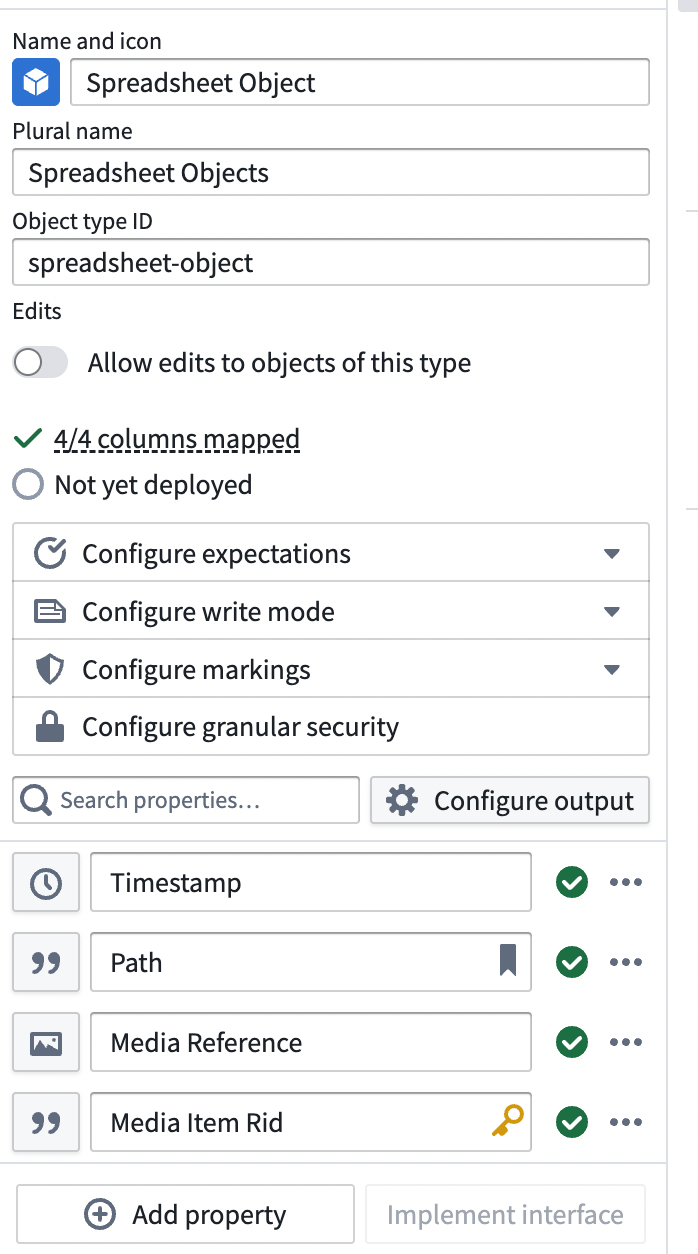
Extract cell contents
To process cell contents in a separate tabular branch of the pipeline:
- Select the media set node, then select Transform.
- Search for and select Extract content from spreadsheets in JSON.
- Set Media reference to the
media referencecolumn. Configure Output fields and Error handling as needed, then select Apply.
The output is a map keyed by sheet name. Each value contains the selected Table and Merged cells fields. Continue transforming the extracted content or add it to a pipeline output.
Part 3: Create an annotation object type and action
This example is illustrative. Because your Ontology is customized to your data, the object and action types referenced below may not exist in your enrollment. Create equivalents that match your data model.
Annotations are stored as objects. In Ontology Manager, create an annotation object type with the following properties:
- A primary key, such as an
annotation IDstring - A
sheet namestring - A
cell rangestring in the JSON format returned by the Spreadsheet Display widget - A link to the
Spreadsheetobject type, so annotations can be filtered to the displayed spreadsheet
Cell ranges are zero-indexed, so cell A1 is (0,0).
Create an action that creates an annotation object. Add parameters for the sheet name, cell range, and current spreadsheet object. Map these parameters to the corresponding properties and link, and populate the annotation primary key.
Part 4: Display and annotate spreadsheets in Workshop
To build the Workshop module:
-
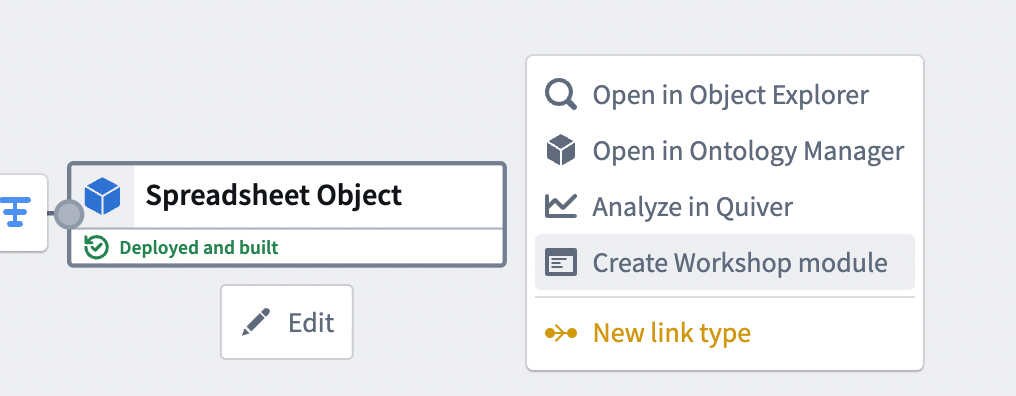
From the deployed object output, select Create Workshop module.
-
Add an Object List or Object Table widget and a Spreadsheet Display widget to the module.
-
In the Spreadsheet Display widget, set Object set with a single object to the active object from the list or table. Set Spreadsheet media reference property to the
media referenceproperty created in Part 2. -
Enable Spreadsheet annotations, add an annotation layer, and configure the following inputs:
- Annotation layer name: Enter a name for the layer.
- Object set: Select the annotation object set and filter it to the active spreadsheet object.
- Sheet name property: Select the
sheet nameproperty. - Cell range property: Select the
cell rangeproperty.
-
Under Configure Interactions, add an interaction and select the action created in Part 3. Map the widget-provided Sheet Name and Selected Cell Range values to the corresponding action parameters. Map the active spreadsheet object to the link parameter.
You can now select a cell range and run the action to save an annotation. For all configuration options, see Spreadsheet Display widget.