注: 以下の翻訳の正確性は検証されていません。AIPを利用して英語版の原文から機械的に翻訳されたものです。
関数ベースの時系列のはじめに
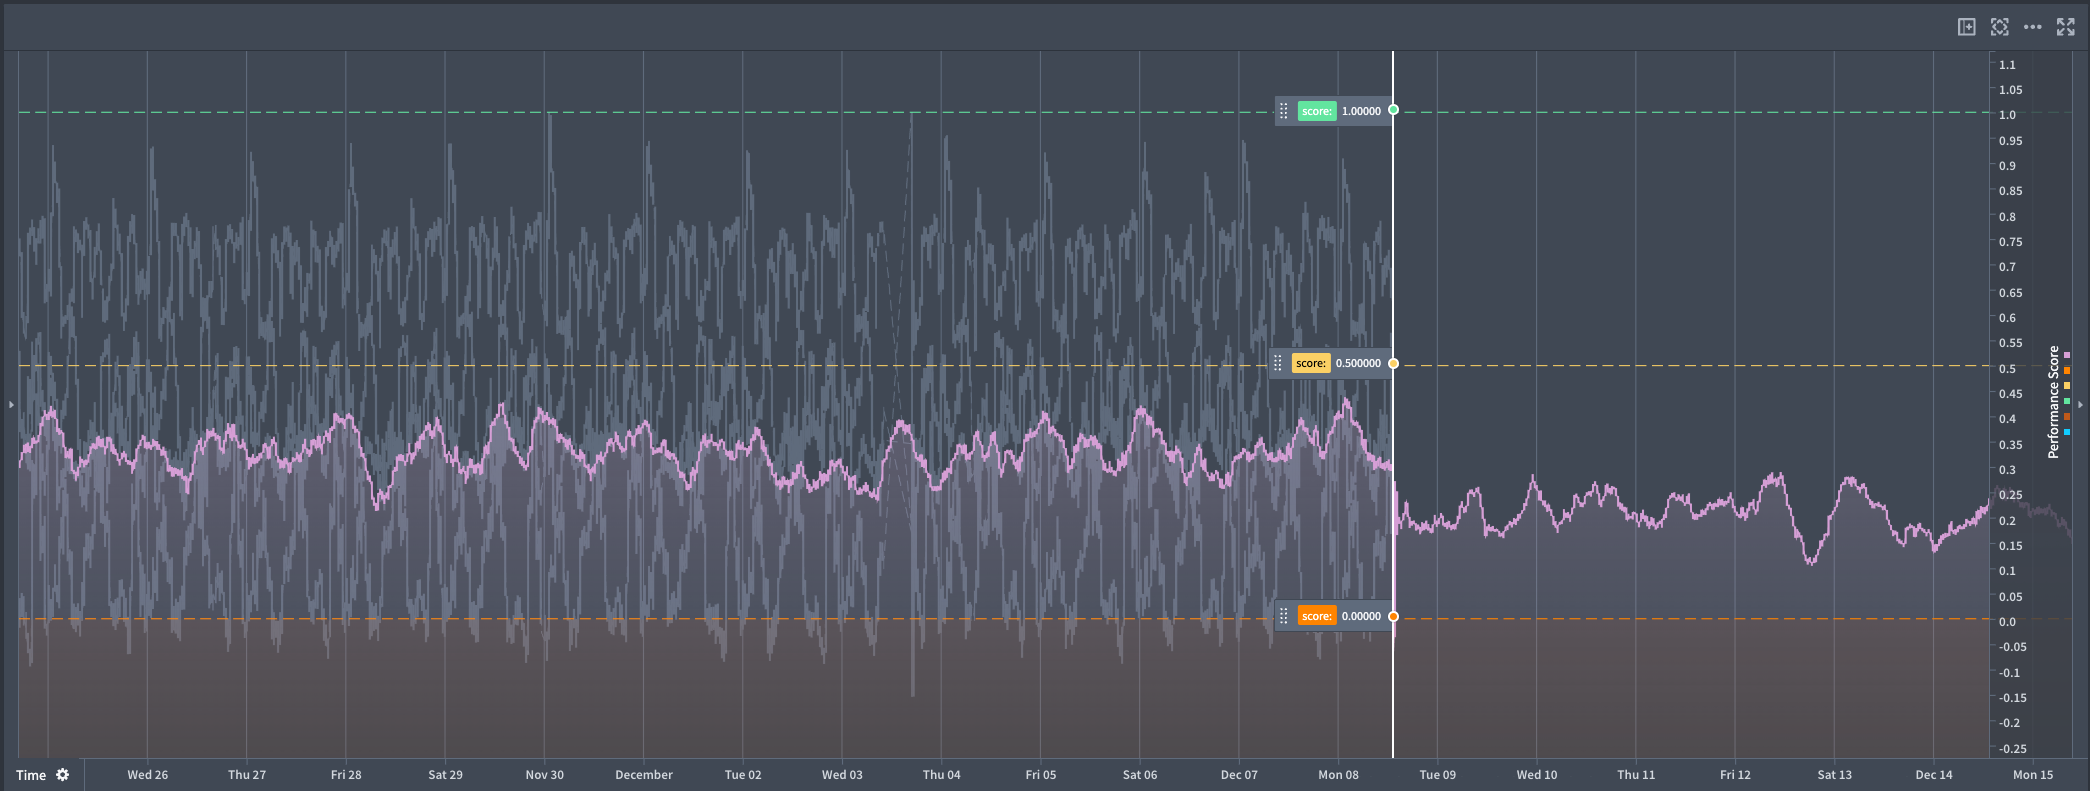
このガイドでは、リアルタイムの予測ワークフローを実現するために Quiver の分析で使用できる、関数ベースの時系列の作成方法を説明します。
前提条件
関数ベースの時系列を設定するには、次のリソースが必要です。
- 時系列 SDK を使用して数値の時系列を返す Foundry 関数。
- Quiver で参照するための、その関数のタグ付きバージョン。
Quiver で関数ベースの時系列を設定する
-
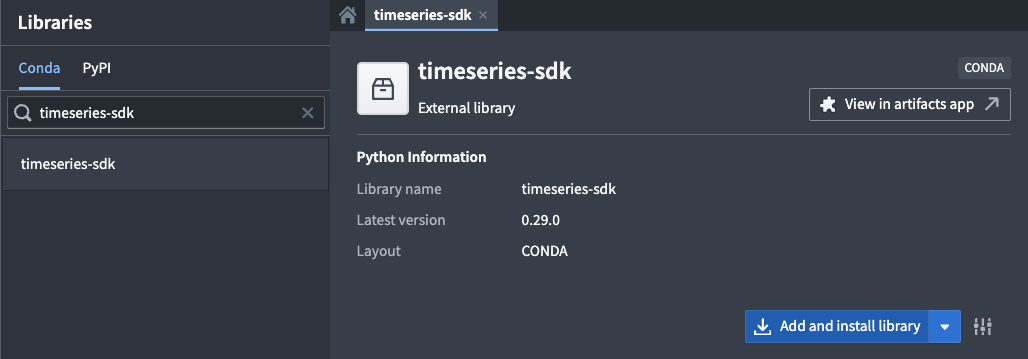
時系列 SDK をインストールする: Code Repositories で、ライブラリタブを使用してコードリポジトリに
timeseries-sdkライブラリを追加します。
-
Python 関数を作成する: 次の列を持つ、シリアライズされた pandas DataFrame を返す関数を作成します。
timestamp: pandas のタイムスタンプ。value: 数値。たとえば int32 や Float です。
時系列 SDK には、次の例に示すように pandas DataFrame をシリアライズするためのライブラリが用意されています。
Copied!1 2 3 4 5 6 7 8 9 10 11 12 13 14 15 16 17 18 19 20 21 22 23 24 25 26 27 28 29 30 31 32 33from functions.api import function from timeseries_sdk.types import TimeSeries from ontology_sdk.ontology.objects import Machine import pandas as pd @function def performance_prophet_forecast( machine: Machine, periods: int = 96, # 将来のステップ数 freq: str = "15min", # サンプリング頻度 ) -> list[bytes]: """ Prophet を使用して機械の performance_score を予測します。 """ from prophet import Prophet # パフォーマンススコアのデータを取得します(列: timestamp, value) df = machine.performance_score.to_pandas(all_time=True) if df.empty: return TimeSeries.serialize(pd.DataFrame(columns=["timestamp", "value"])) # Prophet 用にデータを準備します df = df.rename(columns={"timestamp": "ds", "value": "y"}).sort_values("ds") model = Prophet().fit(df) # 予測用の将来のデータフレームを作成します future = model.make_future_dataframe(periods=periods, freq=freq, include_history=True) forecast = model.predict(future) # 予測の出力を整形します out = forecast[["ds", "yhat"]].rename(columns={"ds": "timestamp", "yhat": "value"}) return TimeSeries.serialize(out)
-
関数を公開する: 関数を公開し、バージョンにタグを付けます。
-
Quiver で関数を使用する:
- コード関数時系列カードを追加します。

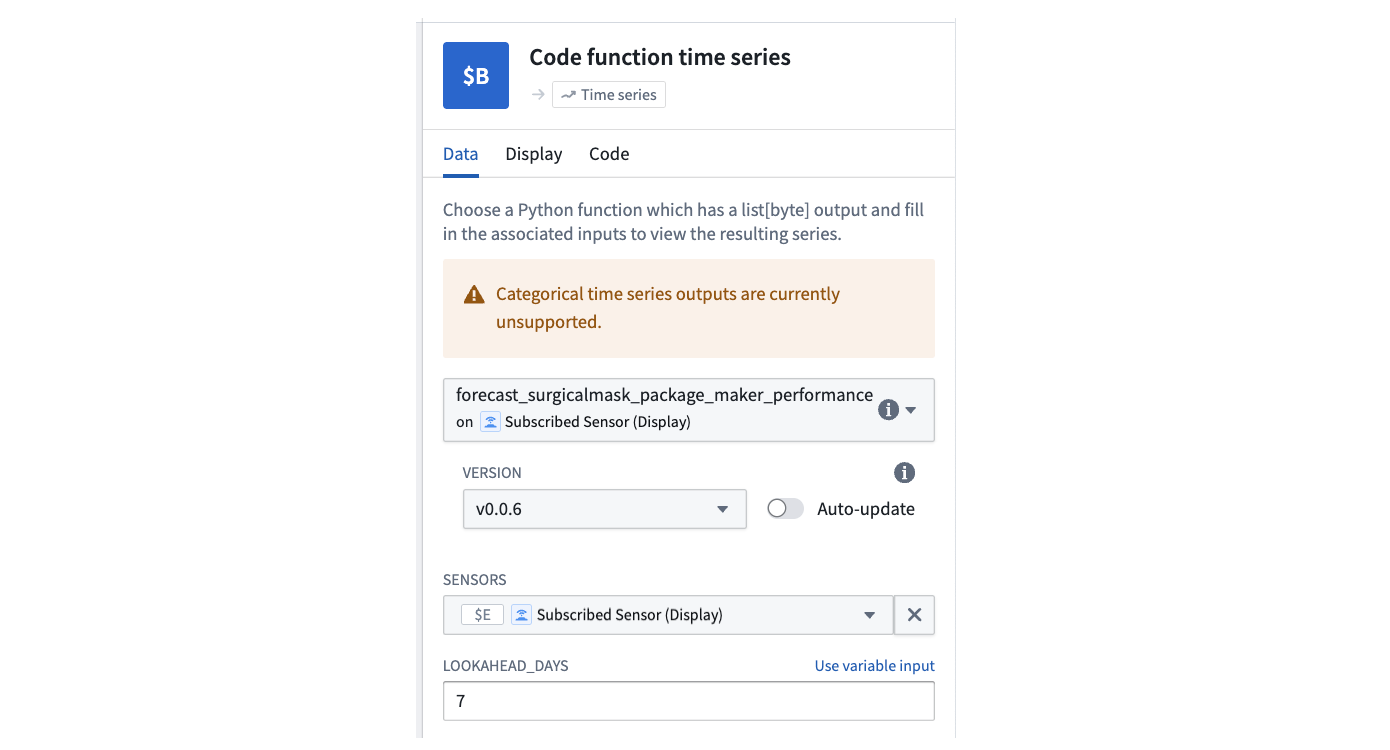
- 関数を選択し、適切なバージョンを選択して、入力を設定します。
- 必要に応じて、カードの別のインスタンスを追加し、複数のシナリオを左右配置で比較します。
- コード関数時系列カードを追加します。