- Capabilities
- Getting started
- Architecture center
- Platform updates
Display map tiles
Custom widgets can display raster and vector map tiles from tile sources configured in Foundry. A mapTileLayer parameter lets application builders select a layer in Workshop or the custom widgets playground.
Foundry provides a JSON style document for the selected tile source that follows the Mapbox Style Specification ↗. You can render this style with Mapbox GL JS ↗ or MapLibre GL JS ↗.
Marketplace does not package tile sources used by custom widgets. If you install a Marketplace product containing a Workshop module in another Foundry enrollment, the installed module retains the tile source reference from the source enrollment. Installation does not create a tile source in the destination enrollment.
Set up a tile source
You can use any tile source available in the layer selector. To add or change a source, an administrator with permission to manage tile sources can open Control Panel, select the relevant space, and open Tiles. Contact Palantir Support if Tiles is unavailable or you need help configuring a source.
Set up your widget
Update your widget packages by running the following commands in your terminal:
Copied!1 2npm install @osdk/widget.client@latest @osdk/widget.client-react@latest npm install --save-dev @osdk/widget.vite-plugin@latest
Add a mapTileLayer parameter to your widget configuration:
Copied!1 2 3 4 5 6 7 8 9 10 11 12 13 14import { defineConfig } from "@osdk/widget.client"; export default defineConfig({ id: "mapWidget", name: "Map", type: "workshop", parameters: { mapLayer: { displayName: "Map tiles", type: "mapTileLayer", }, }, events: {}, });
The parameter value contains the selected layer's tileSourceId. It is read-only and cannot be updated through widget events.
Render the map
Use the selected tileSourceId to construct the style URL, and pass it to your map renderer:
Copied!1const styleUrl = `${window.location.origin}/api/v3/media/tileSources/${tileSourceId}/style?preview=true`;
Custom widgets enforce a strict content security policy (CSP) that blocks blob: worker URLs. Configure your renderer to load its worker from your widget's assets. For Mapbox GL JS, use the strict CSP bundle and worker setup ↗.
MapLibre example
Install the latest MapLibre GL JS release to use the worker setup required by the widget's CSP:
Copied!1npm install maplibre-gl@latest
Use MapLibre's Vite worker setup ↗ to configure the worker before creating a map, and include MapLibre's CSS ↗. This example creates a map when a layer is selected and removes it when the selection changes or the widget unmounts.
Copied!1 2 3 4 5 6 7 8 9 10 11 12 13 14 15 16 17 18 19 20 21 22 23 24 25 26 27 28 29 30 31import { useFoundryWidgetContext } from "@osdk/widget.client-react"; import { Map, setWorkerUrl } from "maplibre-gl"; import workerUrl from "maplibre-gl/dist/maplibre-gl-worker.mjs?worker&url"; import "maplibre-gl/dist/maplibre-gl.css"; import { useEffect, useRef } from "react"; import type MainConfig from "./main.config.js"; setWorkerUrl(workerUrl); const useWidgetContext = useFoundryWidgetContext.withTypes<typeof MainConfig>(); export const Widget = () => { const { parameters } = useWidgetContext(); const tileSourceId = parameters.values.mapLayer?.tileSourceId; const containerRef = useRef<HTMLDivElement>(null); useEffect(() => { if (containerRef.current == null || tileSourceId == null) return; const map = new Map({ container: containerRef.current, style: `${window.location.origin}/api/v3/media/tileSources/${tileSourceId}/style?preview=true`, center: [0, 0], zoom: 1, }); return () => map.remove(); }, [tileSourceId]); return <div ref={containerRef} style={{ height: 400 }} />; };
Select a layer
In the custom widgets playground, select a layer for the Map tiles parameter.
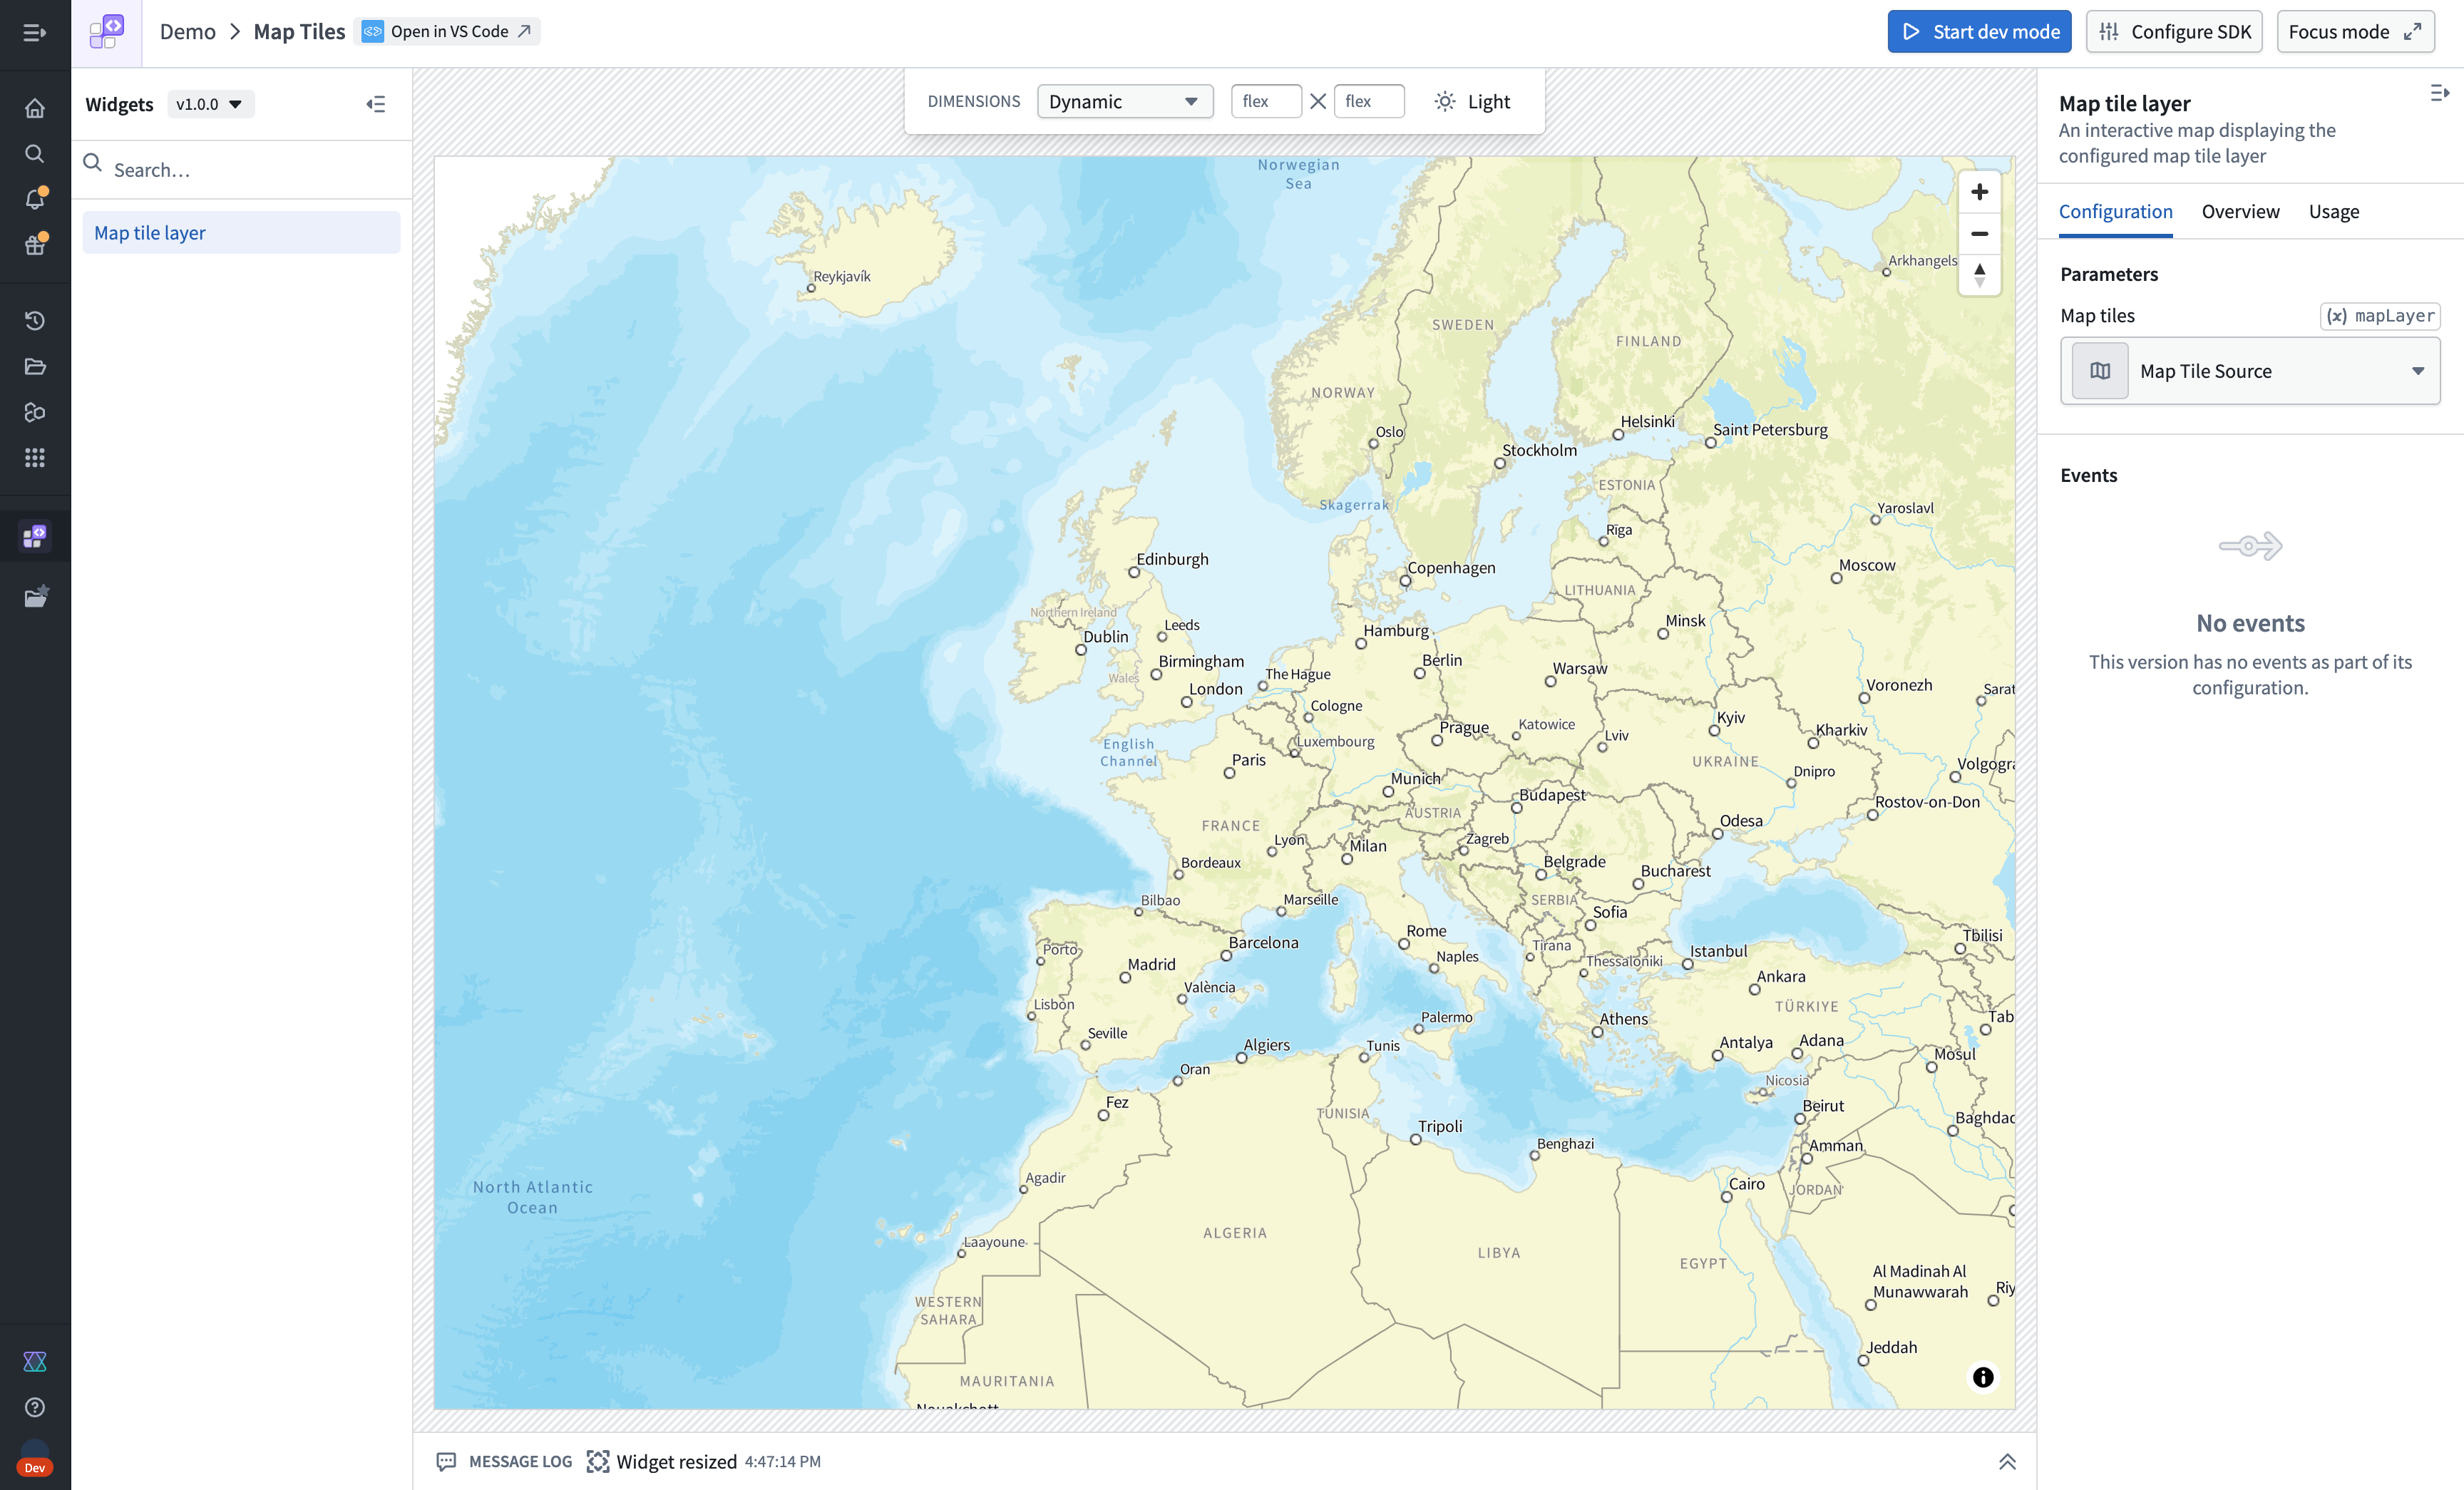
To use the widget in Workshop, publish your widget set, embed the widget, and select a layer under Map tiles in the Widget setup panel. This parameter uses a layer selector rather than a Workshop variable binding.