- Capabilities
- Getting started
- Architecture center
- Platform updates
Getting started with functions on objects
One of the core features of functions is they can easily access data that has been integrated into the Foundry Ontology. The Ontology provides semantic modeling of data for your organization, which makes it easy to access structured data and reuse logic across use cases.
Prerequisites
This tutorial assumes that you have created and set up a TypeScript repository. If you have not done so yet, complete the Getting started tutorial first.
Import Ontology types
Any object, interface, or link types you want to use in your function must be imported into the Project that contains your repository. Selecting the Resource Imports side bar shows you the object types which have been imported into the Project.
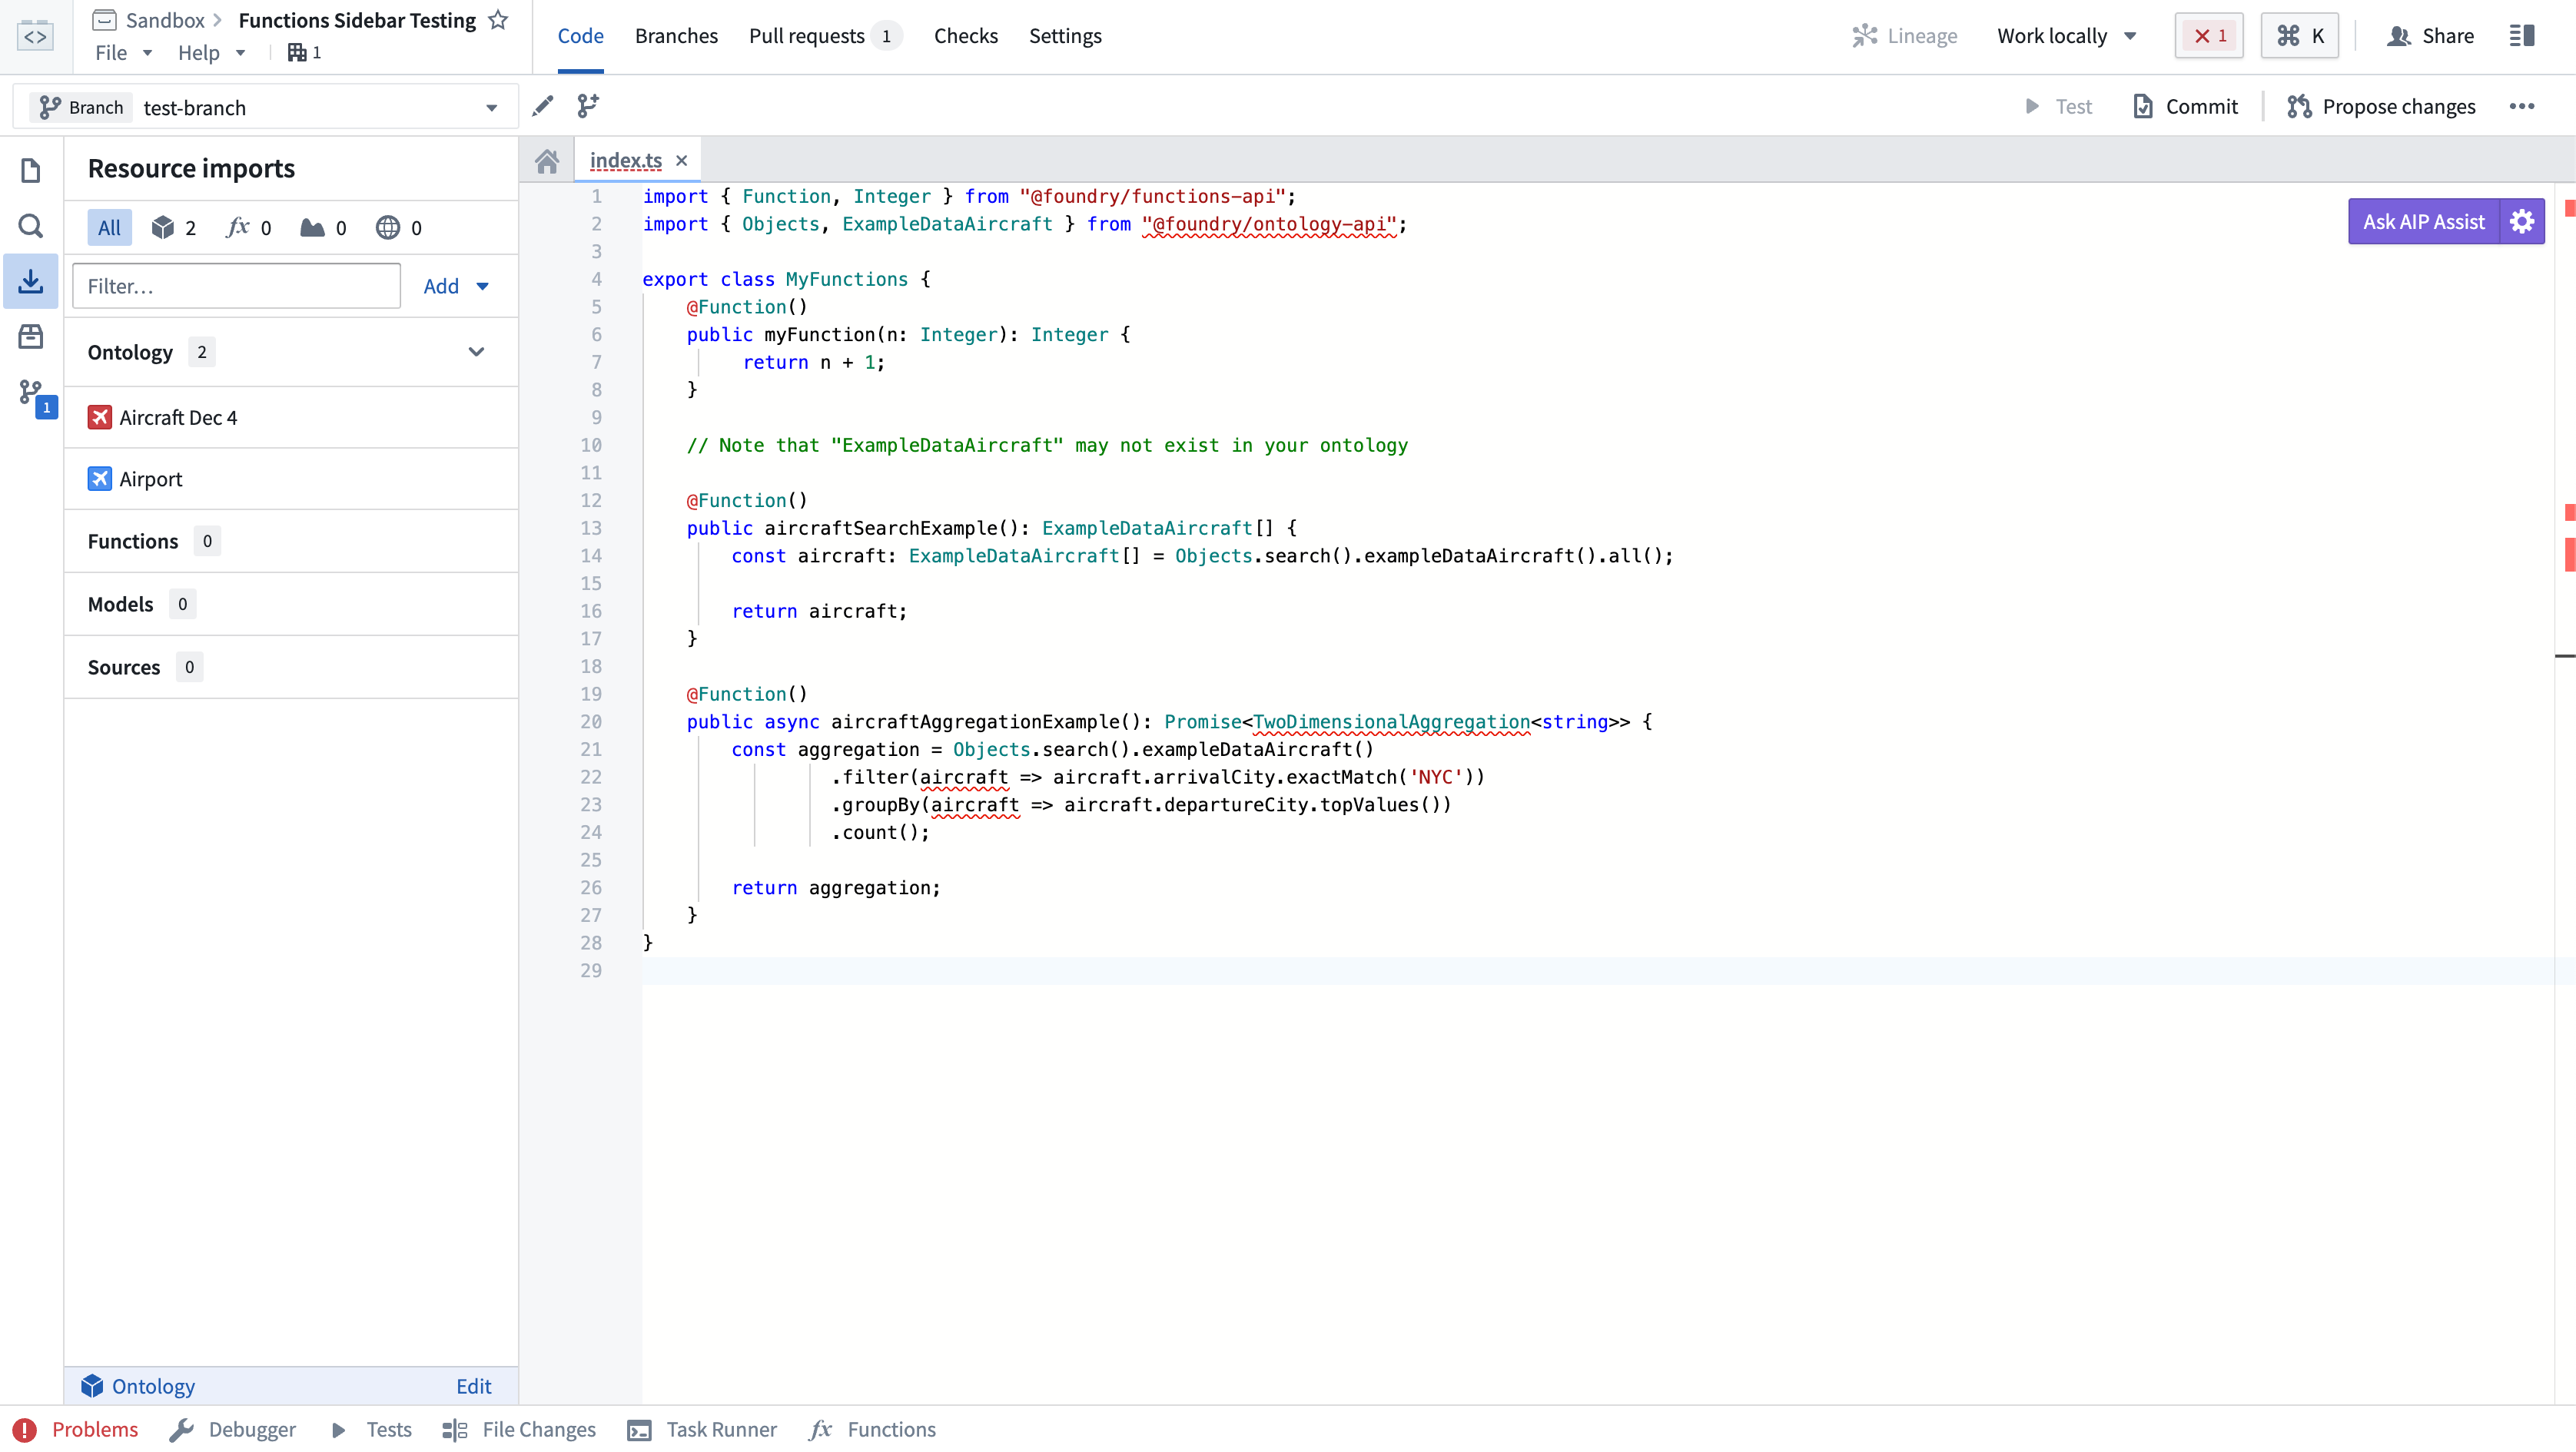
To import additional object types, you will need to select the Add button in the Resource Imports side bar. If no Ontology has been selected you will be prompted to select an Ontology. If you have at least one imported Ontology type, the selected Ontology will automatically be resolved.
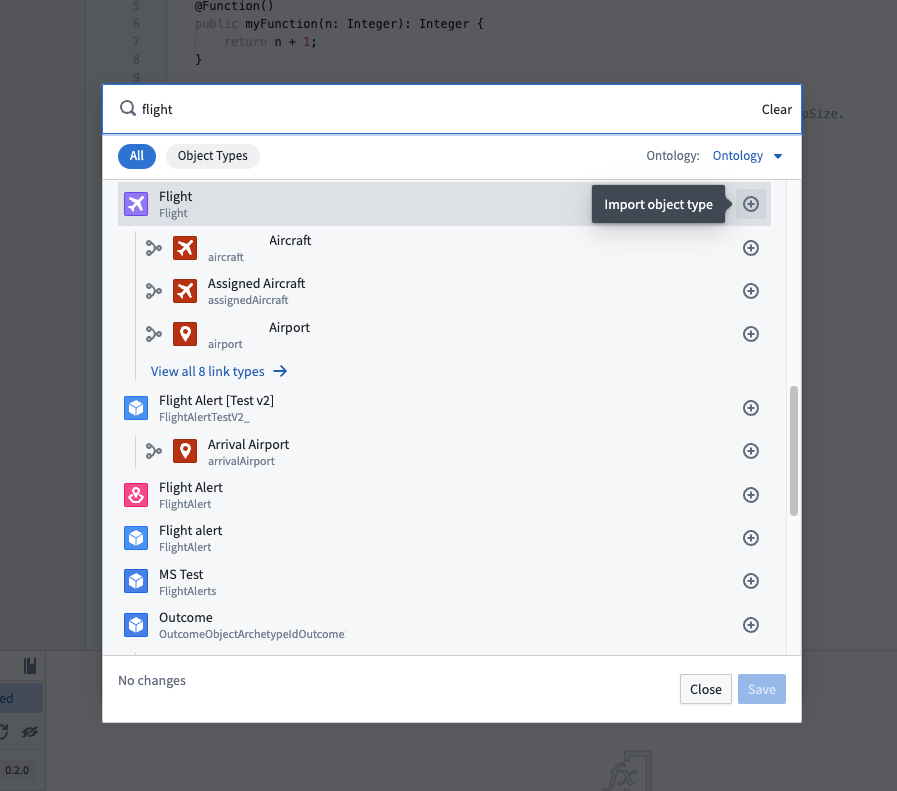
Once an Ontology is selected, a search modal will appear. Your Ontology will depend on the object types available in your organization. Start by selecting a few object types and link types that connect them. This example imports the Airport and Flight objects, in addition to the link type between them.
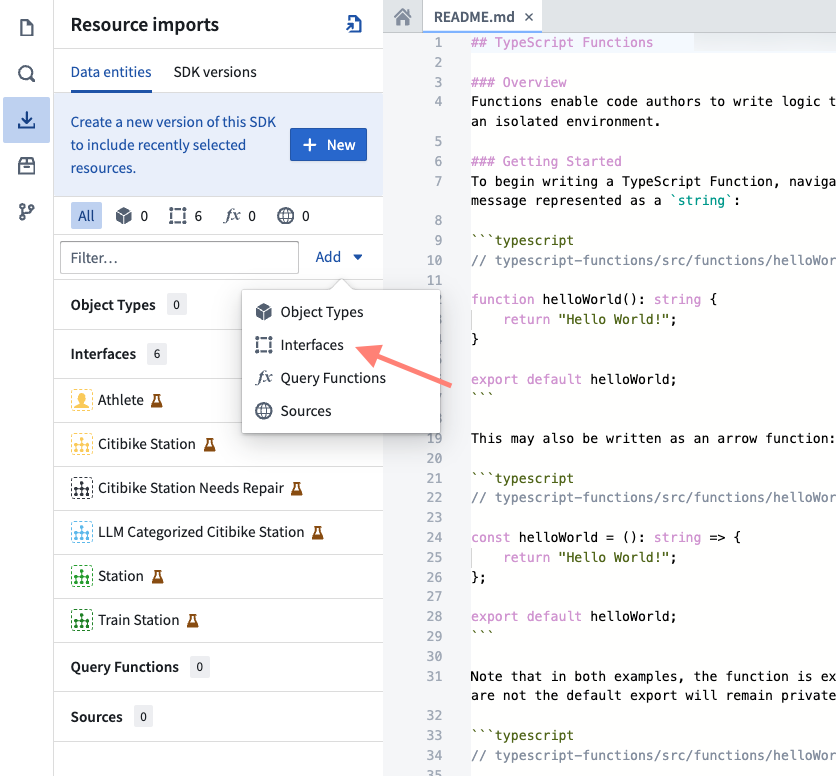
You can also import ontology interfaces by selecting Interfaces under the Add button.
Choose Confirm selection to import the Ontology types into the project. Code Assist will automatically be restarted to regenerate code bindings to reflect the new object and link types you have imported.
In a TypeScript v1 repository, you may now import Ontology types from the @foundry/ontology-api package. If you are using a private Ontology, the package name will instead be @foundry/ontology-api/<ontology-api-name>.
In a TypeScript v2 repository, you are prompted to generate and install the Ontology SDK after you import the Ontology types. Complete this step before you write your function; the imported types are only available in your code once the Ontology SDK is installed, and you import them from the @ontology/sdk package.
If you are using a private Ontology, replace @foundry/ontology-api with @foundry/ontology-api/your-private-ontology-api-name-here in all the following TypeScript v1 examples.
The @foundry/ontology-api package applies to TypeScript v1 functions. In a TypeScript v2 repository, you must generate and install the Ontology SDK before you can import Ontology types from @ontology/sdk. Refer to Generate the Ontology SDK for these steps.
Add an object-backed function
Next, write a function using an object type you just imported. Your code will depend on the object types, properties, and link types available to you. Switch back to the Code tab, and try importing one of the object types you just added:
Copied!1import { Airport } from "@foundry/ontology-api";
Copied!1import { Airport } from "@ontology/sdk";
Then, write a function that takes that object as input. In TypeScript v2, object type instances are wrapped in the Osdk.Instance type from the @osdk/client package, and each function is the default export of a file in src/functions named after the function.
Copied!1 2 3 4@Function() public myObjectFunction(airport: Airport) { airport. }
Copied!1 2 3export default function myObjectFunction(airport: Osdk.Instance<Airport>) { airport. }
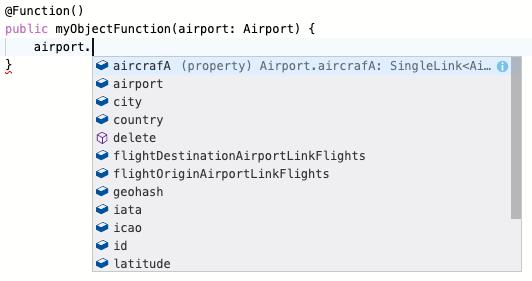
Once Code Assist has started, simply type airport. to see autocomplete for the properties and link types available to you:
In this example, we use a template string ↗ to combine the city and country fields on an Airport into a human-readable location:
Copied!1 2 3 4 5 6 7 8 9 10import { Function } from "@foundry/functions-api"; import { Airport } from "@foundry/ontology-api"; export class MyFunctions { @Function() public airportLocation(airport: Airport): string { return `${airport.city}, ${airport.country}`; } }
Copied!1 2 3 4 5 6 7 8// src/functions/airportLocation.ts import { Airport } from "@ontology/sdk"; import { Osdk } from "@osdk/client"; export default function airportLocation(airport: Osdk.Instance<Airport>): string { return `${airport.city}, ${airport.country}`; }
Experiment with the APIs based on your own Ontology and write a function that returns a value based on your object type.
Test in live preview
Open the functions helper, toggle to Live Preview, and choose the function that you wrote above. To run an object-backed function in live preview, you have to import the backing datasource for the object type. Select the warning icon next to the Run option:
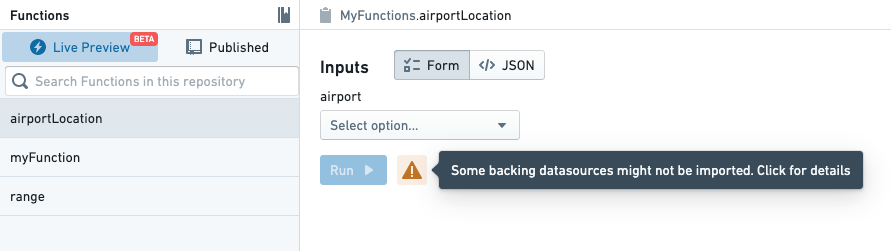
Then, use the dialog to import the backing datasources for your object types:
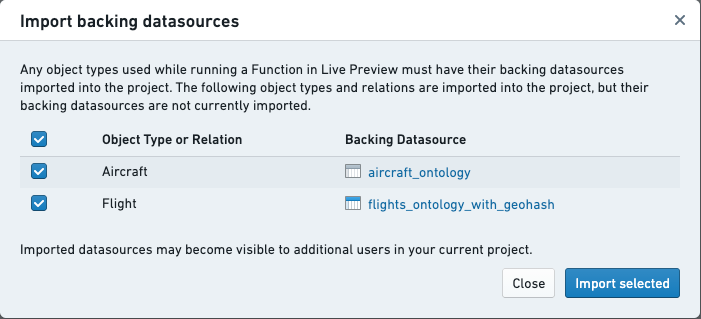
After you have imported the datasources, choose an object and select Run to see results:
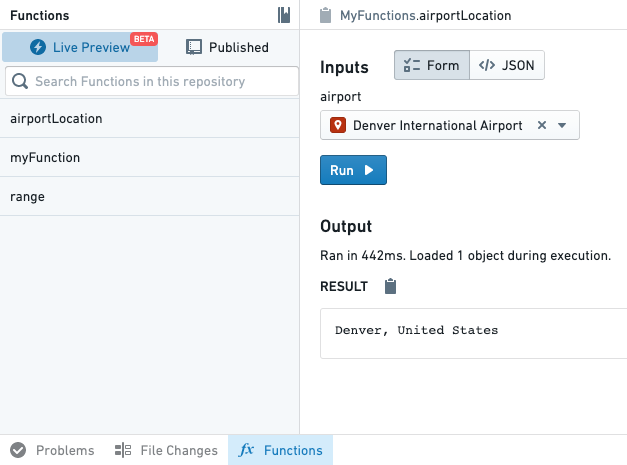
The permissions on object types in live preview are determined by the TypeScript repository's permissions on the backing datasources underlying each object type. When testing functions that create notifications, the recipients' permissions are not enforced. For this reason, a function that creates a notification may succeed in live preview but fail when used by an action elsewhere in Foundry.
Learn more about configuring notifications for actions.
Publish the new function
Publish the new function by committing your code and publishing a new tag using the Branches tab. Once your function has been published, you can test it using the functions helper.
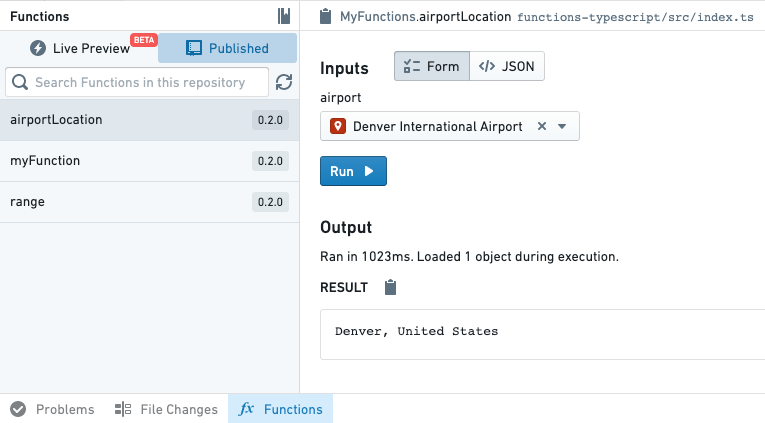
After the function has been published, you can start using it in other applications throughout the platform.
Next steps
This tutorial just scratches the surface of what you can do with functions on objects. To learn more, refer to these resources:
- Refer to the object API documentation (TSv1) to learn what you can do with objects
- Read the object sets documentation (TSv1) to learn about searching for objects and aggregations on-demand
- For TypeScript v2 and Python, review Object APIs by language to find the reference for your language
- Learn about ways you can use functions in the platform