- Capabilities
- Getting started
- Architecture center
- Platform updates
Getting started with HyperAuto V1
HyperAuto V1 is in the sunset phase of development and will be deprecated at a future date. Full support remains available. The creation of new V1 pipelines is discouraged, and users should migrate from HyperAuto V1 to V2 as detailed in the migration documentation.
This documentation is for HyperAuto V1. If you are using HyperAuto V2, refer to the HyperAuto V2 getting started documentation.
The following steps guide the creation of an SDDI instance:
-
Open SDDI Cockpit either from the sidebar, or at
[foundryinstance URL]/workspace/sddi-appand select Create new instance.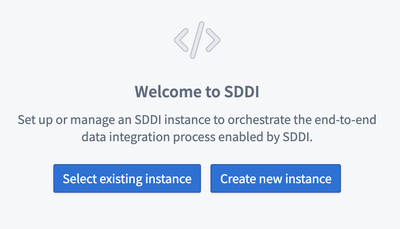
-
Follow the on-screen instructions to select the appropriate source type.
-
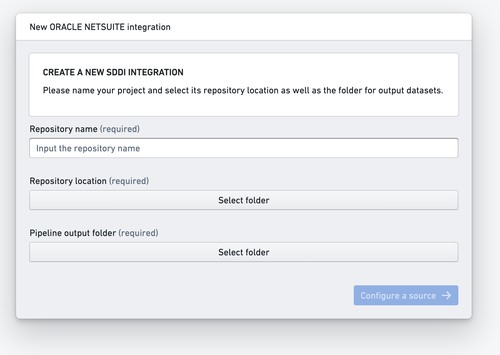
Input your preferred repository name and select the desired repository location as well as the pipeline output folder location. For the pipeline output folder, HyperAuto provides a suggested location.
-
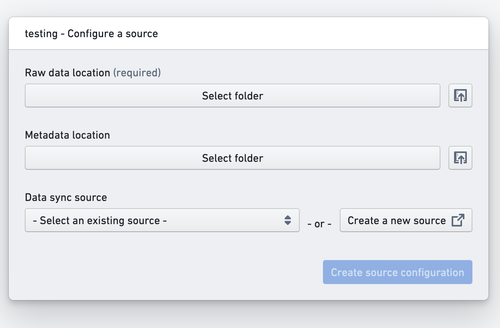
Configure a Data Connection Source on which you would like to apply HyperAuto. This source should have the same source type that you selected in Step 1. Identify a folder location for raw data and metadata respectively. These folders will subsequently house raw and metadata datasets that are synced from the source.
-
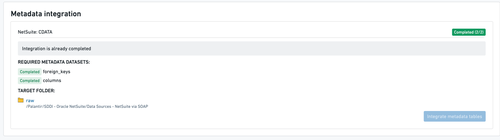
Sync database metadata tables in the Sync Data step. This will sync the relevant metadata tables from your source system and add them to the designated automatic pipeline generator repository for pipeline generation in the background.
Your SDDI instance should now be functional and ready to clean tables from your source. To learn more about configuring and executing your SDDI flow, navigate to Cockpit.