- Capabilities
- Getting started
- Architecture center
- Platform updates
Create a workspace
Each Carbon workspace is stored in Foundry as a separate file resource in a Project. Each workspace file has its own access permissions.
In order to create a new Carbon workspace, first enter edit mode via the Edit button on the right side of the Carbon menu bar.
![]()
For users without a default Carbon workspace, the edit button will not be visible. However, if they have the necessary permissions to create a Carbon workspace, they can access the editor side panel by navigating to workspace/carbon/edit in their URL.
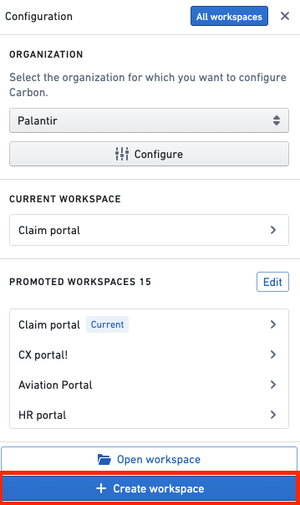
In the editor side panel that opens on the right, select the Create workspace button at the bottom.
Continue by naming your workspace and selecting where you want to store the resource.
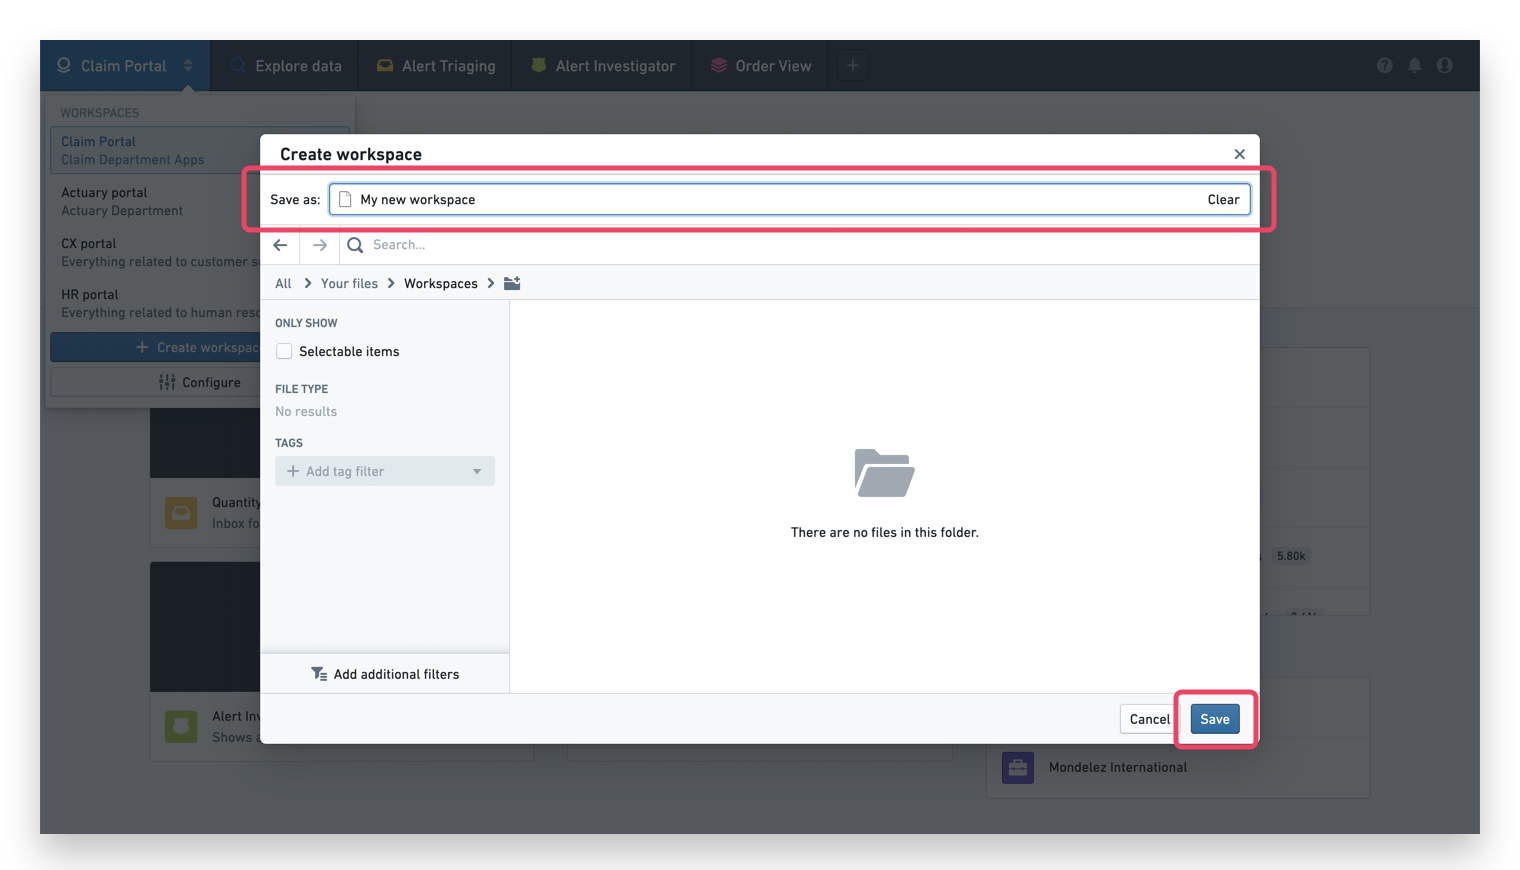
We recommend placing the workspace in the same folder as the rest of the resources that you plan to include in your workspace. For example, place the workspace in the folder which includes all of the Workshop modules that you plan to expose in this specific workspace. This way, permissions set at the folder level can be applied to all of the resources.
After you've saved the workspace in a Project, you will be redirected to your newly-created Carbon workspace.
You can verify this by checking that the name of your workspace corresponds to the workspace name in the top left corner. You can now continue with configuring your workspace.
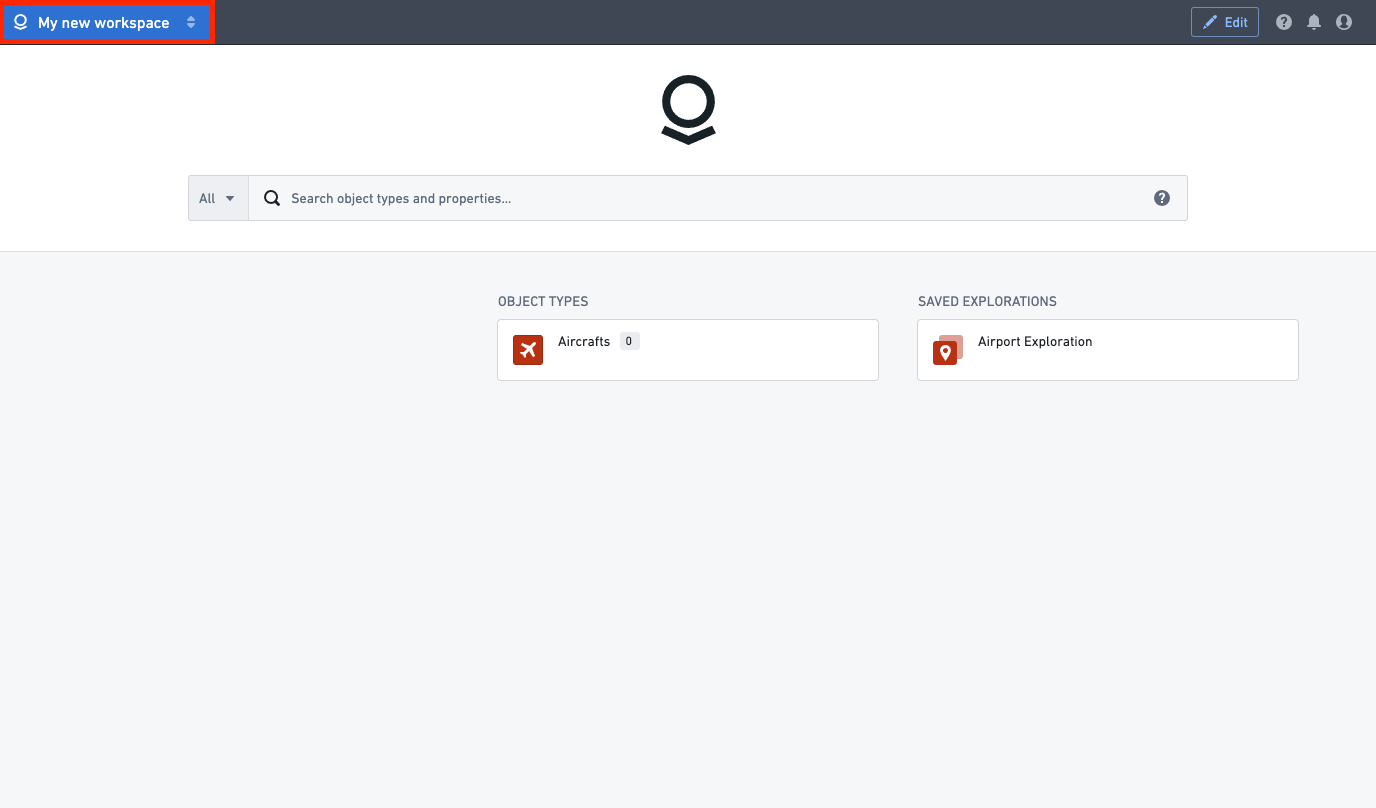
Every new workspace is created with a default home page that includes a default icon, a search bar based on Object Explorer, and two columns, showing prominent object types (Column B, middle column) and saved explorations from Object Explorer (Column C, right column).