Transform data
You can start transforming and structuring your data in Pipeline Builder after adding datasets to your workspace.
Select a dataset
To apply a transform to a dataset, select a dataset node in your workspace and click Transform.

Search for a transform
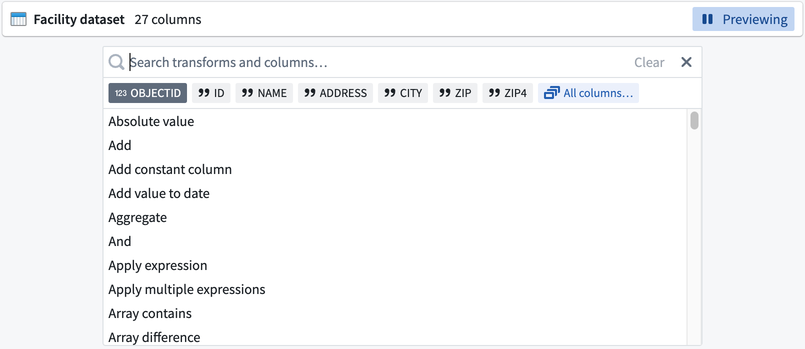
In the transform page, search for a transform type by name or browse from a list of available transforms. If you are using a structured (tabular) dataset, this field shows a comprehensive list of table transforms.
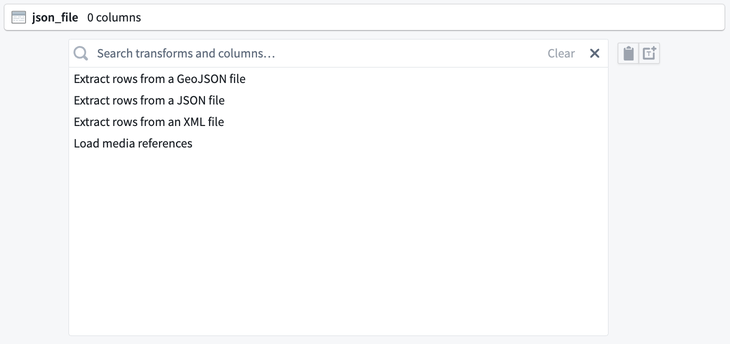
For semi-structured datasets like JSON files, the search field includes file transforms that allow you to parse your dataset into table format.
Configure a transform
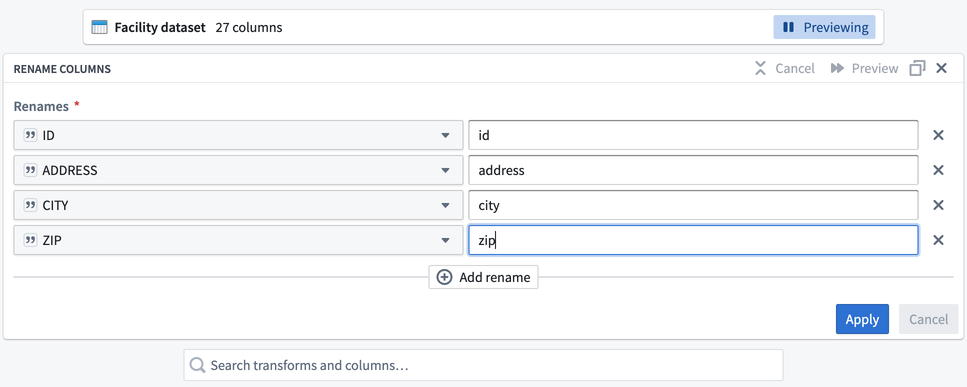
Complete the transform configuration board with required information, including columns, expressions, or values. In the example below, we chose the Rename columns transform, selected columns to rename, and entered new name values for the columns.
Reuse existing expressions
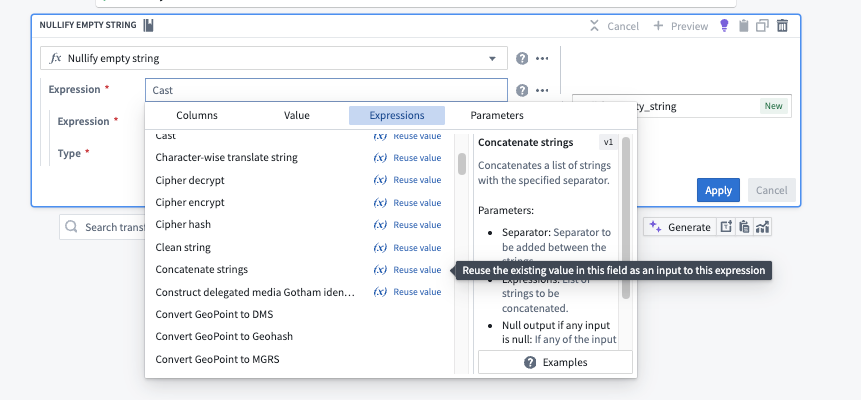
Pipeline Builder lets you reuse values from existing expressions when creating new ones.
When you replace an expression within a nested expression, the new expression will, by default, remove any fields or values you previously set. If you want to keep these existing fields or values, select Reuse values next to the expression. This will automatically copy the previous values into your new expression.
Apply a transform
After completing the transform form, click Apply to add the transform to your workflow. You will see the transform node connected to the origin dataset in your graph. We named our new transform Clean Facility Data, and it is a direct output of the original Facility dataset.

You can rename or edit the transform by clicking the transform node and selecting Edit.
Drag the white output circles on nodes to change connections on the graph.
Transform view
Pipeline Builder offers two ways to view transforms: the traditional collapsed board rendering and pseudocode rendering. Setting your view preference will update your personal view globally across the Palantir platform.
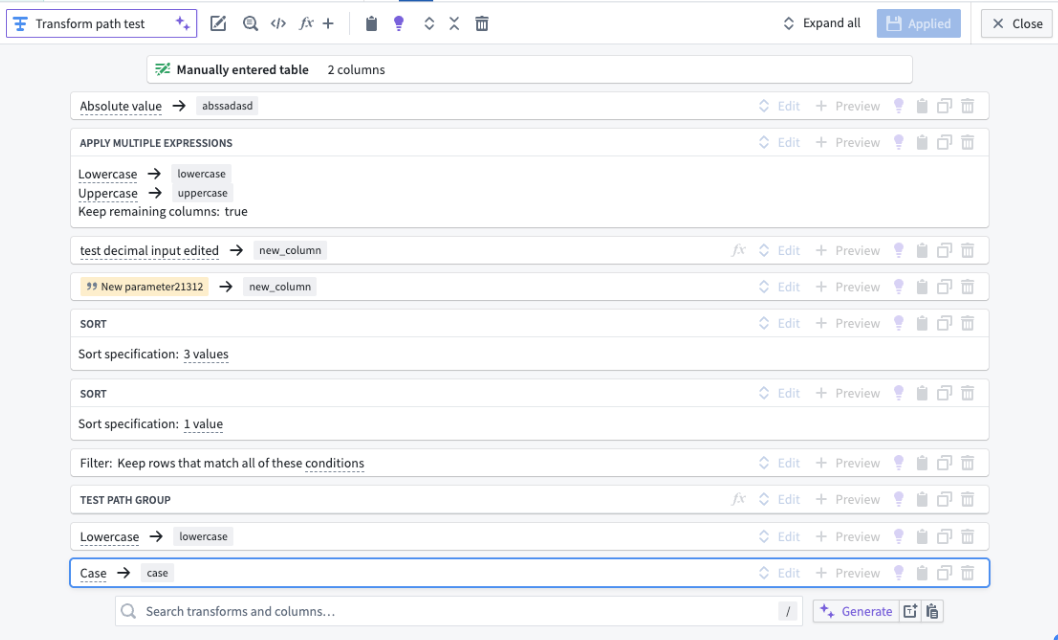
Collapsed board rendering
The collapsed board rendering format displays transforms in a compact, board-like structure. This view is the traditional format and may be preferred by users who are accustomed to this layout.
Pseudocode rendering
The pseudocode rendering format displays transforms in a cleaner format resembling code but does not adhere to any specific programming language's syntax.
The joins, unions, and LLM nodes are not affected by the pseudocode rendering option.
This option is particularly beneficial for users familiar with coding or those who prefer a more textual representation of their pipeline logic. The pseudocode automatically adjusts to fit your screen, reducing the need for scrolling as well.
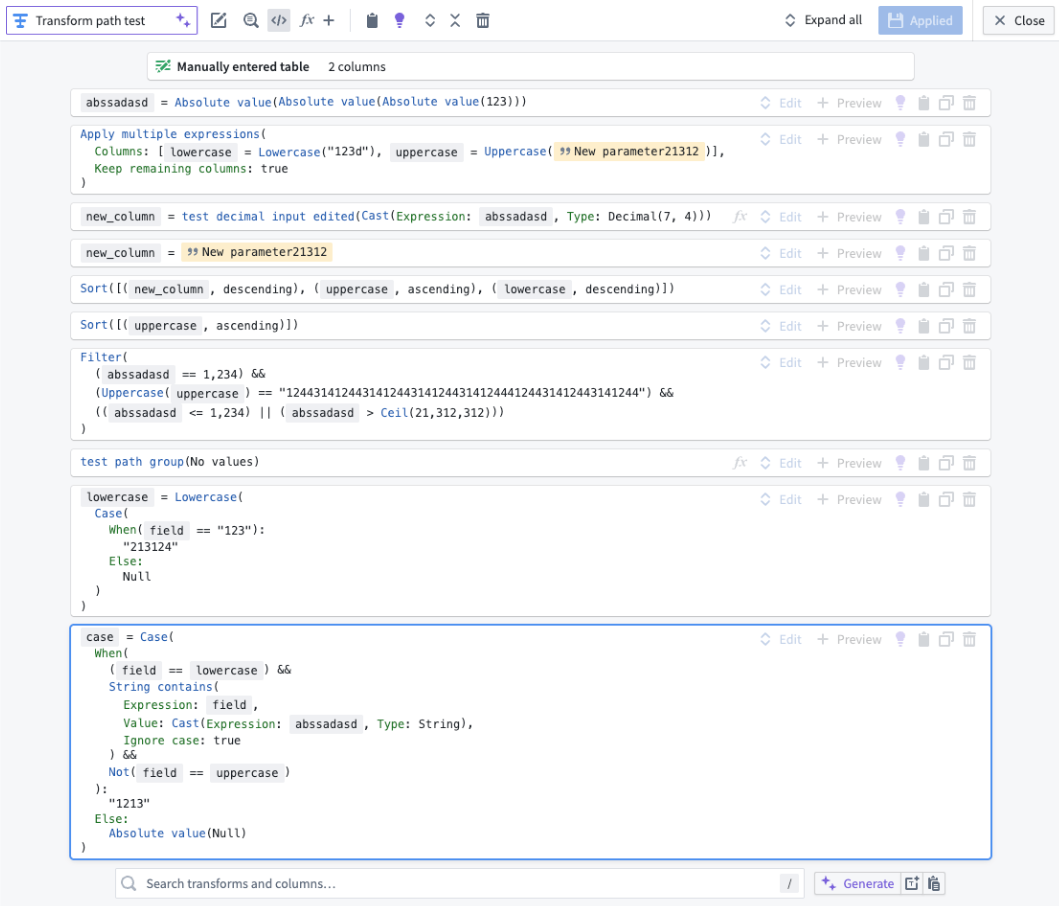
Enabling pseudocode rendering does not allow code editing within Pipeline Builder. The format is solely to create a more familiar view.
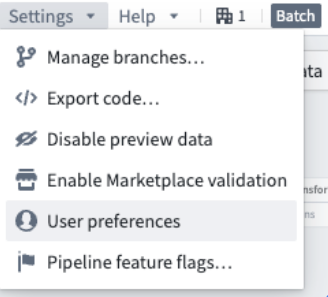
You can enable the pseudocode rendering option via the following methods:
- Settings menu: Navigate to the Settings menu. Then, select User preferences and toggle the option for Pseudocode under Collapsed transform style.

- Within a transform path: Within any transform path, select the </> icon.
