- Capabilities
- Getting started
- Architecture center
- Platform updates
Create a media set batch pipeline with Code Repositories
This guide will walk you through a simple transformation example using the Code Repositories application. You will learn how to write and edit Python code with media sets.
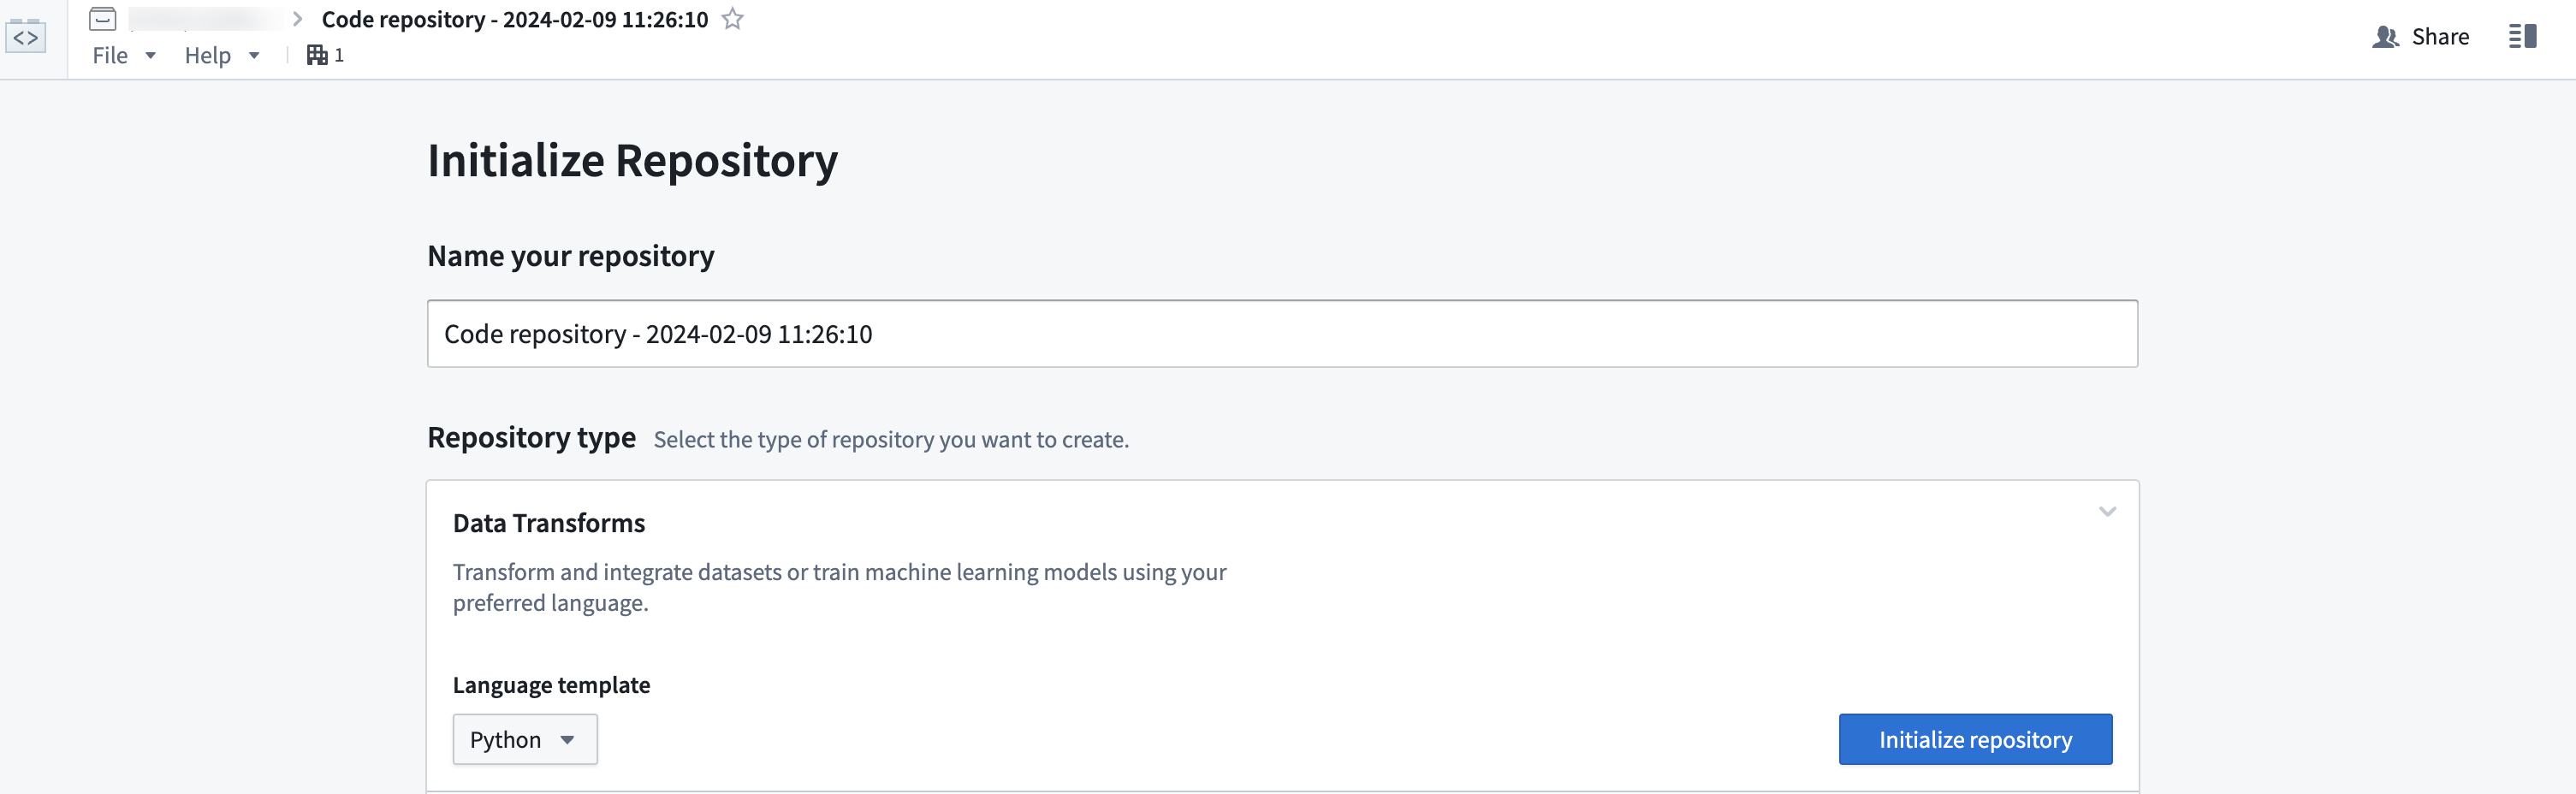
1. Create a repository
Get started by creating a new repository. To do so, navigate to a Project in Foundry, select + New in the upper right, then select Code repository.
For this guide, we will write a Python transform. Give your repository a name and select Python in the dropdown menu under Language template. Then, select Initialize repository.
2. Import your data
If you already imported a raw media set to work with, you can move on to the next step. Otherwise, refer to the media sets guide on how to import media into Foundry.
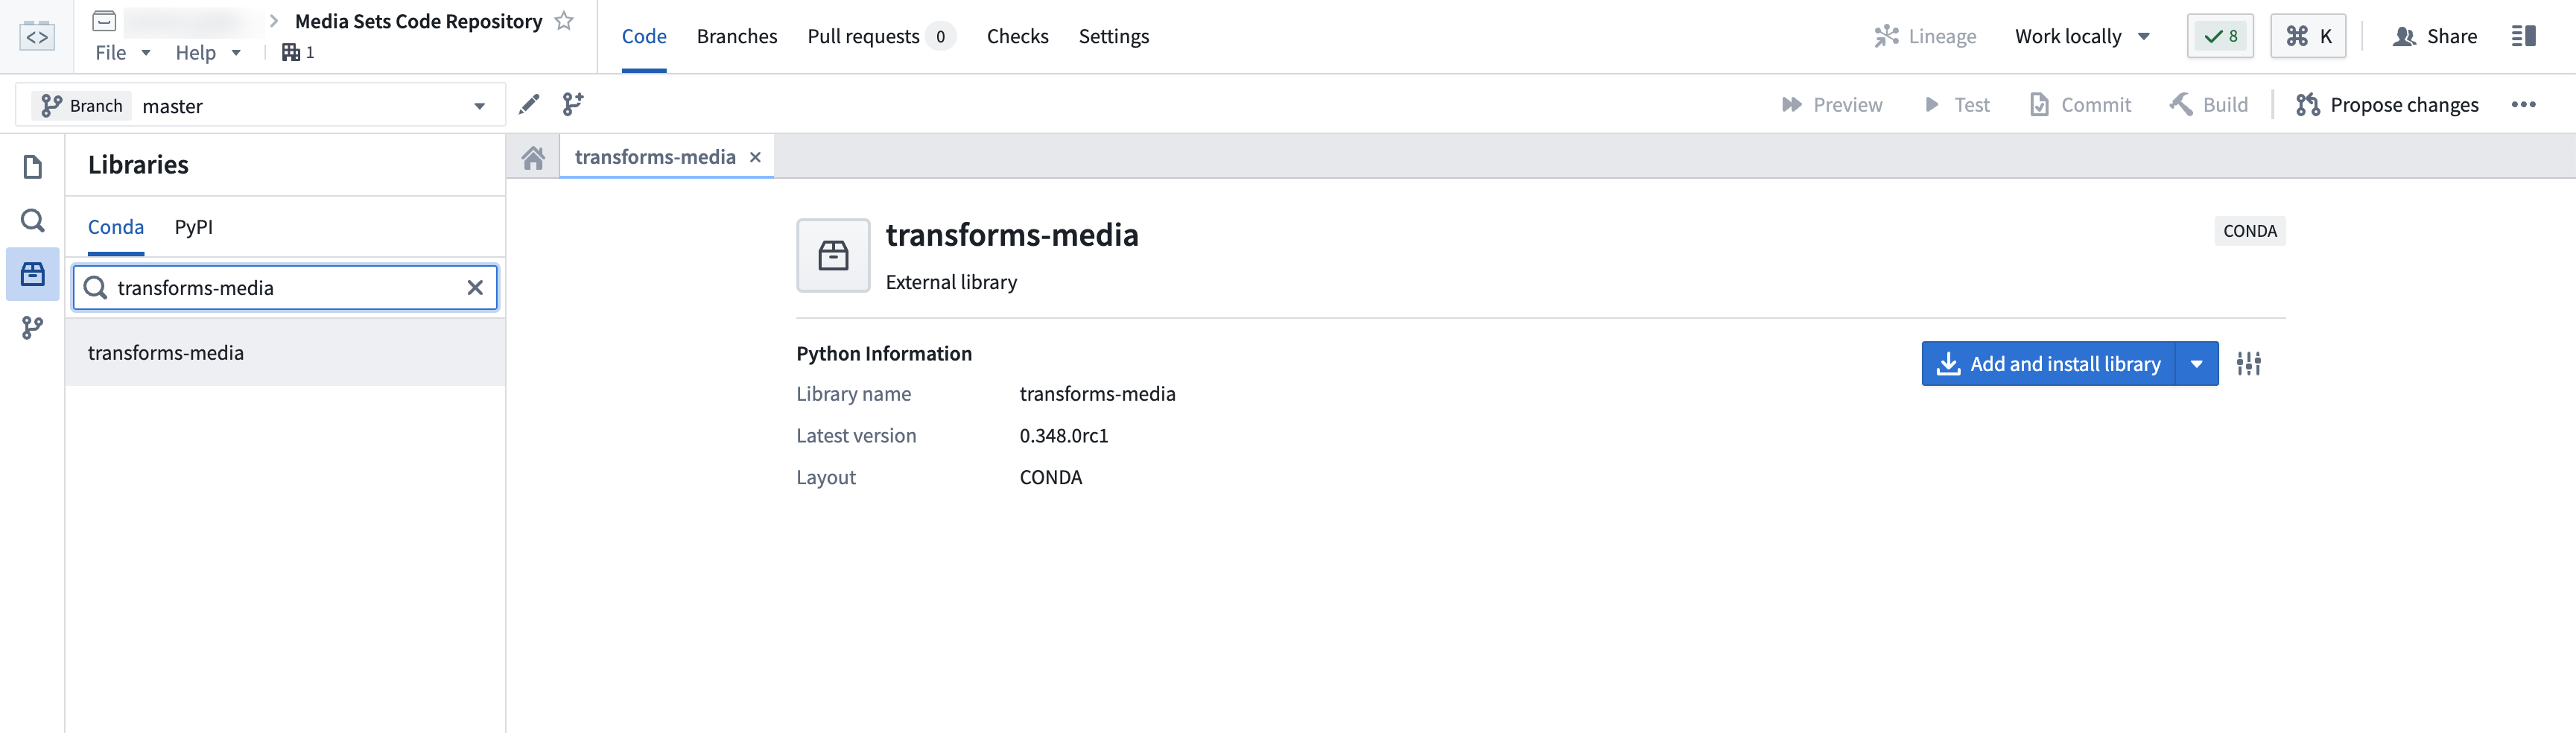
3. Import the transforms-media library
To use media set transformations, you must import the transforms-media library.
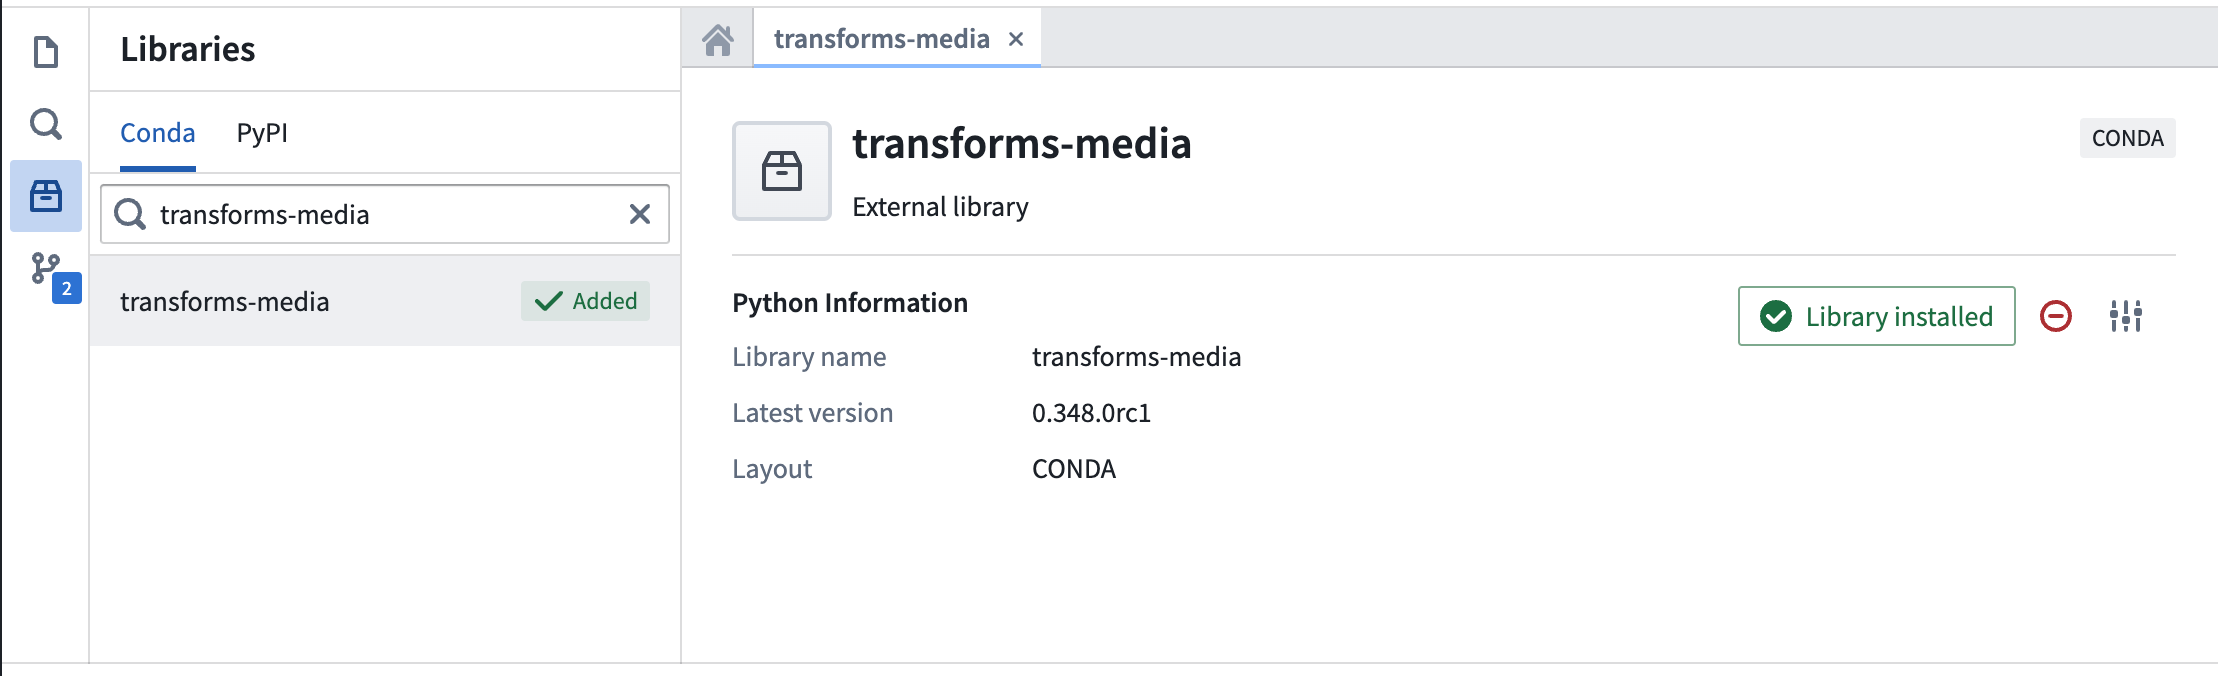
Navigate to the Libraries option from the left sidebar, then search for and select the transforms-media library. Then, choose to Add and install library.
The status should show as Library installed once the install is complete.
4. Edit code
Create a new file
Creating a Python transforms repository should auto-generate an examples.py file which you can use as your base. You can rename the file by selecting the ellipses icon, choosing Rename, and naming your file accordingly.
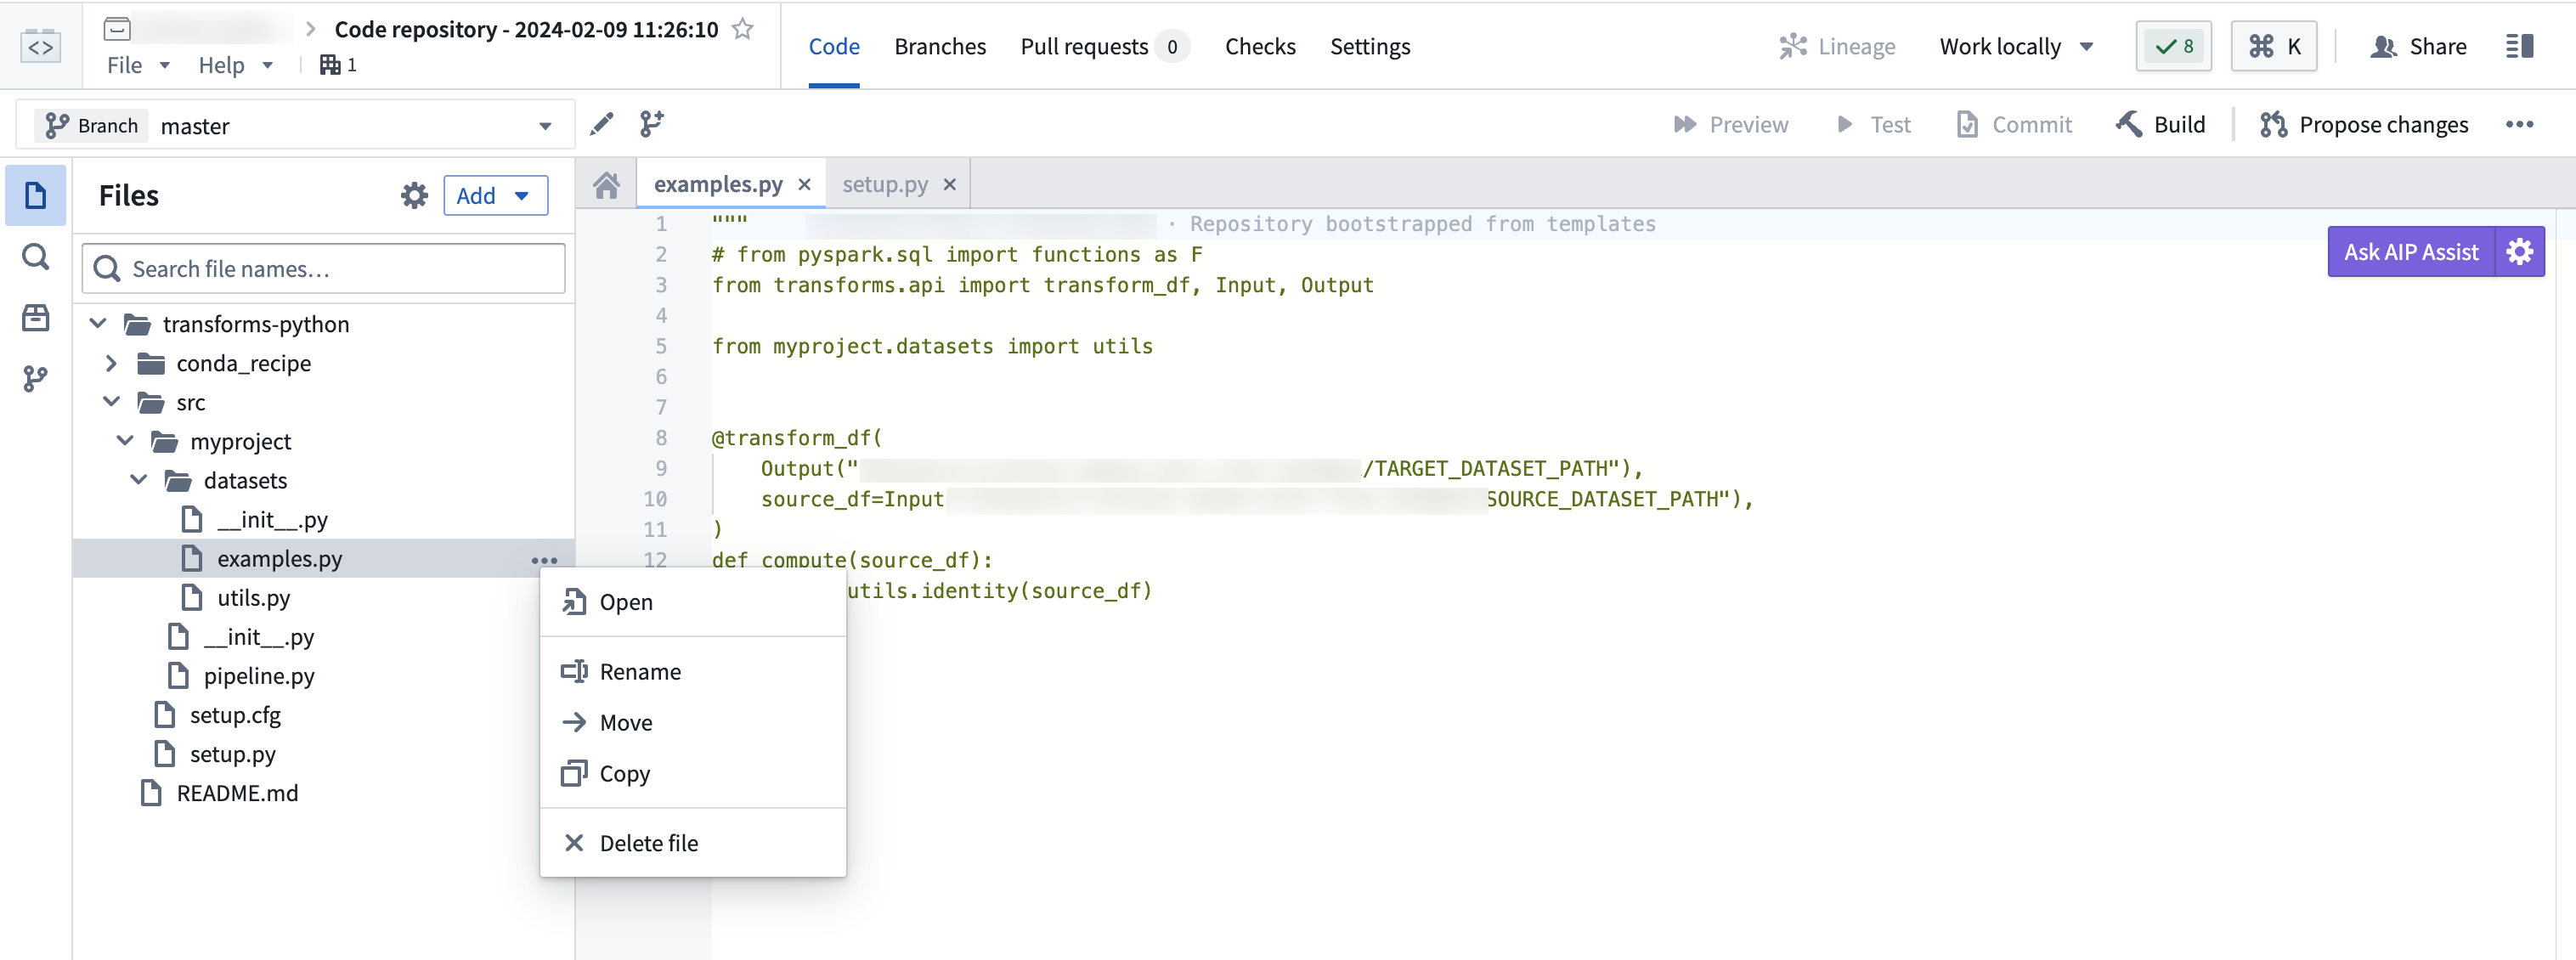
If you want to create a new file, select the ellipses icon and choose New file under the Datasets directory. Ensure you are creating a Python file for the purposes of this workflow.
Import the correct libraries into your file
When working with media sets, you must use the @transform decorator. Media set inputs and outputs must be passed in using transforms.mediasets.MediaSetInput and transforms.mediasets.MediaSetOutput specifications:
Copied!1 2 3 4 5 6from transforms.api import transform from transforms.mediasets import MediaSetInput, MediaSetOutput @transform( images=MediaSetInput('/examples/images'), ... )
Ensure output file exists
If you are creating a media set output file, be sure to create it before referencing it in the transform decorator.
You can create this file by navigating to your Project folder (where you first created the Python transforms code repository), and selecting New > Media set from the dropdown menu.
Use get_media_item(), get_media_item_by_path(), or list_media_items_by_path_with_media_reference()
To transform each media item in your media set, you must reference these media items in your transformations with get_media_item() or get_media_item_by_path().
Note that calls to get_media_item(), get_media_item_by_path(), return a Python file-like stream object. All options accepted by io.open() ↗ are also supported. Items are read as streams, meaning that random access is not supported.
You can reference single media items as follows:
Copied!1 2 3 4 5 6 7 8 9from transforms.api import transform from transforms.mediasets import MediaSetInput, MediaSetOutput @transform( images=MediaSetInput('/examples/images'), output_images=MediaSetOutput('/examples/output_images') ) def translate_images(images, output_images): image1 = images.get_media_item_by_path("image1") # using path image2 = images.get_media_item("ri.mio.main.media-item.123") # using RID
However, you will likely want to list all media items in your media set by putting them into a dataframe. You must list the media items with list_media_items_by_path_with_media_reference():
Copied!1 2 3 4 5 6 7 8 9 10from transforms.api import transform, Output from transforms.mediasets import MediaSetInput @transform( images=MediaSetInput('/examples/images'), listing_output=Output('/examples/listed_images') ) def translate_images(ctx, images, listing_output): media_items_listing = images.list_media_items_by_path_with_media_reference(ctx) # You can perform any PySpark function with the listed output
The listing will have the following schema:
+--------------------------+-----------+-------------------+
|        mediaItemRid      |    path   |  mediaReference  |
+--------------------------+-----------+-------------------+
| ri.mio.main.media-item.1 | item1.jpg |  {{reference1}}   |
| ri.mio.main.media-item.2 | item2.jpg |  {{reference2}}   |
| ri.mio.main.media-item.3 | item3.jpg |  {{reference3}}   |
+--------------------------+-----------+-------------------+
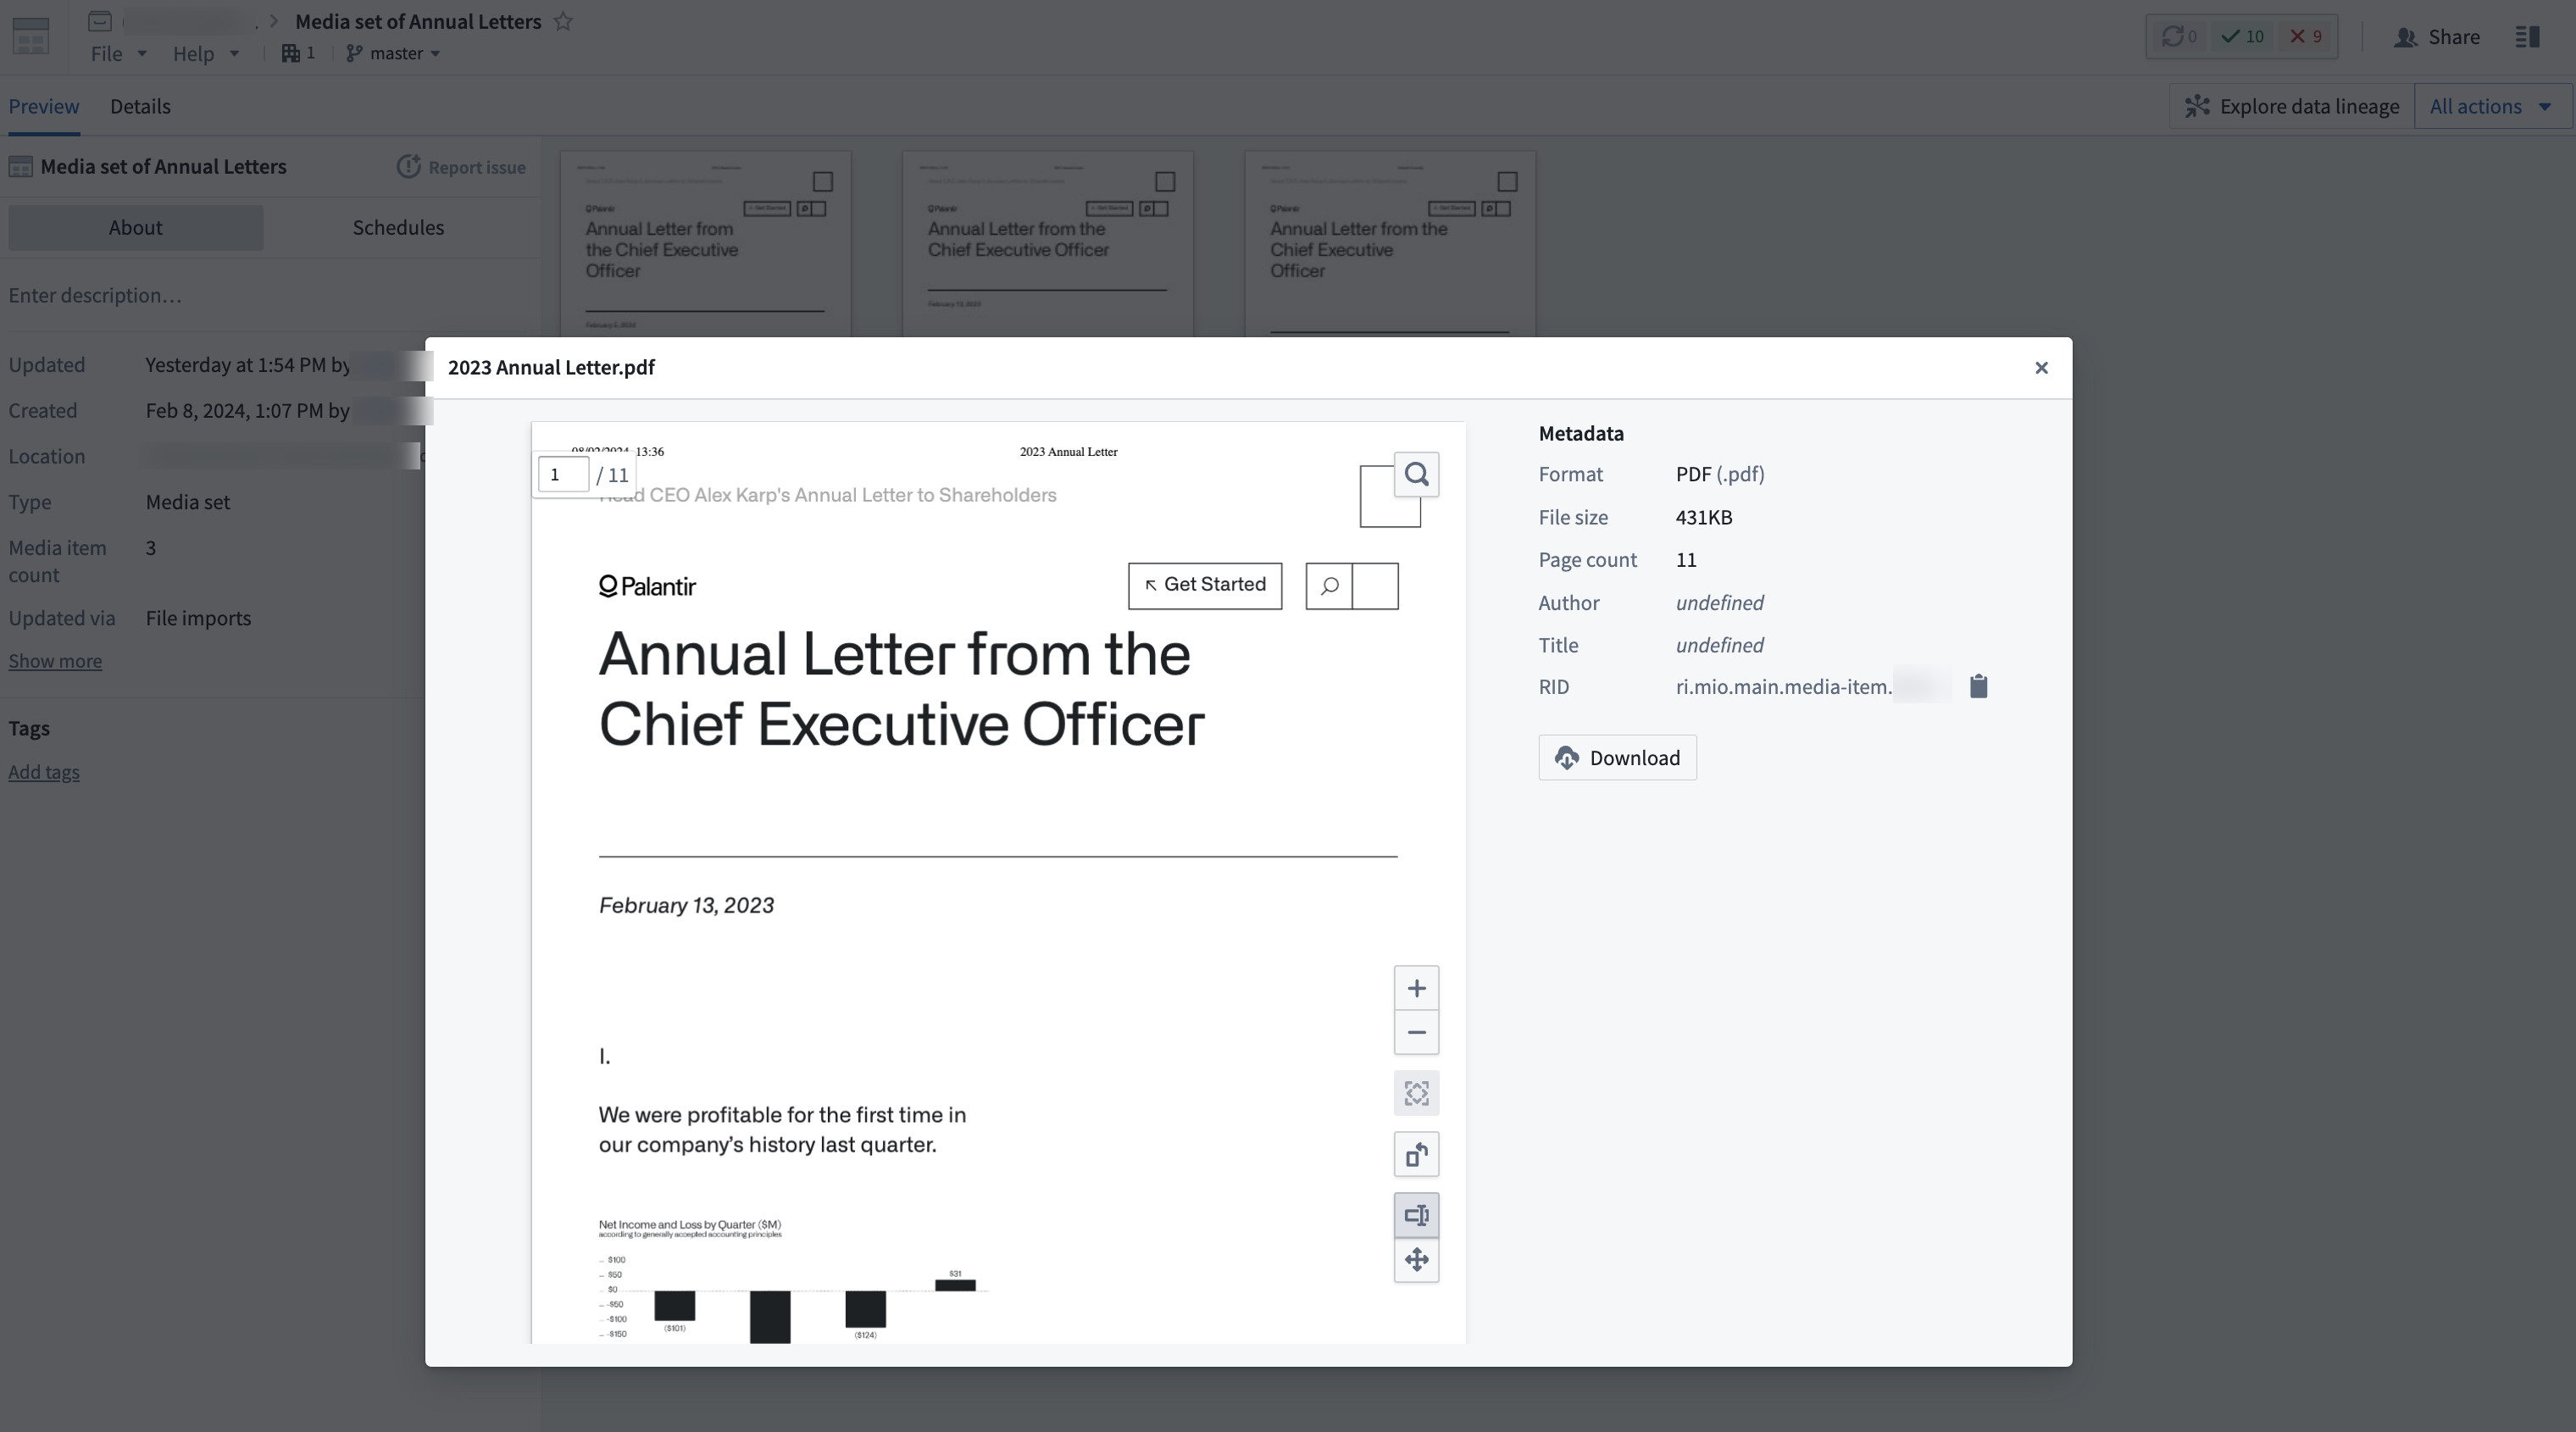
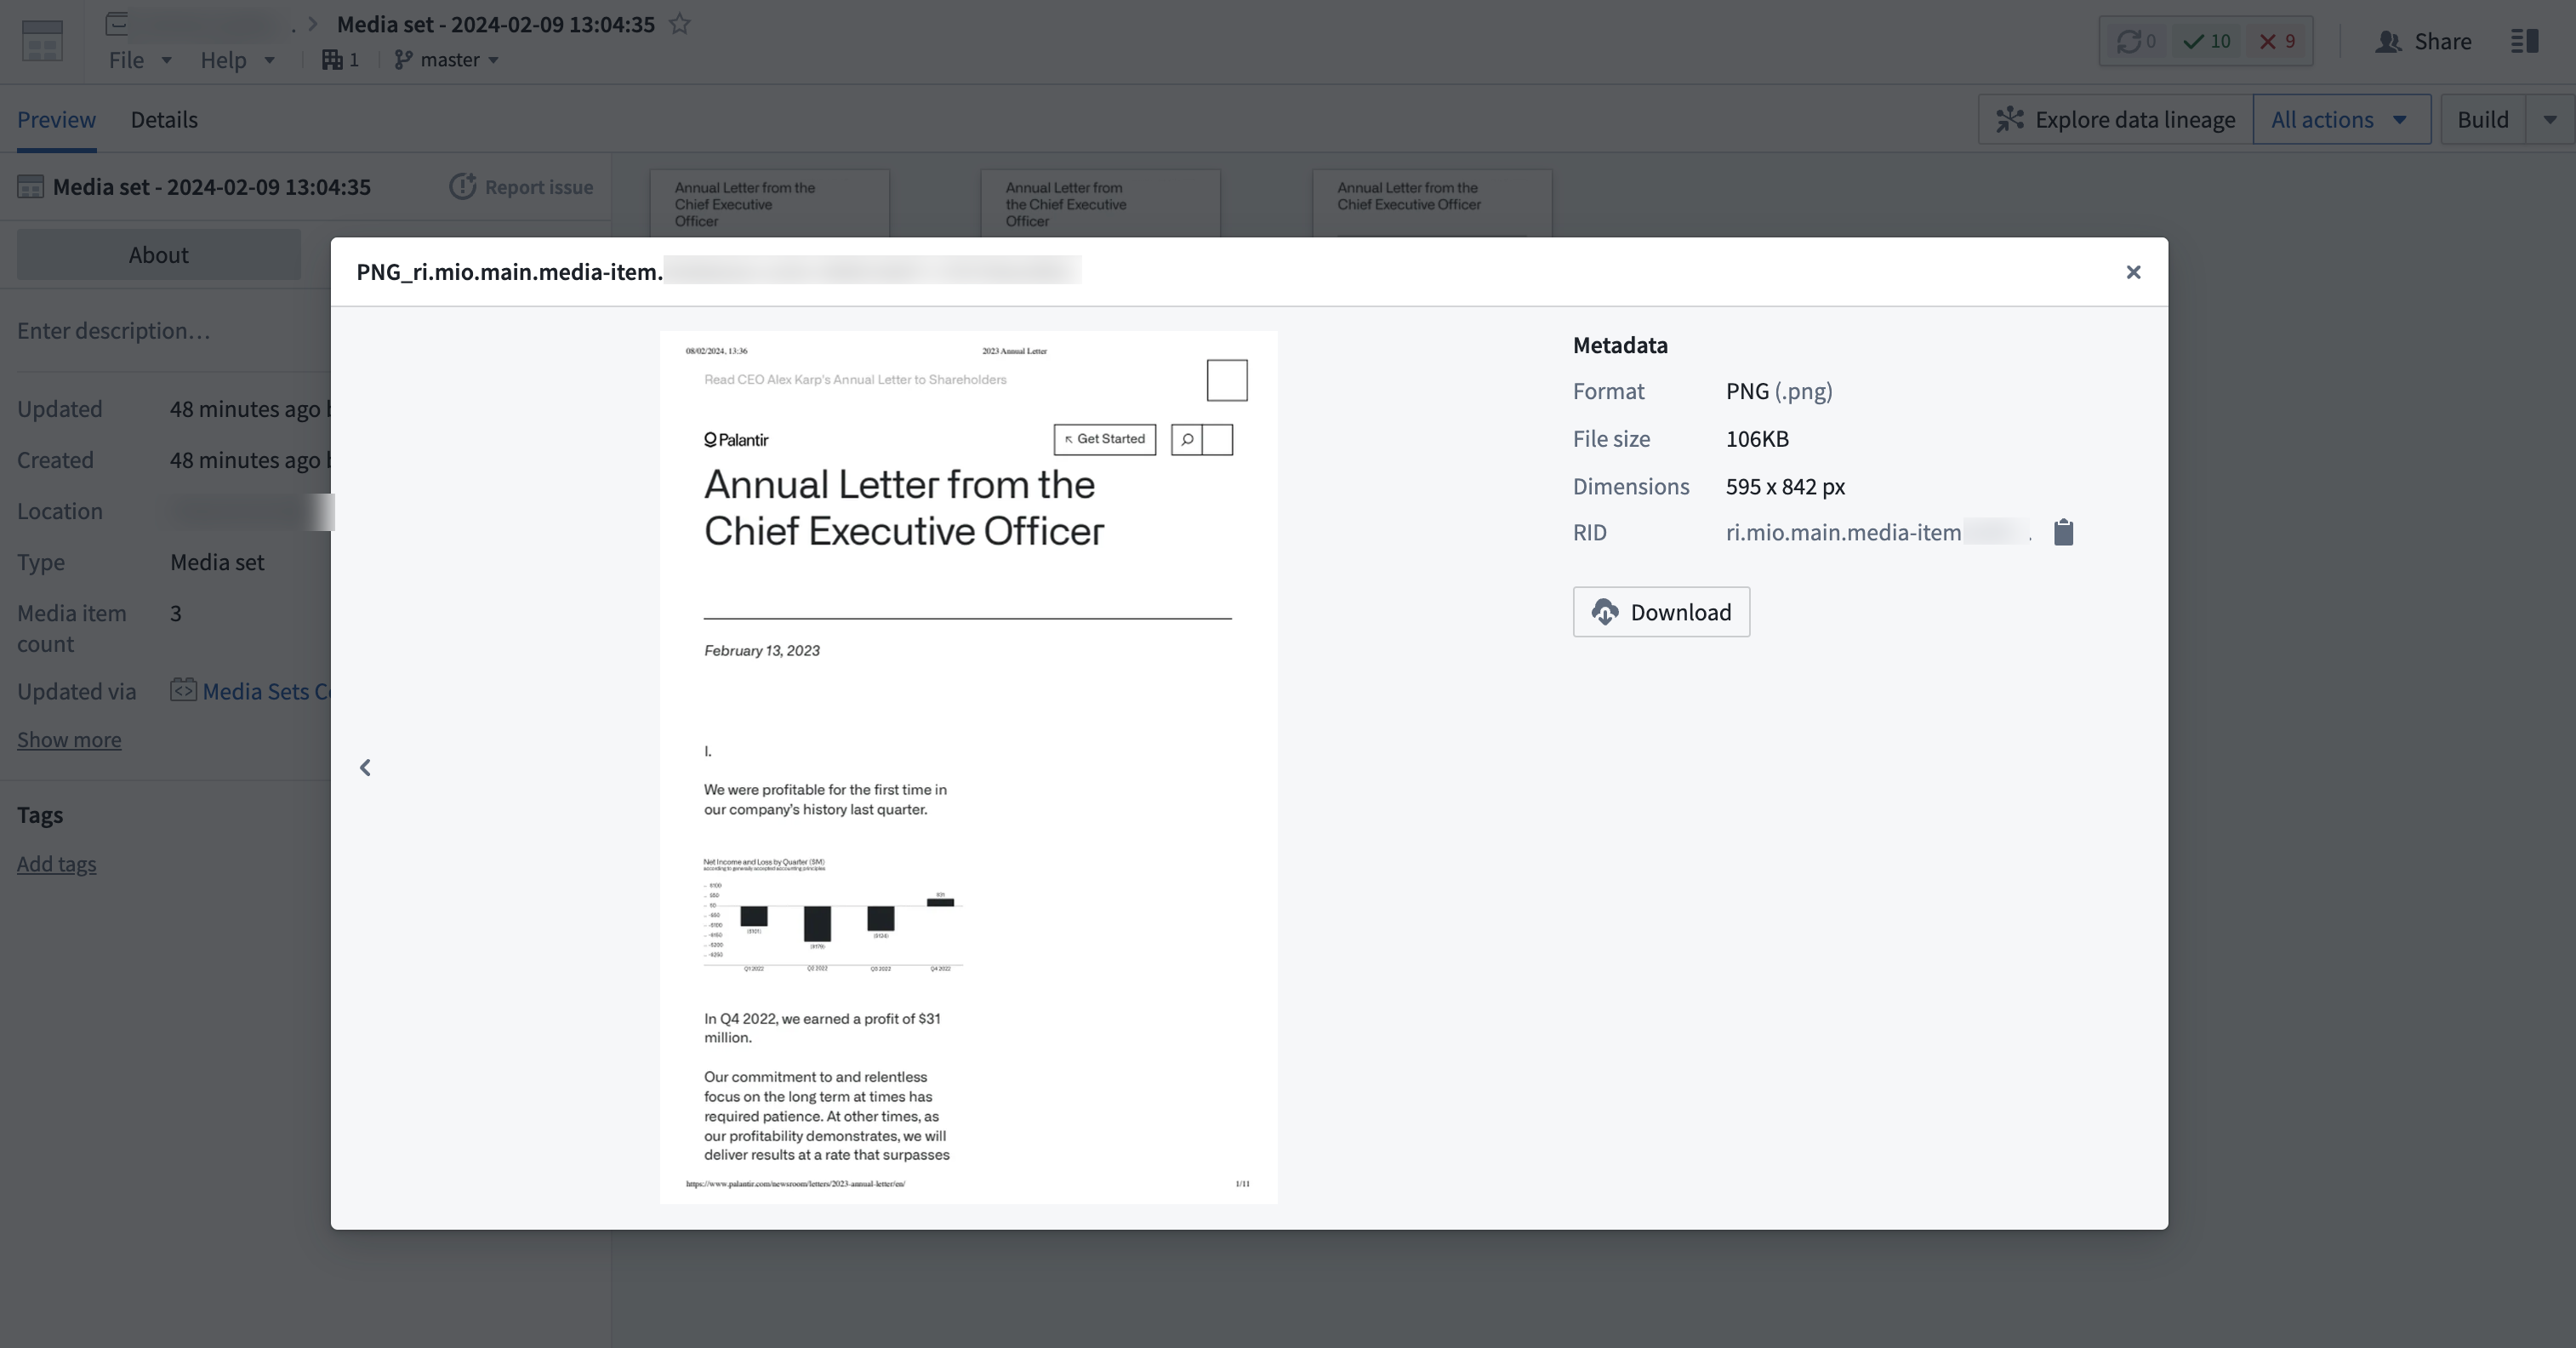
Example: Turn a PDF media set into a new PNG media set
For this example, we will loop through all the media items in our PDF media set and save them as PNG images.
Input example:
Notice that list_media_items_by_path_with_media_reference() returns a dataframe, which allows you to perform PySpark functions on the output. For this example, we are collecting the mediaItemRid column values to loop through as an array:
Copied!1 2 3 4 5 6 7 8 9 10 11 12 13 14 15from transforms.api import transform from transforms.mediasets import MediaSetInput, MediaSetOutput @transform( pdfs=MediaSetInput('INPUT_MEDIA_SET_PATH'), output_pngs=MediaSetOutput('OUTPUT_MEDIA_SET_PATH') ) def upload_images(ctx, pdfs, output_images): media_items_listing = pdfs.list_media_items_by_path_with_media_reference(ctx) rid_list = media_items_listing.rdd.map(lambda x: x.mediaItemRid).collect() for rid in rid_list: output_png = pdfs.transform_document_to_png(rid, 0) output_images.put_media_item(output_png, "PNG_"+rid)
This will produce an output media set with PNG files (as noted from the metadata property):
Review a list of available out-of-the-box transformations in our documentation.
4. Test your changes
In Foundry, media sets can be branched similarly to code repositories. Branching is useful for testing the design of multi-step data pipelines. For instance, you can test changes to parts of data pipelines in isolation without breaking downstream dependencies for users who do not rely on your branch.
After writing your data transformation code, you should test the changes you made. Testing ensures your code is working as expected before merging changes.
5. Commit your changes
Now, you can commit your changes in Code Repositories to label the work you performed. Before you make a commit, your work is auto-saved by default. A commit specifically labels your set of changes when you reach a stopping point.
Select the Commit button to commit your changes and run automatic checks on your code. Choosing the Build button also commits your changes, runs automatic code checks, and starts building your output dataset. To quickly test your changes without building your dataset to ensure your code passes the code checks, select Commit. Otherwise, you can skip ahead to merge and build your changes.
6. Merge and build your changes
Once you are satisfied with the new media set output, work with any collaborators to merge, build, and view the changes.