- Capabilities
- Getting started
- Architecture center
- Platform updates
Getting started with TypeScript v2 functions
TypeScript v2 allows users to take advantage of several key improvements over TypeScript v1, including a Node.js runtime and first-class OSDK support. Review the sections below to get started.
Create a TypeScript v2 functions repository
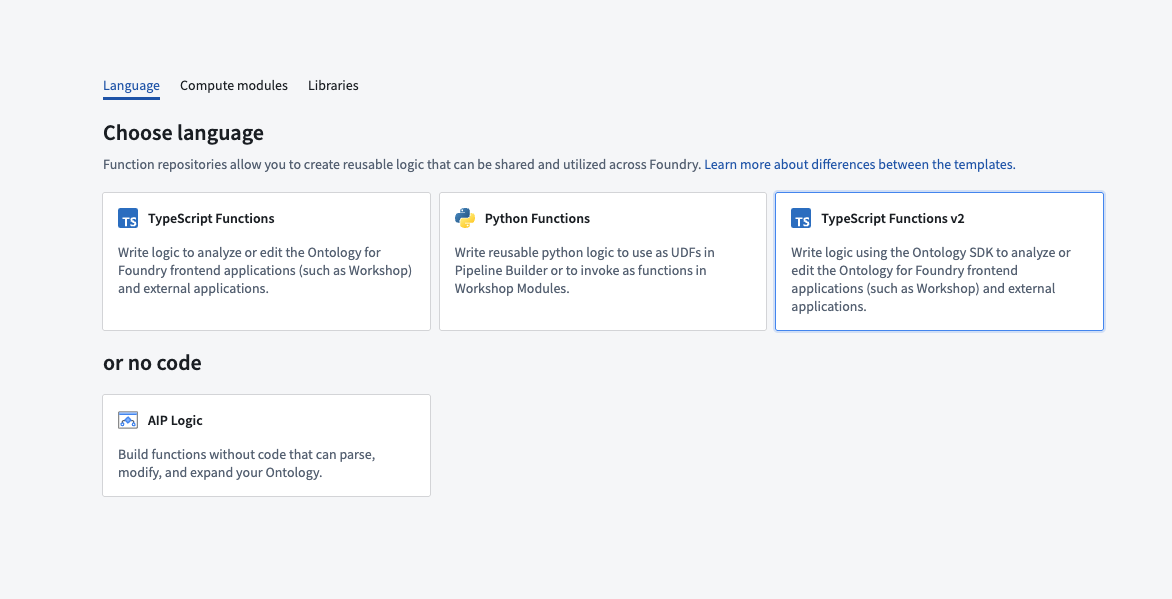
Navigate to a project of your choice and create a new code repository by selecting + New > Repository. Select the TypeScript v2 functions template to initialize your repository.
Once the repository has been created, navigate to the typescript-functions/src/functions/helloWorld.ts file.
Write a function
To write a new function, create a new file in the typescript-functions/src/functions directory of your repository and give it a descriptive name, for example, helloWorld.ts. Write your function using export default for Foundry to detect it.
Copied!1 2 3export default function helloWorld(): string { return "Hello World!"; }
You must satisfy the following conditions for your function to be published to Foundry:
- Define your function in a
.tsfile in thetypescript-functions/src/functionsdirectory. In this directory, you can also group related functions in subdirectories. - The name of your file must match the name of your function. For a function called
myFunctionto be published, it must be defined in a file calledmyFunction.tswithin thetypescript-functions/src/functionsdirectory. - The TypeScript function must be the default export of your file.
- Your function's input and output types must follow the supported function types, as detailed in the type reference.
Your function's file path is used to uniquely identify the function that gets published from it. Note that a change in your function's file path will therefore result in a new function being published.
Test in live preview
To test your function in live preview, open the Functions helper and select Live preview. Choose your function and select Run to execute.

Commit and publish a function
Select Commit at the upper right corner of the window to commit your changes to the master branch of your repository. To view your function's checks, open the Checks tab at the top of the page. Here, after making a commit, you should see a running check.

After committing your work, you will see the Tag version option. This will publish all of the functions in your repository.

Select Tag version to tag a release off of the master branch. Set the tag name based on the extent of your changes, and then select Tag and release.

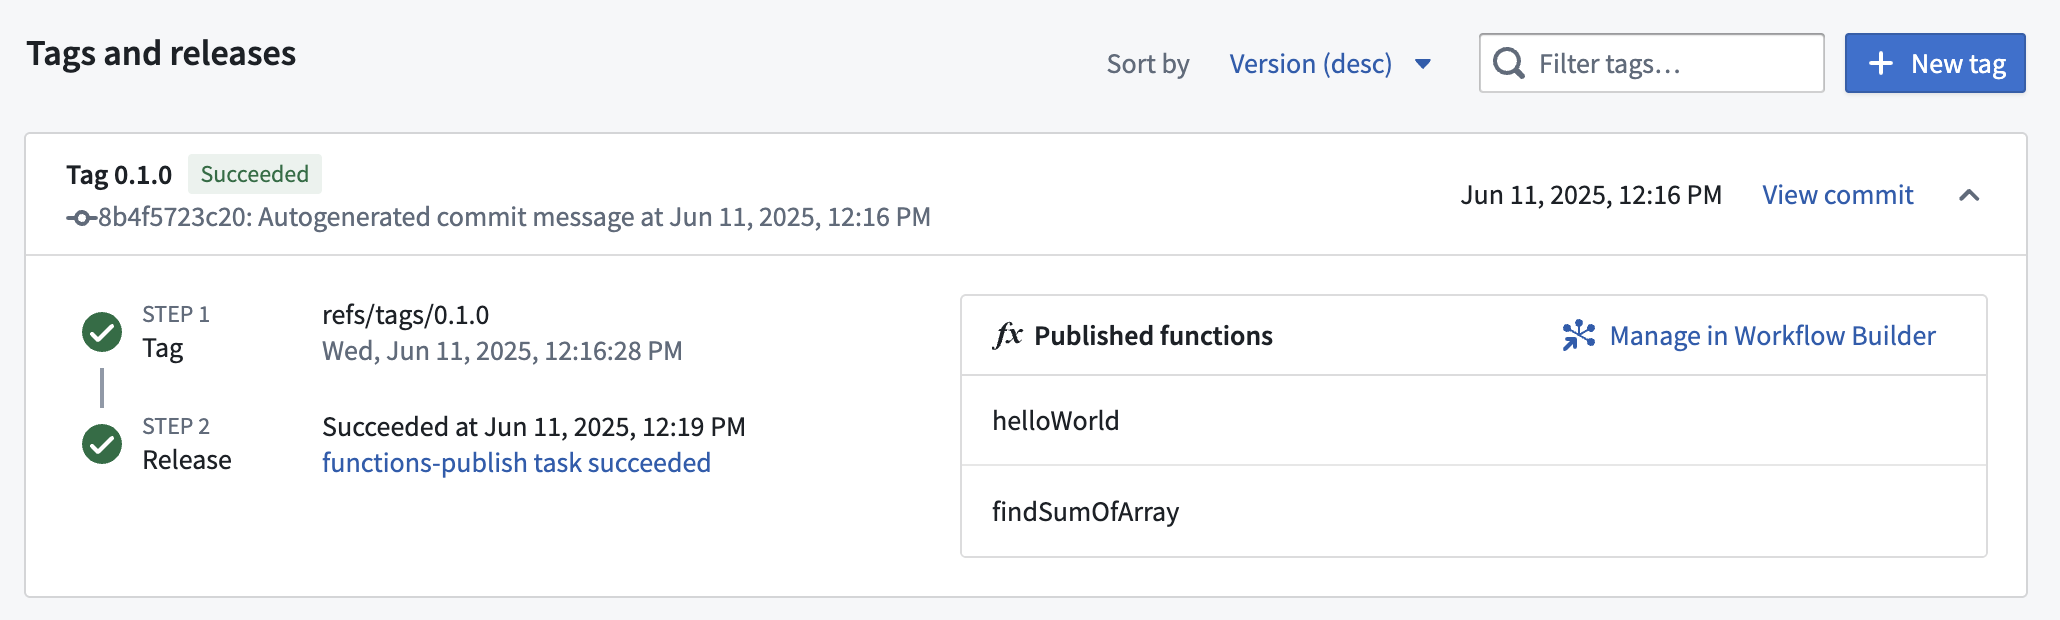
To view the progress as your functions are tagged and released, select the View pop-up or navigate to the Tags tab. Once Step 2: Release is completed, select the published functions to view them in the function registry.
Functions may not be immediately searchable by name in Workshop or the function registry while permissions propagate.
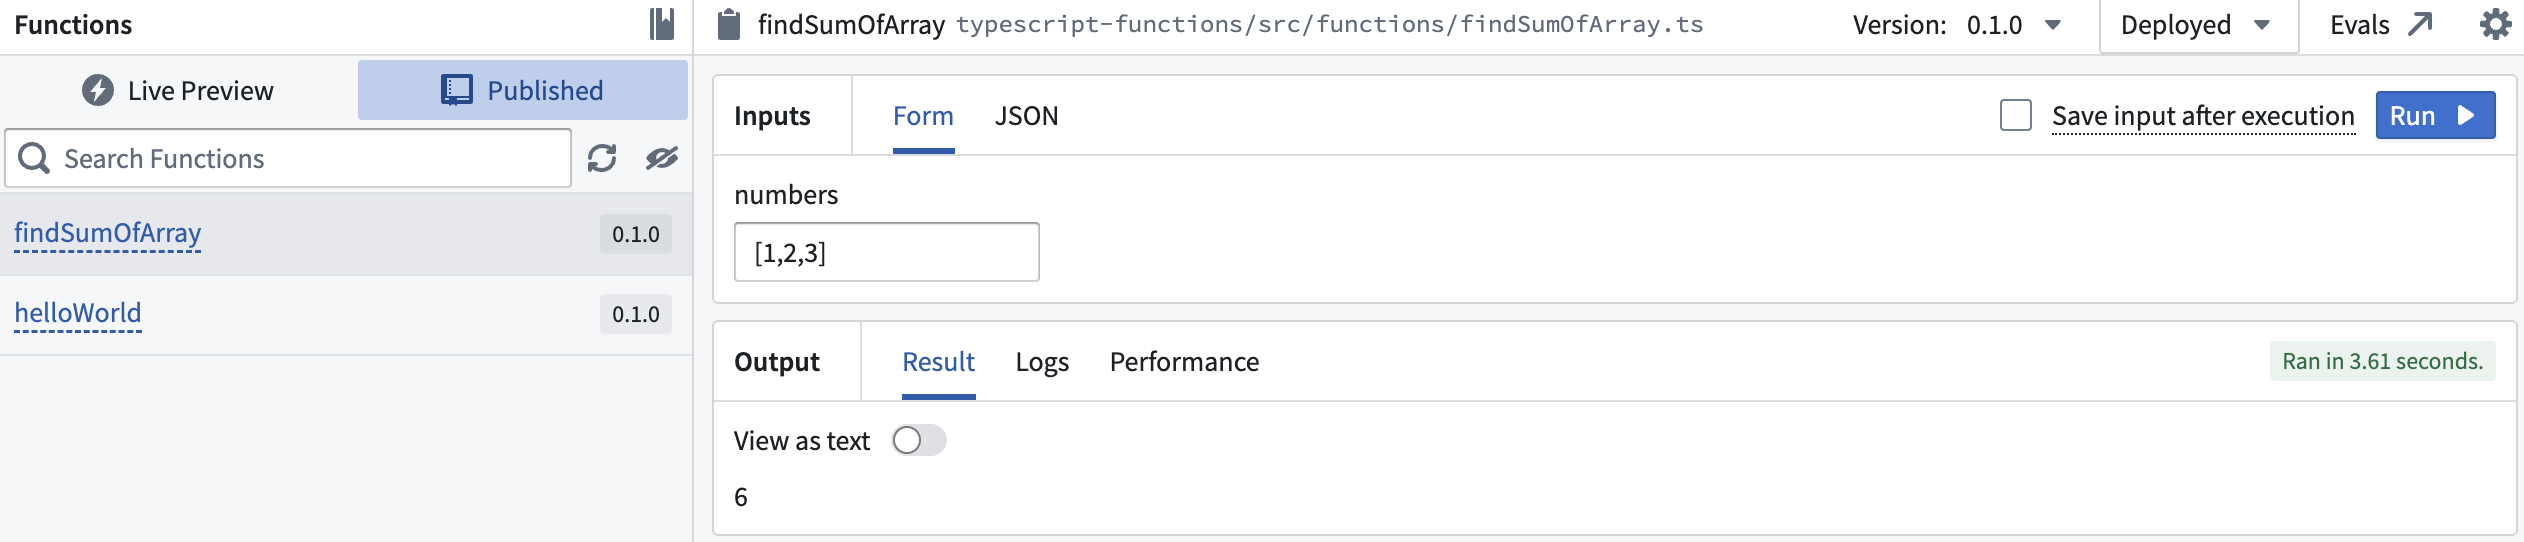
Use a new function
After the checks for your tag have passed, navigate back to the Code tab in Code Repositories and select the Functions helper. You should now be able to see your functions under the Published section. Select it and run the new function: