Create a new object monitor
Object Monitors are superseded by Automate. Automate is a fully backward-compatible product that offers a single entry point for all business automation in the platform.
This tutorial assumes you already have data integrated into your Foundry Ontology. If you need to do this first, learn how to create your Ontology in the documentation.
Create from Object Explorer
Monitors can be created in Object Explorer after saving an exploration by clicking Monitor in the upper right of your screen. An exploration can be saved by clicking Save in the exploration view and selecting a Project or folder destination.

Create an object monitor
After saving the exploration, click Monitor to open a view showing all object monitors using this exploration as an input. In newly created explorations, this list is empty.

Click Add new Monitor to open a simplified setup view for a new monitor.
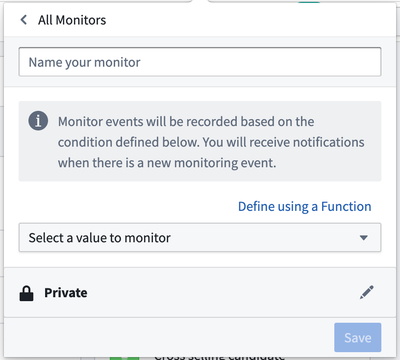
Add a monitor name, optional description, and monitor condition.
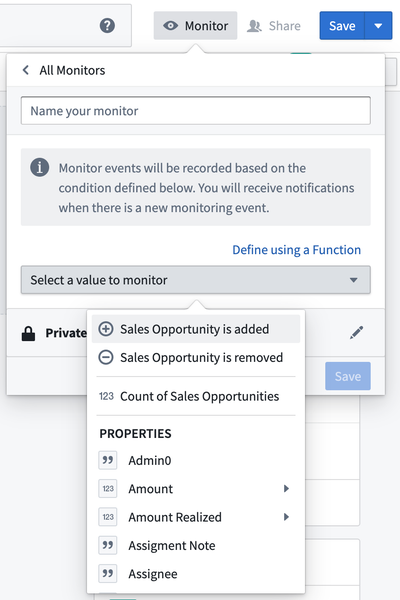
Advanced conditions containing nested sub-conditions cannot be configured from this view. Instead, they must be created and modified from the Object Monitors application.
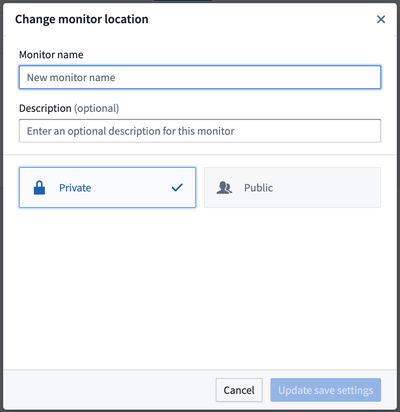
You may also optionally change the default save location from Private to a Public project. If you plan to have additional subscribers, we recommend storing the saved exploration and monitor in a shared Project.
After entering the required information and clicking save, you will return to the list of monitors for the exploration. This list will now contain the newly created monitor.
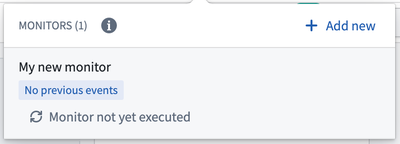
After saving
Additional options are available once a monitor has been saved.
Metadata about the monitor, including its save location, creation time, and last updated time, are shown in the Details tab. This tab also displays the expiration date and allows you to extend the expiration three months into the future.

Subscribers may be added or removed from the Subscribers tab, and notifications can be enabled or disabled per subscriber.
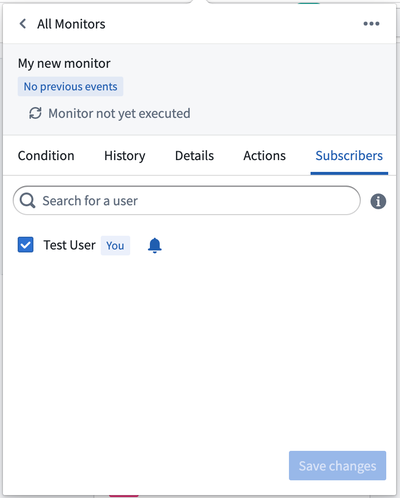
Actions may be optionally configured from the Actions tab.
Learn more about configuring Actions with Object Monitors.

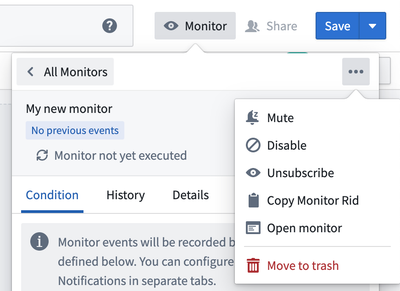
The quick actions dropdown provides options for disabling or muting the monitor and an option to delete the monitor by moving it to the trash.
Create from Object Monitors application
The Object Monitors application shows an overview of all available monitors across all Projects for a given user. Follow these steps to create a new monitor in the application interface.
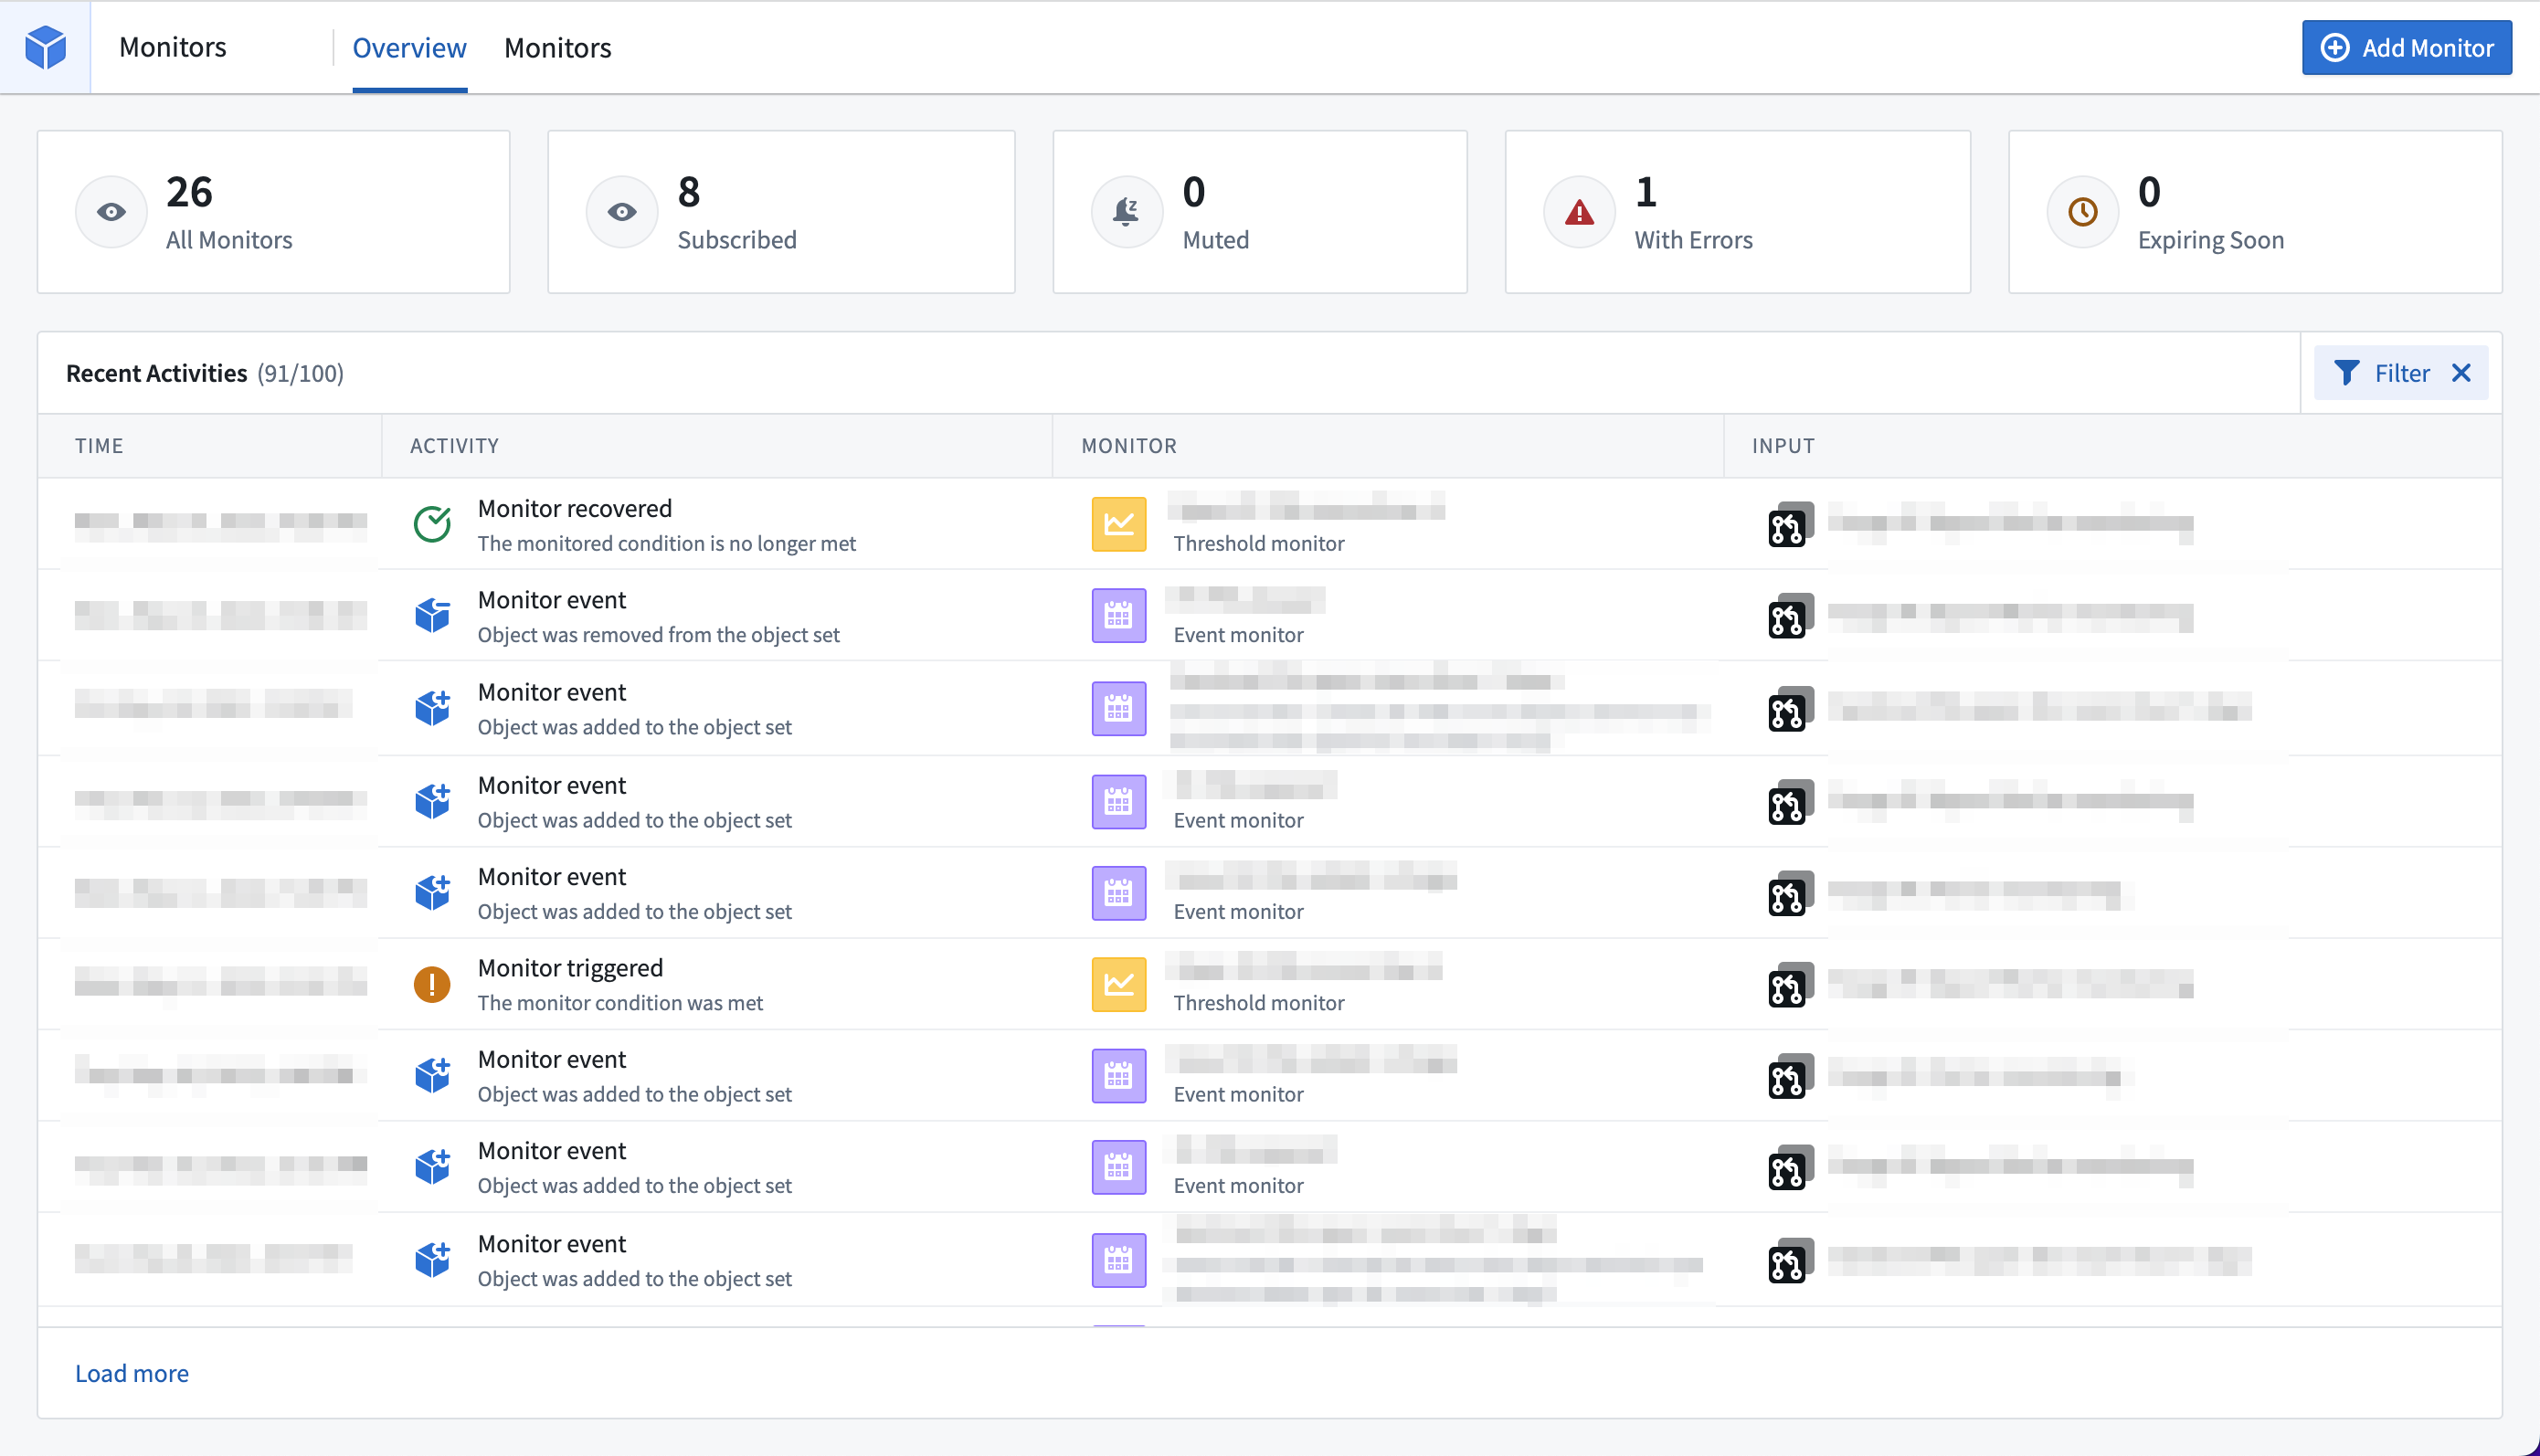
- Create a new monitor by clicking Add Monitor in the upper right corner.
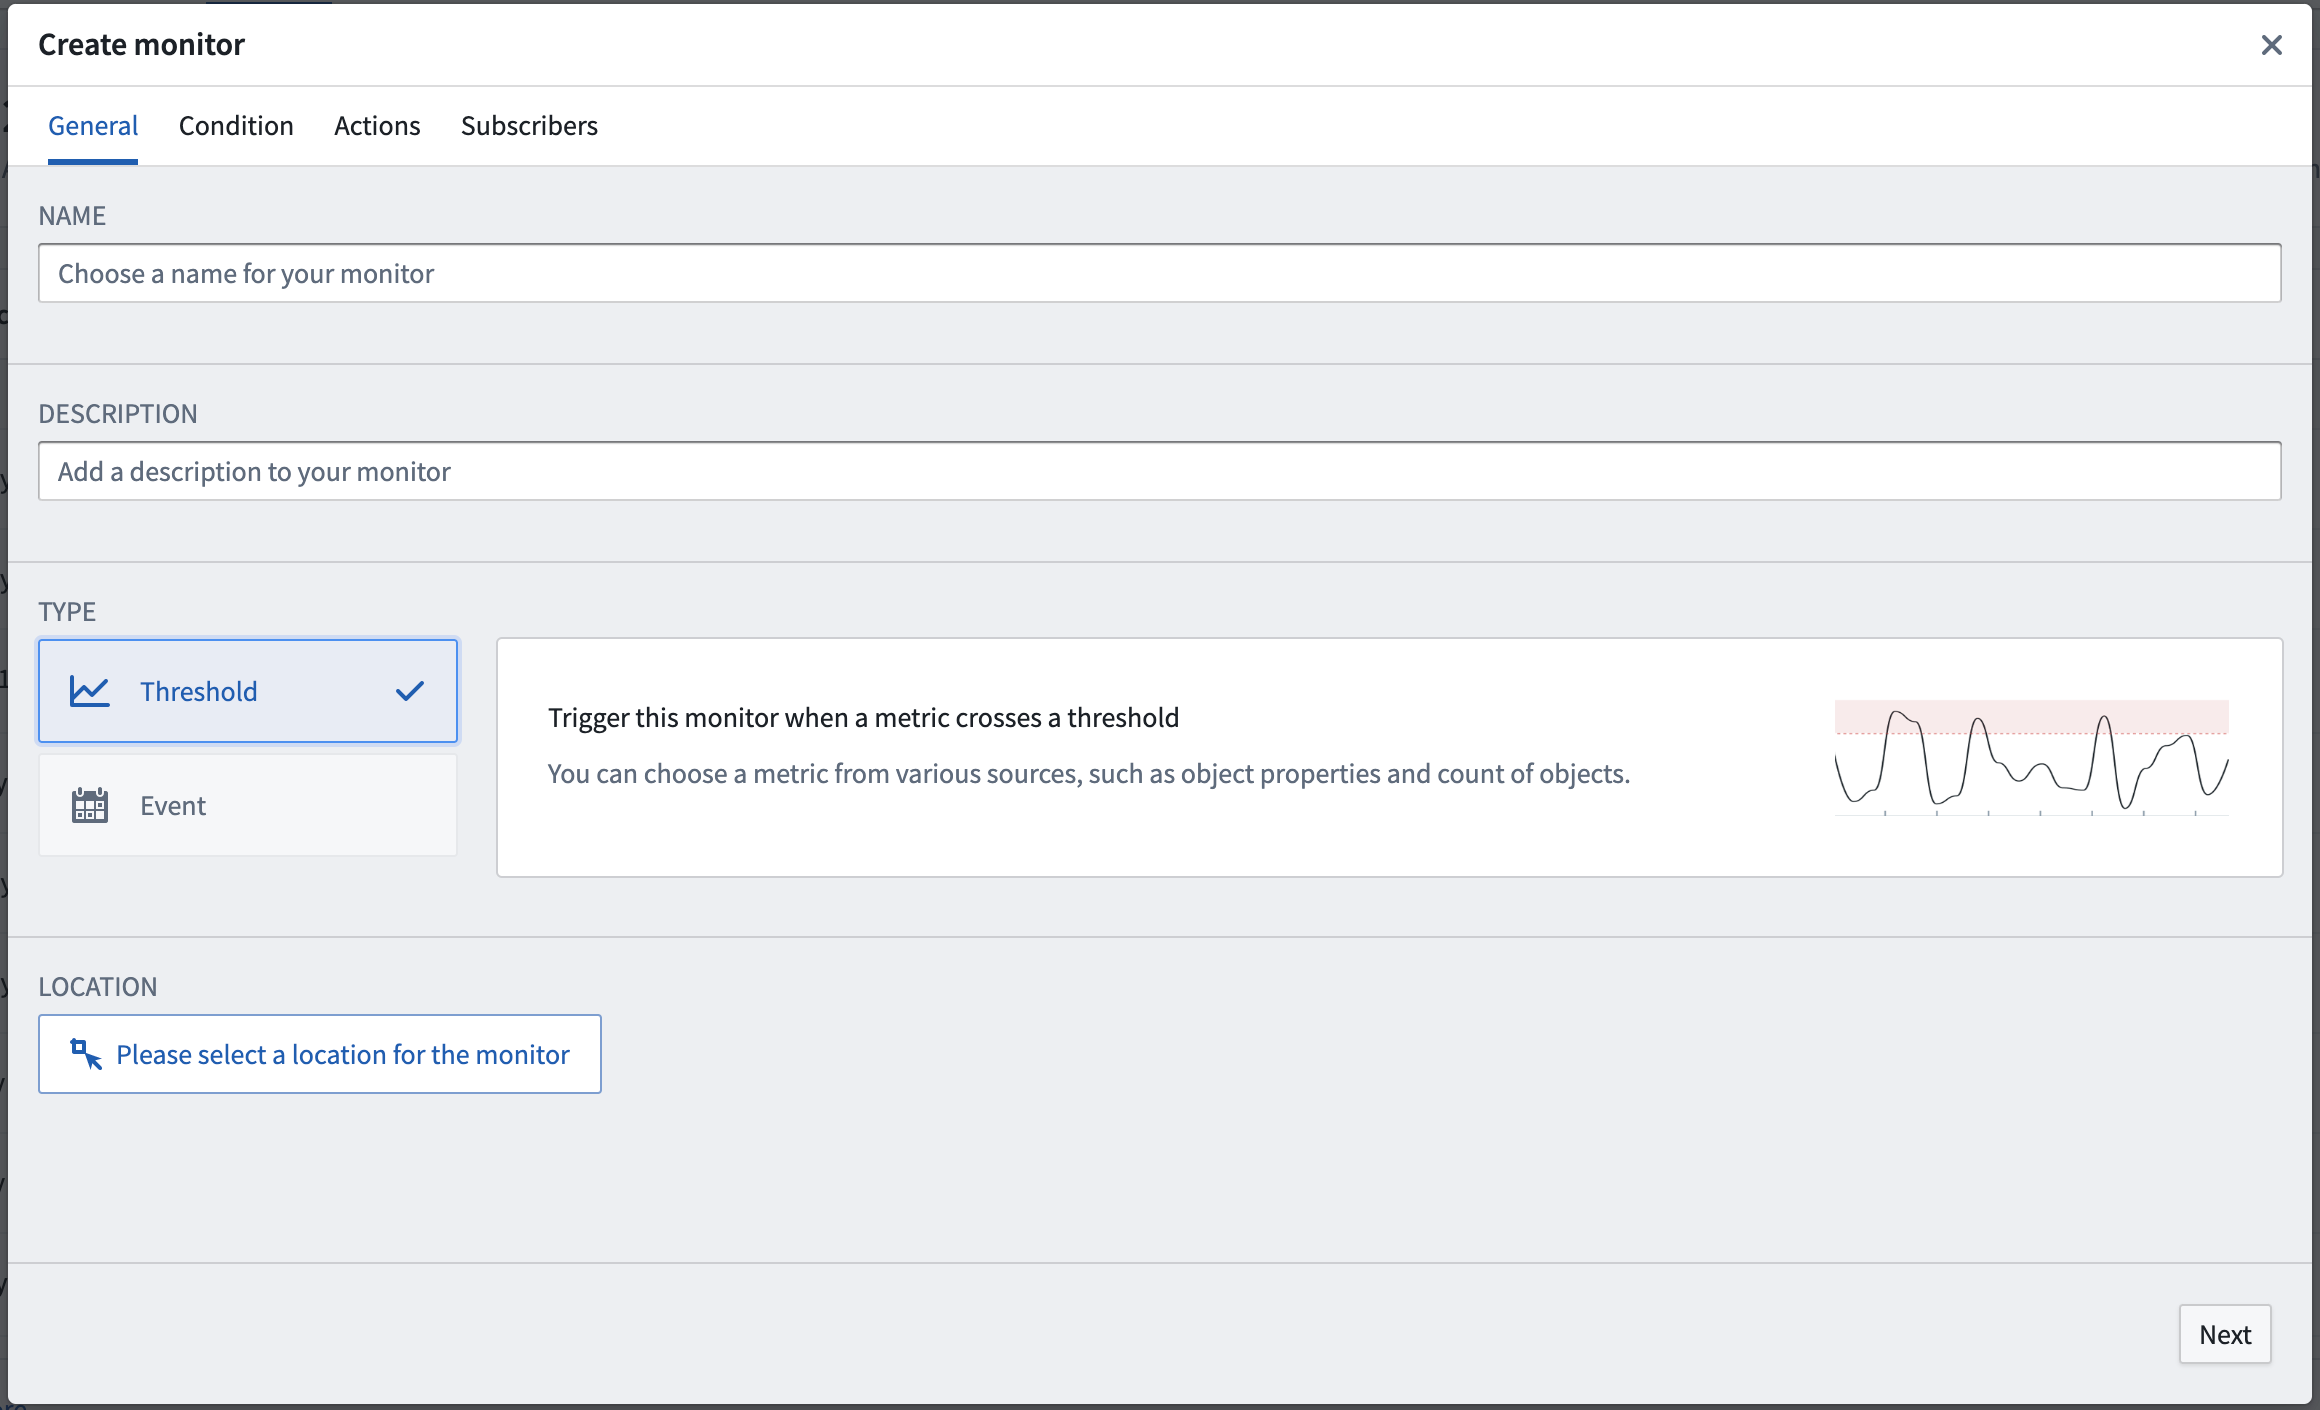
- Select a save location for the new monitor. For monitors that will have multiple subscribers, we recommend storing them in a shared Project.
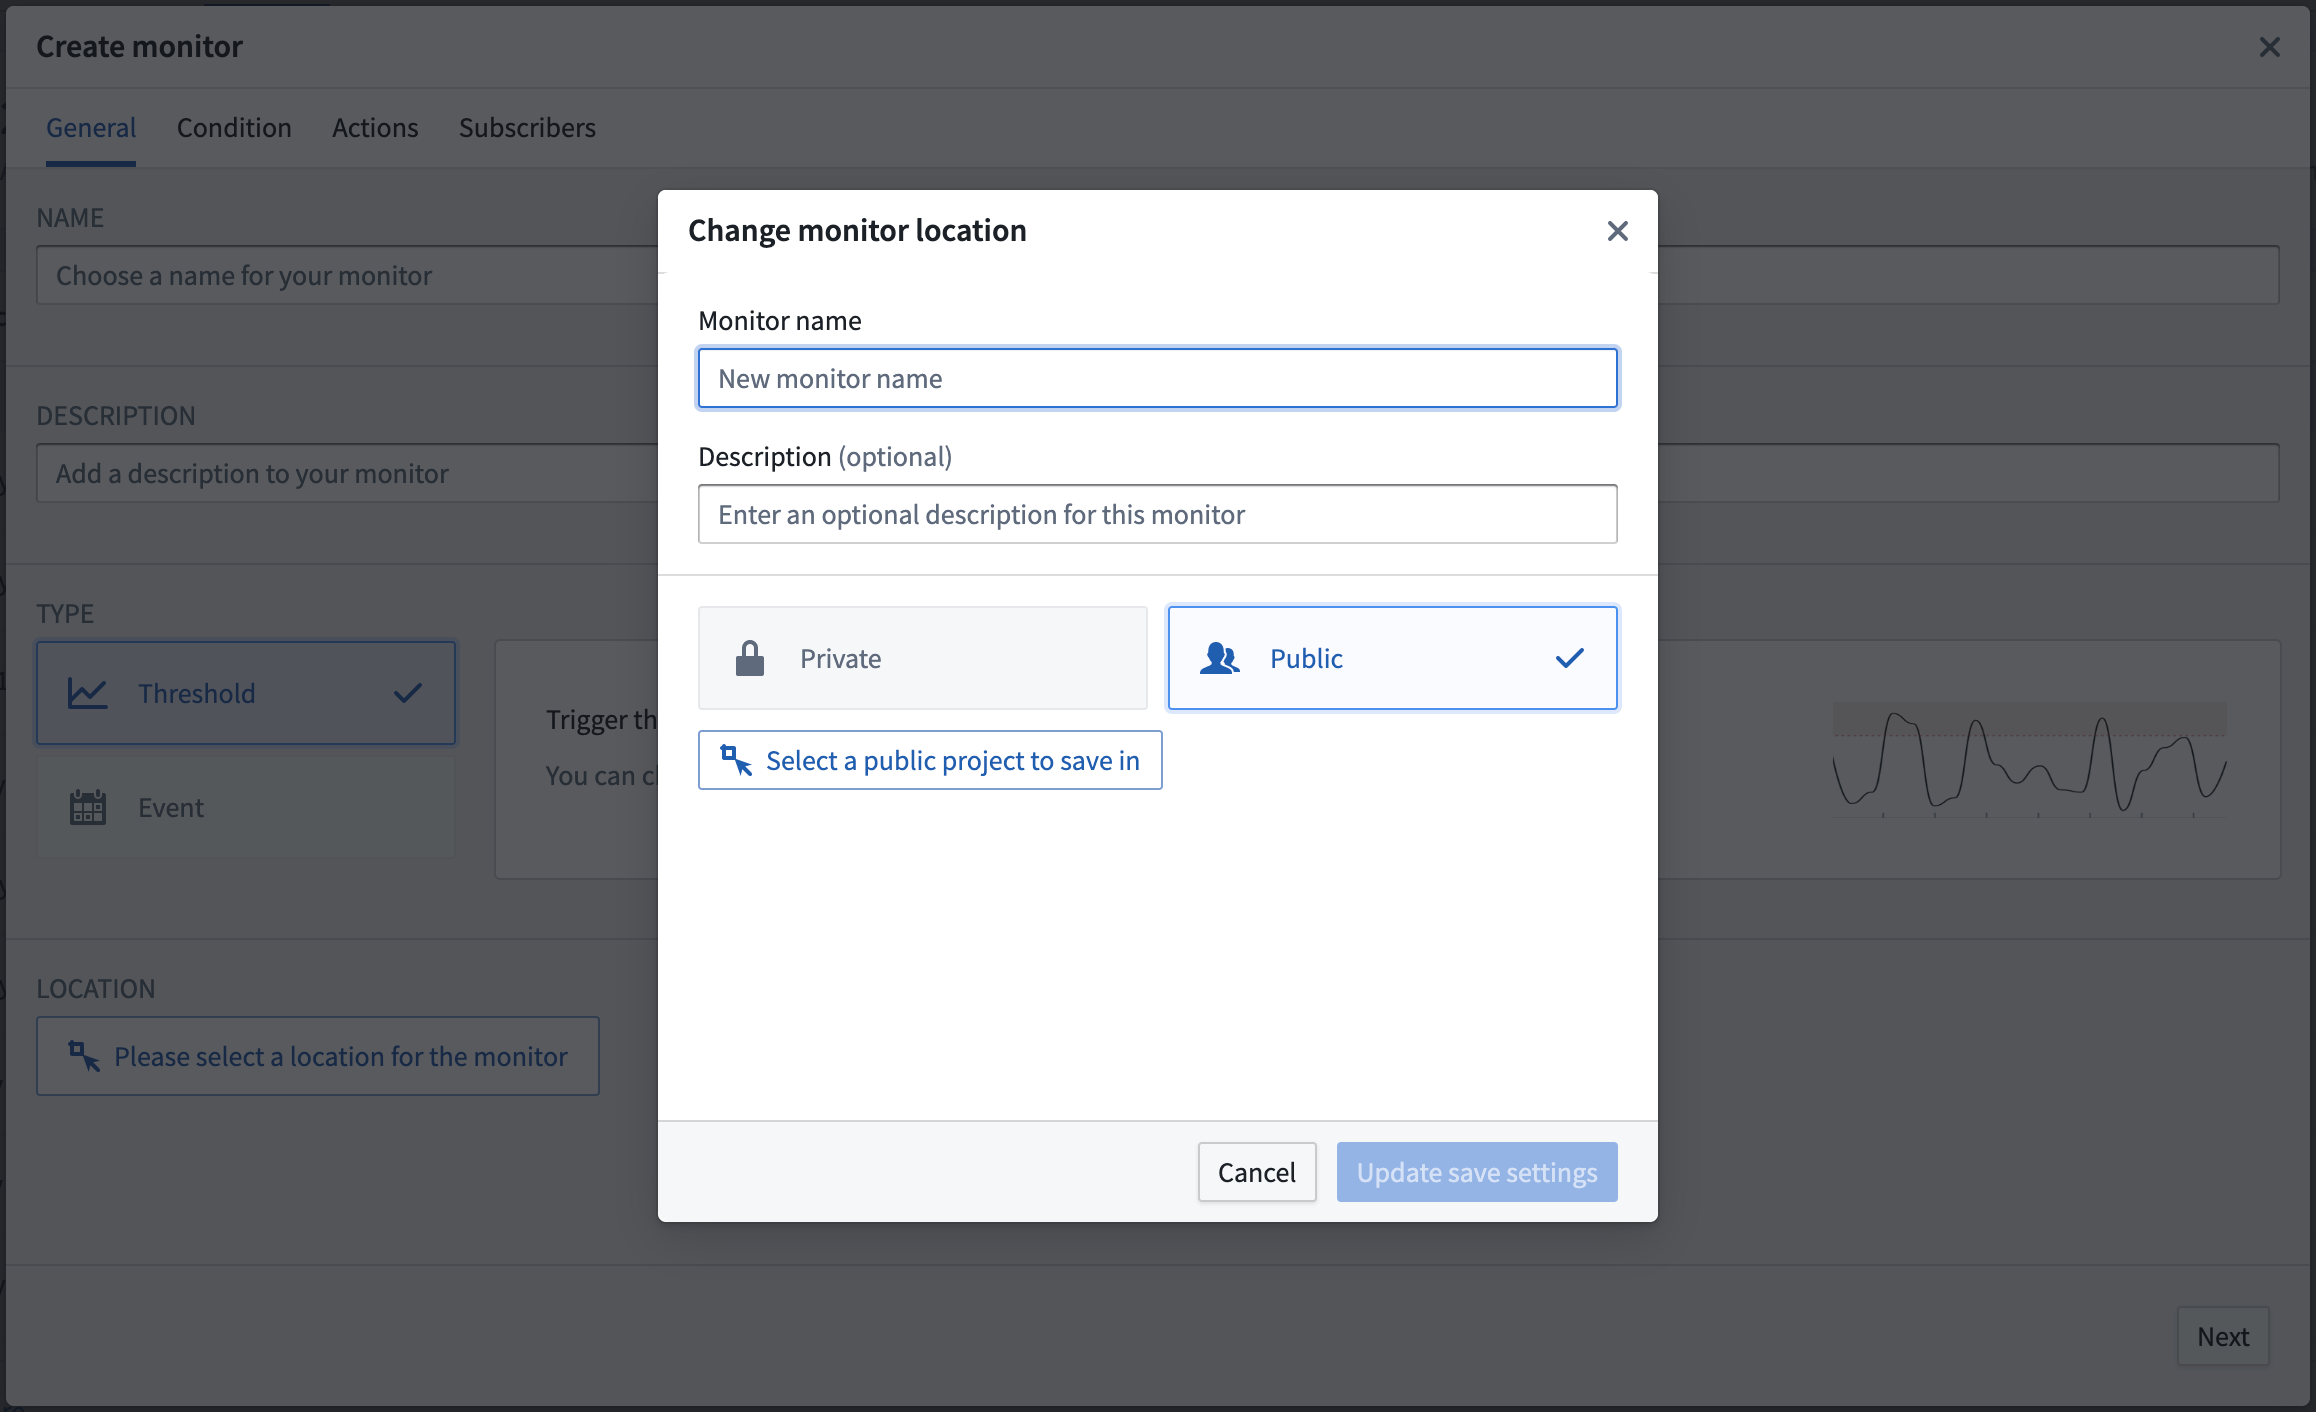
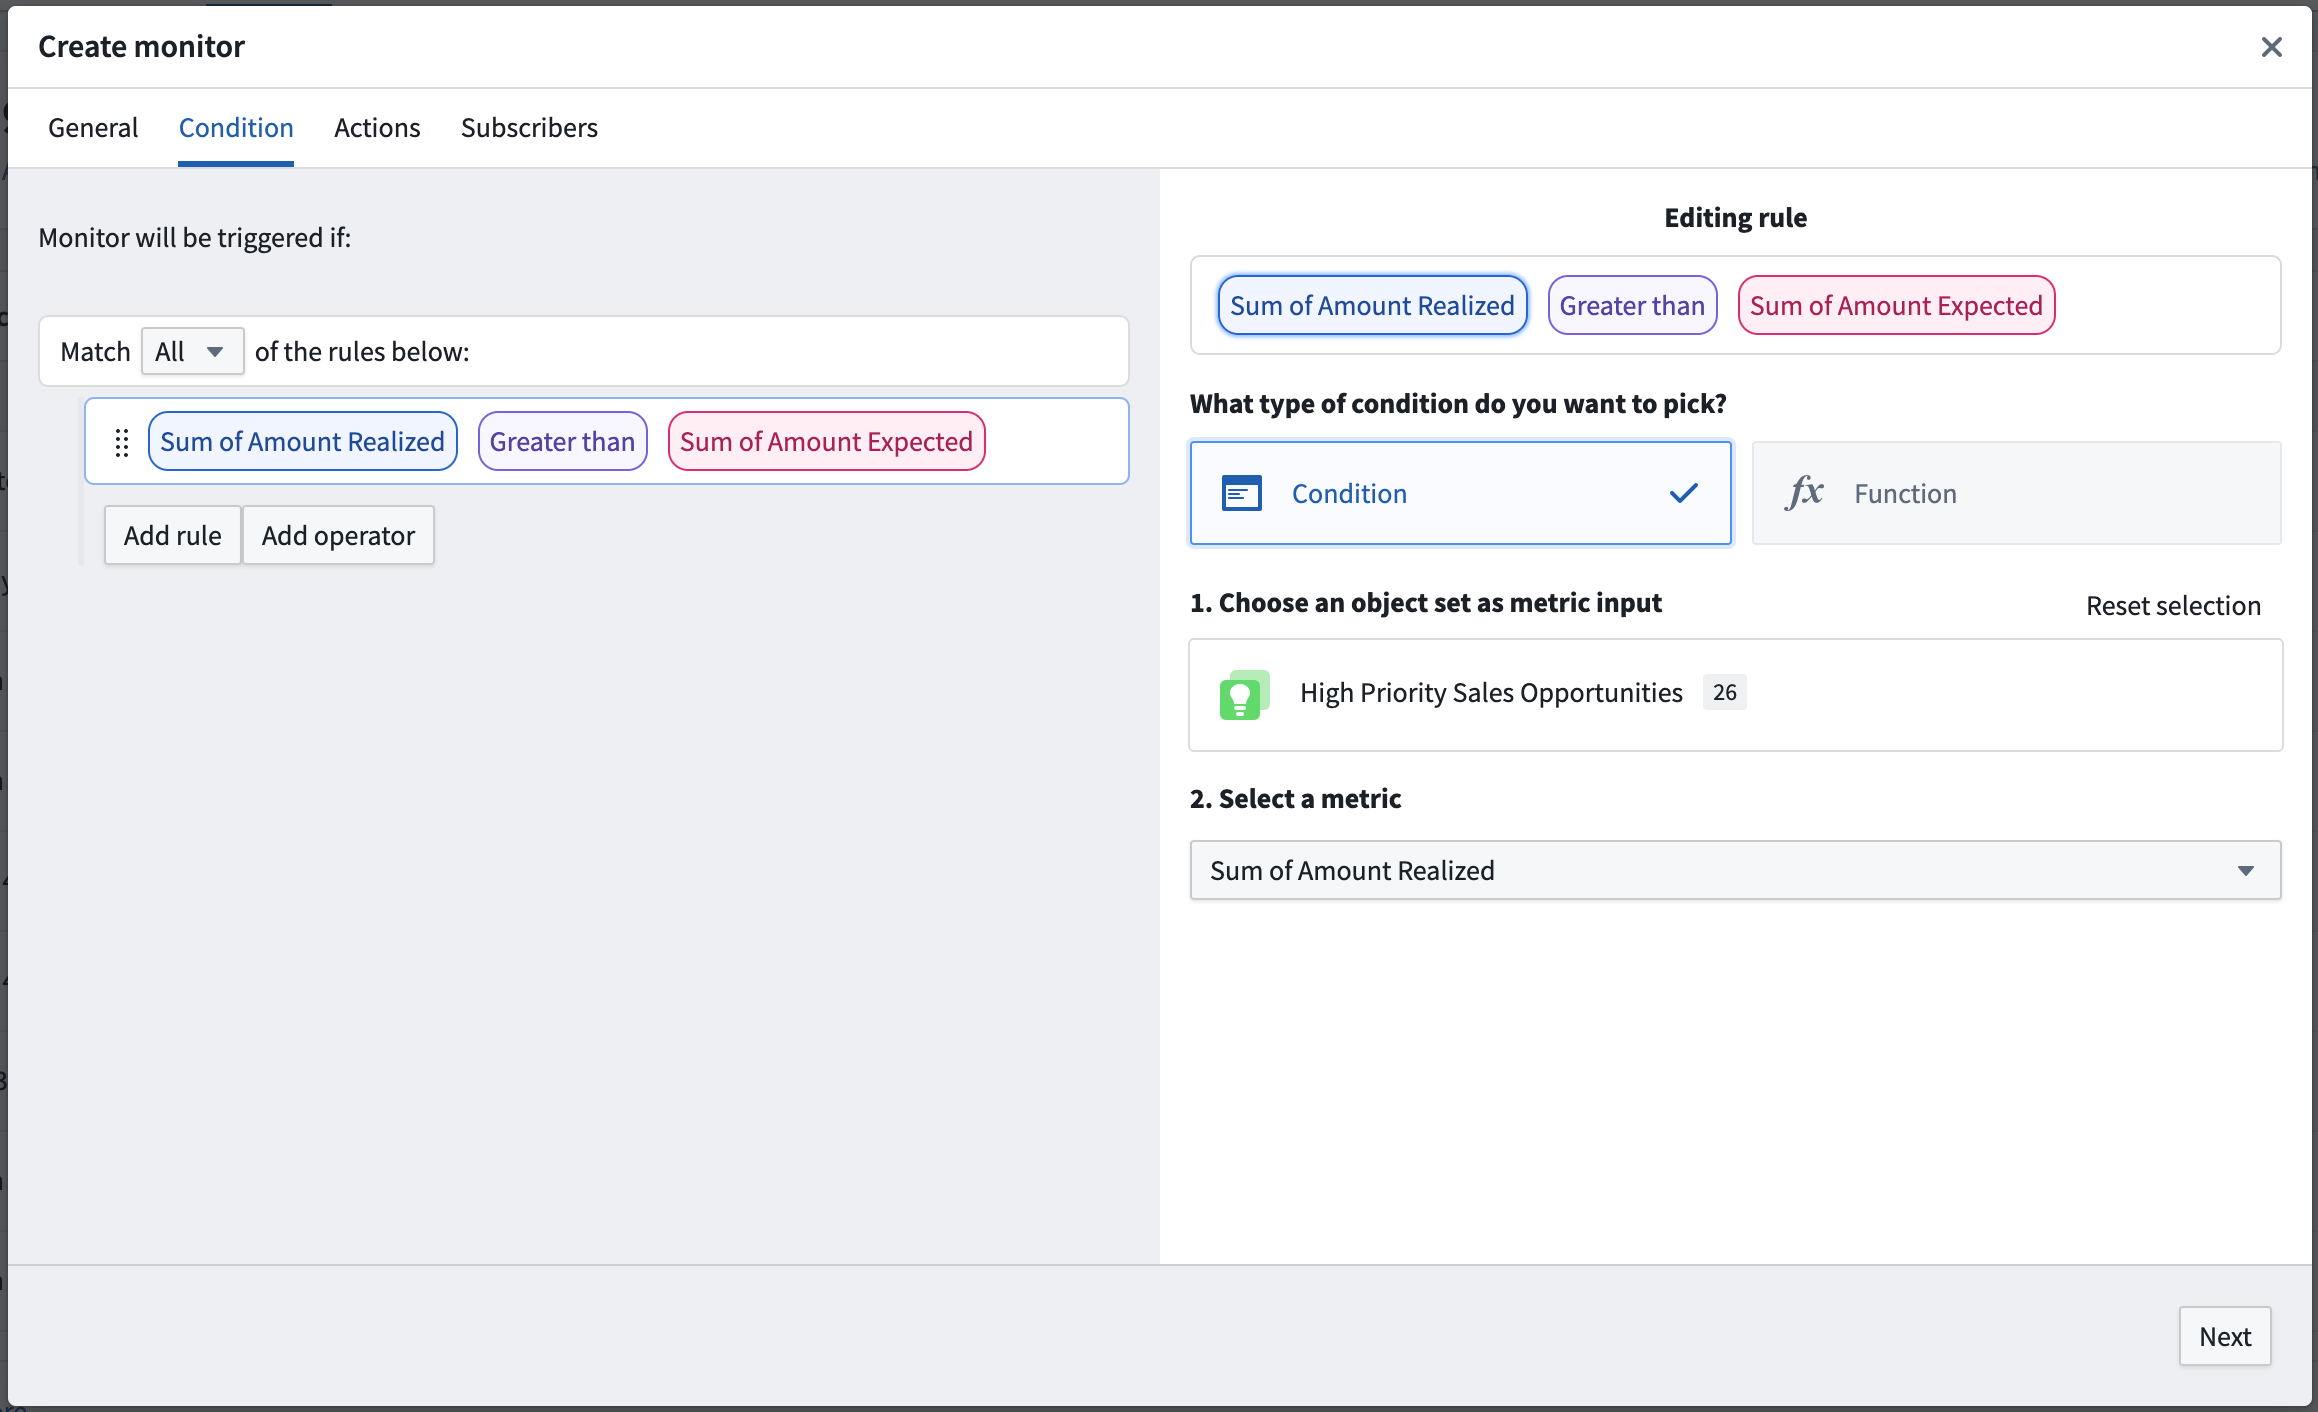
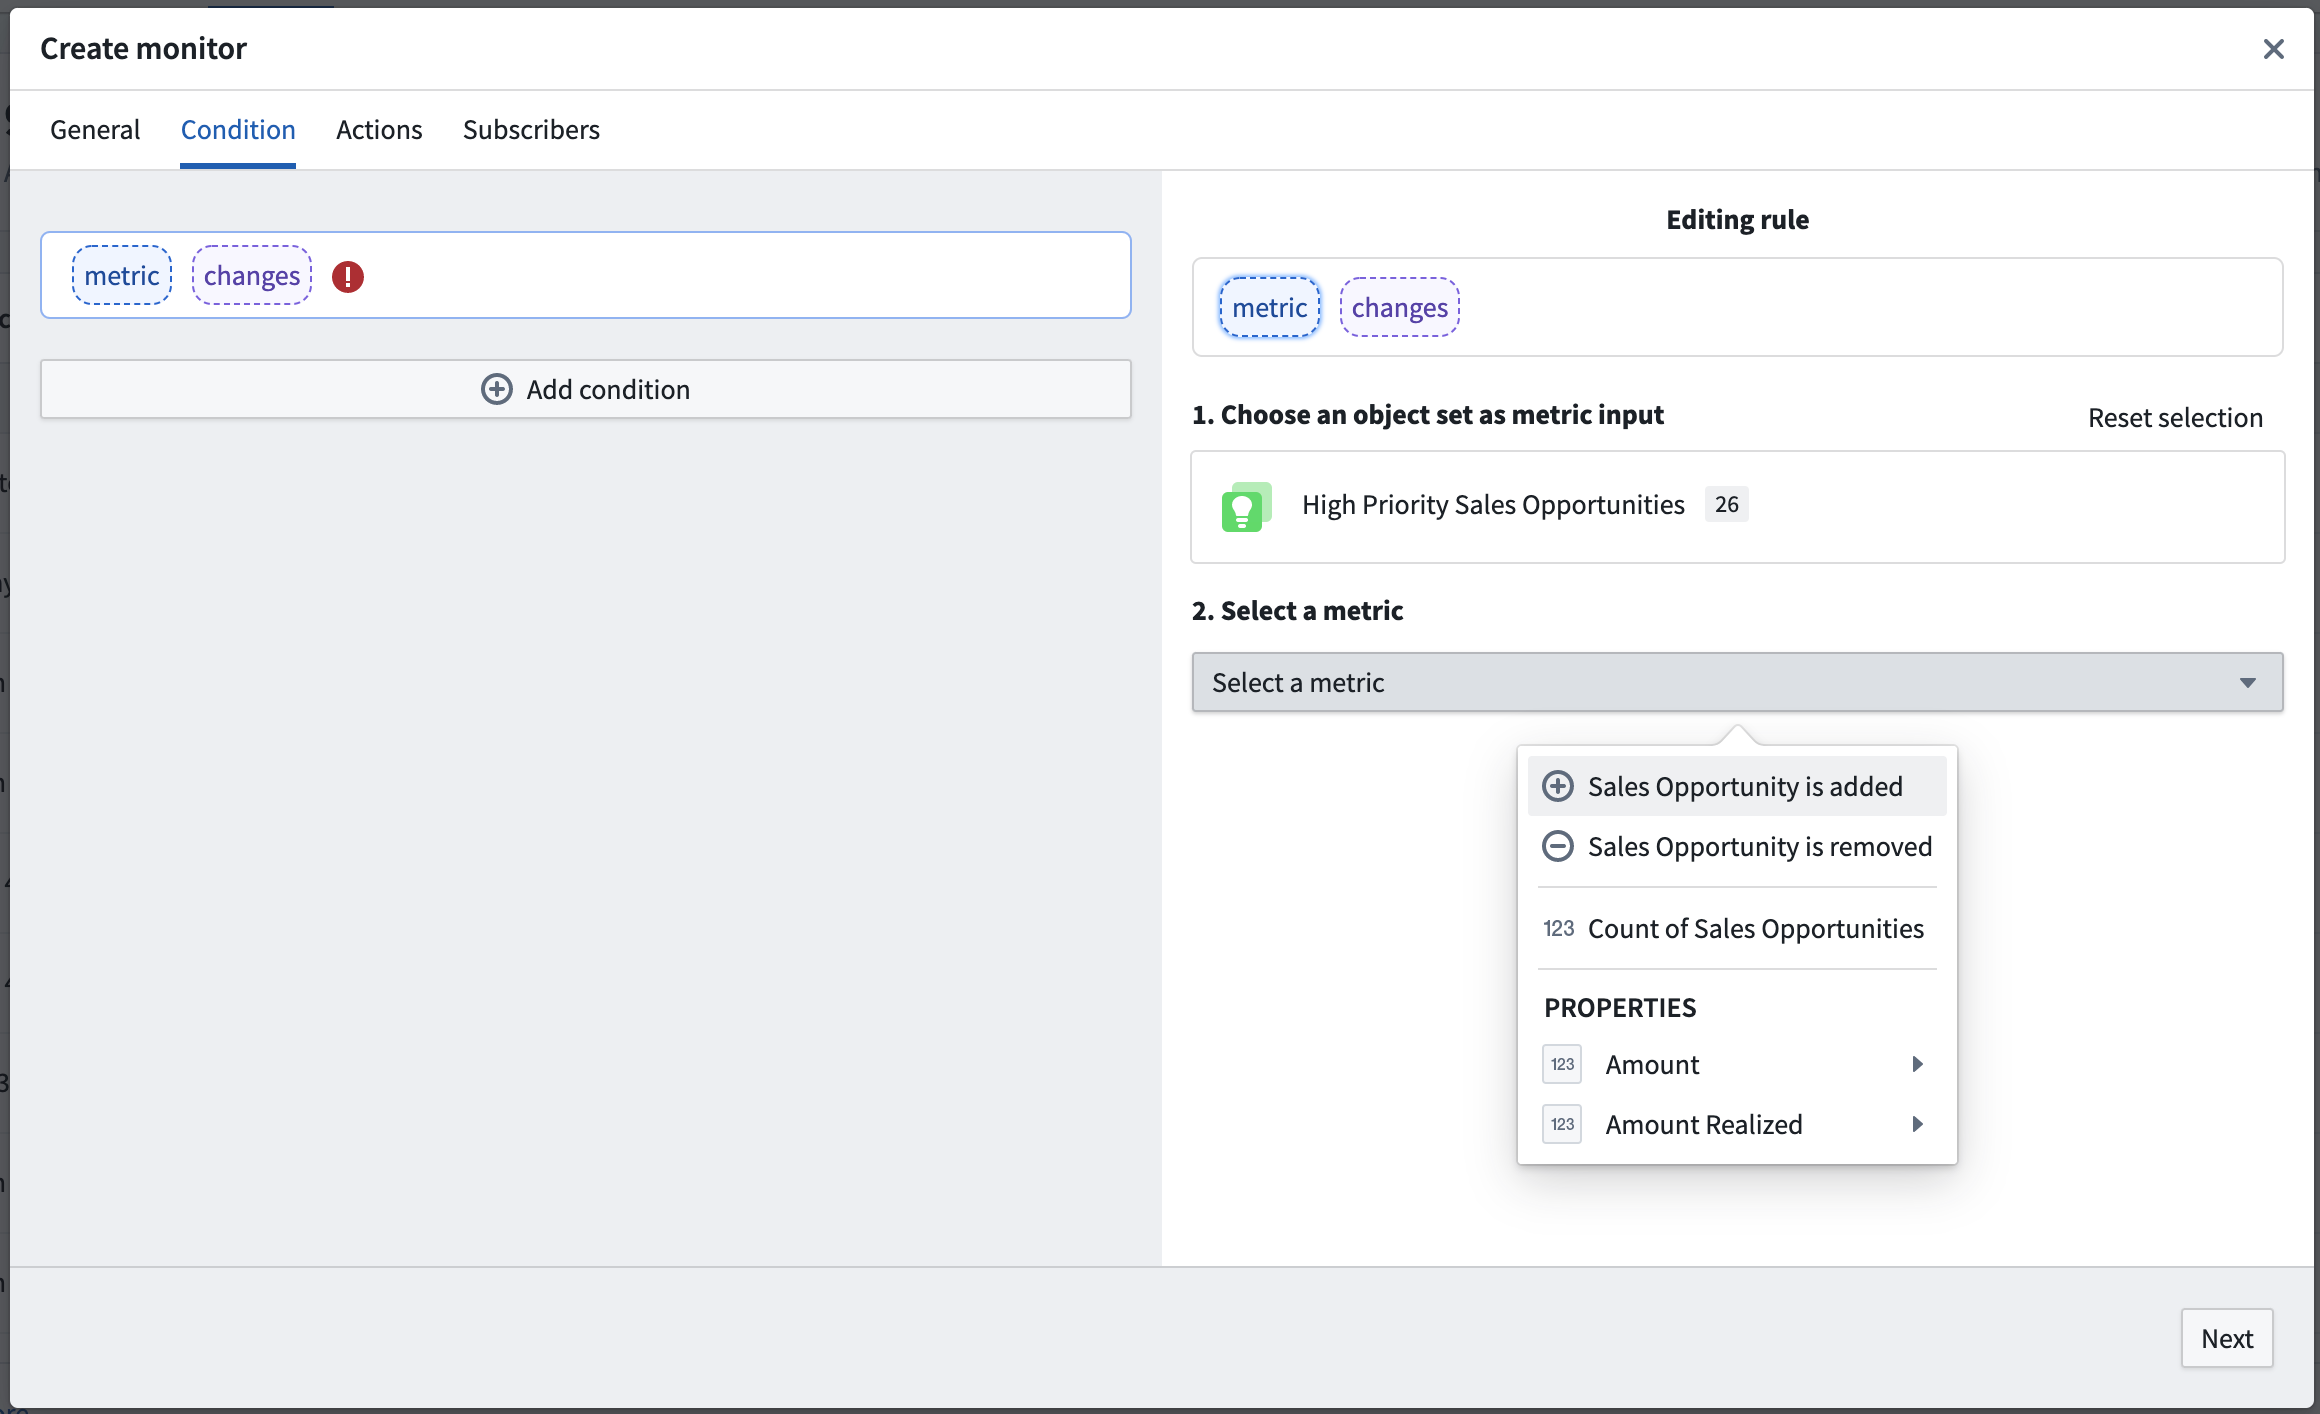
- Provide the full condition configuration. Configuration options vary depending on if you choose to use event or threshold conditions. The monitor inputs must use existing saved explorations created in Object Explorer. If the required input exploration does not exist, create it in Object Explorer and then return to this step.
Additional subscribers may be added from the Subscribers tab.
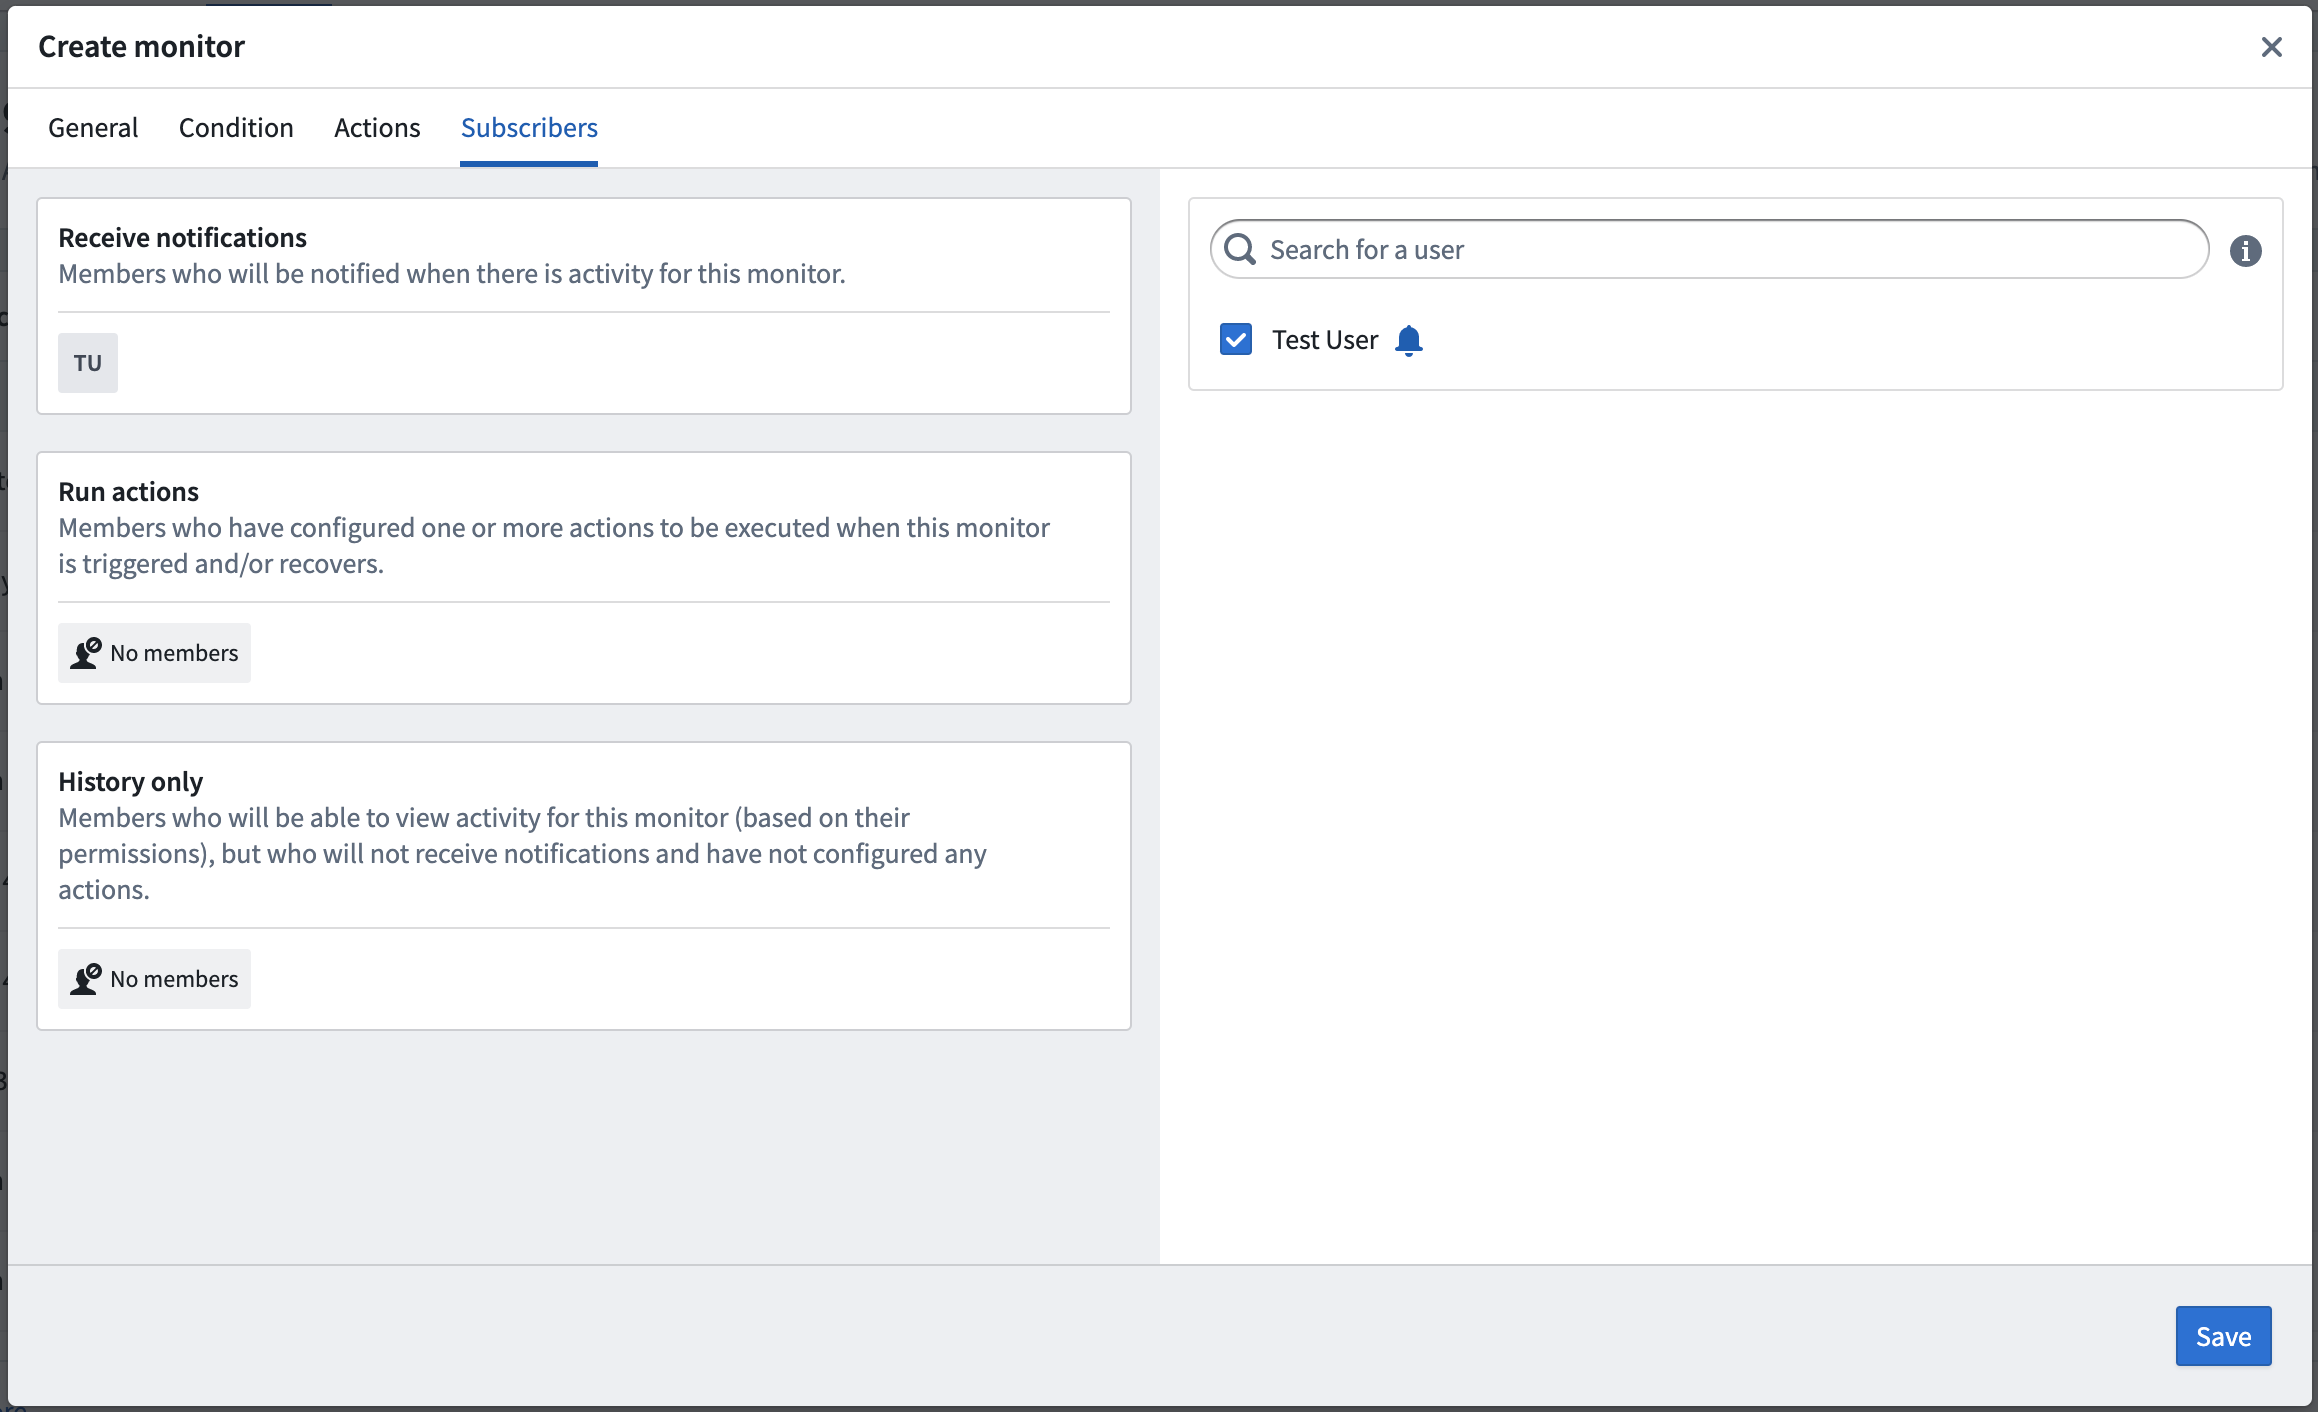
- Click Save to store and enable your new monitor.