- Capabilities
- Getting started
- Architecture center
- Platform updates
Create an interface
Follow the steps below to create a new interface in Ontology Manager.
-
First, verify you are working within your ontology of choice by checking the Ontologies dropdown menu located at the top of the left side panel.
-
To create a new interface, you can do either of the following:
- At the top right of the page, select New > Interface.
- From the left panel, select Interfaces > + New interface under the Resources section. Then, from the Interfaces page, select New interface from the top right corner of the screen.
-
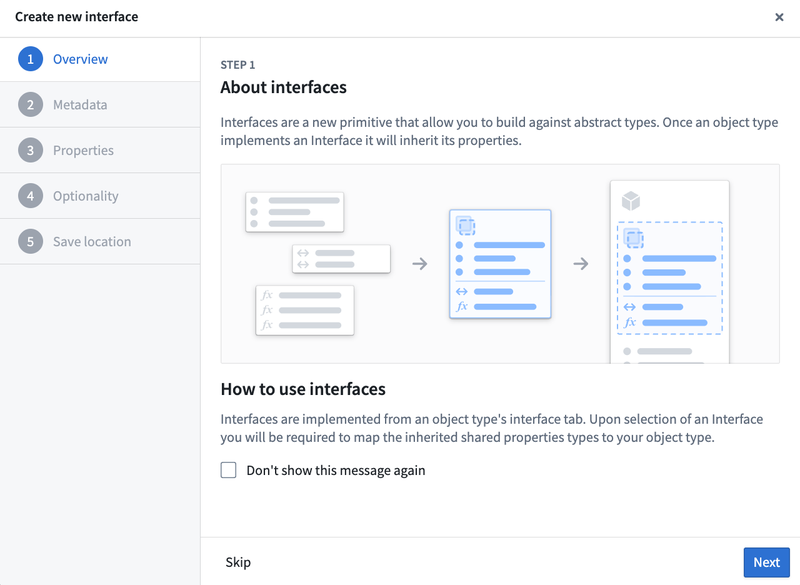
The first page of the helper provides information about interfaces. Select Next.
-
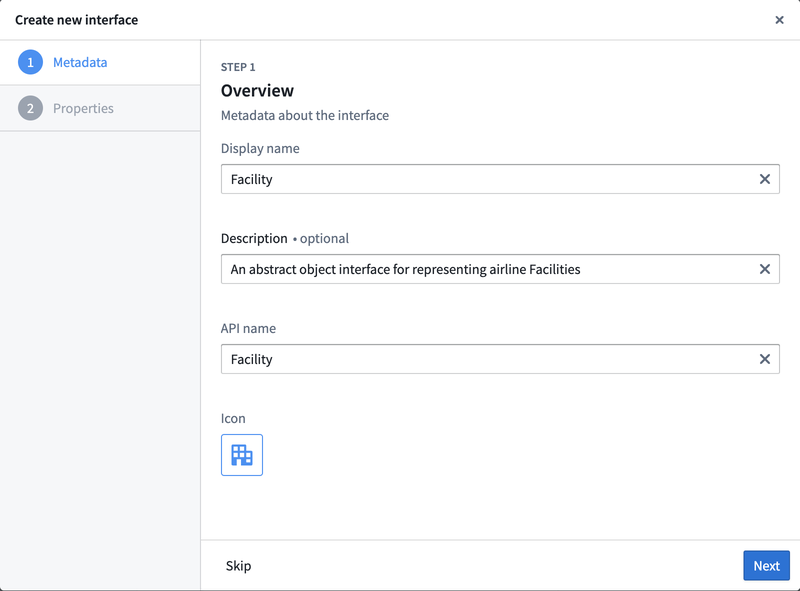
Input the display name and API name for your interface. You can also optionally provide a description of the interface and select an appropriate icon.
-
Add properties to your interface. You can define properties locally on the interface (recommended) or use shared properties. For each property, choose whether it is required or optional.

For required properties, any object type that implements the interface must provide a mapping from a local property to the interface property. For optional properties, mapping may be skipped during implementation. Optional properties can be useful when building Marketplace packages to iterate on your interface without introducing upgrade blockers that may be difficult to resolve.
-
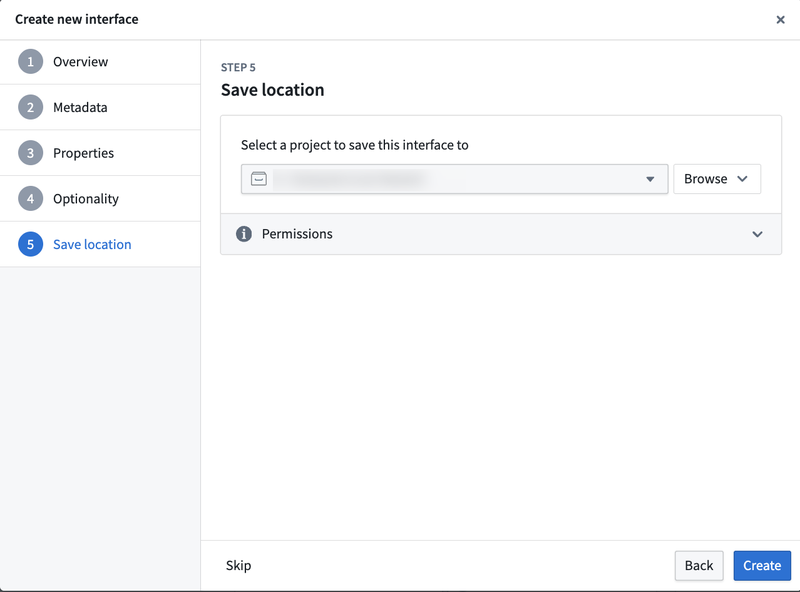
Select a project to save this interface to, then select Create.
-
Back in Ontology Manager, select Save in the upper right corner to make the change to your ontology.
Create interface link types (optional)
If you want this interface to link to another interface or object type, you can optionally add any interface link types to the interface.
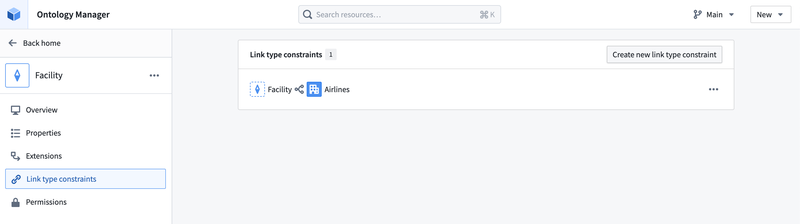
- Select Link type constraints in the left side panel.
- Then, select Create new link type constraint in the top right corner.
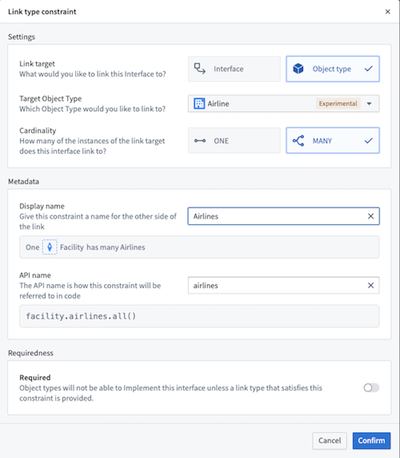
If an interface link type is required for your modeling use case, any object type that implements the interface must add a new or existing link type that satisfies the interface link type constraints.