- Capabilities
- Getting started
- Architecture center
- Platform updates
Upload data for public applications
The ability to upload data via public applications requires two secure upload data sources to be available via queries:
- A data source used for generating secure channels and tokens. It is one of:
- A SERVICE API data source called
secure-upload - A HTTP JSON data source called
secure-upload-raw-oauth
- A SERVICE API data source called
- A data source used for uploading JSON blobs using a generated secure token. It is most commonly named as
secure-upload-raw.
You can check their availability by creating a public application and creating a new query. If secure upload sources are not available, contact Palantir Support.
Public applications can be configured to enable users to upload data to Foundry. Users uploading data do not require access to Foundry. However, only Foundry users with appropriate resource permissions can access uploaded data.
To set up data upload in your public application, follow the instructions below:
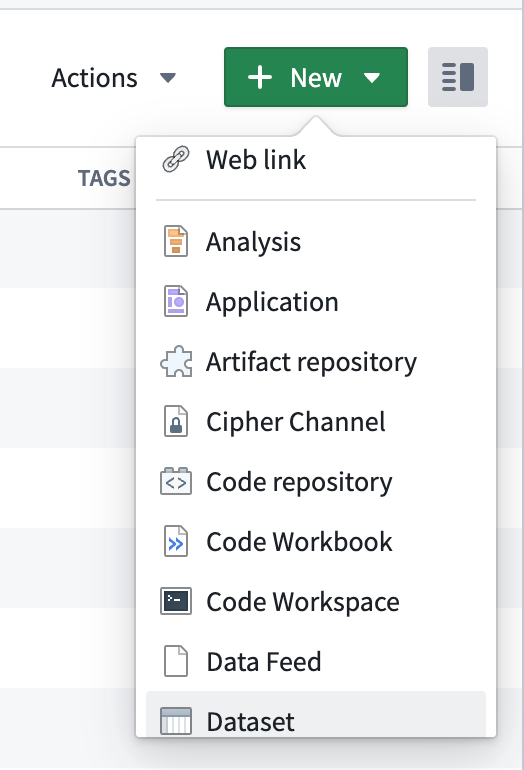
1. Create an empty dataset
Create a new dataset resource in a Project or folder of your choice.
2. Create a channel
In your public Slate application, create a new query based on either the secure-upload or secure-upload-raw-oauth source. Set the query to only run manually by ticking the checkbox in the dropdown located next to Test.
Choose a unique ID for your channel, for example, slate-app-name-data-upload. The channelId must not contain spaces. The request body requires the RID of the empty dataset you previously created. You can obtain the dataset RID from the URL of the dataset, for example, ri.foundry.main.dataset.abcd1234-1234-5678-9000-1234abcd1234.
Create a channel using secure-upload
From Available services, select the Channel Service, then Put channel from the Endpoints dropdown.
In the channelId field, enter the unique ID for your channel.
Enter the following JSON in the body of the request:
Copied!1 2 3 4 5 6 7 8 9 10{ "configuration": { "dataset": "<your_dataset_rid_here>", "maxBlobSize": <optional size limit for individual blob size (in bytes)>, "options": { "type": "json", "json": {} } } }
Create a channel using secure-upload-raw-oauth
Enter the following JSON in the query editor:
Copied!1 2 3 4 5 6 7 8 9 10 11 12 13 14 15 16 17 18 19 20 21{ "path": "channels/{channelId}", "method": "PUT", "extractors": { "result": "$" }, "pathParams": { "channelId": "<your_channel_name_here>" }, "queryParams": {}, "bodyJson": { "configuration": { "dataset": "<your_dataset_rid_here>", "maxBlobSize": <optional size limit for individual blob size (in bytes)>, "options": { "type": "json", "json": {} } } } }
After creating the query based on the secure-upload or secure-upload-raw-oauth source, select Test. The response will return a channelId matching the one you entered in the field. Store the channelId as it will be needed in the following step.
This query will not be needed again for users to upload data, unless you want to create more channels. The query can be safely deleted.
3. Create a token
After creating the channel, you need to create a token. This token is required to submit a secure upload query and upload data into the dataset. You will need to specify an expiry date. The maximum expiration date depends on your enrollment's secure upload configuration. Create a new query based on the secure-upload or secure-upload-raw-oauth source. Set the query to only run manually.
Create a token using secure-upload
From the available services, select the Token Service, then select Create Token from the Endpoints dropdown.
The body in the request is in the following format:
Copied!1 2 3 4 5 6 7 8{ "type": "blobUploadToDataset", "blobUploadToDataset": { "channel": "<channelId defined in step 2>", "expiry":"<expiration date in ISO-8601: e.g. 2021-06-30T00:00:00Z>", "count": 1 } }
Create a token using secure-upload-raw-oauth
Enter the following JSON in the query editor:
Copied!1 2 3 4 5 6 7 8 9 10 11 12 13 14 15 16 17{ "path": "tokens", "method": "POST", "extractors": { "result": "$" }, "pathParams": {}, "queryParams": {}, "bodyJson": { "type": "blobUploadToDataset", "blobUploadToDataset": { "channel": "<channelId defined in step 2>", "expiry":"<expiration date in ISO-8601: e.g. 2021-06-30T00:00:00Z>", "count": 1 } } }
After creating the query based on the secure-upload or secure-upload-raw-oauth source, select Test to submit the query. The response includes a token that you need to save as it will only be shown once. Rerun the query to get another token if necessary. This query will not be needed again for users to upload data, unless you want to create more tokens. The query can be safely deleted.
4. Create query for data upload
To allow users to submit queries, you need to create one more query:
- Select secure-upload-raw as a source.
- Open the dropdown near Test and select when you want the data to be submitted (on button click or another criteria, just as a regular query). The body of the request defines the fields which are captured and uploaded into the previously-created dataset. You can edit the fields even after initial submissions. Entries made prior to the modification will show no value under the newly-added fields.
Every field needs to map to a value. The values need to be strings. You can either use the jsonStringify handlebar helper or cast the values into strings using a function.
An example of the request body follows:
Copied!1 2 3 4 5 6 7 8 9 10 11 12 13 14 15 16 17 18 19 20 21 22 23{ "path": "blobs", "method": "POST", "extractors": { "result": "$" }, "headers": { "authorization": "Bearer <token_from_step_3>" }, "bodyJson": { "content": { // whatever json-shaped content you want here // for example: "field1": "value1", "field2": {{jsonStringify w_input1.text}}, "field3": [ "item1", {{jsonStringify w_input2.text}}, {{jsonStringify f_function1}} ] } } }
When this query is run, the data will land in a dataset with the suffix _buffer_v2 appended, and be located alongside the original dataset. The data will be shaped exactly as defined in this step. For example, a query with the body from the examples above will result in the following data entry in the "content" column (the dataset will contain additional metadata in other columns):
{
  content: {
    "field1": "value1",
    "field2": "<<value of jsonStringify w_input1.text>>",
    "field3": ["item1", "<<value of jsonStringify w_input2.text>>", "<<value of jsonStringify f_function1>>"]
  }
}
Stop data uploads
To stop new entries from being uploaded to the dataset, you will need to both unpublish the application and delete the token being used as the authentication header in the last query.
Though unpublishing hides the application from unauthenticated users, unauthenticated users could still call the public secure-upload data source. Deleting the token is important to maintain application security.
Remember to store your generated tokens in a safe location as there is no recovery option.
To delete a token, follow these steps:
- From Slate, create a query with secure-upload or secure-upload-raw-oauth as source.
- Open the dropdown near Test and tick the manually checkbox to run this query manually.
- Configure and run the query:
- If using secure-upload:
- Select Token Service from Available Services.
- Select Delete Token from Endpoints.
- Enter the token you want to delete as a string, for example,
1abcdefgha2bcdef3ghabcdefg.
- If using secure-upload-raw-oauth:
- Use the token you want to delete, for example,
1abcdefgha2bcdef3ghabcdefg, and enter the following JSON in the query editor:
Copied!1 2 3 4 5 6 7 8 9 10 11 12{ "path": "tokens/{token}", "method": "DELETE", "extractors": { "result": "$" }, "headers": {}, "pathParams": { "token": "1abcdefgha2bcdef3ghabcdefg" }, "queryParams": {} } - Use the token you want to delete, for example,
- If using secure-upload:
- To verify that the token was deleted, check by submitting data. You should get the following
InvalidTokenresponse:
{
  "errorCode":"PERMISSION_DENIED",
  "errorName":"TokenSecurity:InvalidToken",
  "errorInstanceId":"13abec1b-3c0f-467d-ad14-6ae702b52b33",
  "parameters":{}
 }