- Capabilities
- Getting started
- Architecture center
- Platform updates
Installation
Open the MCP Hub application in Foundry and select the Palantir MCP tab for the recommended setup instructions.
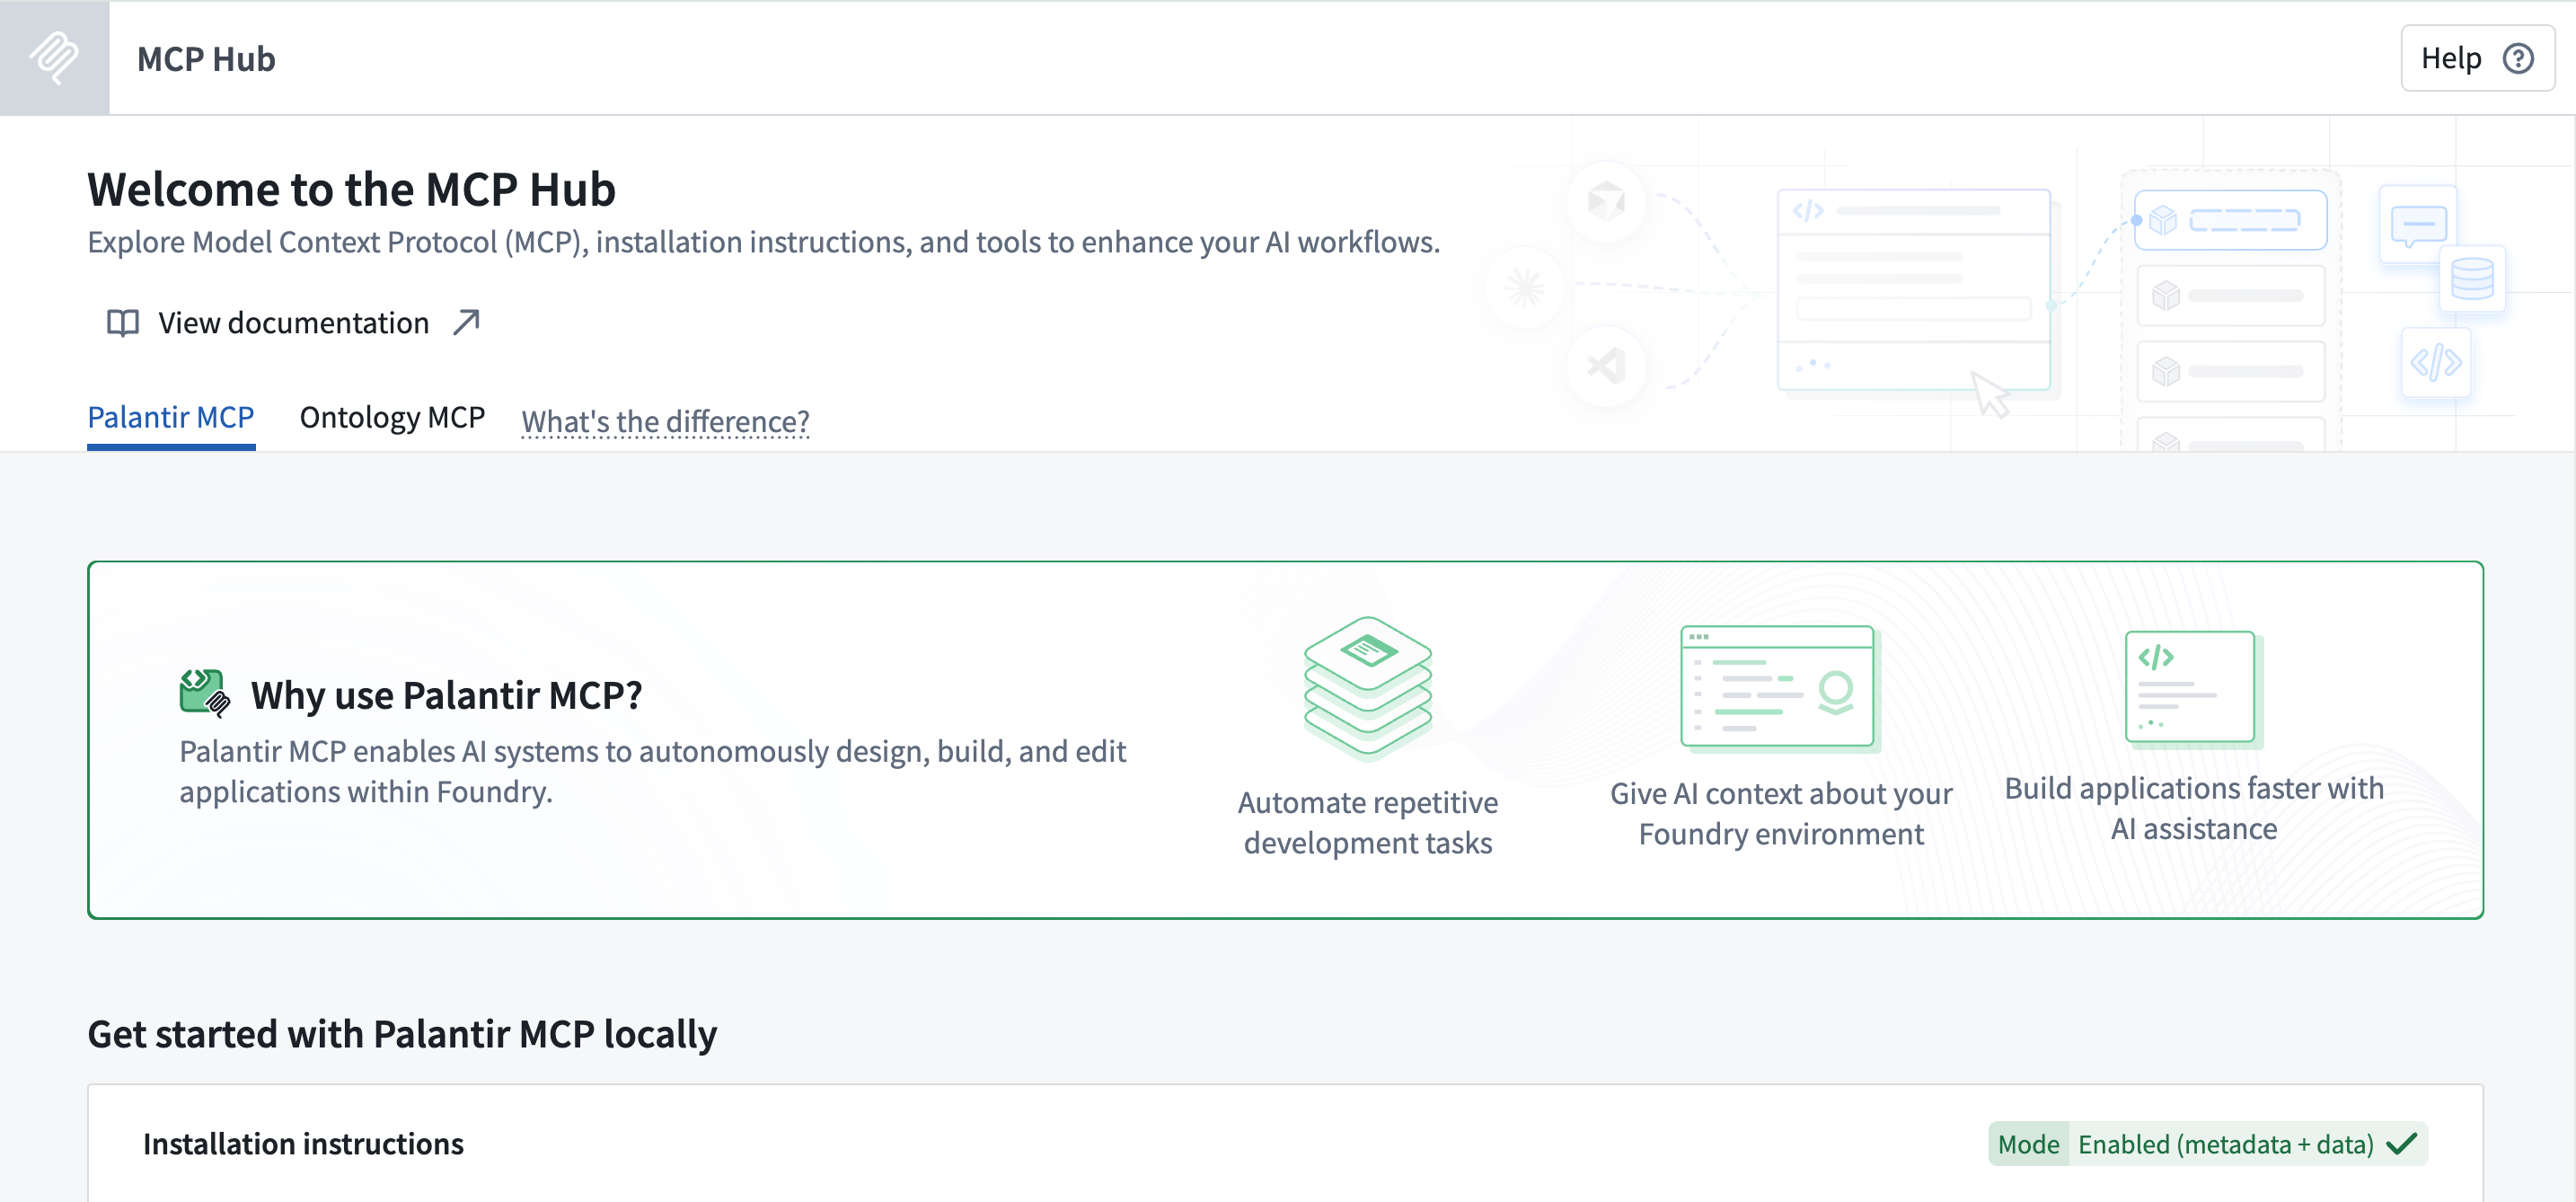
The Palantir model context protocol (MCP) enables external AI systems to read data and metadata from Foundry and interact via AI-friendly API endpoints using the configured user token permissions. Once data is accessed by an external system through Palantir MCP, the governance of its use shifts from Palantir to the external system. Data security will then depend on your relationship with that external system. Using the Palantir MCP does not imply that a Palantir AI model will be used; the AI model provider is determined by the external system you connect to, such as Microsoft for GitHub Copilot, or Cursor.
Use the instructions below as a fallback to set up Palantir MCP with a supported IDE. Alternatively, use the AI development tools available in a VS Code workspace to access Palantir MCP.
1. Enable Palantir MCP in Control Panel
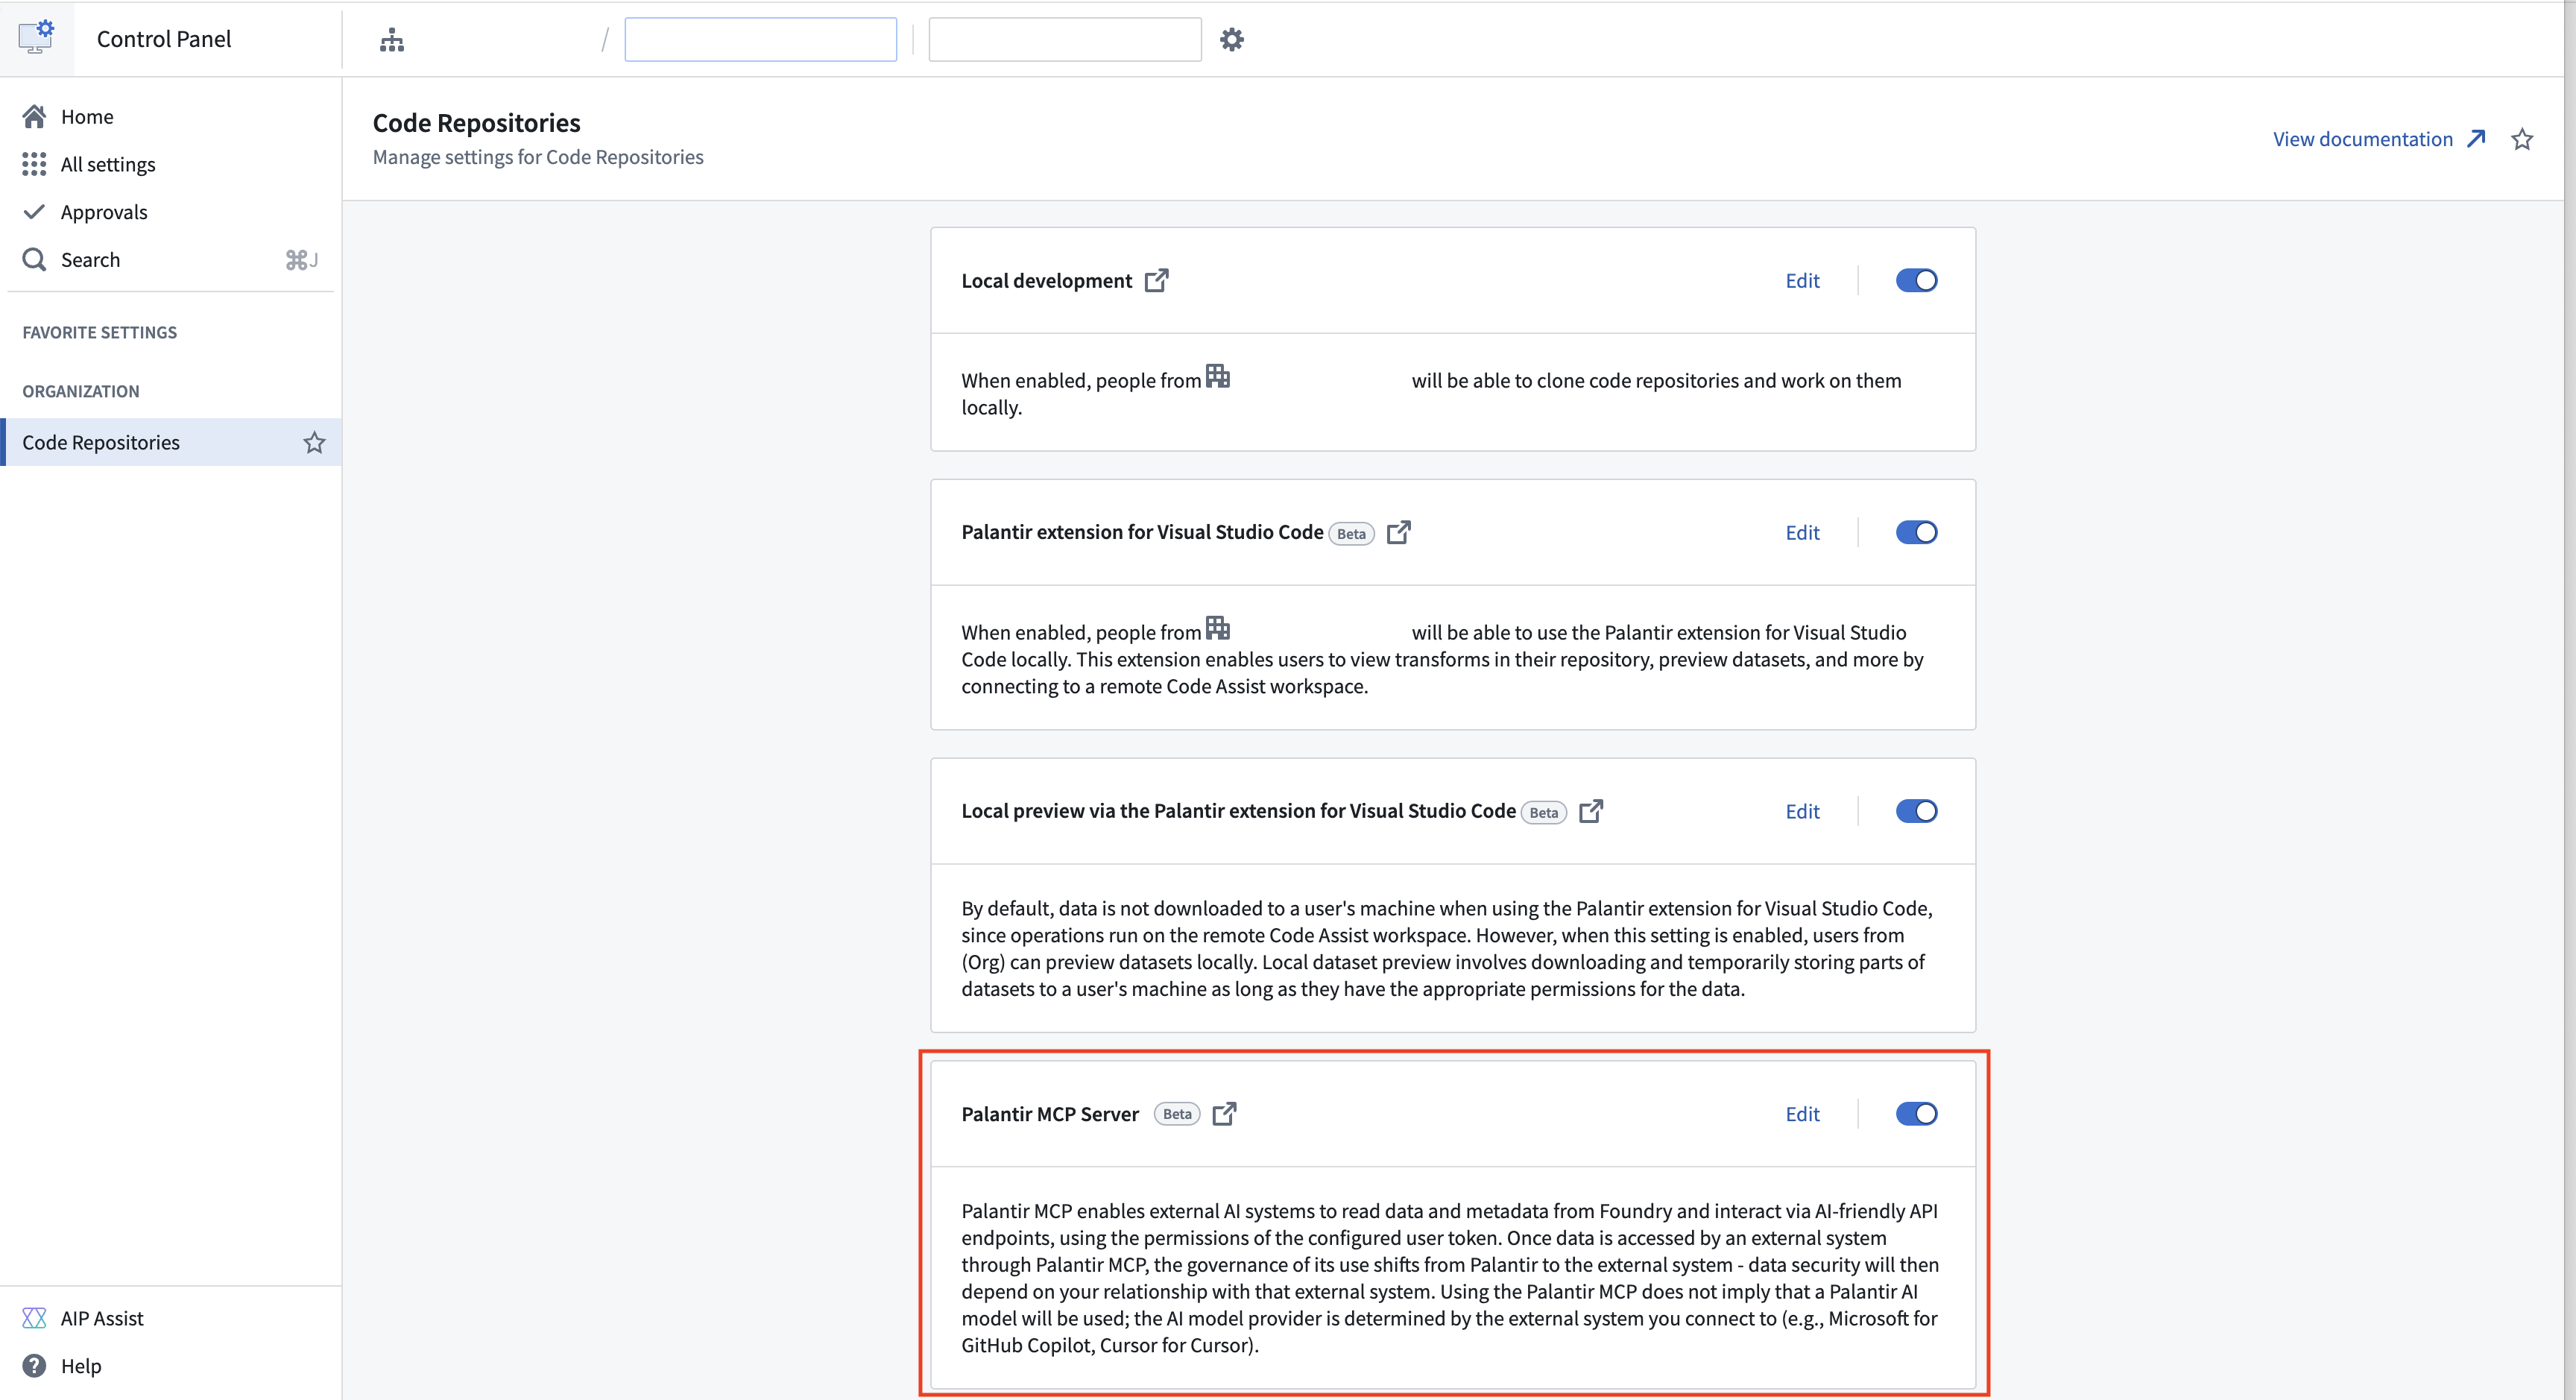
Platform administrators must first enable Palantir MCP for use through Control Panel. Access can be configured for a specific subset of users or groups. Palantir MCP is in Control Panel under Code Repositories.
2. Configure your IDE to use Palantir MCP
If you are working within a Foundry repository, Palantir MCP can use your Foundry Git token to bootstrap authentication. In this case, you do not need to generate or explicitly configure a user token. When using your Foundry Git token:
- For Claude Code, omit the
export FOUNDRY_TOKENline and the-e FOUNDRY_TOKENargument. - For the other IDEs, omit the
envblock that setsFOUNDRY_TOKEN. - For GitHub Copilot in VS Code, also omit the
inputsarray that prompts for a user token.
See instructions for:
Claude Code
-
If you are not working in a Foundry repository, generate a user token from Palantir, then replace
<token>in the commands below with your token.If you are working in a Foundry repository, Palantir MCP can use your Foundry Git token to bootstrap authentication. Skip token generation and omit both the
export FOUNDRY_TOKENline and the-e FOUNDRY_TOKENargument below. -
Replace
<your-foundry-hostname>with your Foundry hostname (for example,mycompany.palantirfoundry.com). Do not prefix with "https://". -
Review the Claude Code documentation ↗ to install Palantir MCP in your Claude Code CLI, particularly the documentation around scoping where MCP should be installed. We recommend installing the MCP at the project scope ↗ level so that the MCP server configuration is scoped to the current project.
-
Run the following commands in your terminal:
Copied!1 2 3 4 5 6 7 8 9export FOUNDRY_HOST="<your-foundry-hostname>" # Only when not working in a Foundry repository: export FOUNDRY_TOKEN=<token> # When working in a Foundry repository, omit the -e FOUNDRY_TOKEN argument. claude mcp add palantir-mcp \ --scope project \ -e FOUNDRY_TOKEN='${FOUNDRY_TOKEN}' \ -- npx "-y" "palantir-mcp" "--foundry-api-url" "https://$FOUNDRY_HOST"
Cline
-
If you are not working in a Foundry repository, generate a user token from Palantir, then replace
<token>in the configuration below with your token.If you are working in a Foundry repository, Palantir MCP can use your Foundry Git token to bootstrap authentication. Skip token generation and omit the
envblock that setsFOUNDRY_TOKEN. -
Replace
<your-foundry-hostname>with your Foundry hostname (for example,mycompany.palantirfoundry.com). -
Review the Cline documentation ↗ to install Palantir MCP into your Cline extension with the configuration below.
Copied!1 2 3 4 5 6 7 8 9 10 11 12 13 14 15 16 17{ "mcpServers": { "palantir-mcp": { "command": "npx", "args": [ "-y", "palantir-mcp", "--foundry-api-url", "https://<your-foundry-hostname>" ], "env": { "FOUNDRY_TOKEN": "<token>" }, "disabled": false } } }
Continue
-
If you are not working in a Foundry repository, generate a user token from Palantir, then replace
<token>in the configuration below with your token.If you are working in a Foundry repository, Palantir MCP can use your Foundry Git token to bootstrap authentication. Skip token generation and omit the
envblock that setsFOUNDRY_TOKEN. -
Replace
<your-foundry-hostname>with your Foundry hostname (for example,mycompany.palantirfoundry.com). -
Review the Continue documentation ↗ to install Palantir MCP into your Continue extension with the configuration below.
Copied!1 2 3 4 5 6 7 8 9 10mcpServers: - name: palantir-mcp command: npx args: - "-y" - "palantir-mcp" - "--foundry-api-url" - "https://<your-foundry-hostname>" env: FOUNDRY_TOKEN: "<token>"
Cursor
-
If you are not working in a Foundry repository, generate a user token from Palantir, then replace
<token>in the configuration below with your token.If you are working in a Foundry repository, Palantir MCP can use your Foundry Git token to bootstrap authentication. Skip token generation and omit the
envblock that setsFOUNDRY_TOKENin either configuration below. -
Replace
<your-foundry-hostname>with your Foundry hostname (for example,mycompany.palantirfoundry.com). -
Review the Cursor documentation ↗ to install Palantir MCP into your Cursor IDE with the configuration below.
For macOS:
Copied!1 2 3 4 5 6 7 8 9 10 11 12 13 14 15 16 17{ "mcpServers": { "palantir-mcp": { "type": "stdio", "command": "npx", "args": [ "-y", "palantir-mcp", "--foundry-api-url", "https://<your-foundry-hostname>" ], "env": { "FOUNDRY_TOKEN": "<token>" } } } }
For Windows:
Copied!1 2 3 4 5 6 7 8 9 10 11 12 13 14 15 16 17{ "mcpServers": { "palantir-mcp": { "type": "stdio", "command": "cmd /k npx", "args": [ "-y", "palantir-mcp", "--foundry-api-url", "https://<your-foundry-hostname>" ], "env": { "FOUNDRY_TOKEN": "<token>" } } } }
GitHub Copilot in VS Code
-
If you are not working in a Foundry repository, generate a user token from Palantir and enter it when VS Code prompts you. The configuration below has no
<token>placeholder to replace:FOUNDRY_TOKENtakes its value from thefoundry-tokeninput declared in theinputsarray.If you are working in a Foundry repository, Palantir MCP can use your Foundry Git token to bootstrap authentication. Skip token generation and omit both the
envblock that setsFOUNDRY_TOKENand theinputsarray that prompts for a user token. -
Replace
<your-foundry-hostname>with your Foundry hostname (for example,mycompany.palantirfoundry.com). -
Review the VS Code documentation ↗ to install Palantir MCP into your VS Code IDE with the configuration below.
Copied!1 2 3 4 5 6 7 8 9 10 11 12 13 14 15 16 17 18 19 20 21 22 23 24 25"mcp": { "inputs": [ { "type": "promptString", "id": "foundry-token", "description": "Foundry user token", "password": true } ], "servers": { "palantir-mcp": { "type": "stdio", "command": "npx", "args": [ "-y", "palantir-mcp", "--foundry-api-url", "https://<your-foundry-hostname>" ], "env": { "FOUNDRY_TOKEN": "${input:foundry-token}" } } } }
Windsurf
-
If you are not working in a Foundry repository, generate a user token from Palantir, then replace
<token>in the configuration below with your token.If you are working in a Foundry repository, Palantir MCP can use your Foundry Git token to bootstrap authentication. Skip token generation and omit the
envblock that setsFOUNDRY_TOKEN. -
Replace
<your-foundry-hostname>with your Foundry hostname (for example,mycompany.palantirfoundry.com). -
Review the Windsurf documentation ↗ to install Palantir MCP into your Windsurf IDE with the configuration below.
Copied!1 2 3 4 5 6 7 8 9 10 11 12 13 14 15 16{ "mcpServers": { "palantir-mcp": { "command": "npx", "args": [ "-y", "palantir-mcp", "--foundry-api-url", "https://<your-foundry-hostname>" ], "env": { "FOUNDRY_TOKEN": "<token>" } } } }