- Capabilities
- Getting started
- Architecture center
- Platform updates
Bootstrap a new OSDK TypeScript application with a service user
As explained in the permission types section, the OSDK can be used to query data based on a service user's permissions rather than the end user's permissions. The following walkthrough shows how to use Next.js© ↗ (external) to fetch data using the OSDK and a service user.
When developing on a service or application that uses a confidential client, a service user will be created along with your Developer Console application. If you plan to create the application using an Ontology that belongs to an Organization separate from your default Organization, you must complete the steps to share and enable the application.
1. Create an OSDK package using Developer Console
Navigate to Developer Console in your Foundry instance, then select + New application.
If the + New application button does not appear, you likely do not have the right permissions. Review the permissions documentation for more information.
Follow the steps in the creation wizard and add the following details:
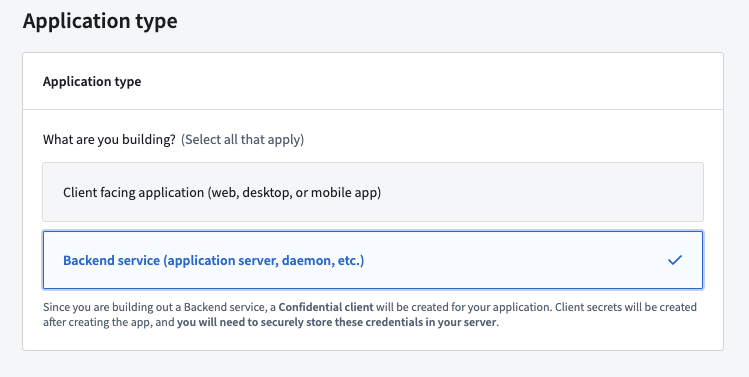
- On the Application type page, choose Backend service.
- On the Permission page, choose Application's permissions.
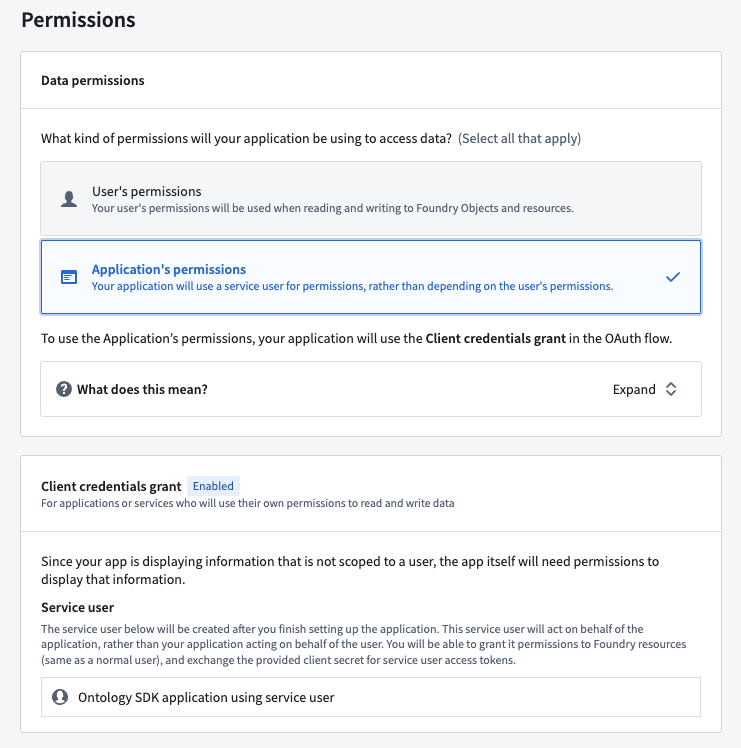
Developer Console will create a service user for this application based on the application name. In the example above, the name of the generated service user is Ontology SDK application using service user. In addition to the submission criteria for any action types, you must grant this service user the permissions required to read the data of the object types you will select in the next step.
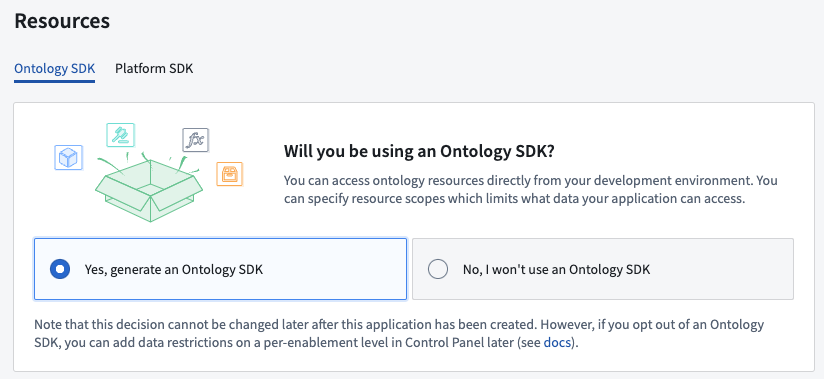
- On the Ontology & resource scopes page, select Yes, generate an Ontology SDK.
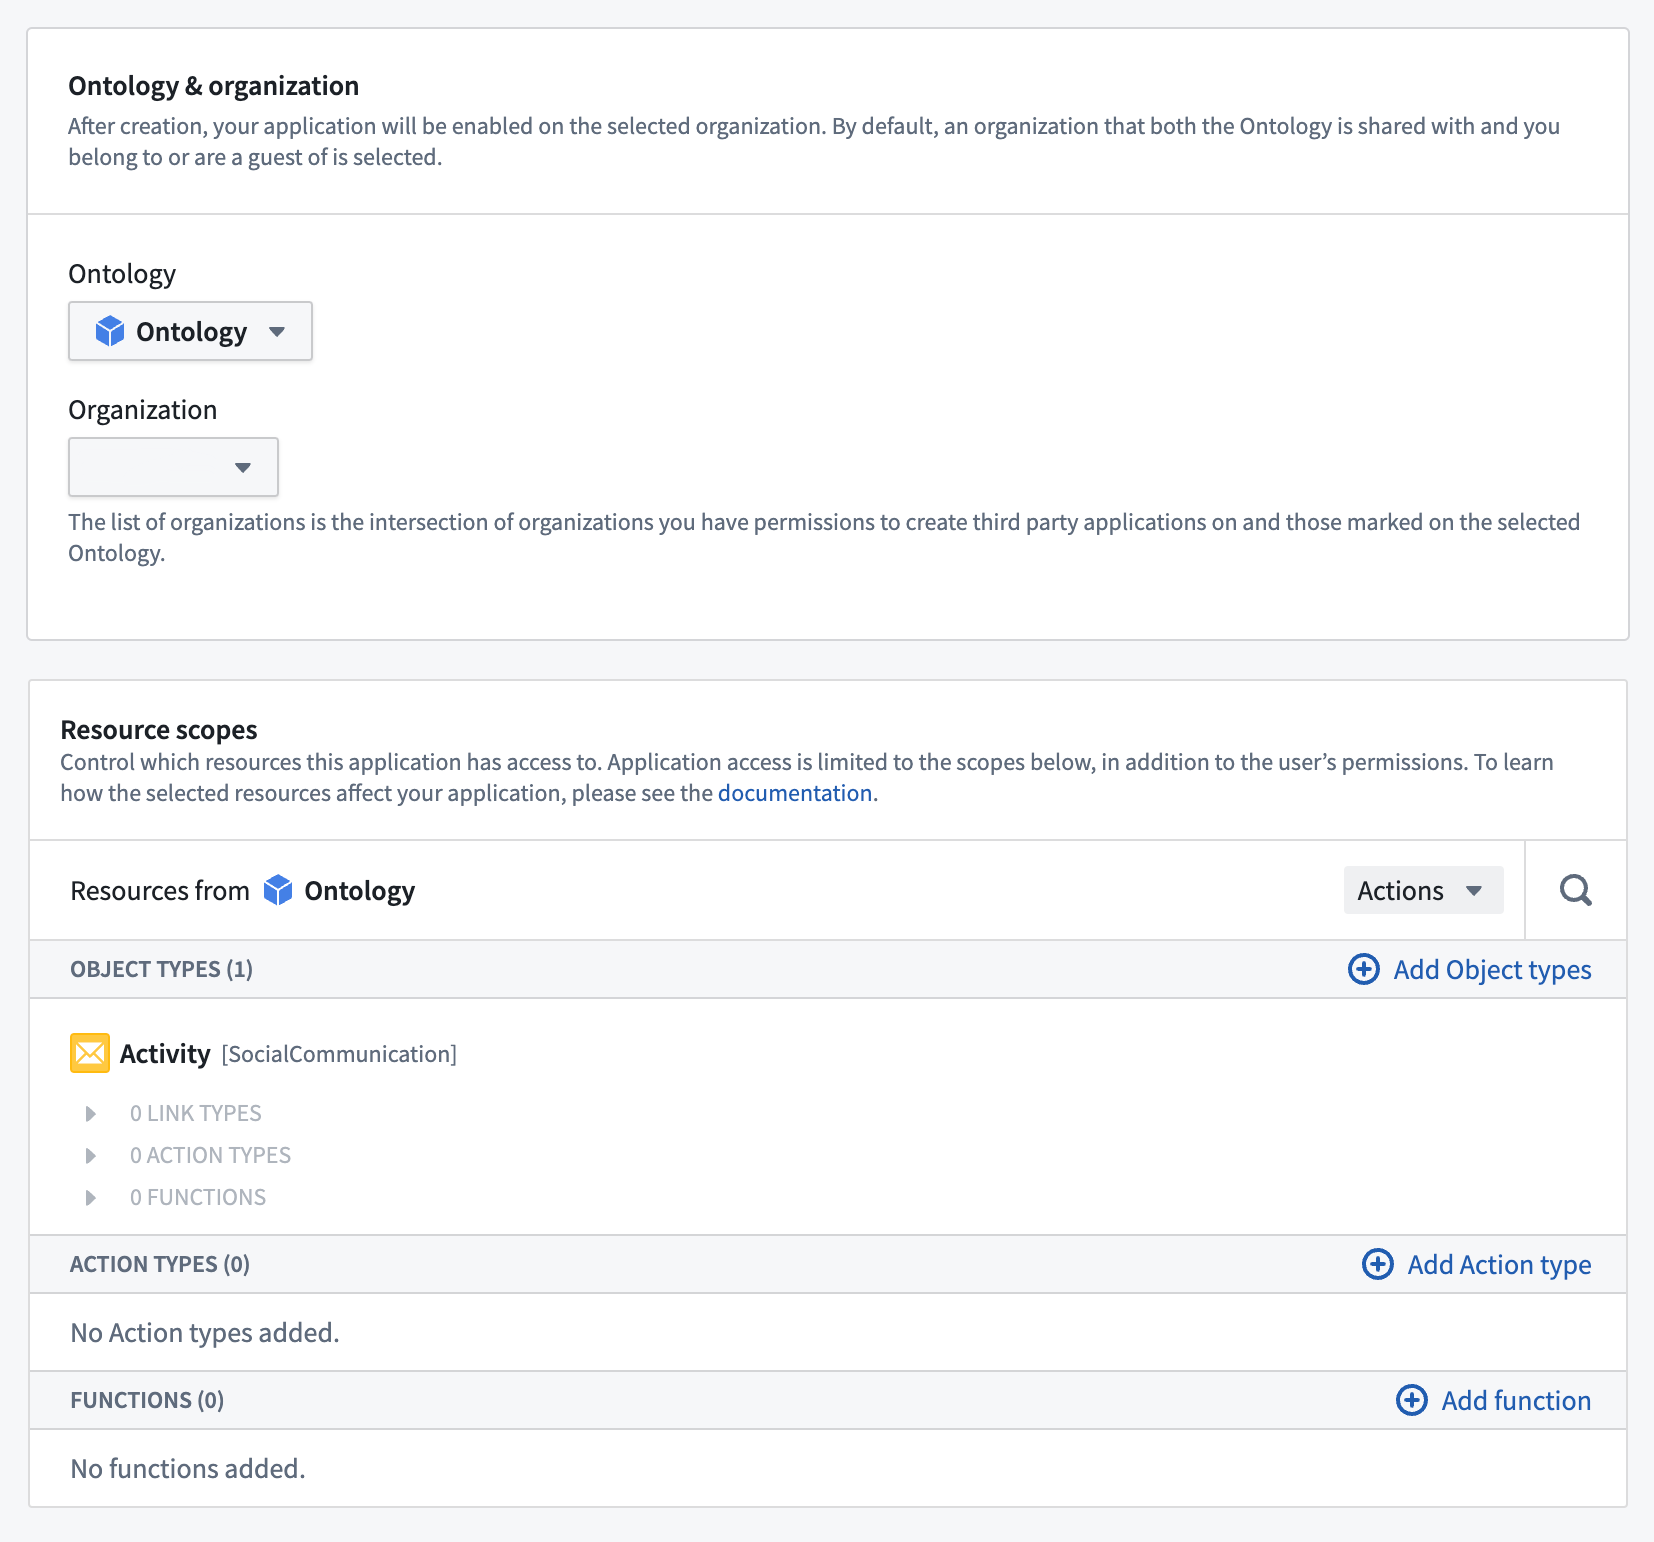
- Select an Ontology to use.
Note that once the Ontology SDK has been generated, the Ontology associated with it cannot be changed.
- Select the object types and action types that you want the OSDK package to include. For this exercise, pick any object type available to you.
Review and confirm the information you entered, then select Create application to see the client secret for the new application. Copy and store the secret securely as this is the only time it is visible.
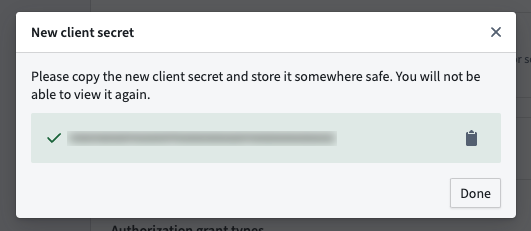
If you lose your client secret, you can rotate and obtain a new secret on the Permissions & OAuth page. Keep in mind that this will break existing applications using this service user and secret.
Finally, select Generate first version to use your newly created OSDK.

2. Install the generated SDK package
Once the generation of the OSDK is complete, you will see a set of installation steps to guide you in installing the generated SDK in your code project.
3. Use the OSDK in your code project
In this walkthrough, we use Next.js© ↗. Next.js supports rendering code on the server side which is required for our service user example. To bootstrap a new Next.js project, follow the Next.js© documentation ↗ .
Client and OAuth creation
Service user authentication is done through a confidential OAuth client that allows you to access the Ontology with a client secret instead of requiring user authentication.
Create a file named client.ts and enter the following code:
Copied!1 2 3 4 5 6 7 8 9 10 11 12 13 14import { createConfidentialOauthClient } from "@osdk/oauth"; import { createClient } from "@osdk/client"; export const auth = createConfidentialOauthClient( process.env.CLIENT_ID!, process.env.CLIENT_SECRET!, process.env.STACK_URL!, ); export const client = createClient( process.env.STACK_URL!, <ONTOLOGY-RID>, auth )
Create a .env file with the same variables. Do not check in this file to your code repository.
Copied!1 2 3CLIENT_ID=<YOUR CLIENT ID> CLIENT_SECRET=<YOUR CLIENT SECRET> STACK_URL=<YOUR ONTOLOGY SERVER DOMAIN NAME> # for example, https://myfoundrystack.com
Access the Ontology
The following code uses a Country object type with a @serverside-osdk-example/sdk package name. Replace the example package name and object type with the package you created, and the object type you selected, respectively. Lastly, replace {country.countryName} with a property from your object type.
Replace the code in the page.tsx with the following:
Copied!1 2 3 4 5 6 7 8 9 10 11 12 13 14 15 16 17 18 19 20 21 22 23 24 25 26 27 28 29 30import { Country } from "@serverside-osdk-example/sdk"; import { client, auth } from "./client"; import { Osdk } from "@osdk/client"; async function getCountries(): Promise<Osdk.Instance<Country>[]> { // Handle authentication await auth.signIn(); // You need to give the service user read access to the ontology try { const resp = await client(Country).fetchPage(); return resp.data; } catch (err) { console.log(err); } console.log("No countries found"); return []; } export default async function Home() { const countries: Osdk.Instance<Country>[] = await getCountries(); return ( <main> <div> {countries.map((country: Osdk.Instance<Country>) => ( <span key={country.$primaryKey}>{country.countryName}</span> ))} </div> </main> ); }
To run a demo of your setup, first run the development server:
Copied!1npm run dev
Then, navigate to http://localhost:3000 ↗ with your browser to view the result.