Branching lifecycle
The following content describes the branching lifecycle workflow from branch creation to merging changes.
Create a branch
Foundry branches can be created in Code Repositories, Pipeline Builder, Ontology Manager, Workshop, or directly in the Foundry Branching application. It is important to note that each branch is associated with a single Ontology.
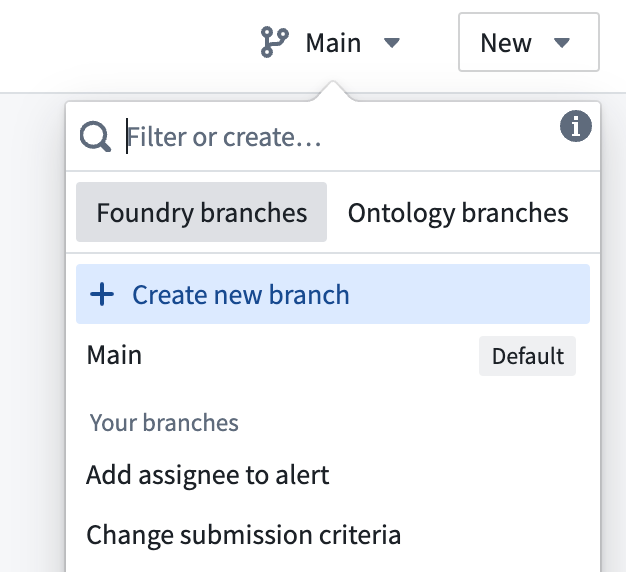
To create a branch in Code Repositories, Pipeline Builder, Ontology Manager, and Workshop, open the branch selector dropdown menu at the top and select Create new branch. The branch selector will display the name of the active branch currently being viewed.
While viewing a branch other than Main, the branch taskbar will appear in the application.
Access an existing branch
You can access an existing Foundry branch from any transforms code repository, pipeline, Workshop resource, or from the Ontology associated to this branch in Ontology Manager. To do so, select the branch selector dropdown menu at the top of each application and find the desired branch.
While viewing a branch other than Main, the branch taskbar will become visible in the application.
Additionally, you can find and navigate to an existing branch from the Branches tab of the Foundry Branching application.
Branched resources
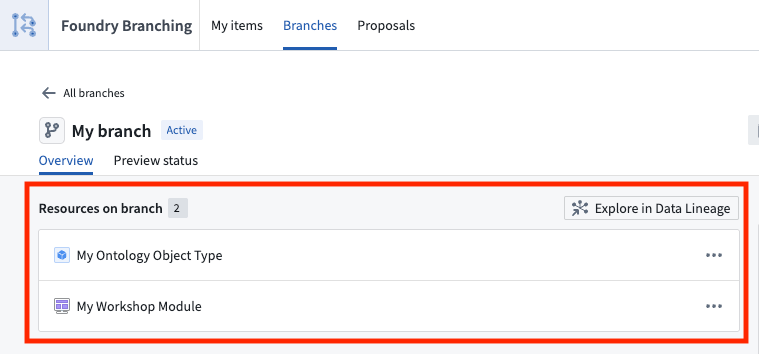
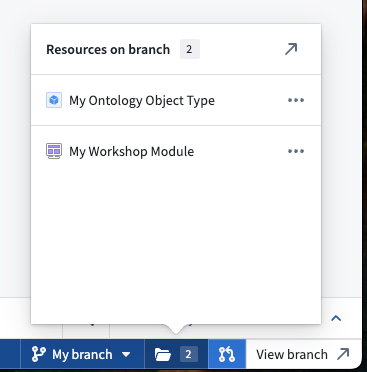
A branched resource is a version of your resource that has a different state or variation than the version of the resource in your main application. You can see a list of the resources on your branch in the Foundry branching app as well as in the branch taskbar.
The screenshot below shows the resources list in the Foundry branching app.
The screenshot below shows the resources list in the in-app branching taskbar.
Remove resources from a branch
Removing a resource from a branch returns its state to the version of the resource on main. You can remove most resource types from a branch directly from the Foundry Branching interface, wherever resources appear (for example, the branch taskbar or branch overview page). Note that it is possible to break your branch state by removing a resource, so it is important to check the lineage of your resource and ensure that no other branched resources rely on your changes.

Create a proposal
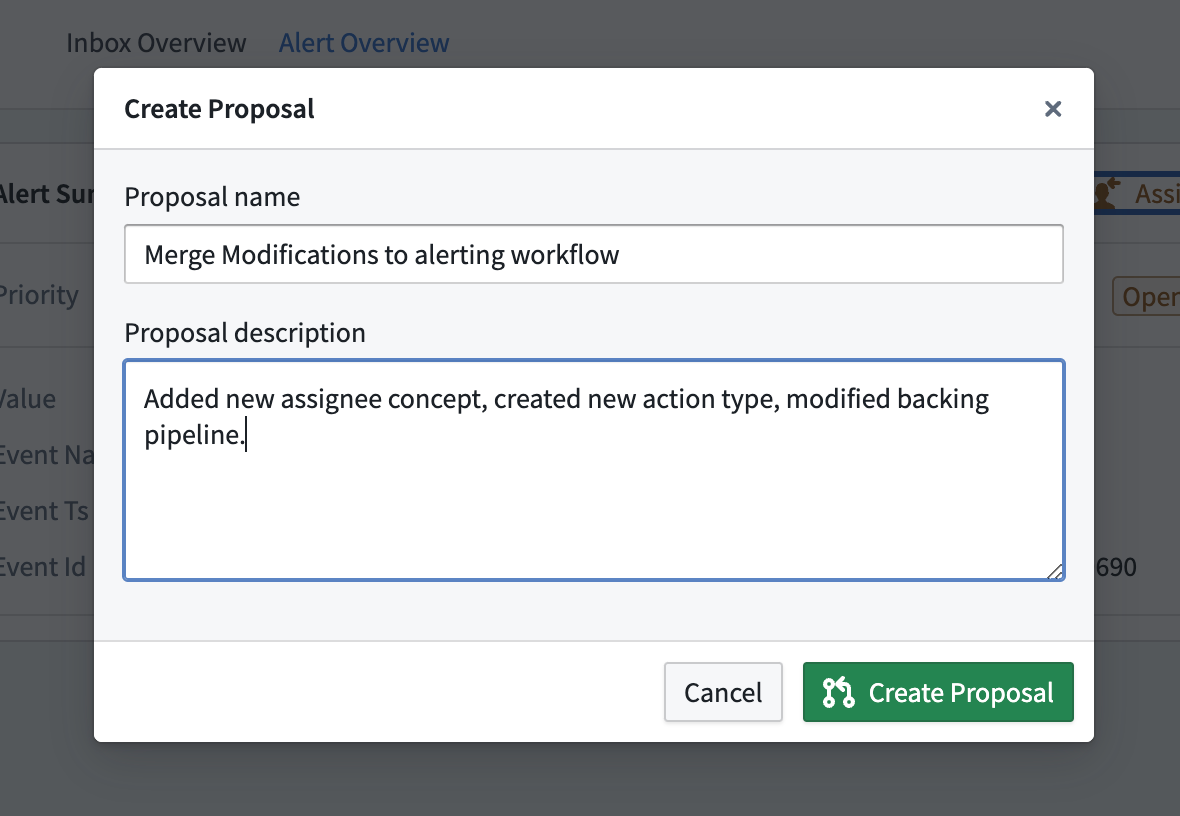
When you are satisfied with the state of your branch, you can create a proposal to have the changes reviewed using the Create Proposal option in the branch taskbar. Enter a proposal name and a description to create your proposal.
Merge checks and resolving errors
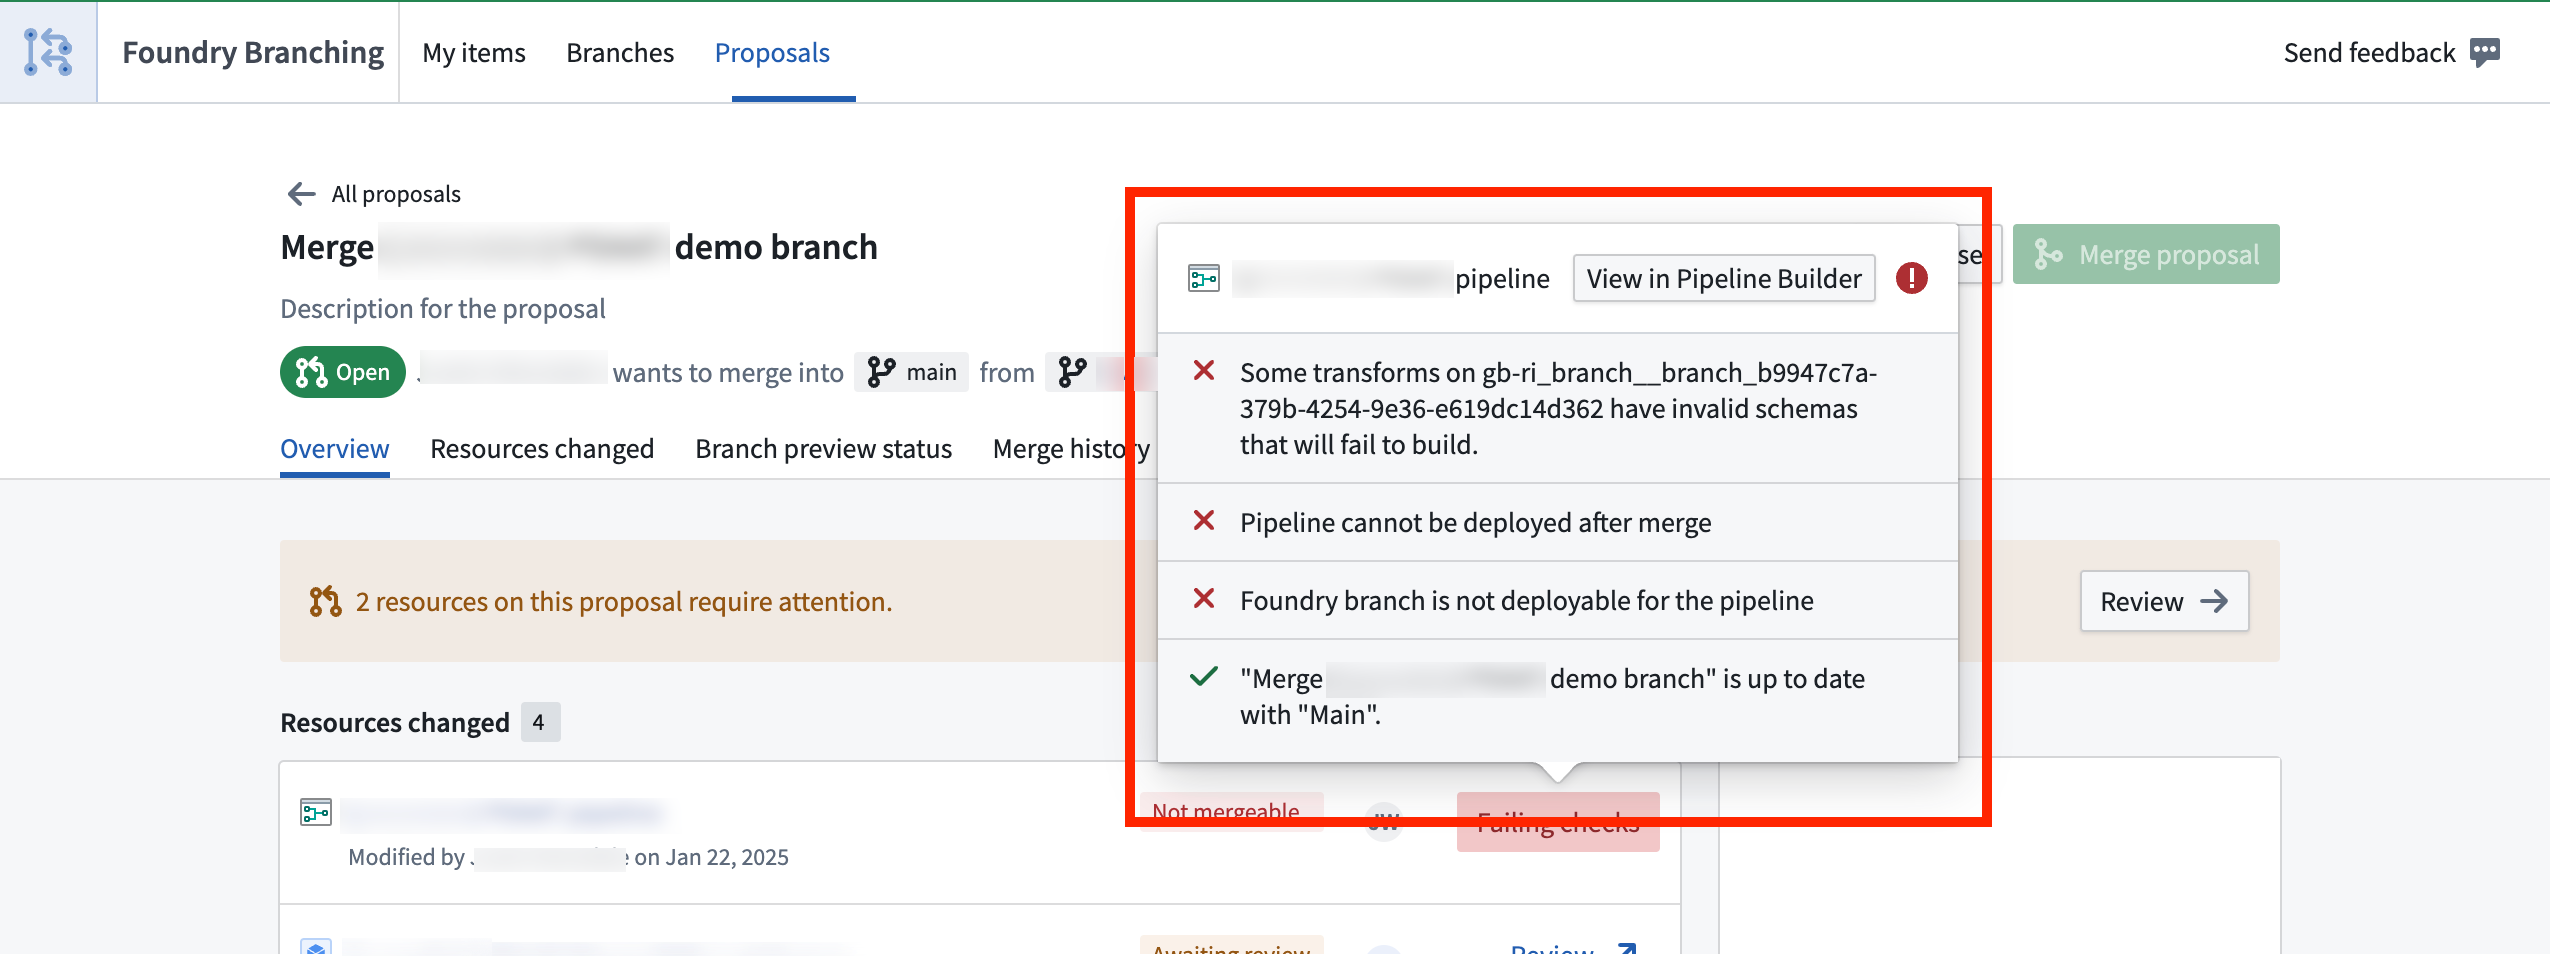
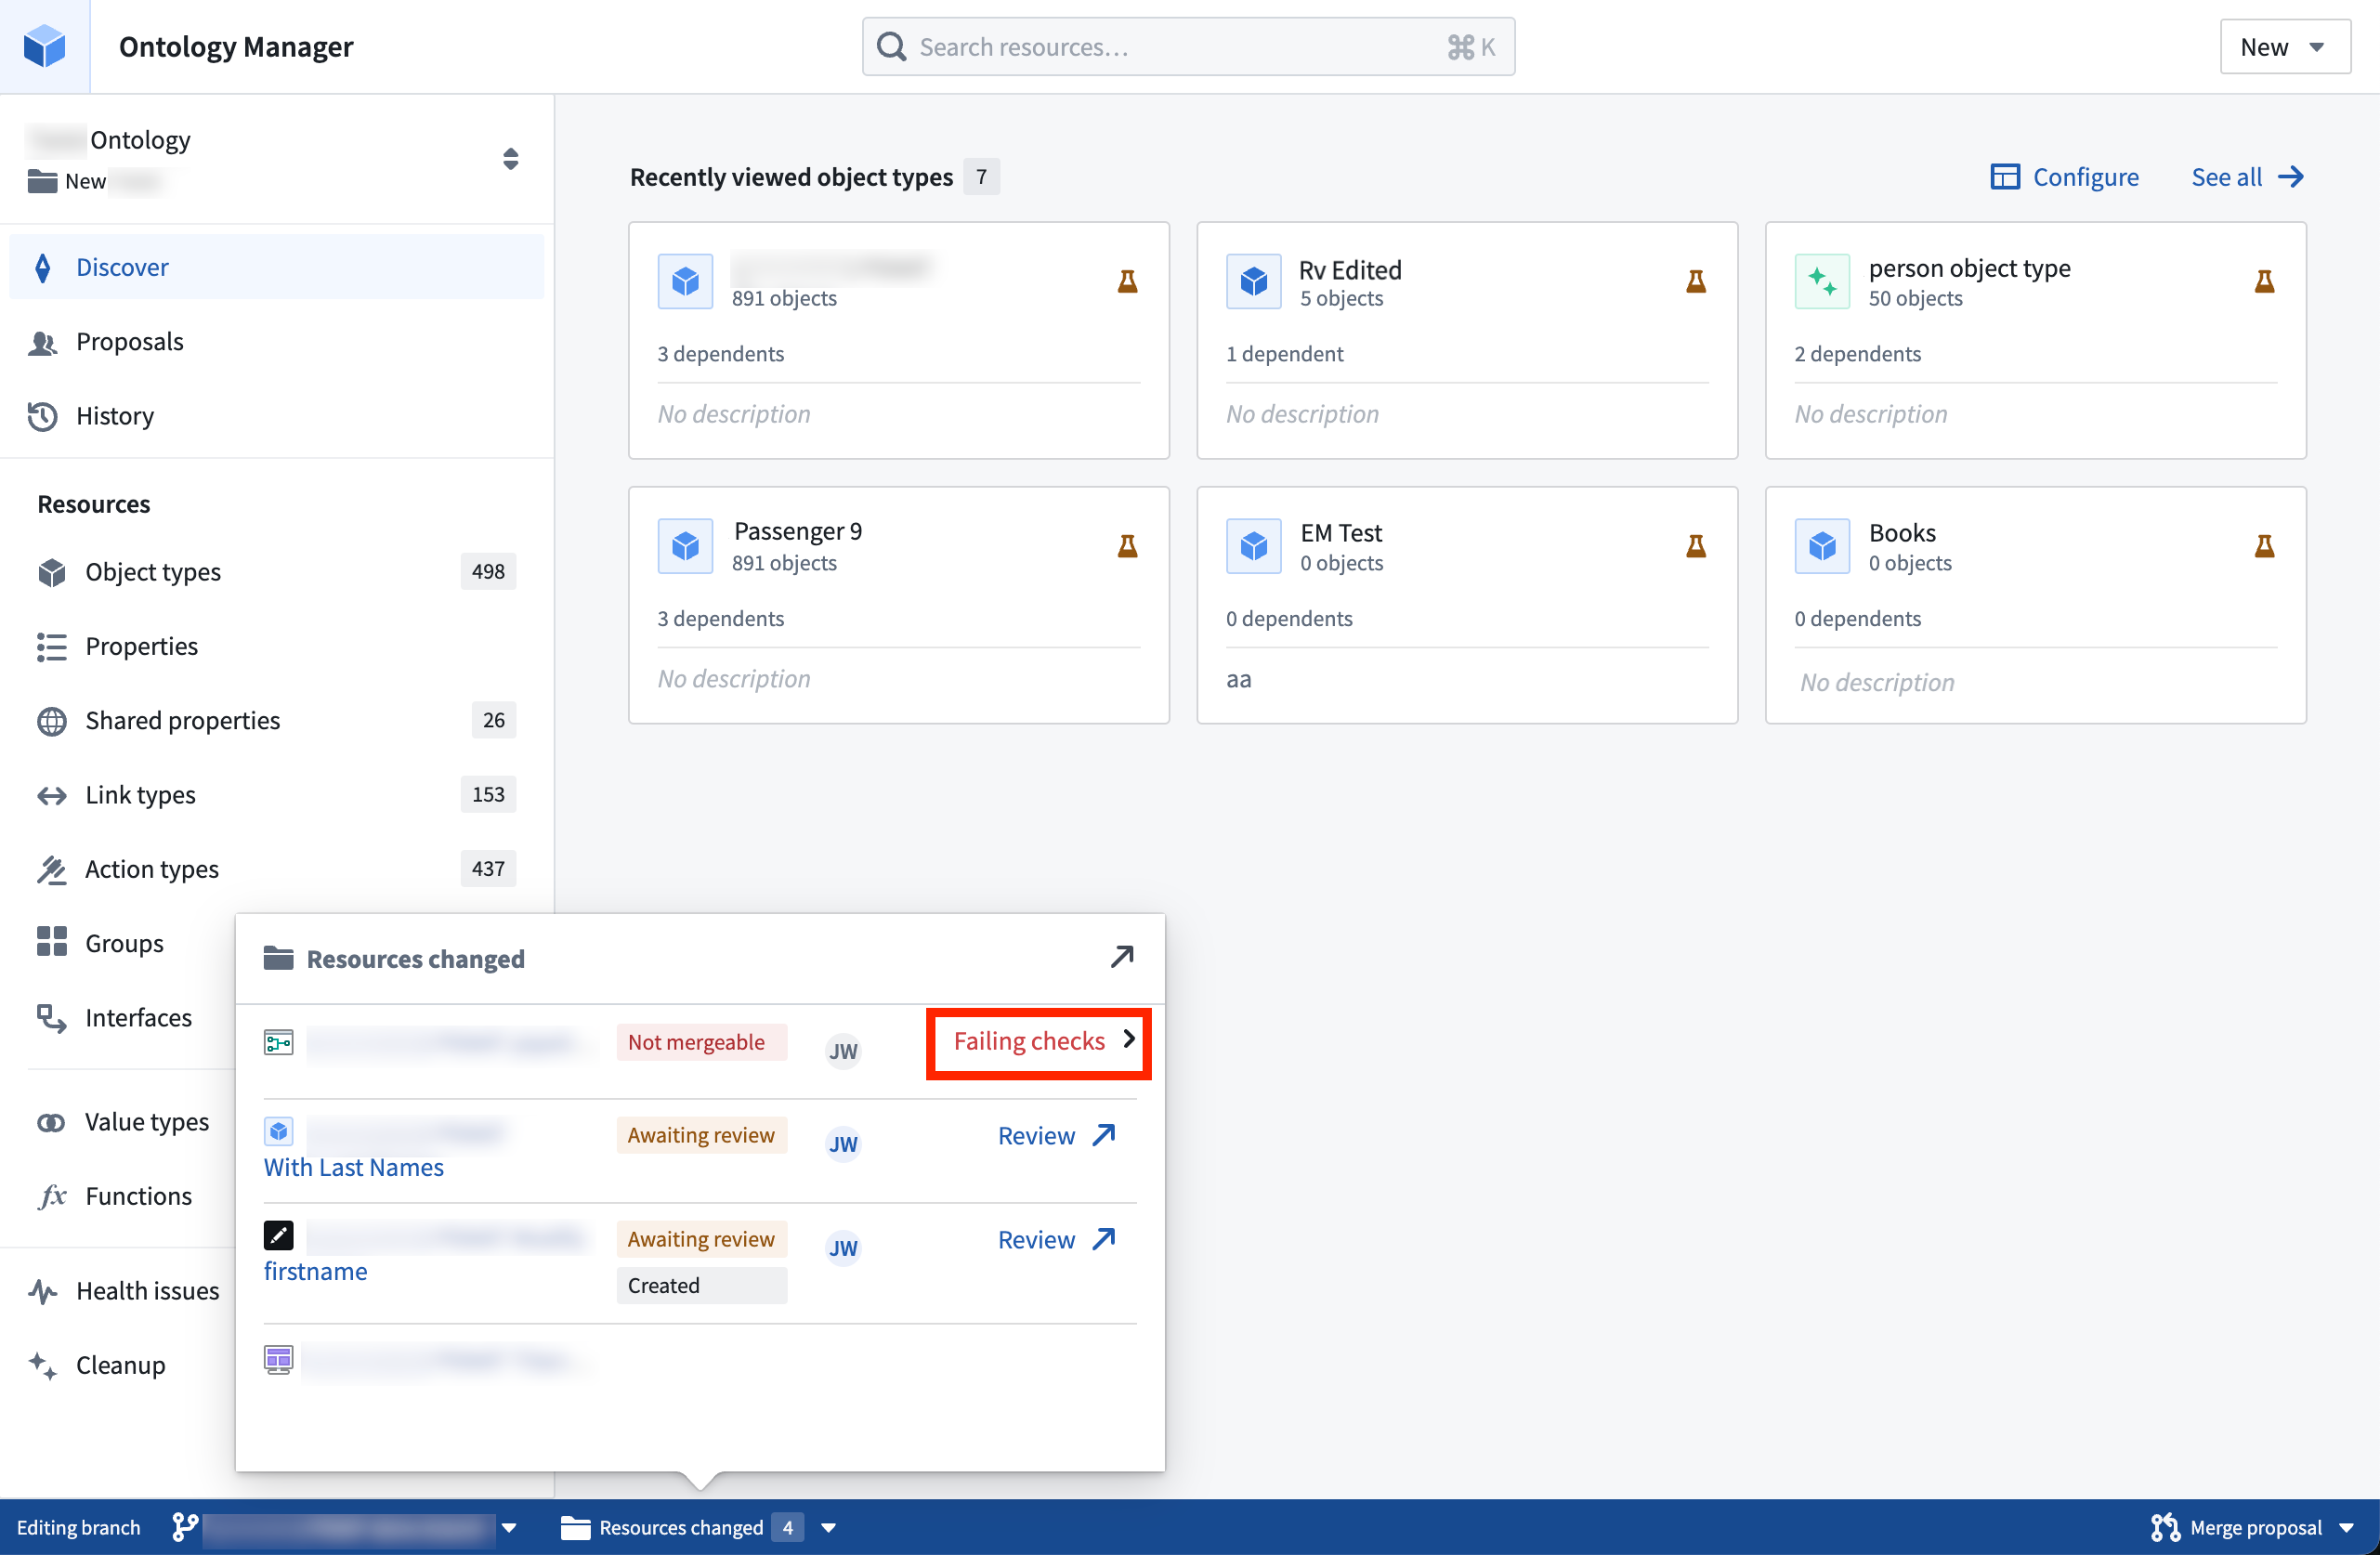
When a proposal is created, applications will check whether the resources on a Foundry branch are able to merge into the Main branch. These are called merge checks, and are pre-existing in some applications, such as Pipeline Builder. These checks are soon to be included in the branch taskbar and the Foundry Branching application.
Merge checks provide information about whether a resource can be merged, what errors occurred if any, and links and other information to help resolve issues. Merge checks do not cover everything that could go wrong, but may help you understand the most common issues that can arise when a resource is not able to be merged.
Add reviewers to proposals
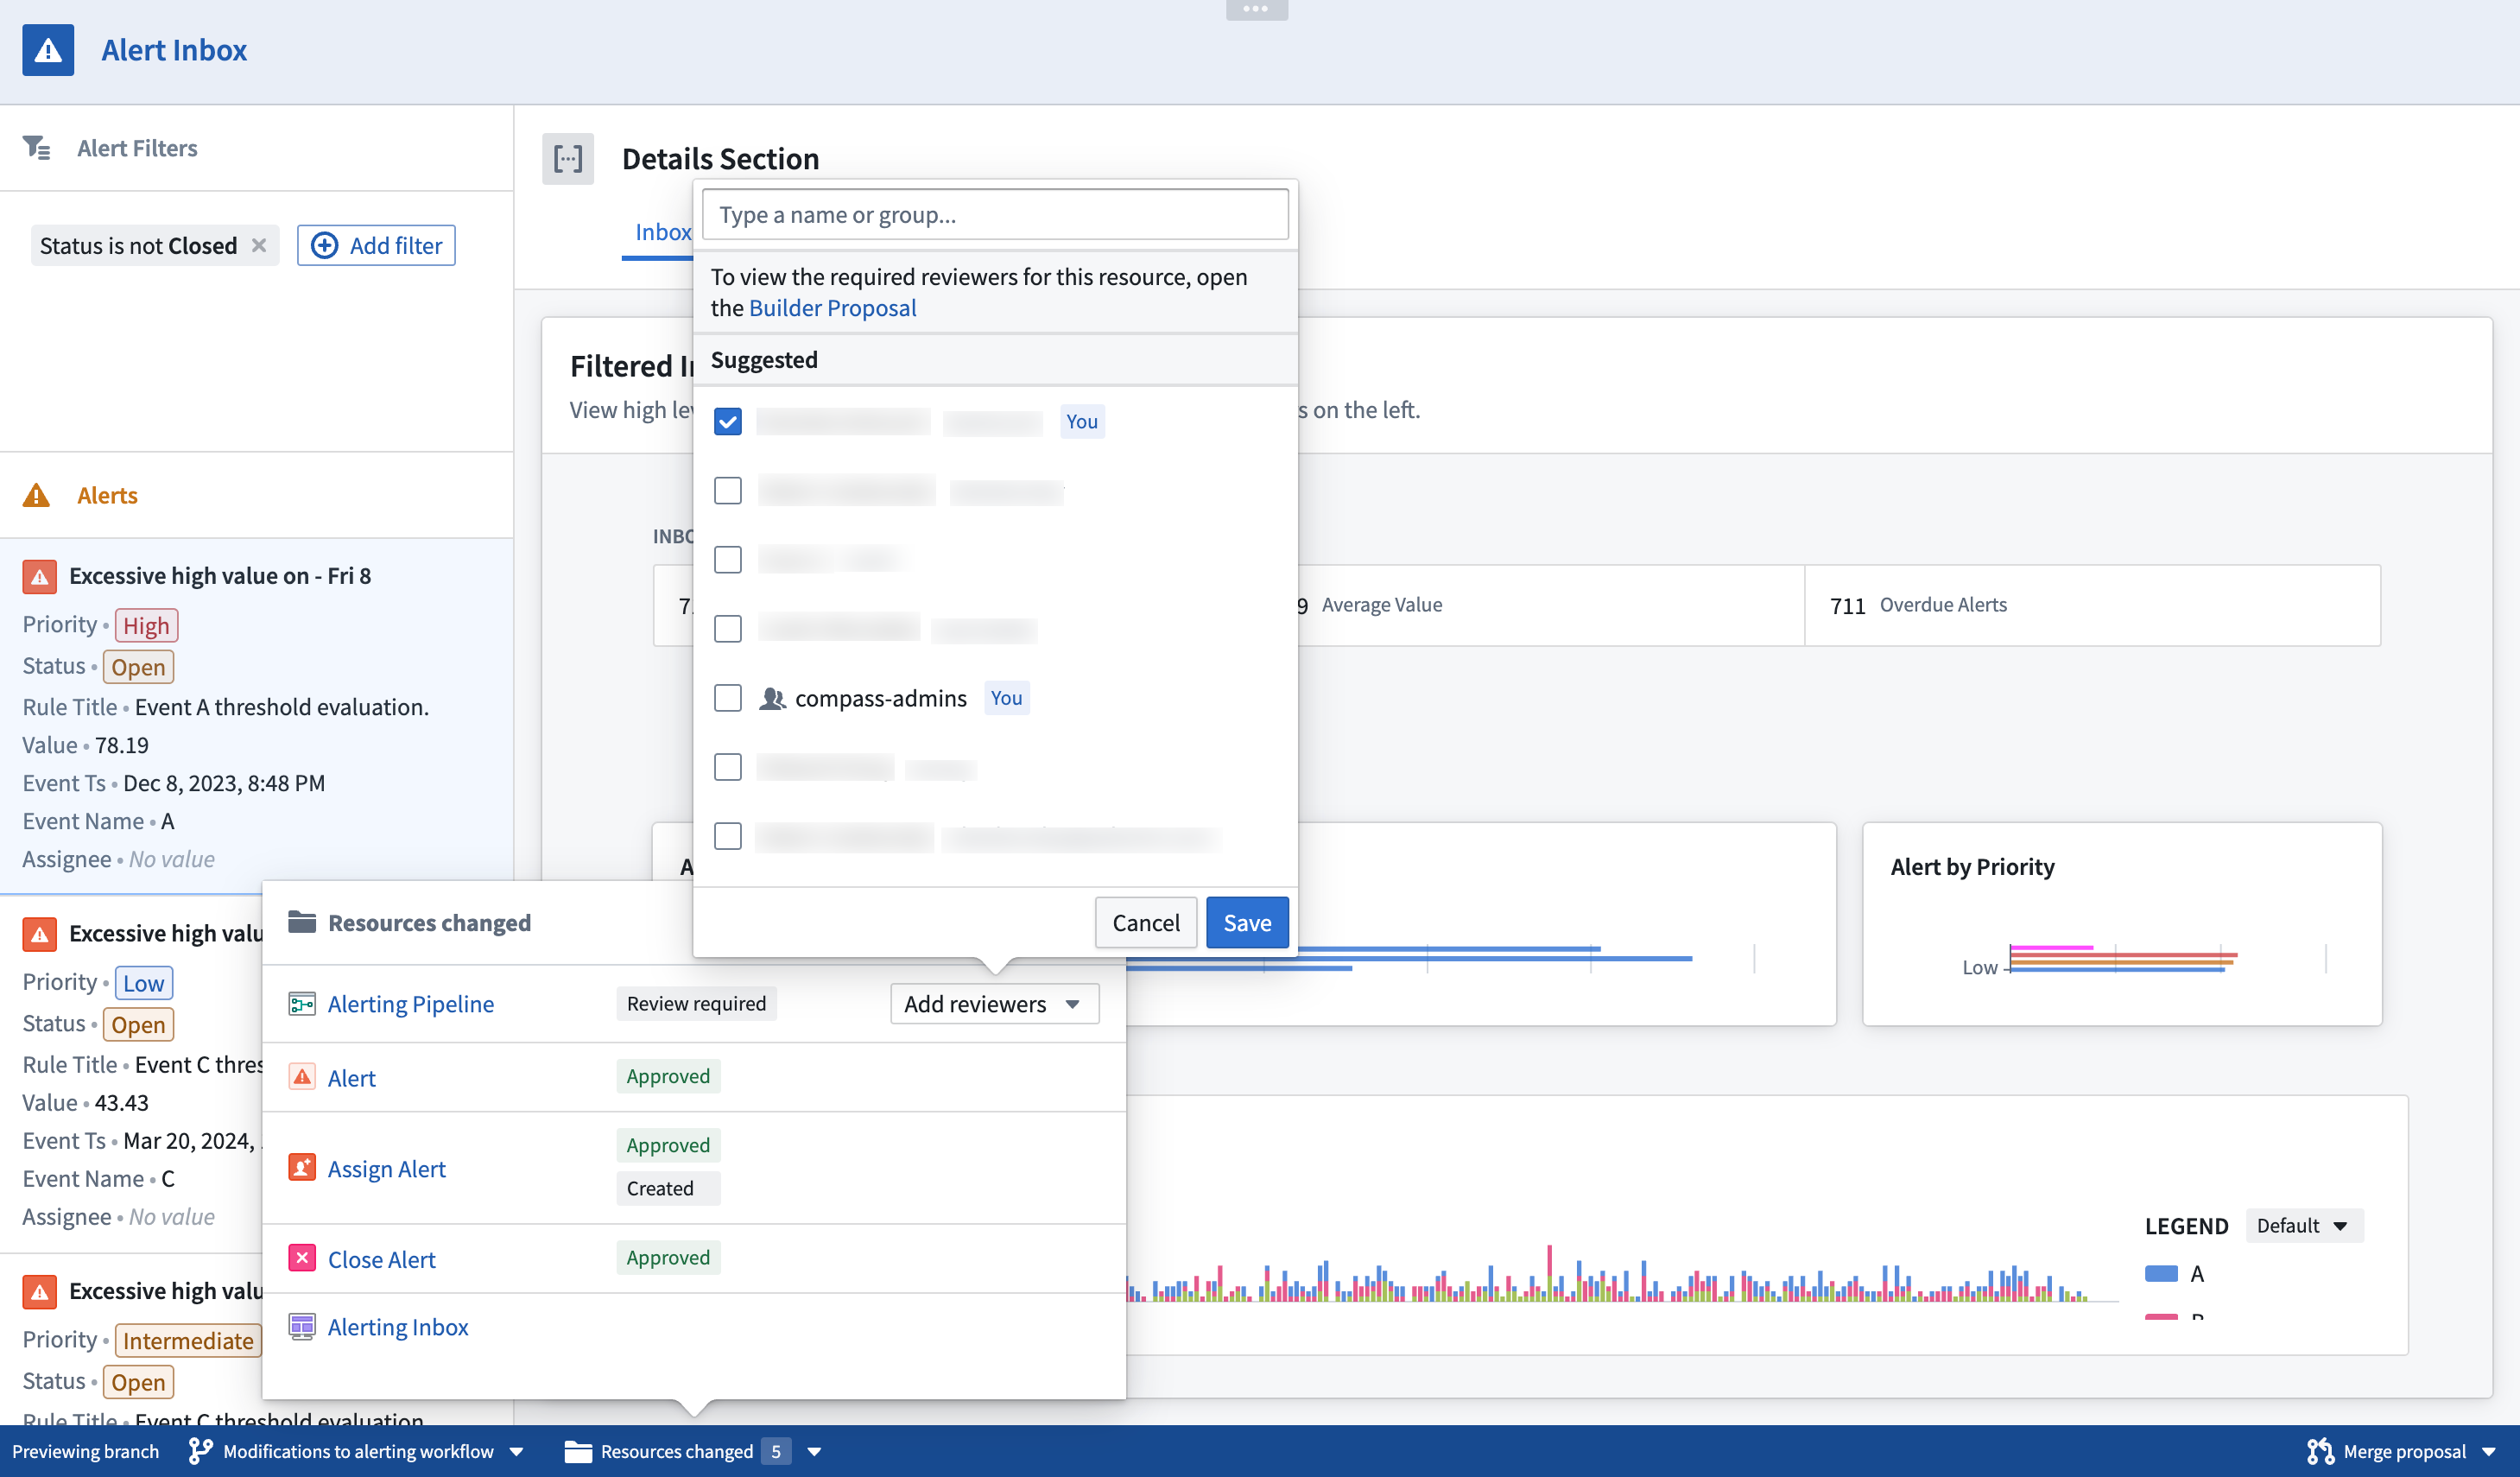
Once a proposal is created, you will need to add reviewers for the proposal where reviewers are required. You can do this in the branch taskbar in either the resources selector or the Merge changes selector, or from the Foundry Branching application. Select Add and search for the desired user or group to add as a reviewer.
Identify whether a review is required:
-
For Code Repositories: Based on a consideration of local code repository approval policies. If a repository has a branch protection mechanism, then a review is required in accordance with the approval policy. Otherwise, if the user has edit permission, changes to unprotected repositories will not require a review process and will be automatically approved.
-
For Pipeline Builder: Based on a consideration of local pipeline approval policies. If a pipeline has a branch protection mechanism, then a review is required in accordance with the approval policy. Otherwise, if the user has edit permission, changes to unprotected pipelines will not require a review process and will be automatically approved.
-
For the Ontology:
- It is important to note that while Ontological entities are treated as separate resources in Foundry Branching, they are grouped under a single local Ontology proposal. This means adding a reviewer to one Ontology resource effectively adds that reviewer across all Ontology resources.
- Each Ontology resource requires a positive approval from at least one editor of that resource. If the user editing the branch has edit permissions on an Ontology resource, the editor can self-approve the proposal.
-
For Workshop: Not yet integrated with the Approvals application. Workshop changes will not require a review process to merge your branch. Changes made by users with Editor rights on the module are automatically approved. We are actively working on integrating Workshop with the Approvals application.
Review proposals
Reviewers can navigate to a proposal in the branch taskbar, or the Foundry Branching application by selecting Review for a modified resource with the Awaiting review status. Reviewers will then be brought to the appropriate application to review and approve changes.
Merge changes
Once changes have been approved, you can merge your proposal to the Main branch by selecting the Merge changes option in the branch taskbar, or from the Foundry Branching application.
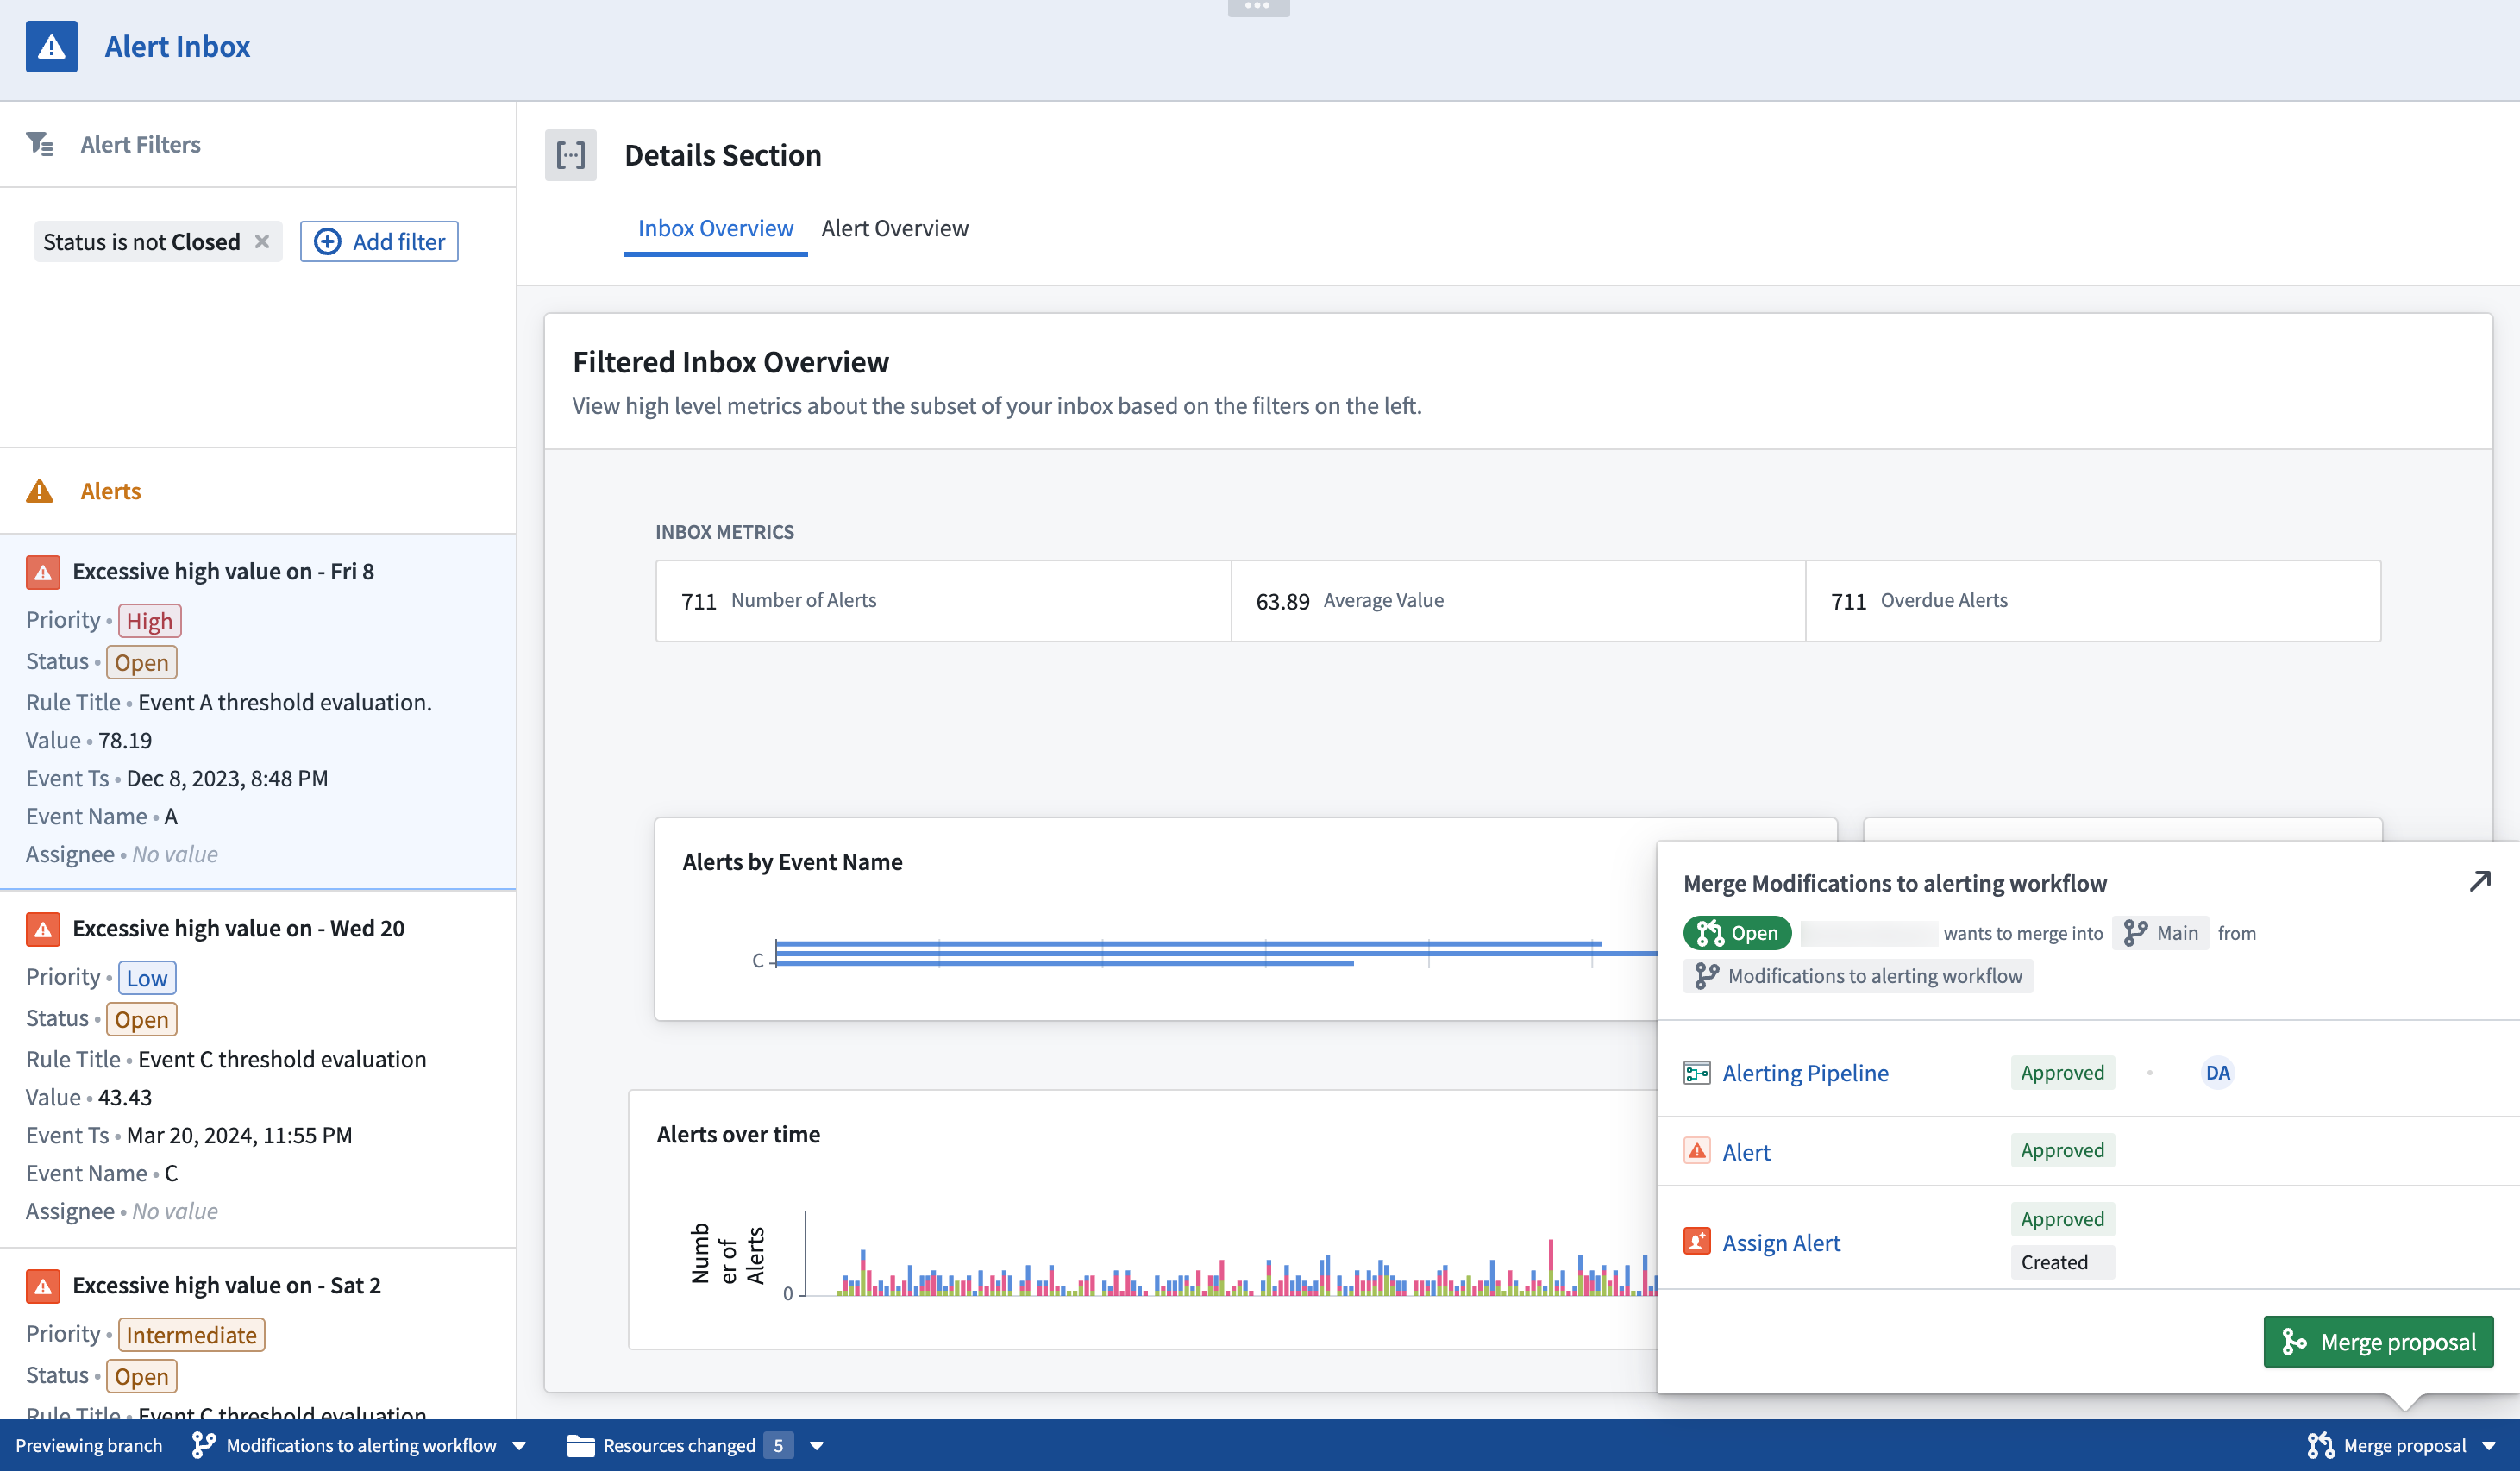
If a proposal contains datasets that depend on other datasets that are not modified on your branch, a prompt will show to indicate the build scope. From the review prompt, you can choose whether to trigger all suggested builds or handle builds and merges manually.
The merge proposal dialog provides two options: Build all affected resources and Build modified resources only.
- Build all affected resources: All resources affected by changes on your branch will be built, so that data in upstream changes flow as required downstream.
- Build modified resources only: Only resources directly changed on this branch will be built. You may need to build resources manually if they depend on upstream changes to this branch.
Merging changes into the Main branch will incur additional indexing and builds, as the state of data (such as transactional history) is not copied over from branches. We are actively working on reducing the downtime that occurs as a result of merging new logic or metadata definitions into the Main branch.