Define modeling objective API
The below documentation describes binding models to the ontology in Modeling Objectives, which is no longer recommended for most use cases. Consider direct model deployment as a function instead to use models in downstream applications, including Workshop, Slate, Actions, and more.
To specify how users or applications should use your modeling objective within Foundry, you can create an API for your objective.
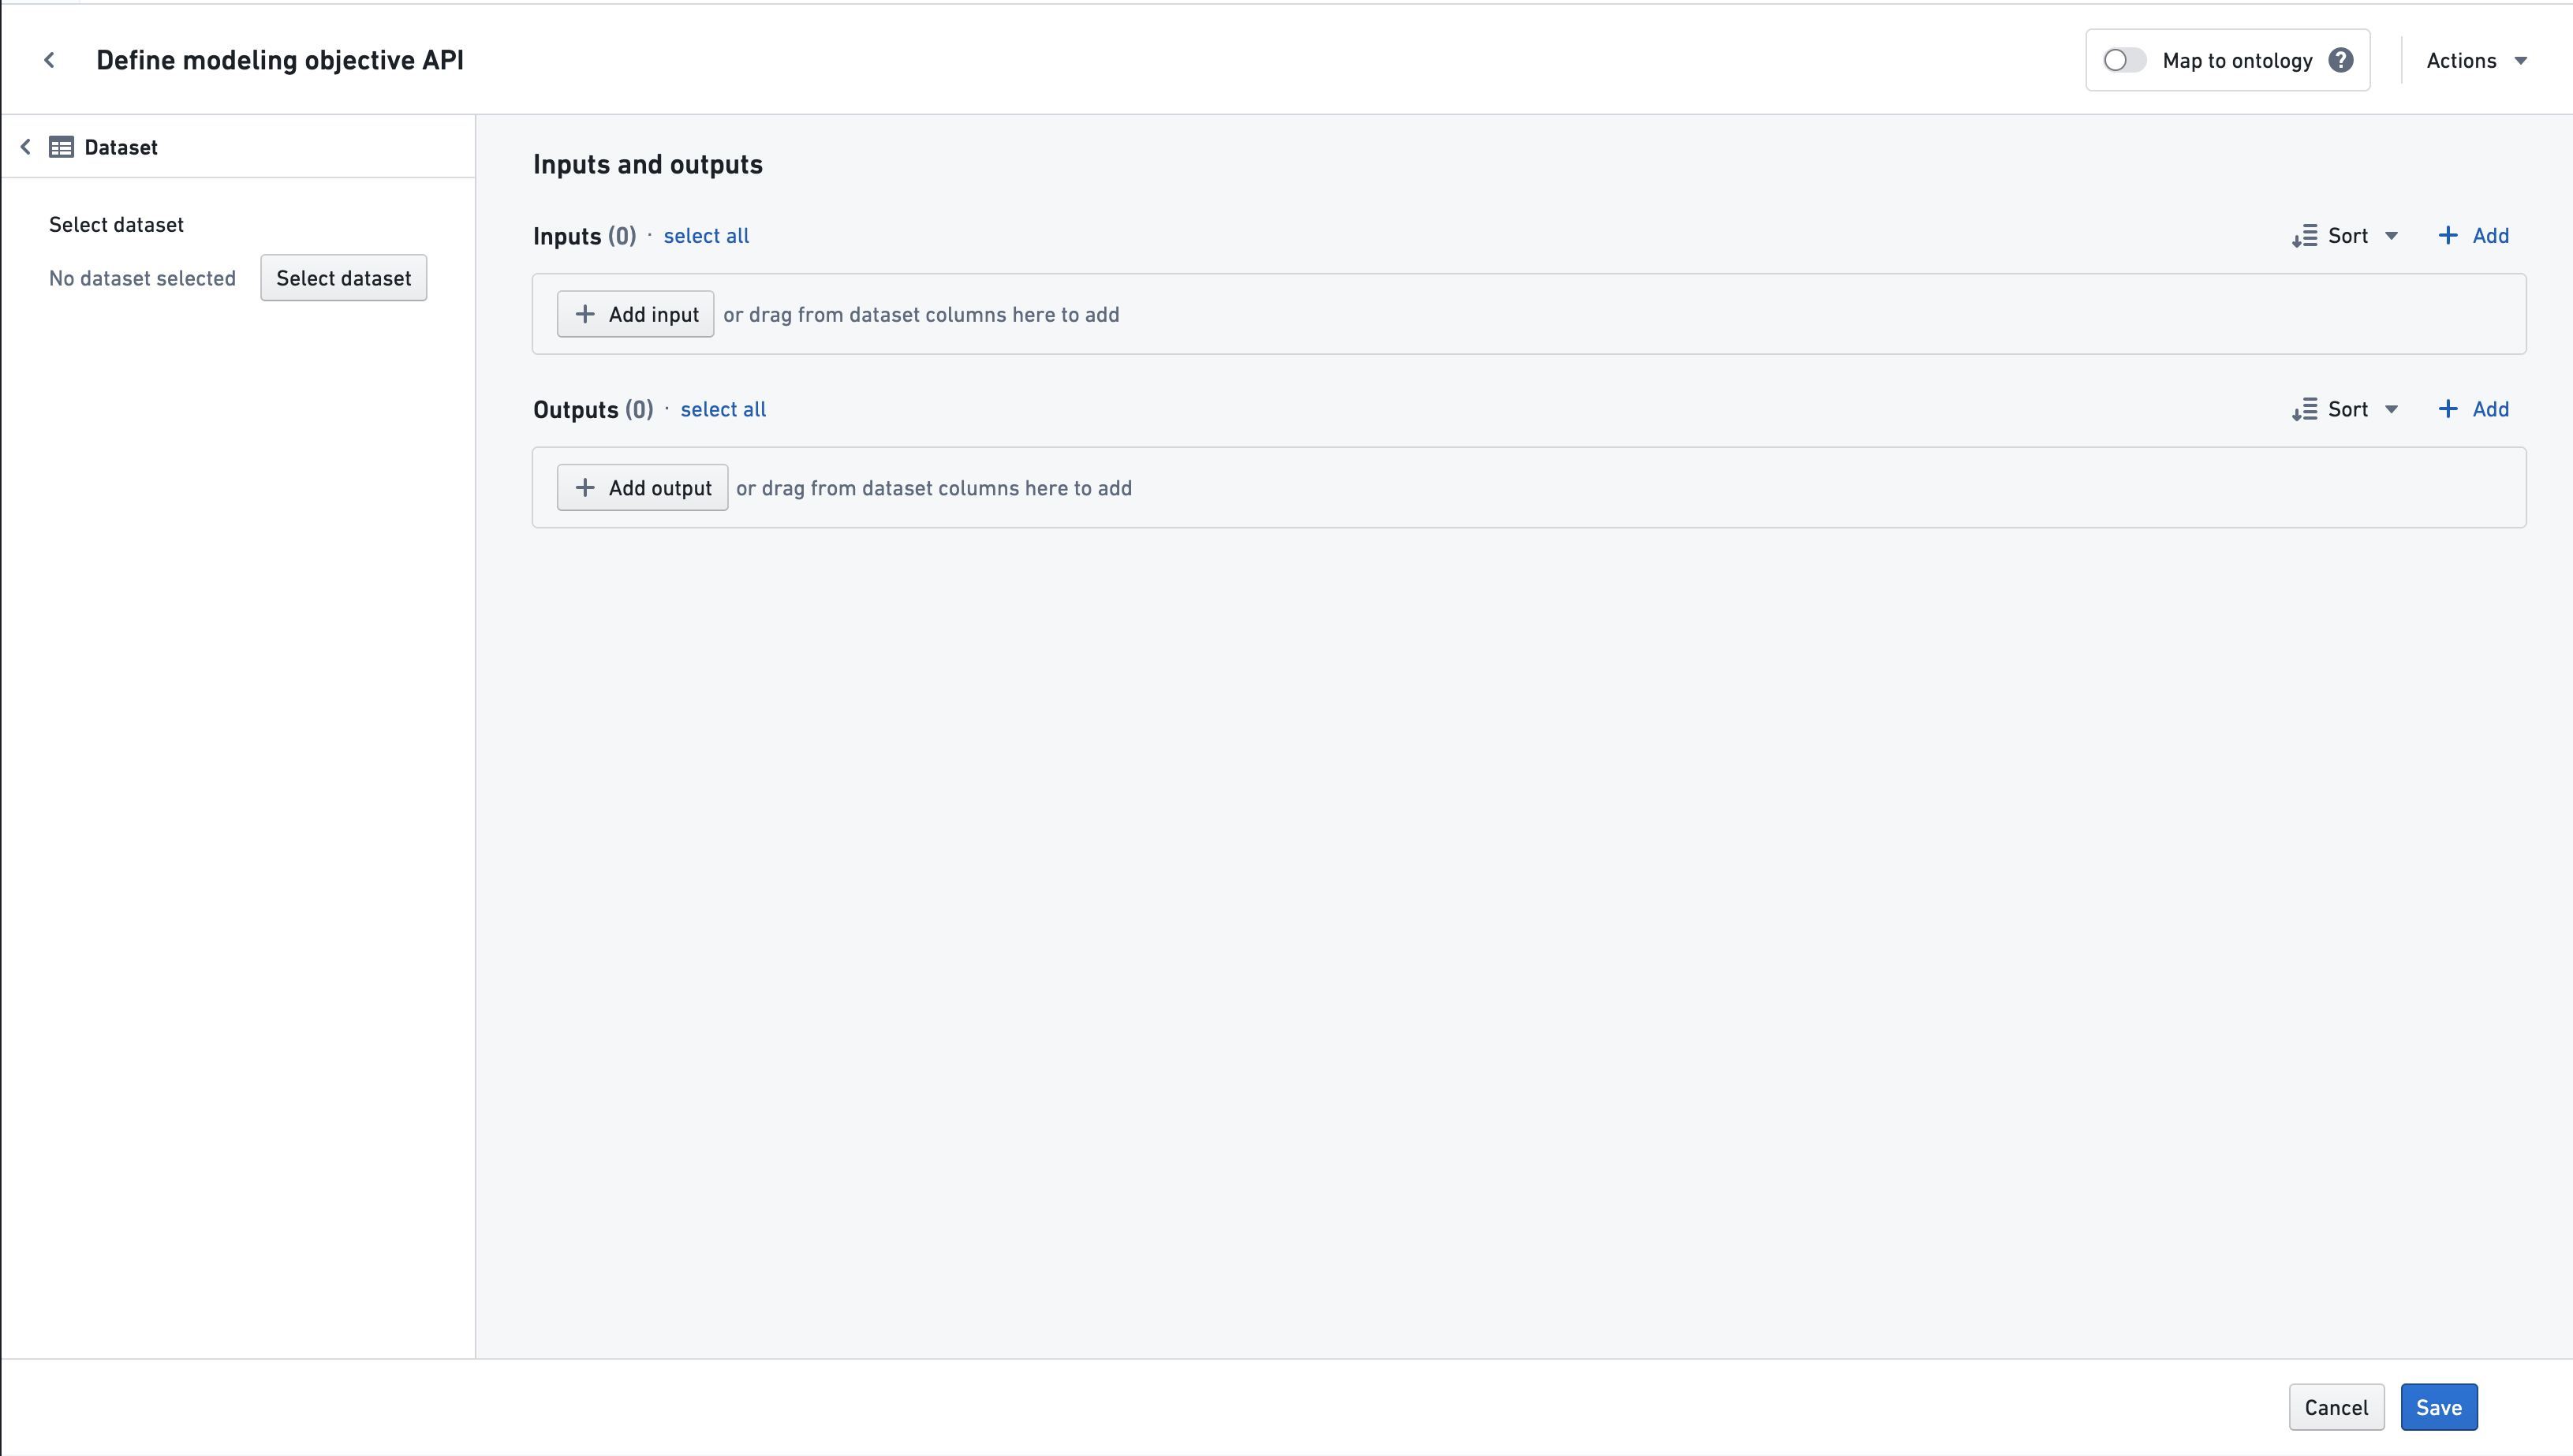
To define input and output APIs for a new objective, select Modeling objective details and edit the Objective API section. This will take you to the Define modeling objective API page, as shown below:
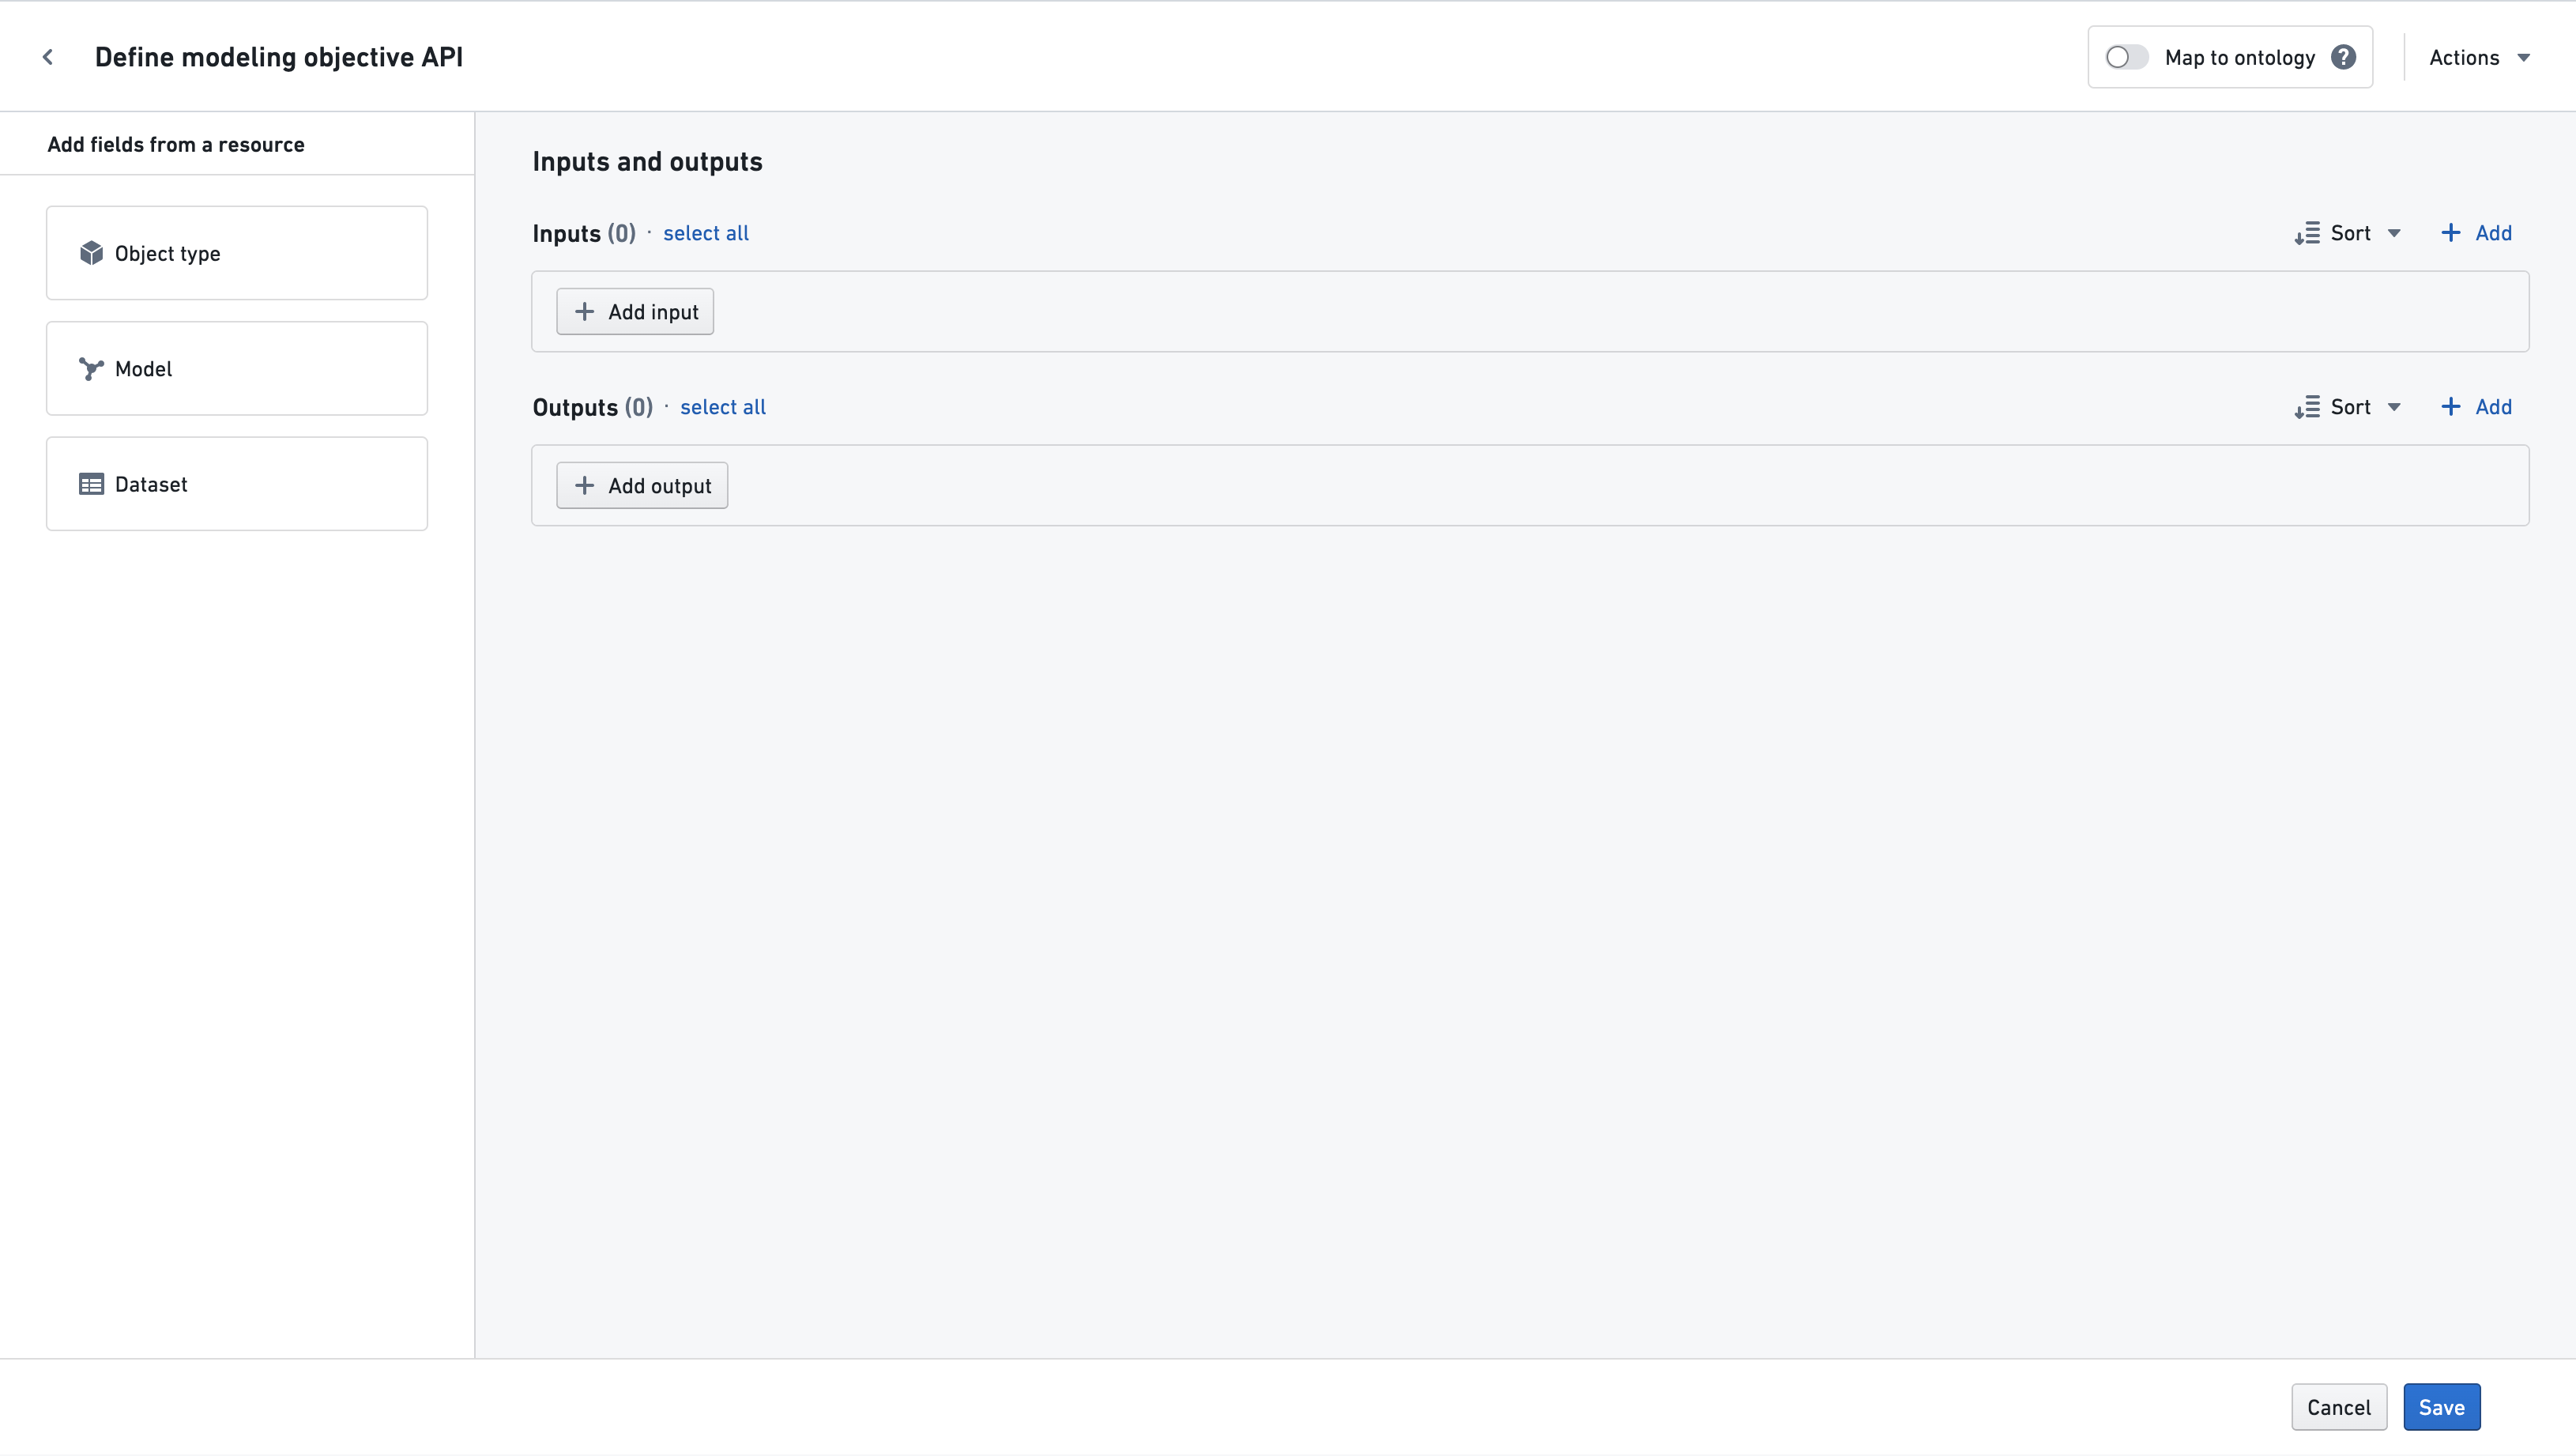
On the left-hand panel (shown above) labeled Define initial objective API, you can choose one of the following methods to help start populating the modeling objective API (or you can manually define the inputs and outputs on the right):
- If you select Object Type, proceed to the documentation on mapping object properties.
- If you already have a model in mind that you would like to submit to this objective, you can start from the Model's API by following the steps below by selecting Model. At this time, this workflow is only supported for ontology-backed models.
- If you want your objective API to have inputs or outputs based on columns of any existing Foundry dataset, selecting Dataset will let you easily create properties based on those columns, as described in the documentation here.
Manually defining API input and outputs
To manually define an API, you can directly specify input and output properties and then select an object type to map properties to the ontology.
Click the “Add input” or “Add output” button, and specify the property name, the type, and, optionally, the description. The type should be one of:
booleandatetimedoublelongintegerstring
If the type of the property is expected to be unknown, the any type should be used.
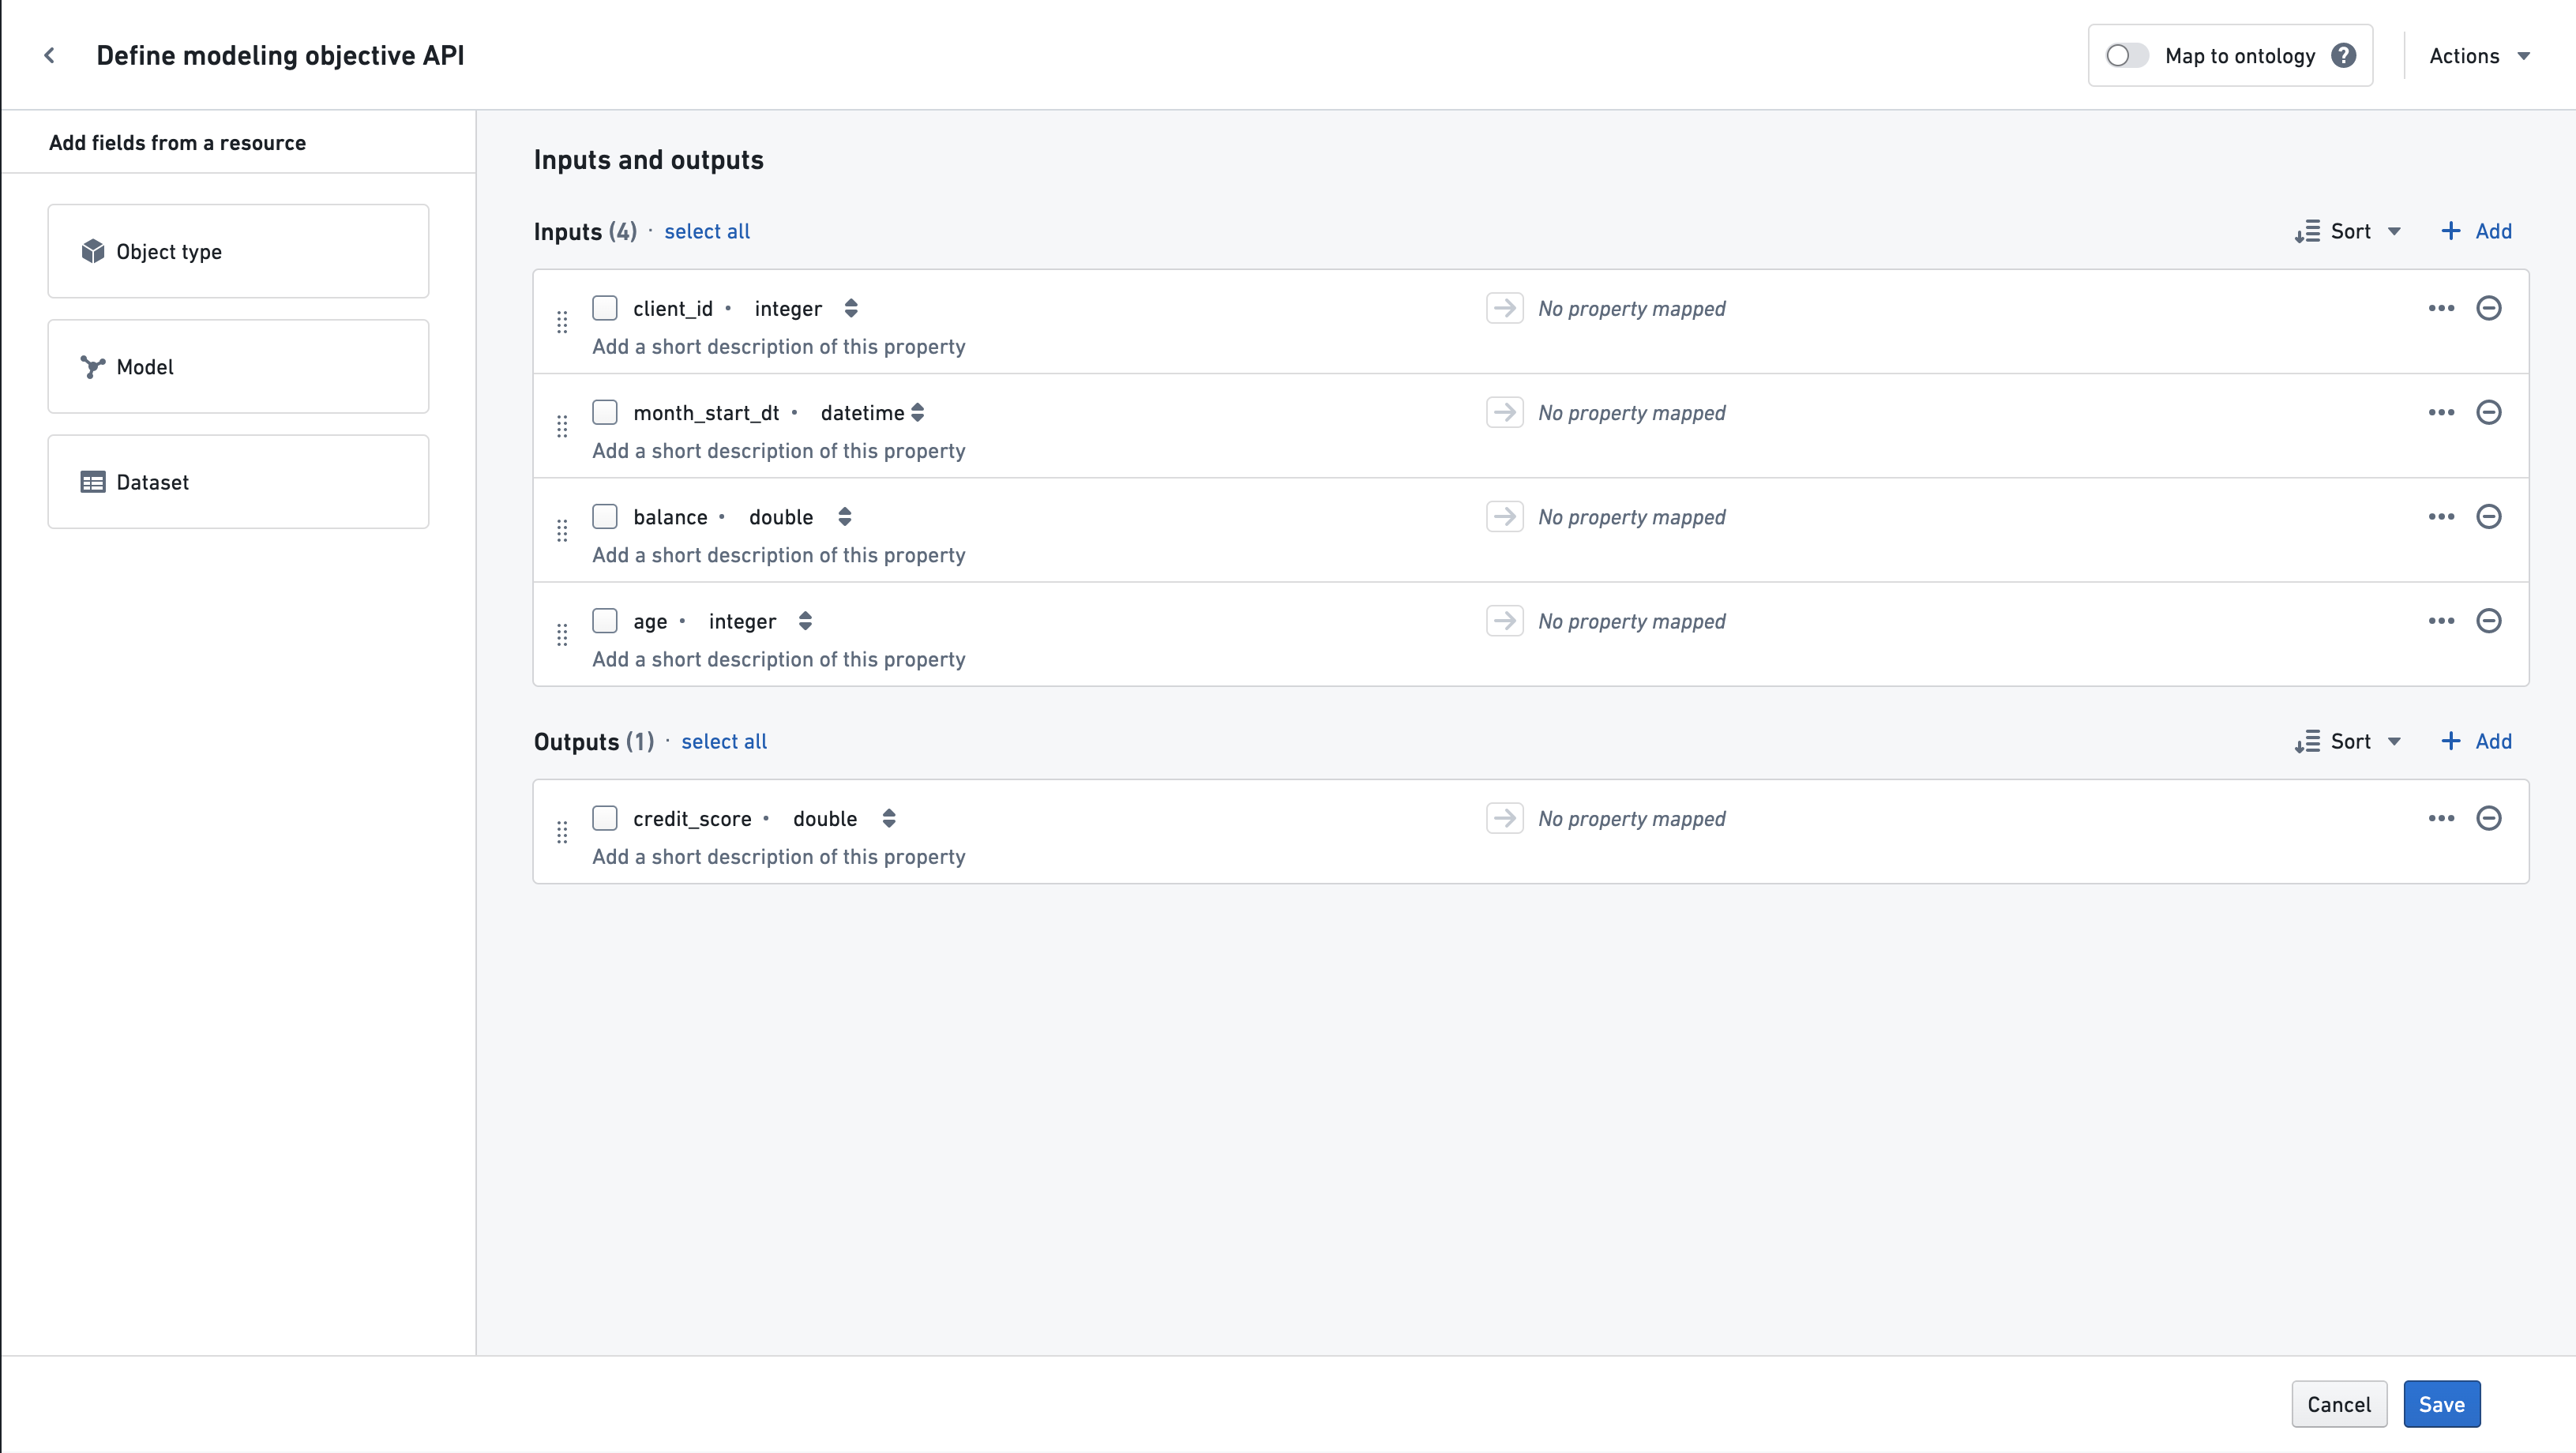
After defining input and output properties, you can optionally map them to object properties, as described in the next section.
The API defines the format of the input and output for any models submitted to the modeling objective. The input will be given as single dataframe, and the column names of this dataframe should match the names given in the Inputs section shown above. Similarly, the modeling objective will expect model's output dataframe to have columns matching those specified in Outputs.
Mapping your objective API to the Ontology
You can provide additional metadata to each field in your objective API by mapping (also known as binding) each field to an object property in the Ontology. Mapping properties is highly recommended if the modeling objective should use data from the Ontology or if the modeling objective will be used to power operational applications that are backed by the Ontology.
For example, using Scenarios in a Workshop application requires that your objective API to be mapped to the Ontology. This is because Scenarios will use these input mappings to fetch the appropriate input data when executing your model and use the output mappings to determine ontological properties to overwrite.
See below for what mapping means for input and output properties:
- For an input property, this indicates that the data for that property should be pulled from the mapped object type and property.
- For an output property, this indicates that the model output for that property must be compatible with, and may be written to, the mapped object type property.
Ontology mappings can be used by operational applications to fetch inputs to your model and subsequently overwrite ontology properties with the output of your model. For this reason, it is very important you understand how applications may be using your objective if you add ontology mappings.
To map to object properties, you can either select "object type" on the left, or toggle the "Map to Ontology" switch in the top-right. From there, select the "root" object type you want to map to. The object properties available for mapping will be those on this object, as well as any objects linked to the selected object by a many-to-one relation.
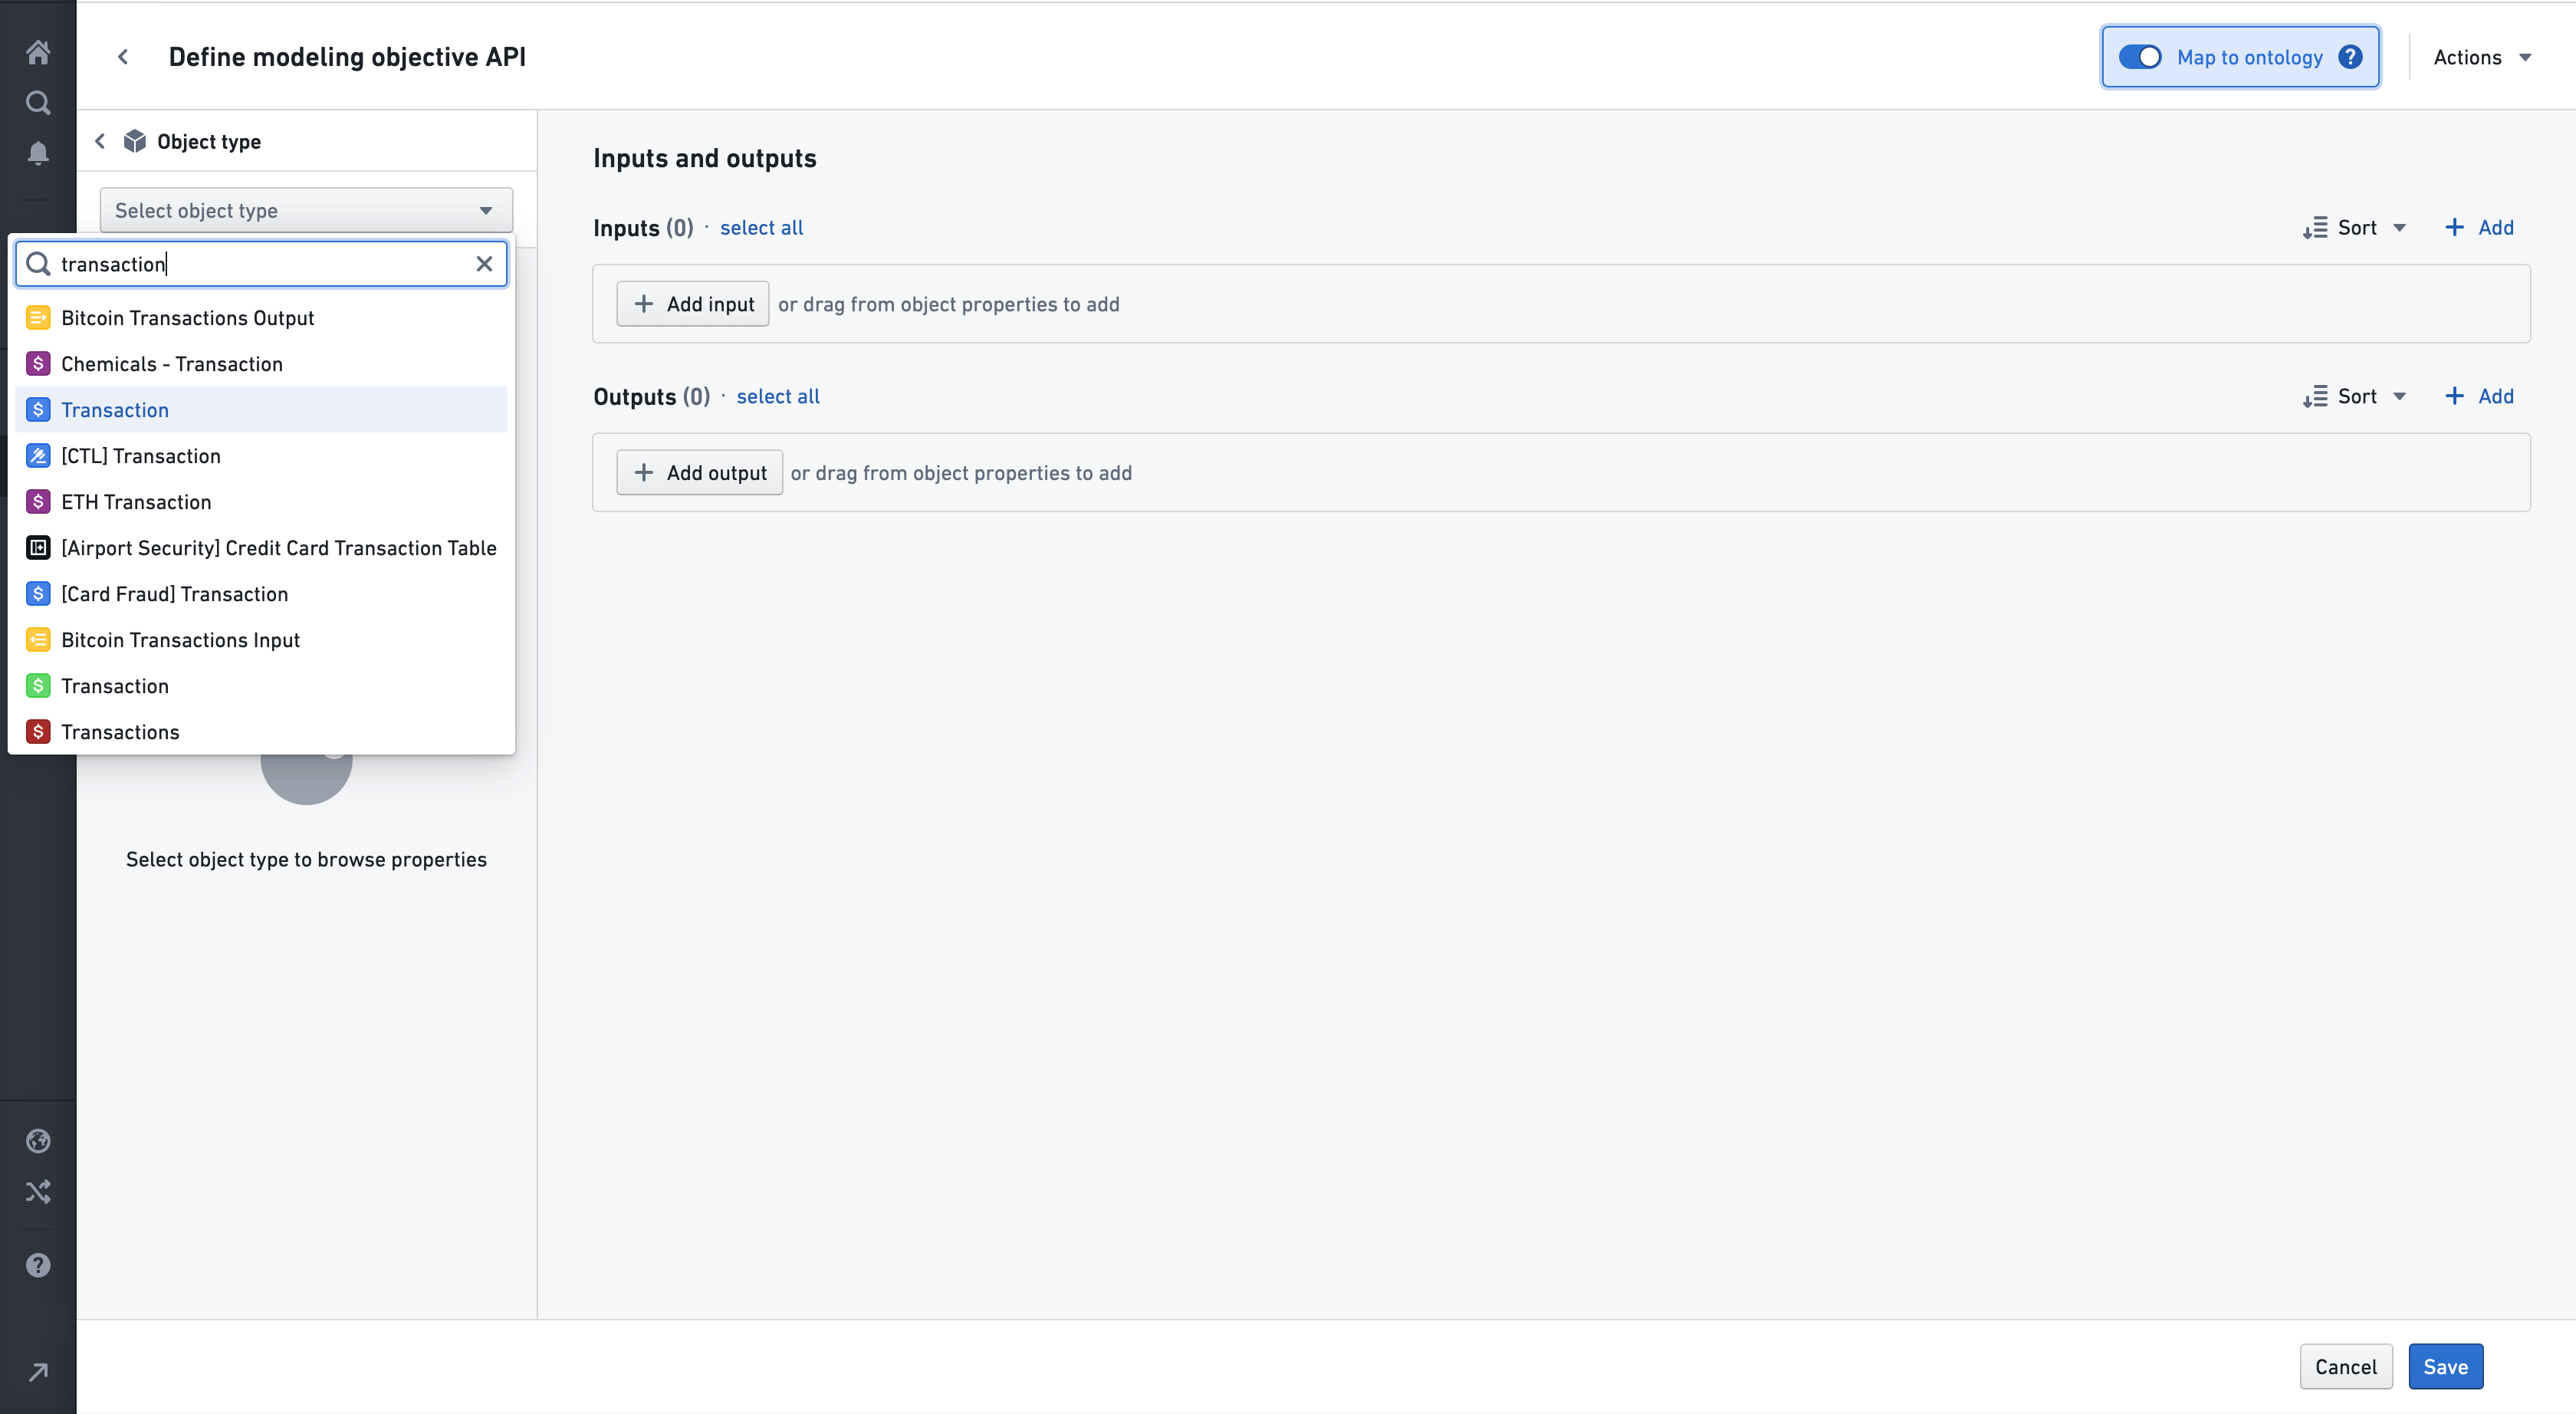
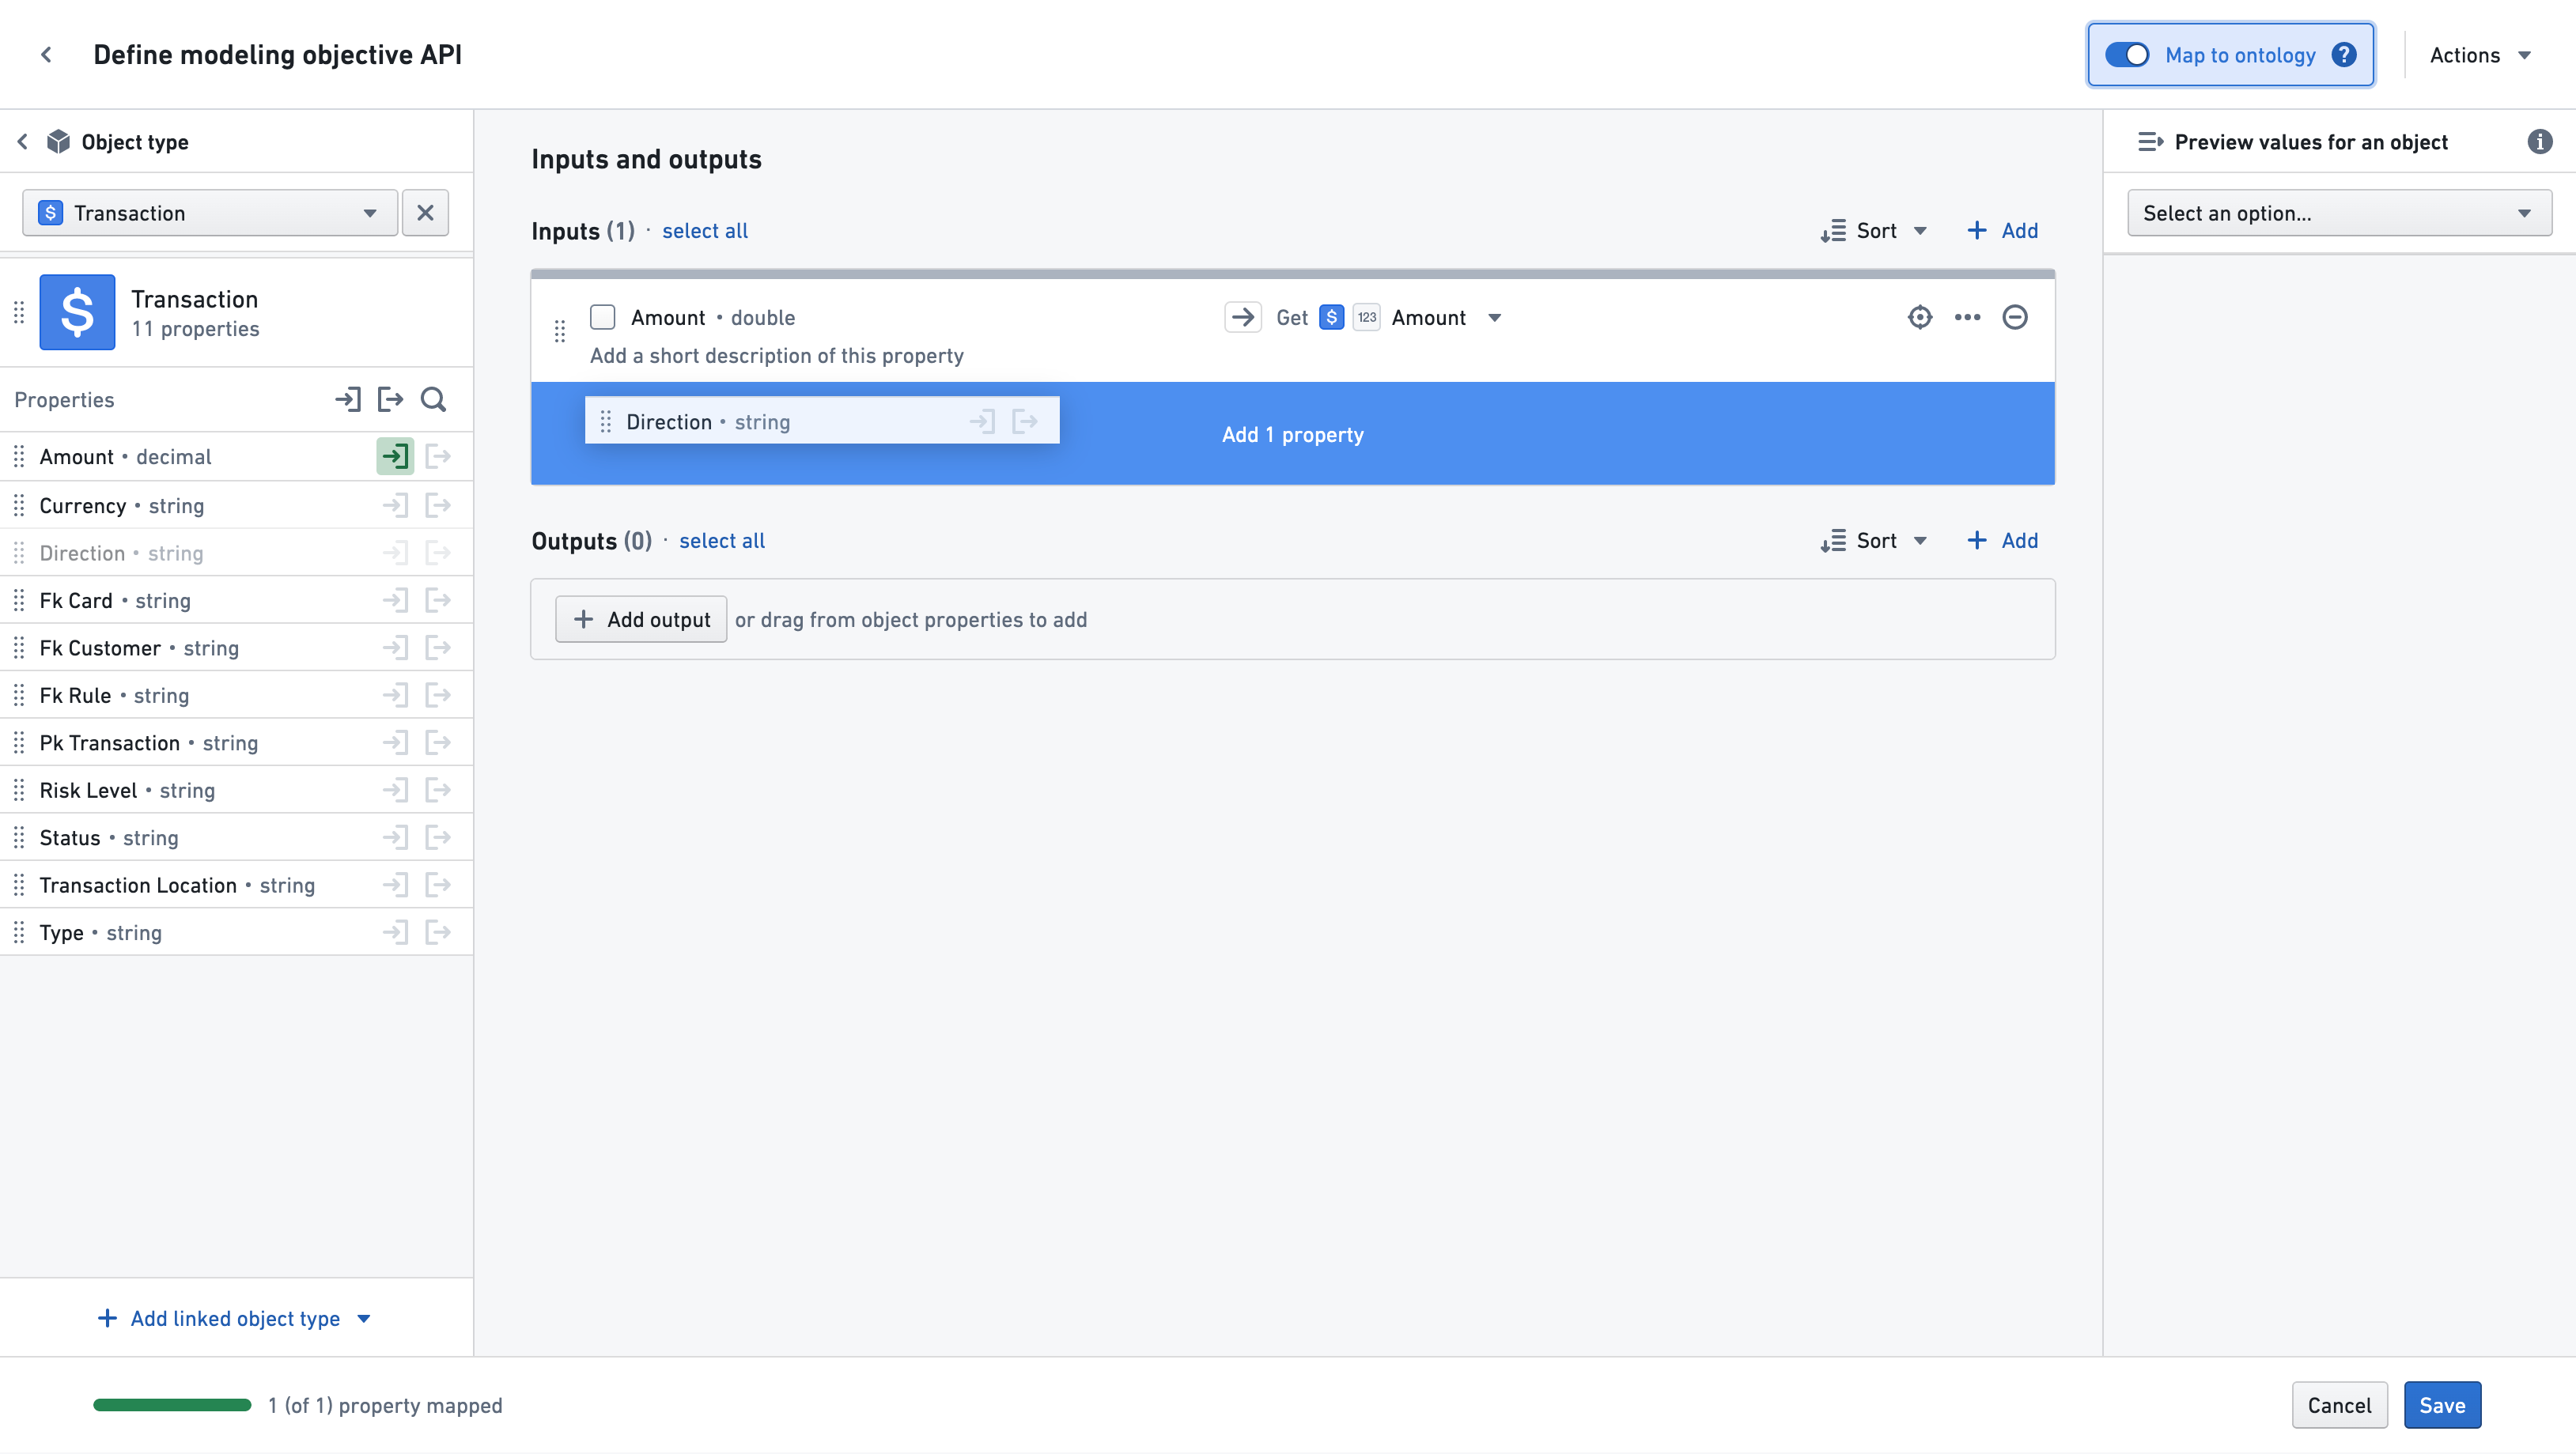
After selecting an object type, all the properties of that object type will be available for mapping. To map a property, click the In or Out button next to the property:
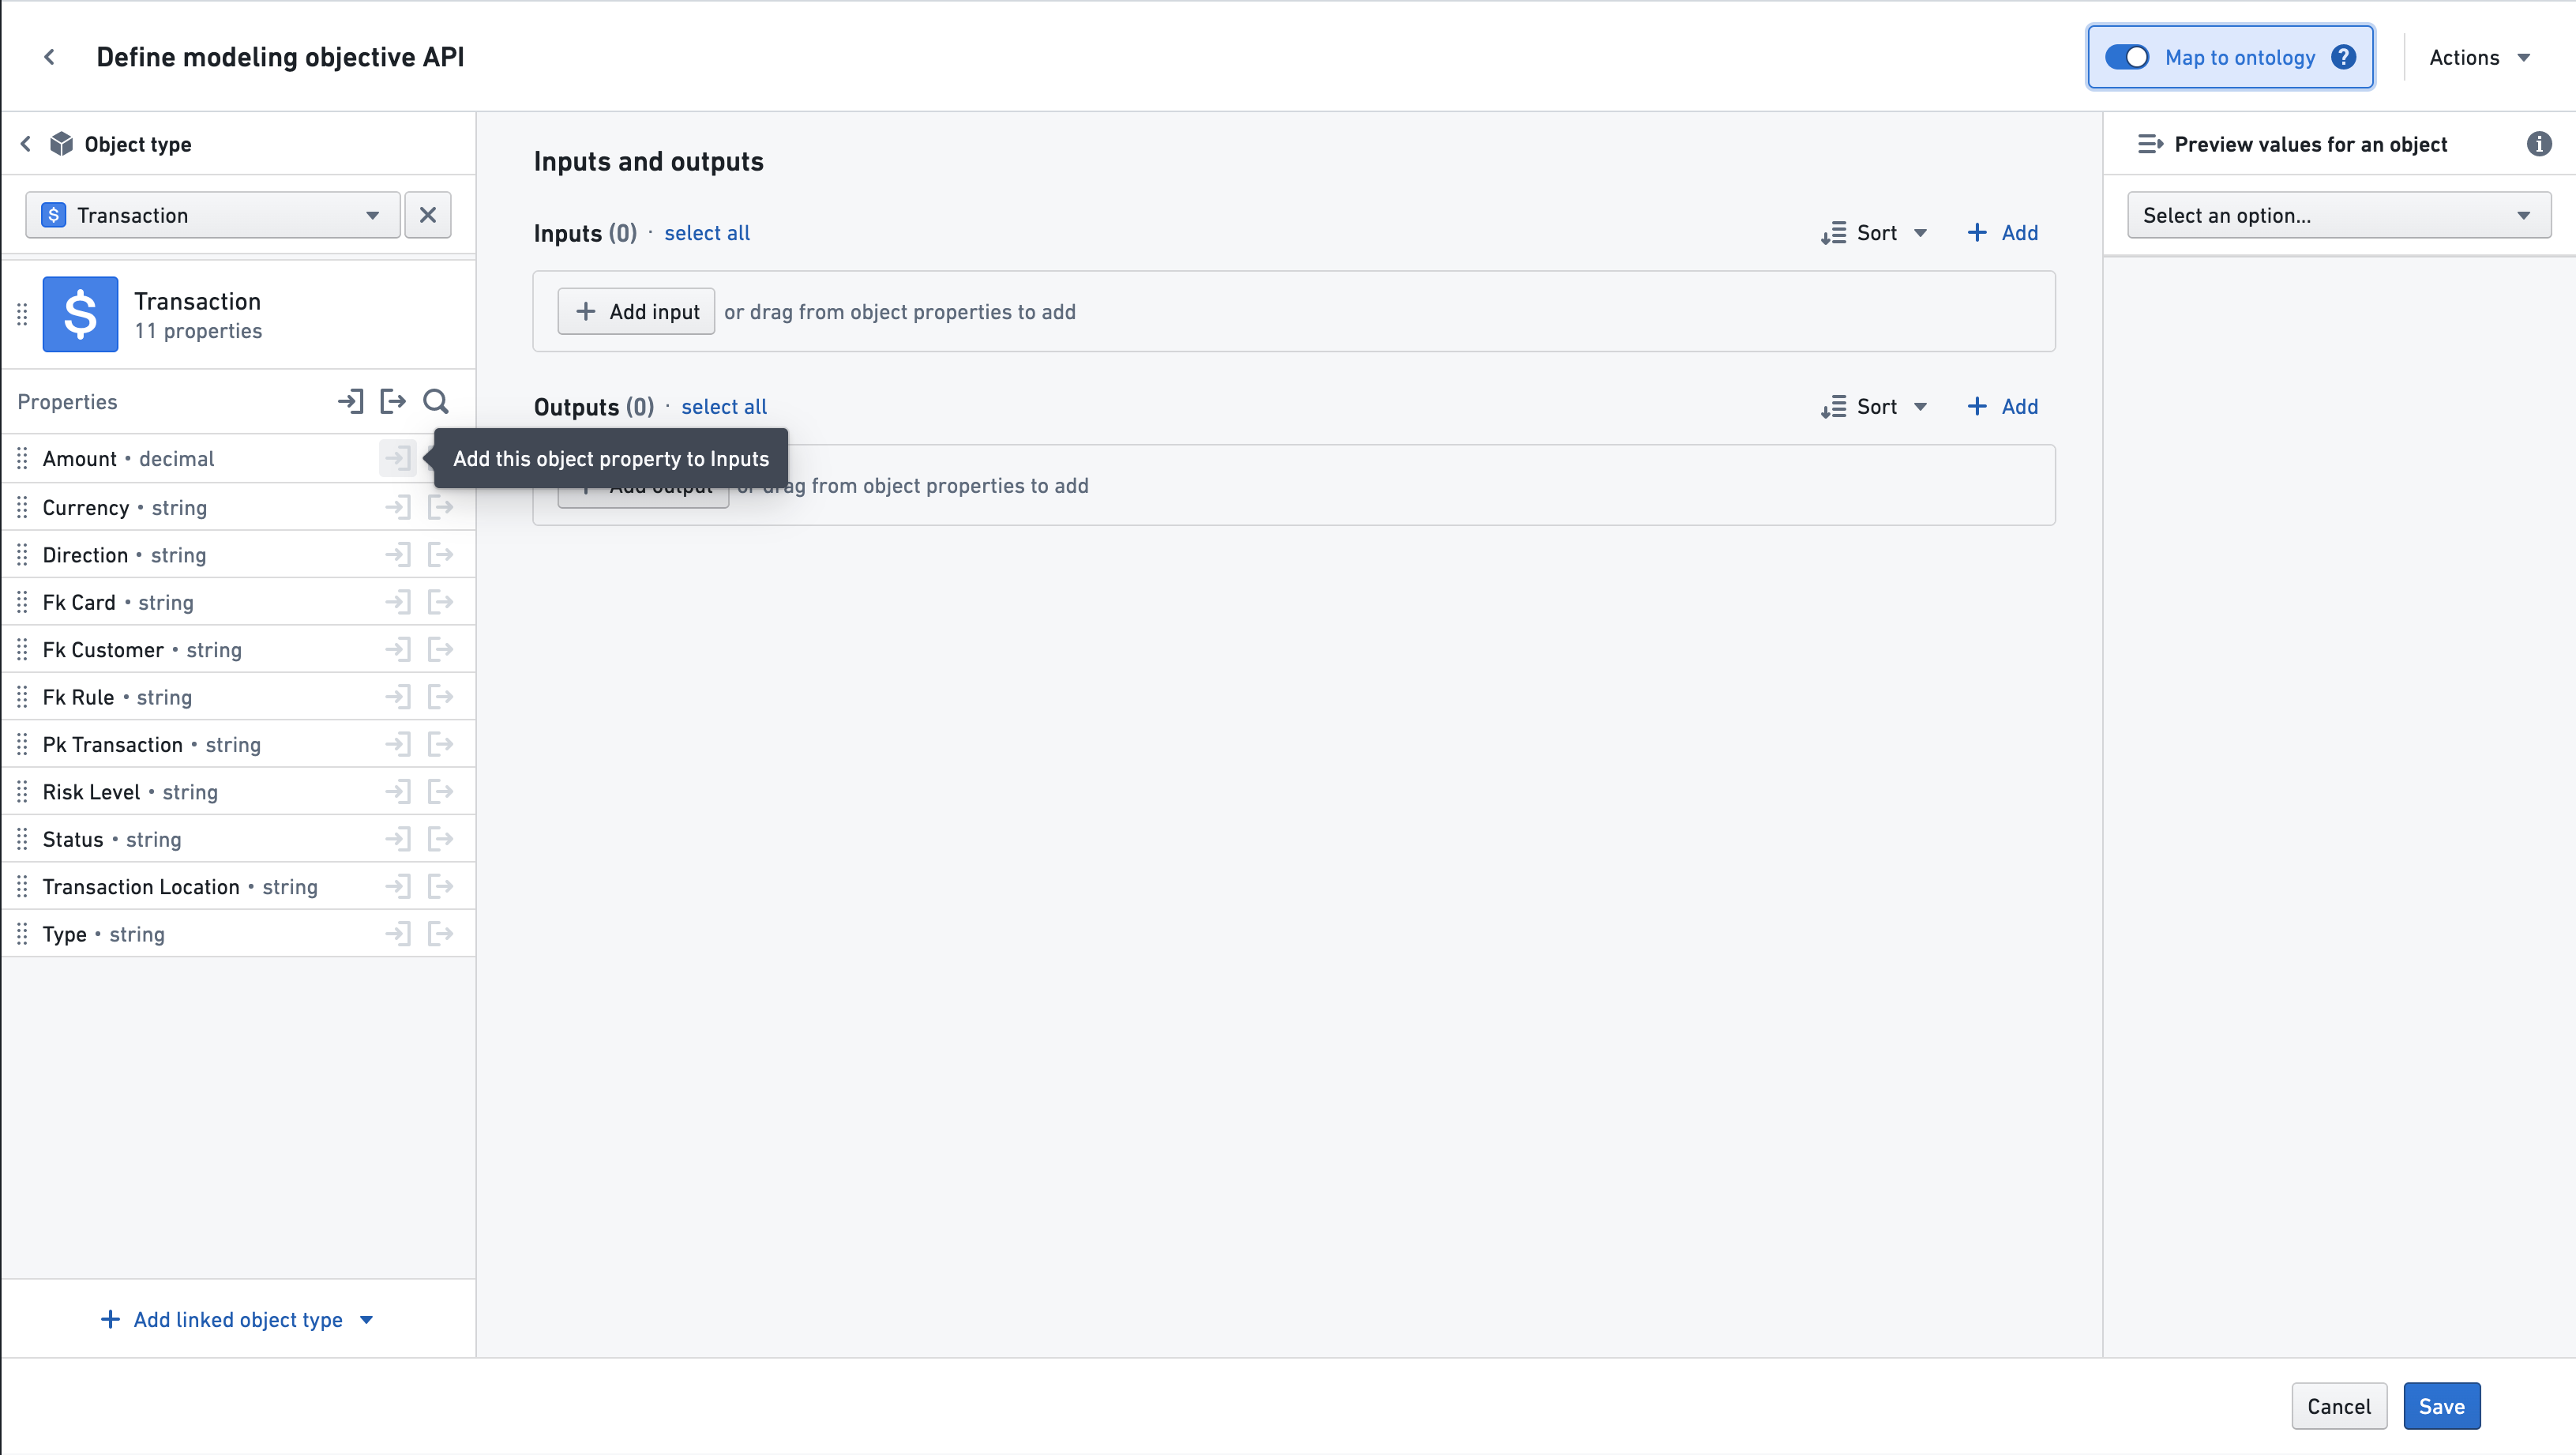
The property type can also be dragged to the Inputs or Outputs section, via the drag handle on the left side of the property.
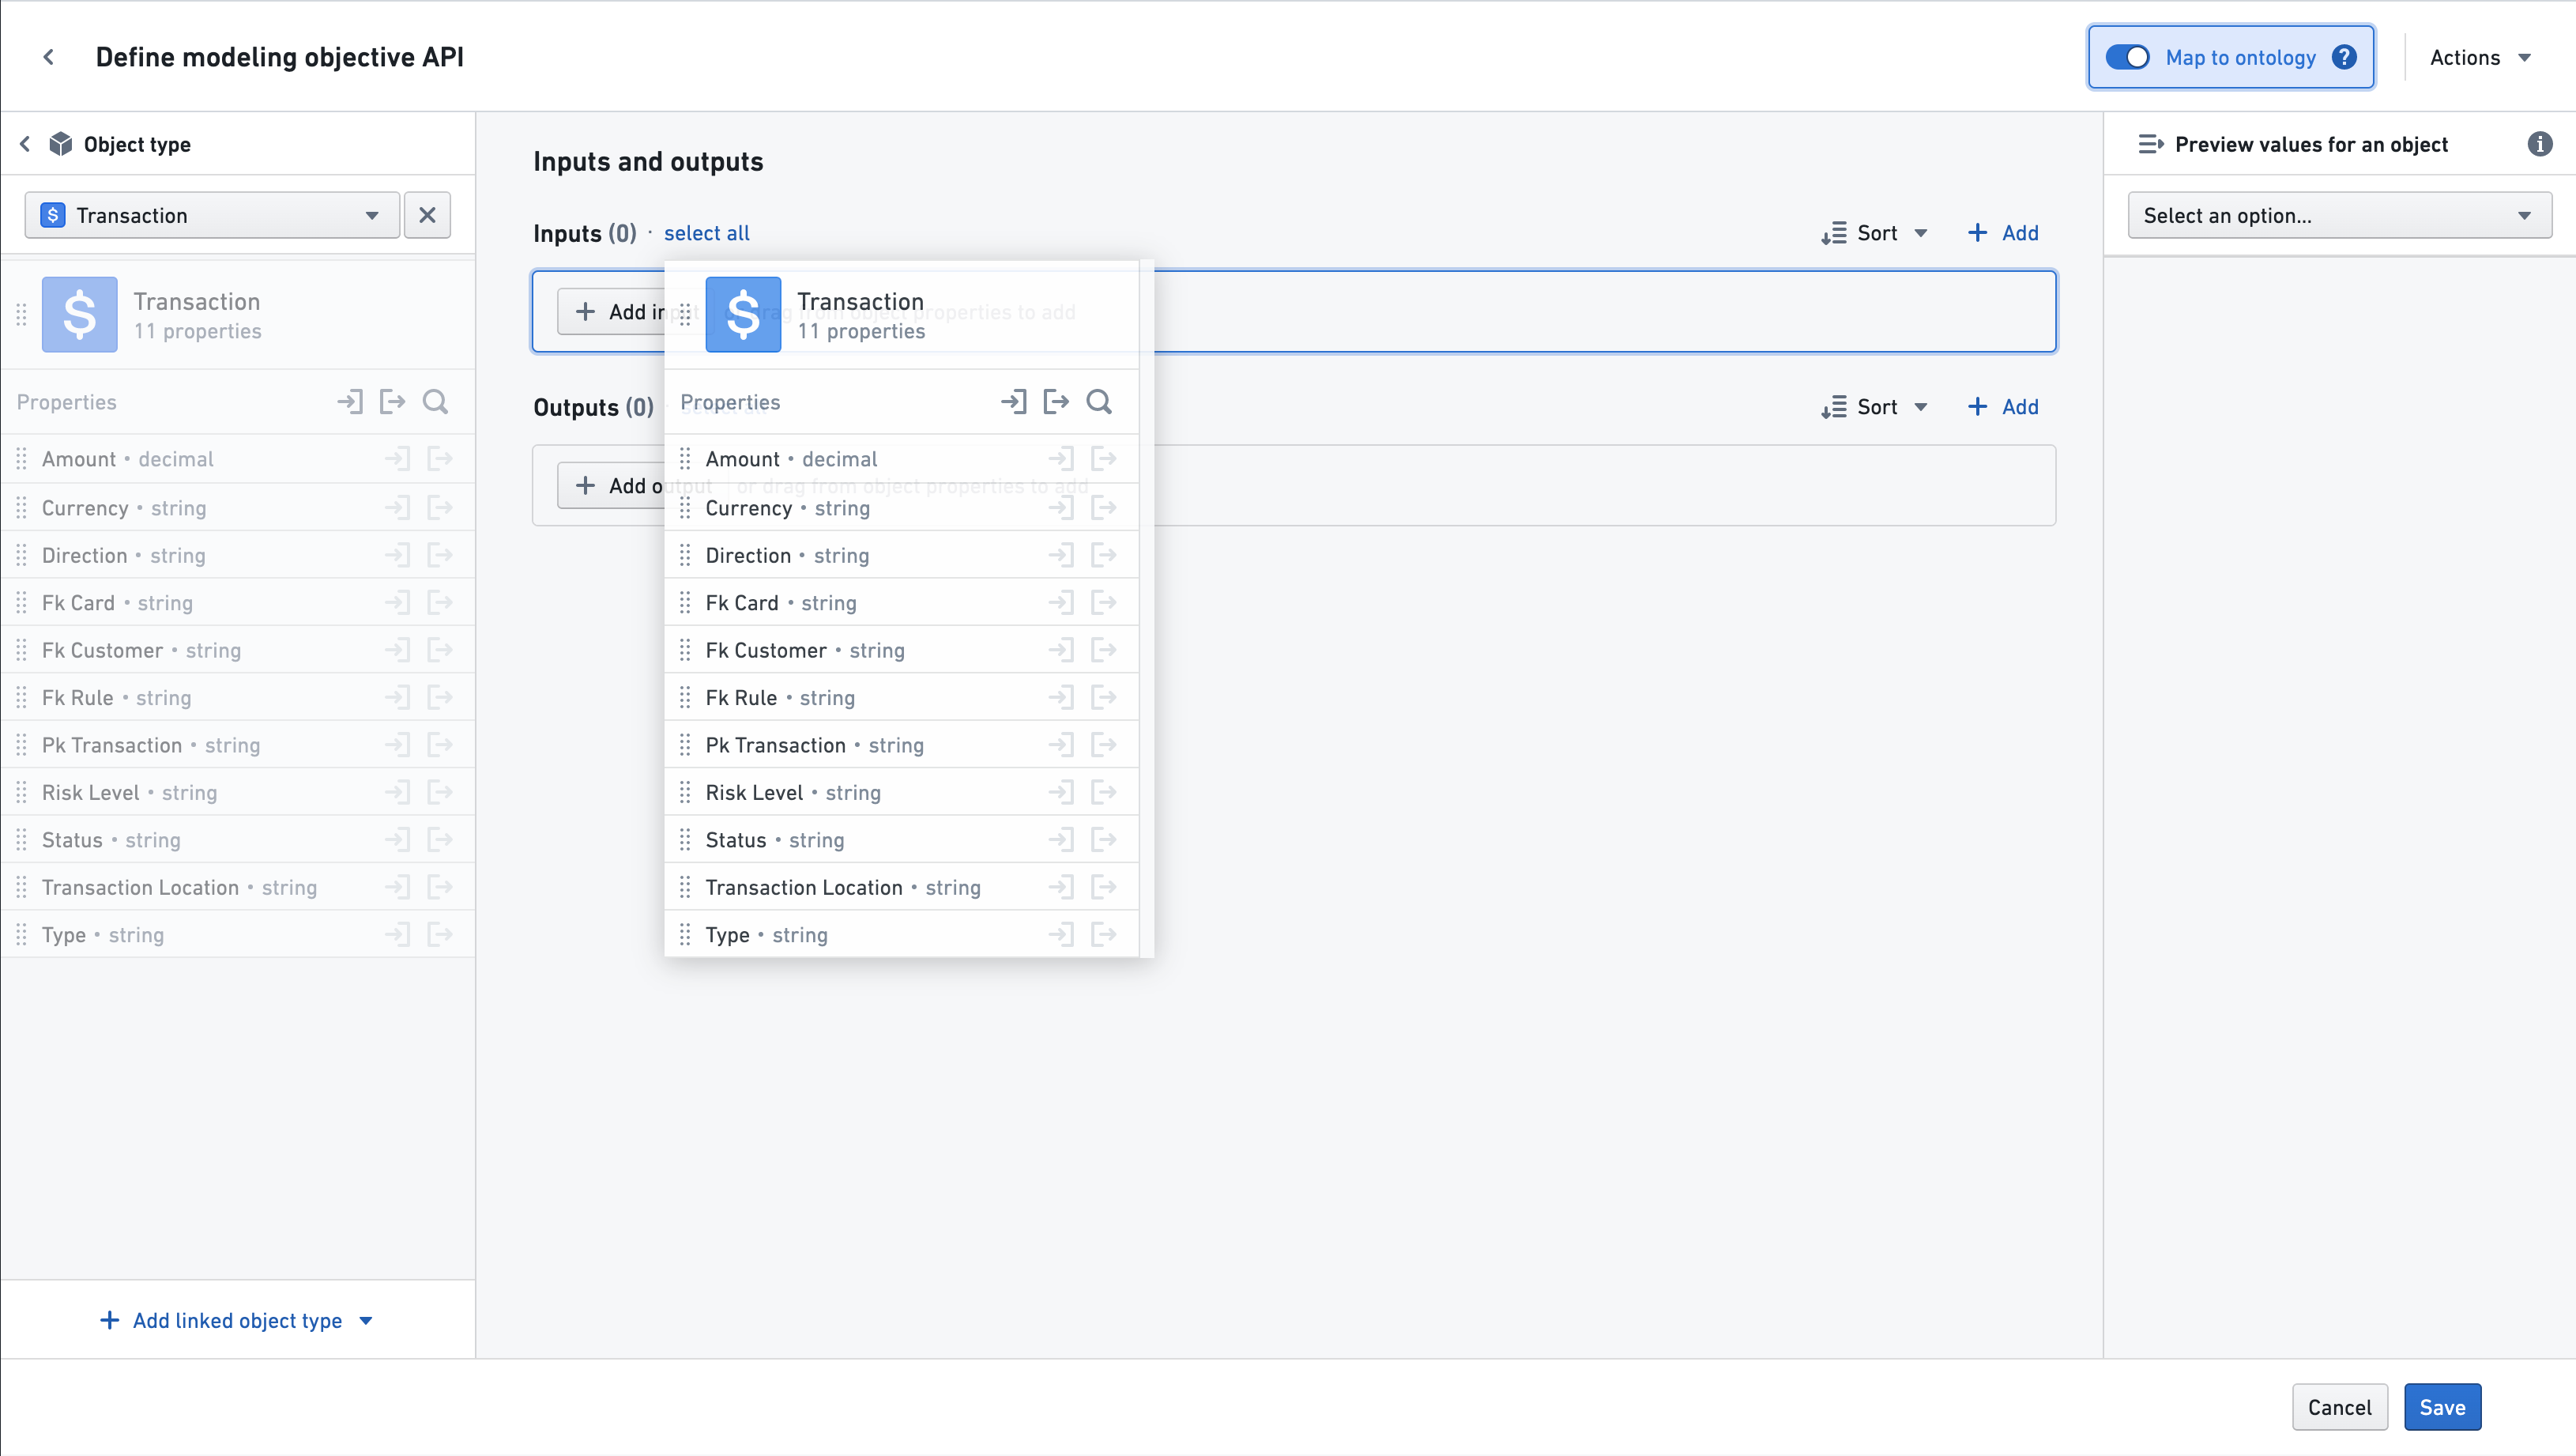
All the properties of the object type can also be added at once, by dragging the entire object card via the drag handle to the left of the object icon:
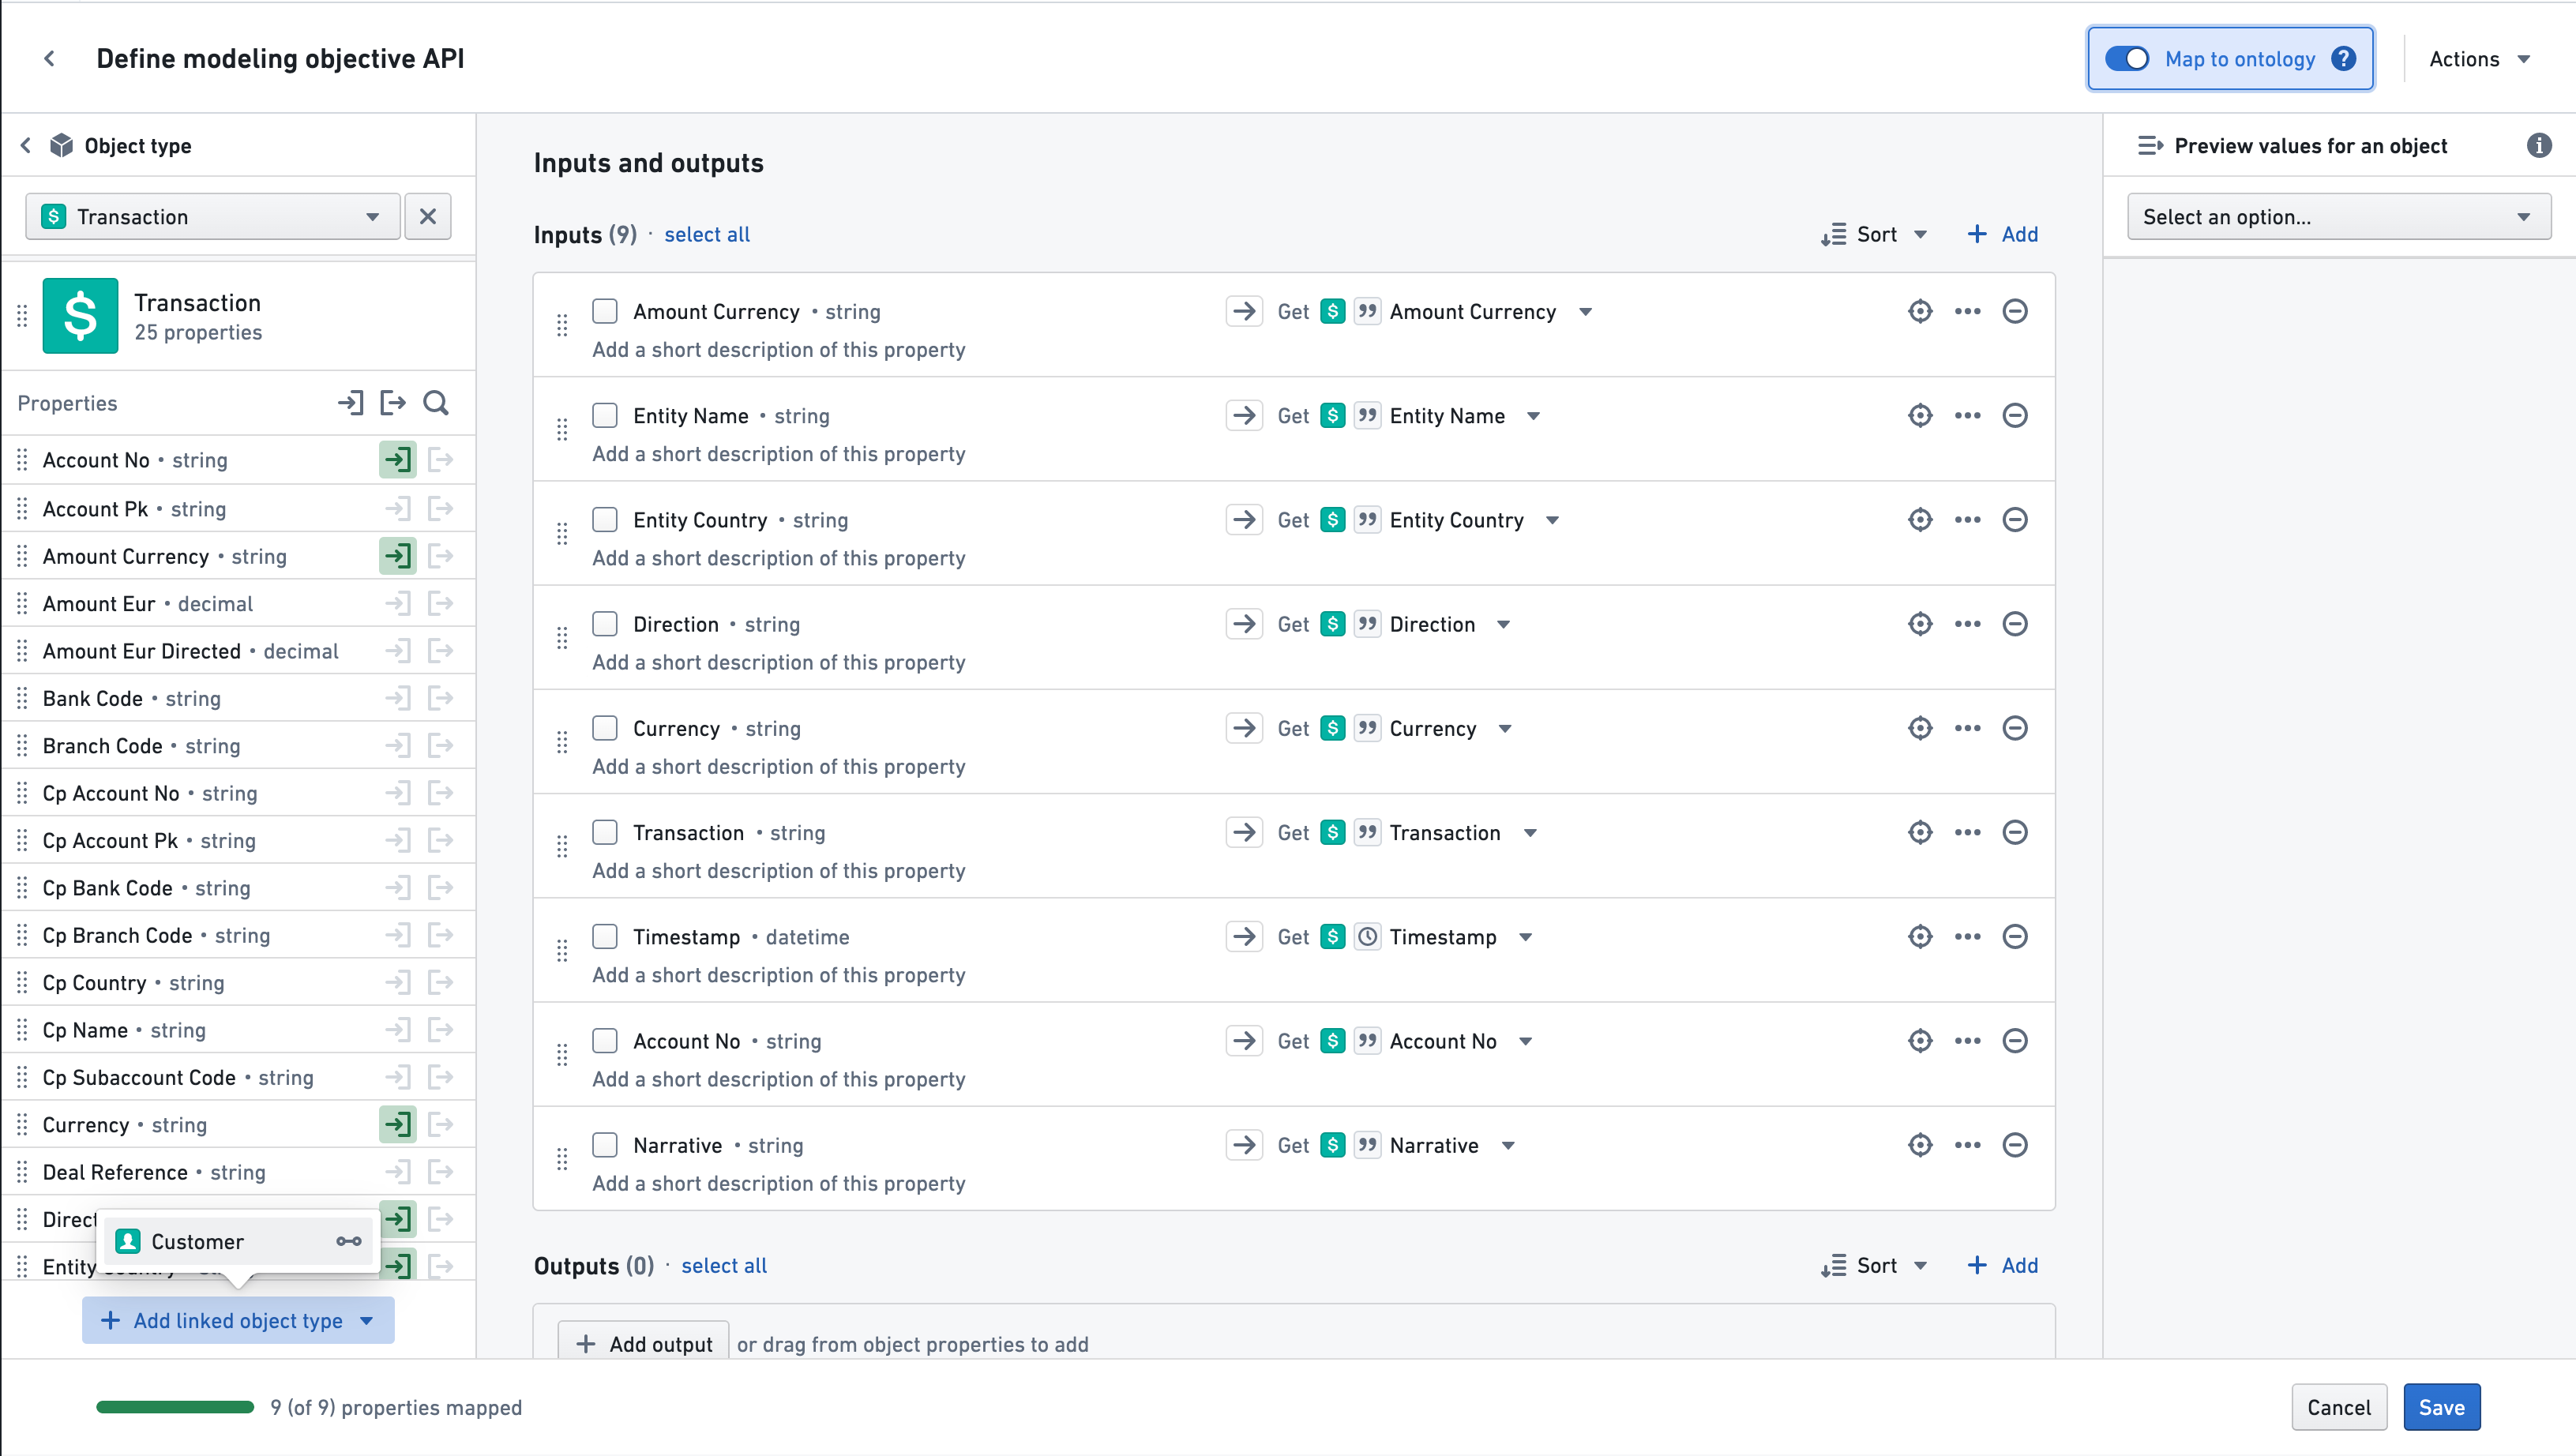
To map properties from a linked object type, scroll down to the bottom of the left side bar. If a linked object is available, the Add linked object type button should be visible. Select that button and choose a linked object type.
That linked object’s properties will now be available for mapping:
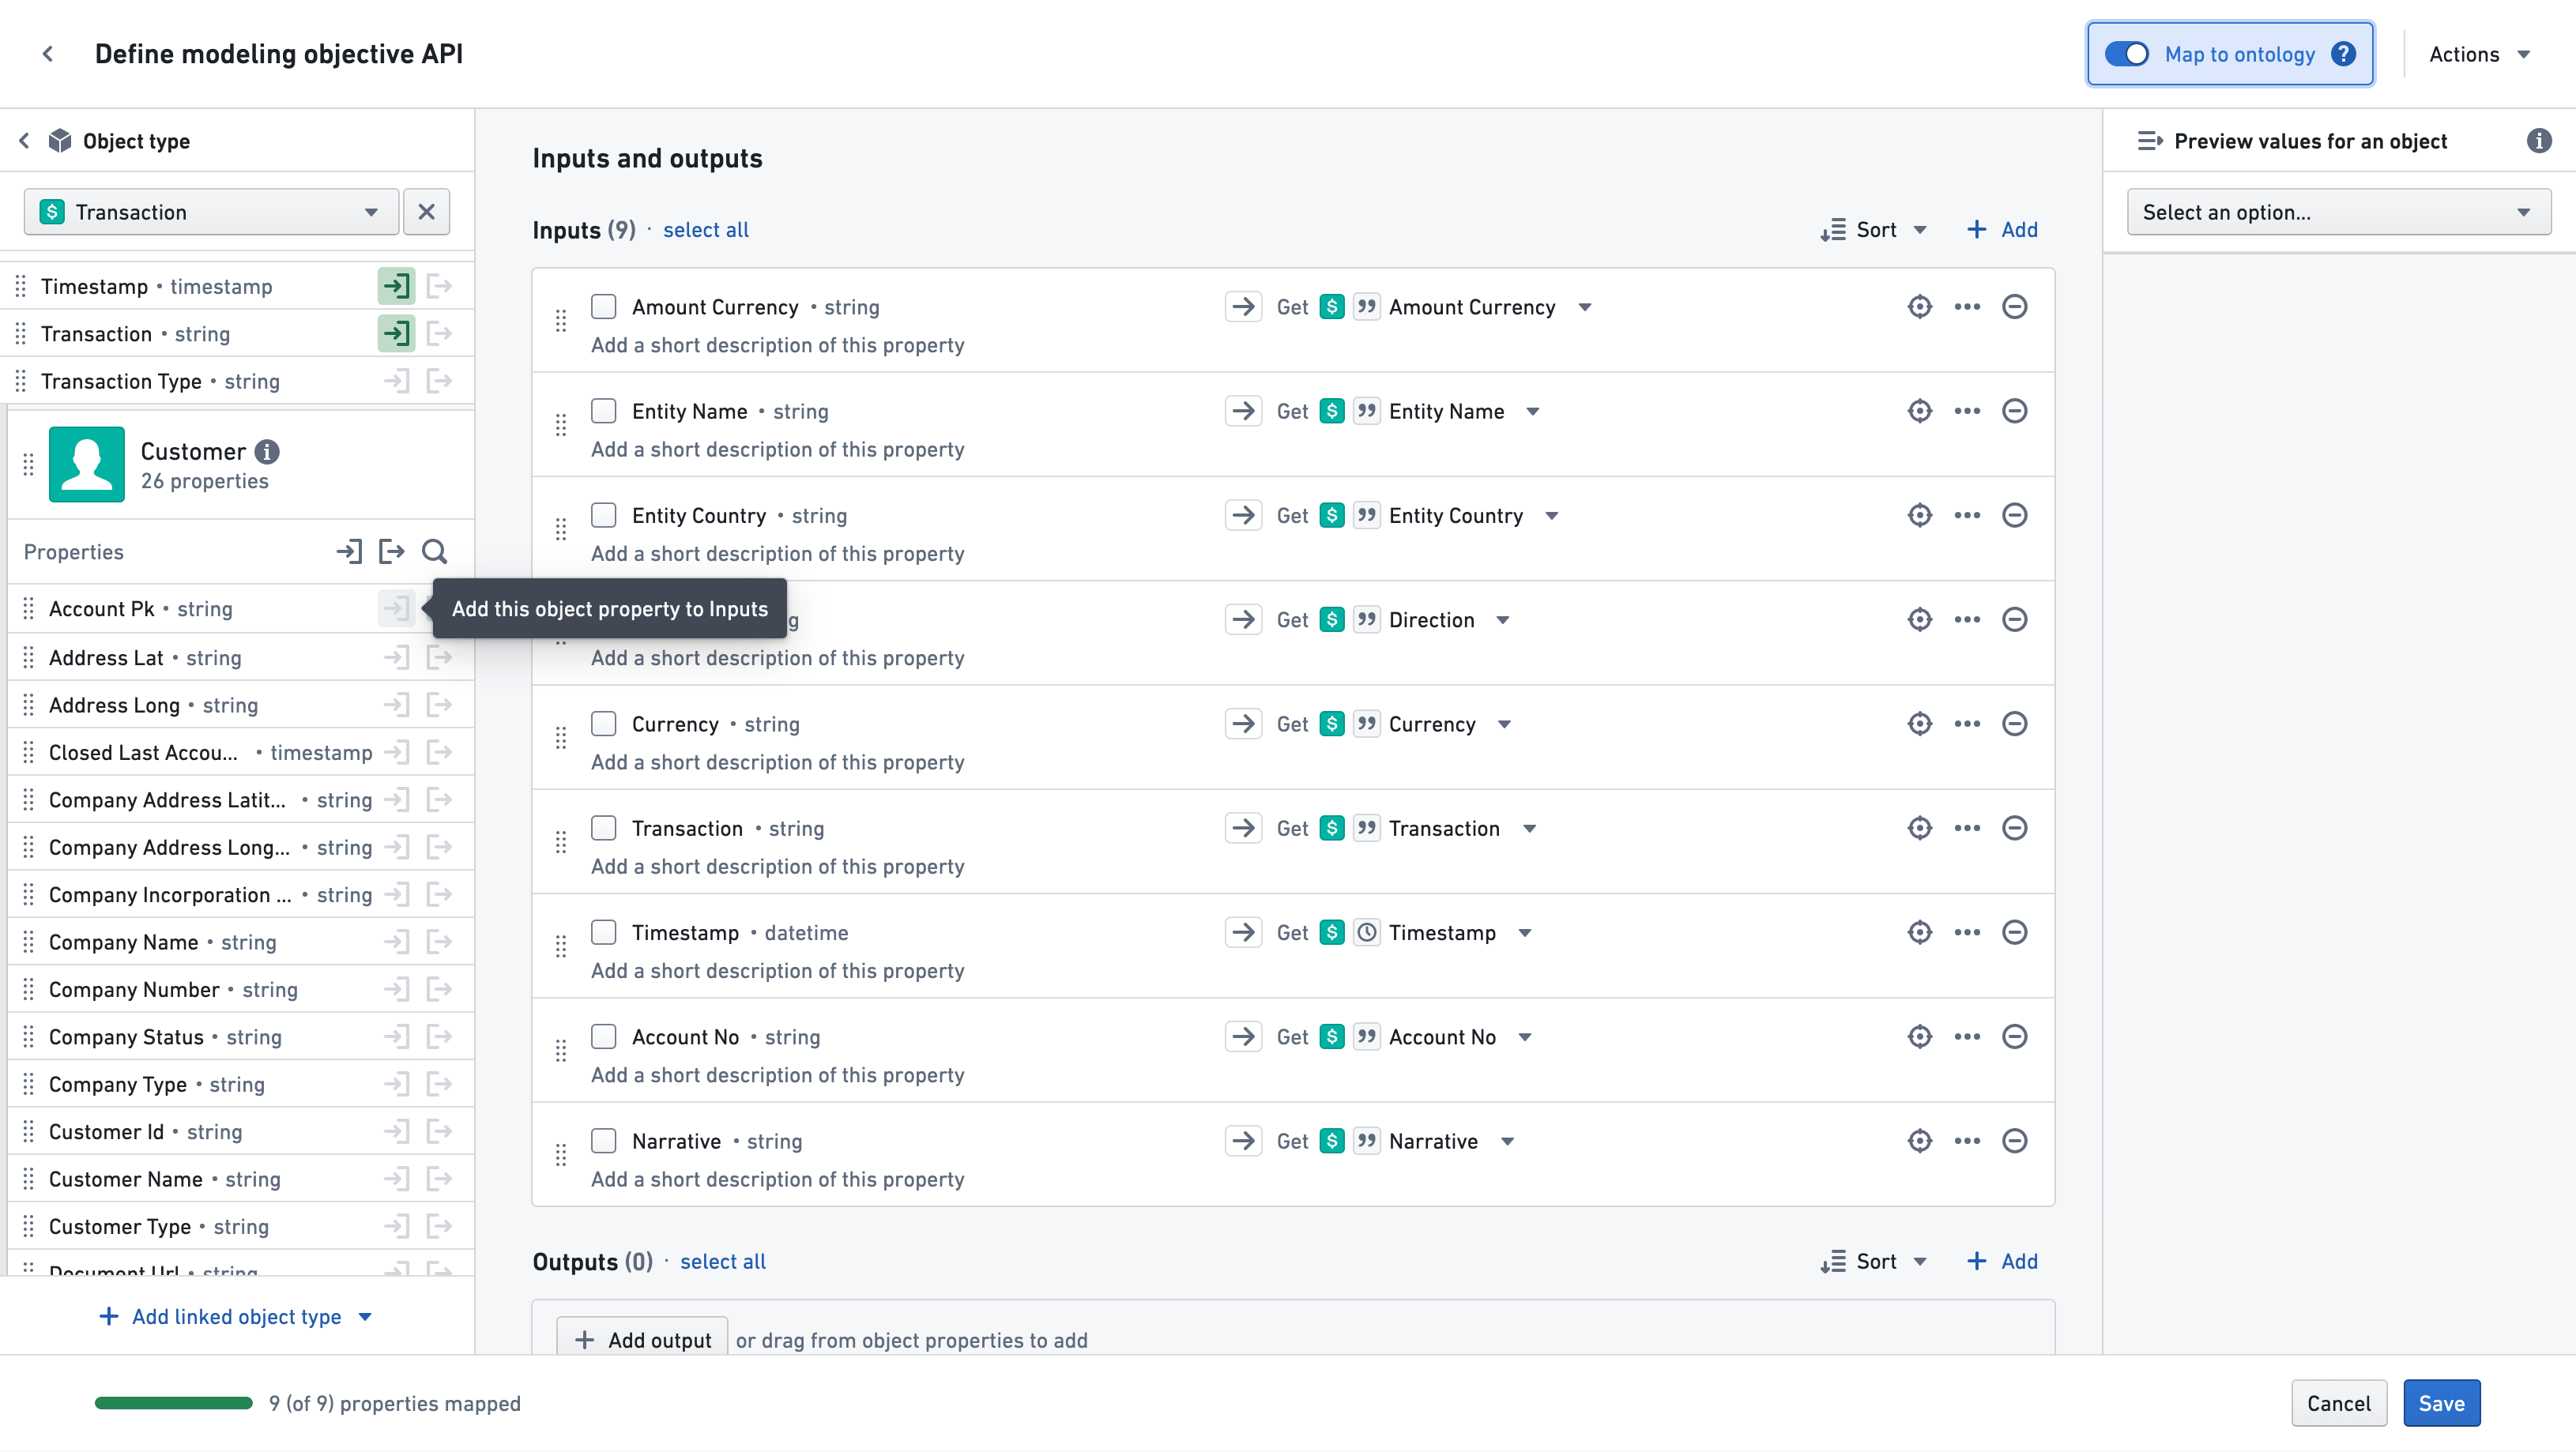
By default, mapped properties will have the same name, type, and description as the object property types they are mapped to. If desired, the name and description can be changed to better suit the objective.
Once mapping has been finished, select the Save button in order to save the input and output API mapping to the objective. This API will now document the expected input and output specifications of models that are submitted to this objective.
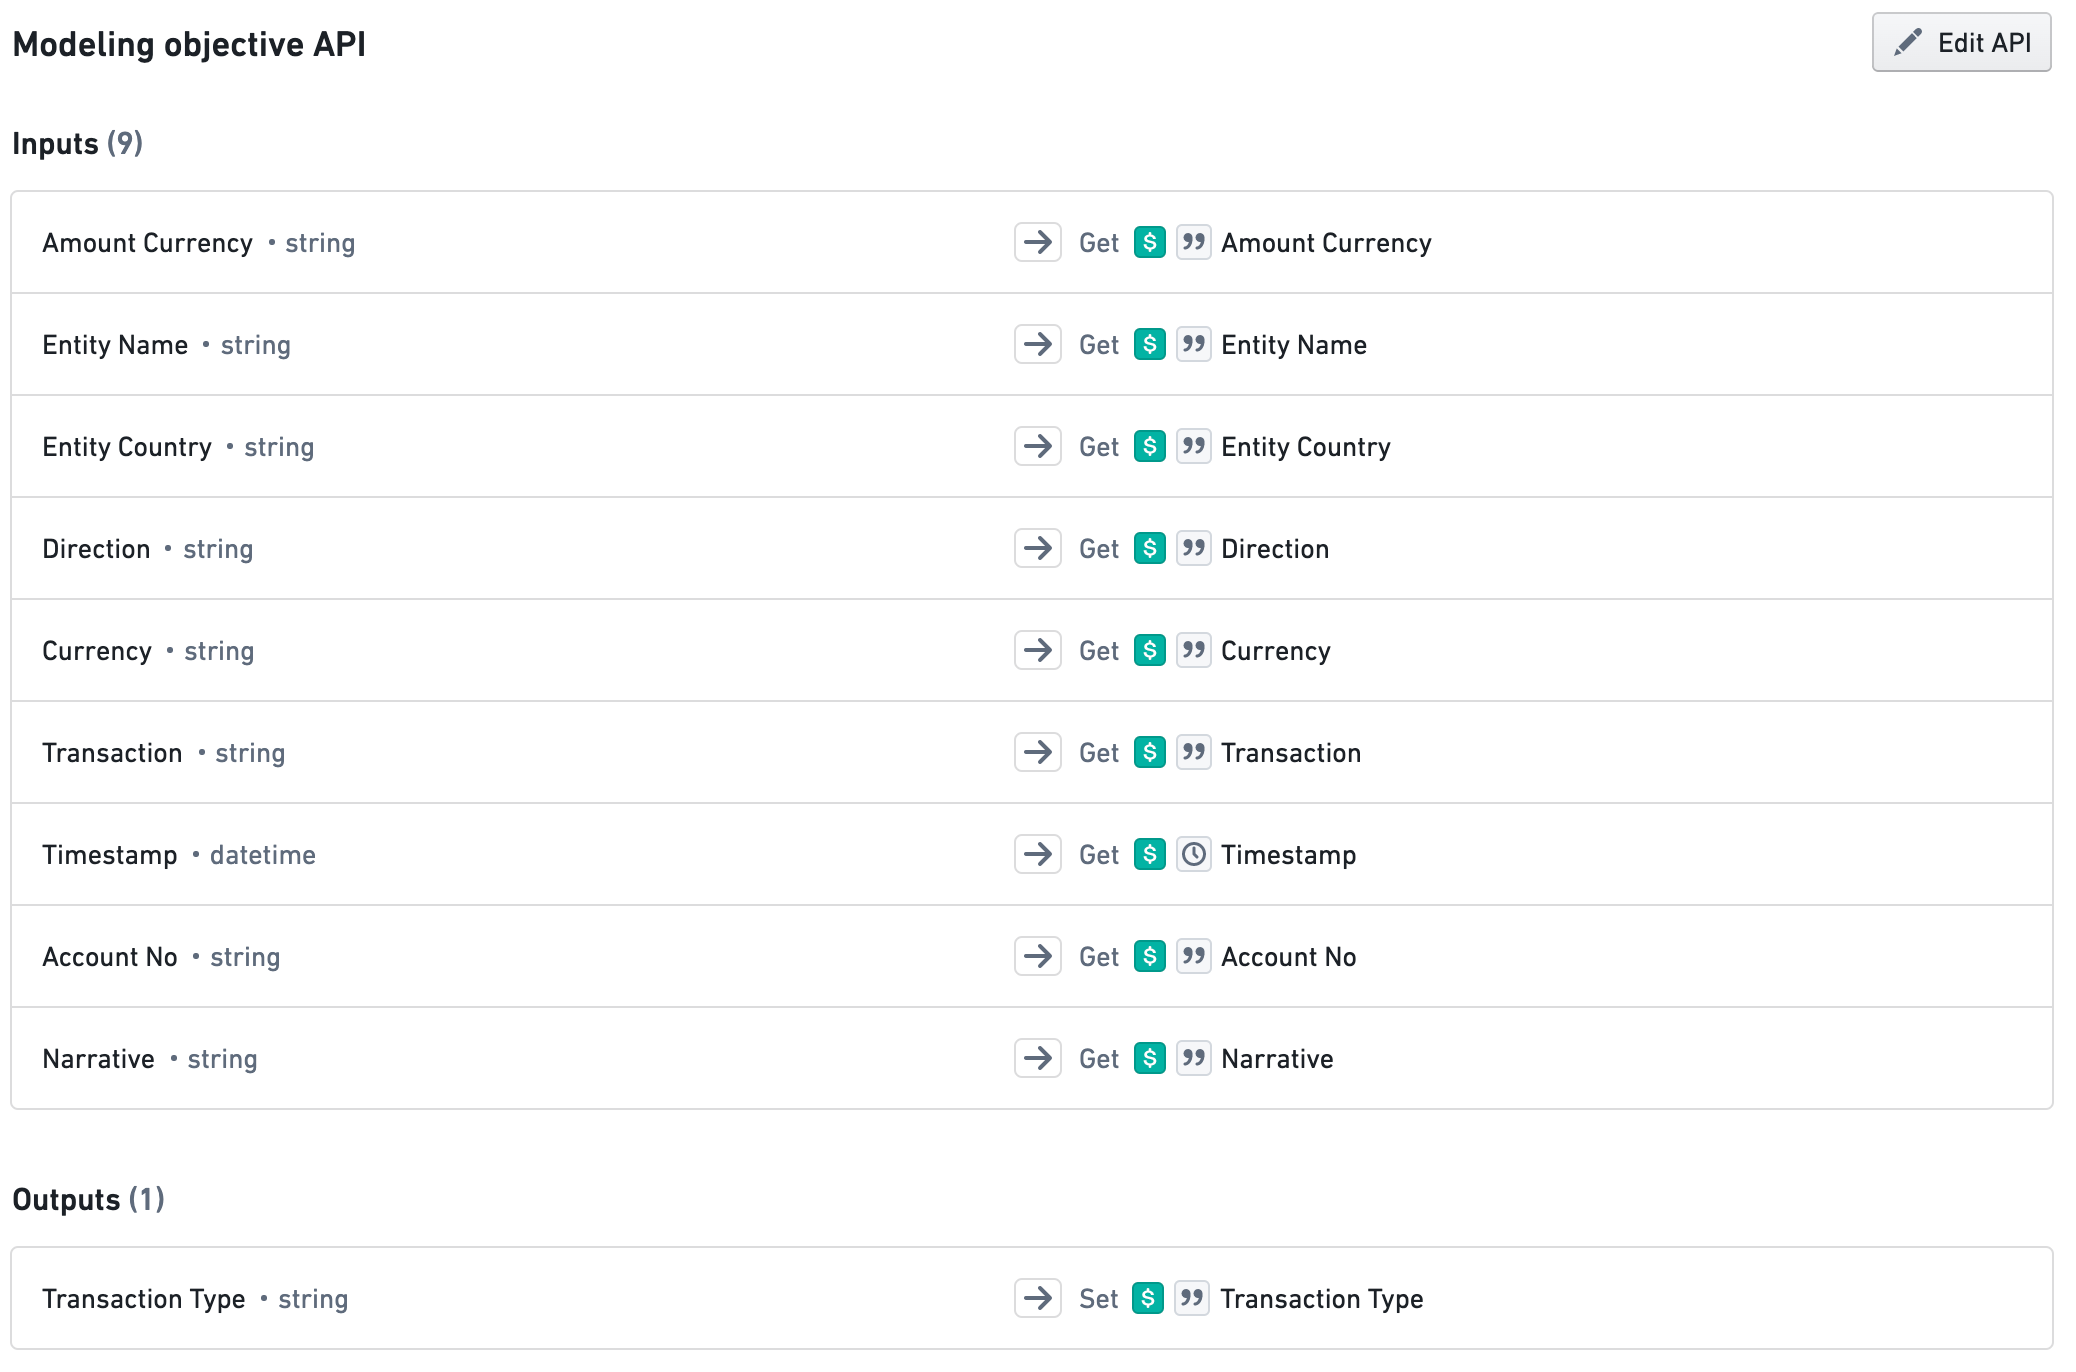
Selecting Save at any point will save objective API properties and take you back to the main modeling objective page.
Adding properties from dataset columns
Choose Dataset from the dropdown on the left side to start adding properties to your objective API from existing Foundry datasets.
Use the Select Dataset button to browse the file directory and locate your dataset.
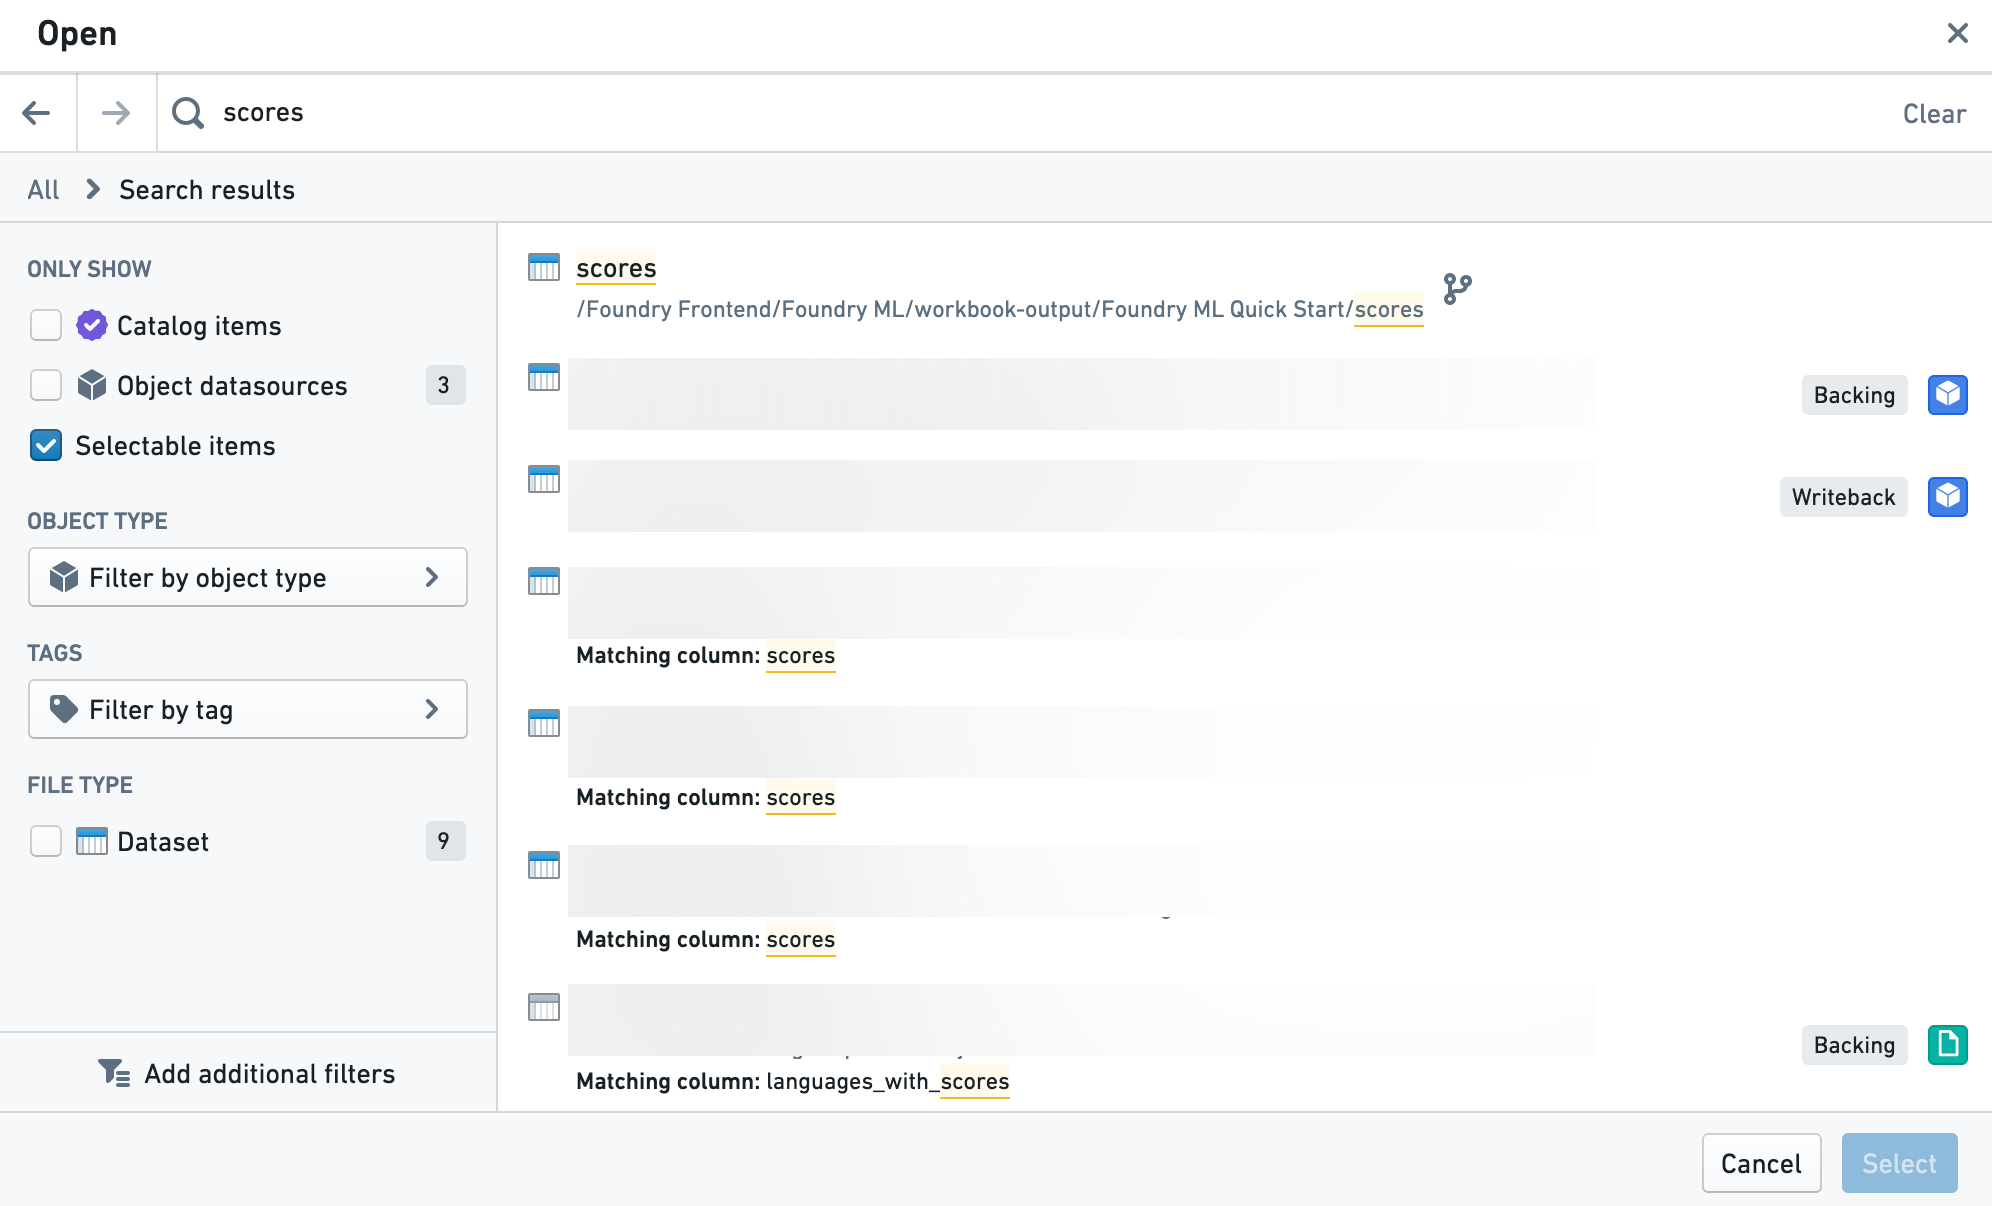
If you want to use the dataset on a branch other than the default branch, use the branch selector menu.
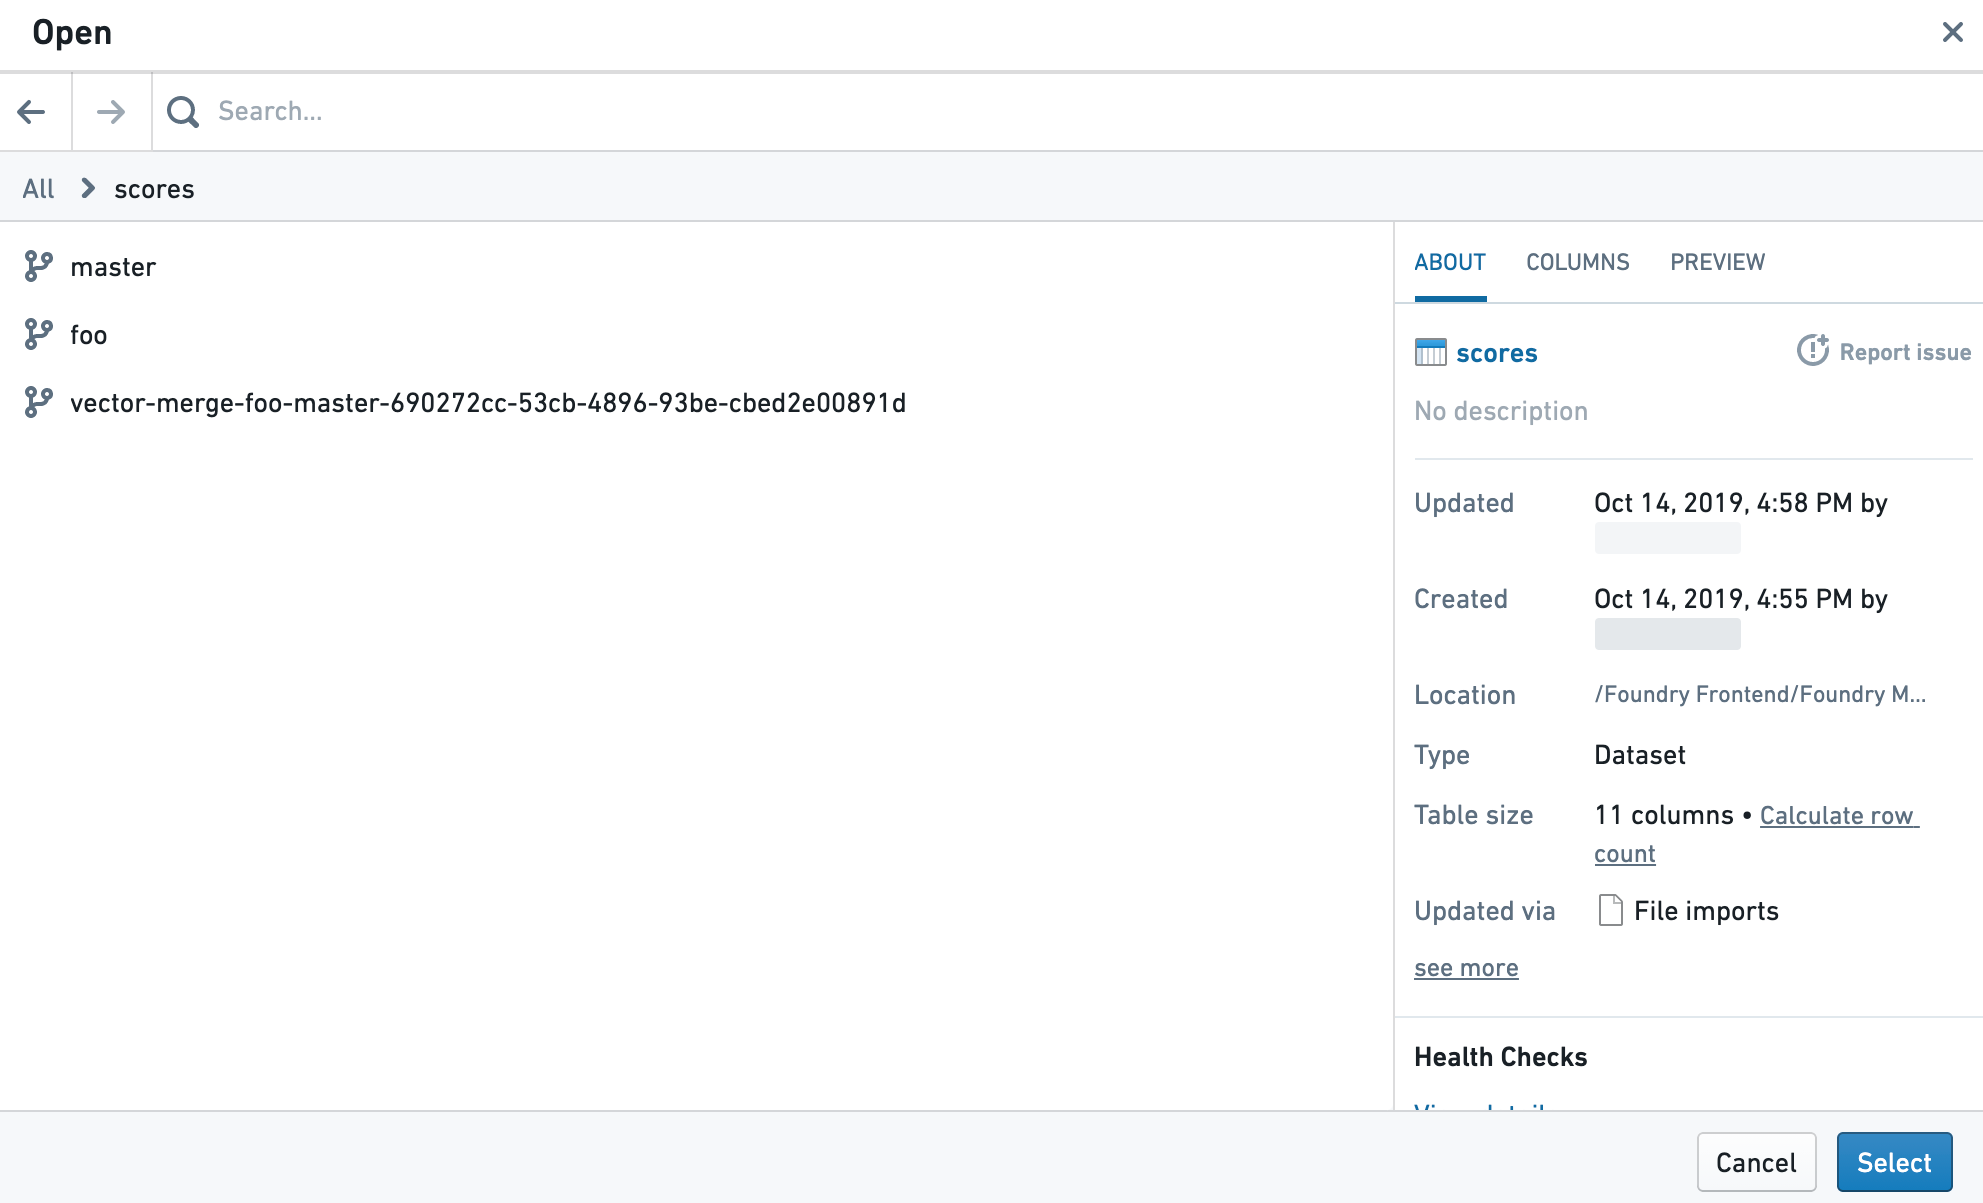
Once you have selected your dataset, you will see all of the dataset's columns listed in the sidebar.
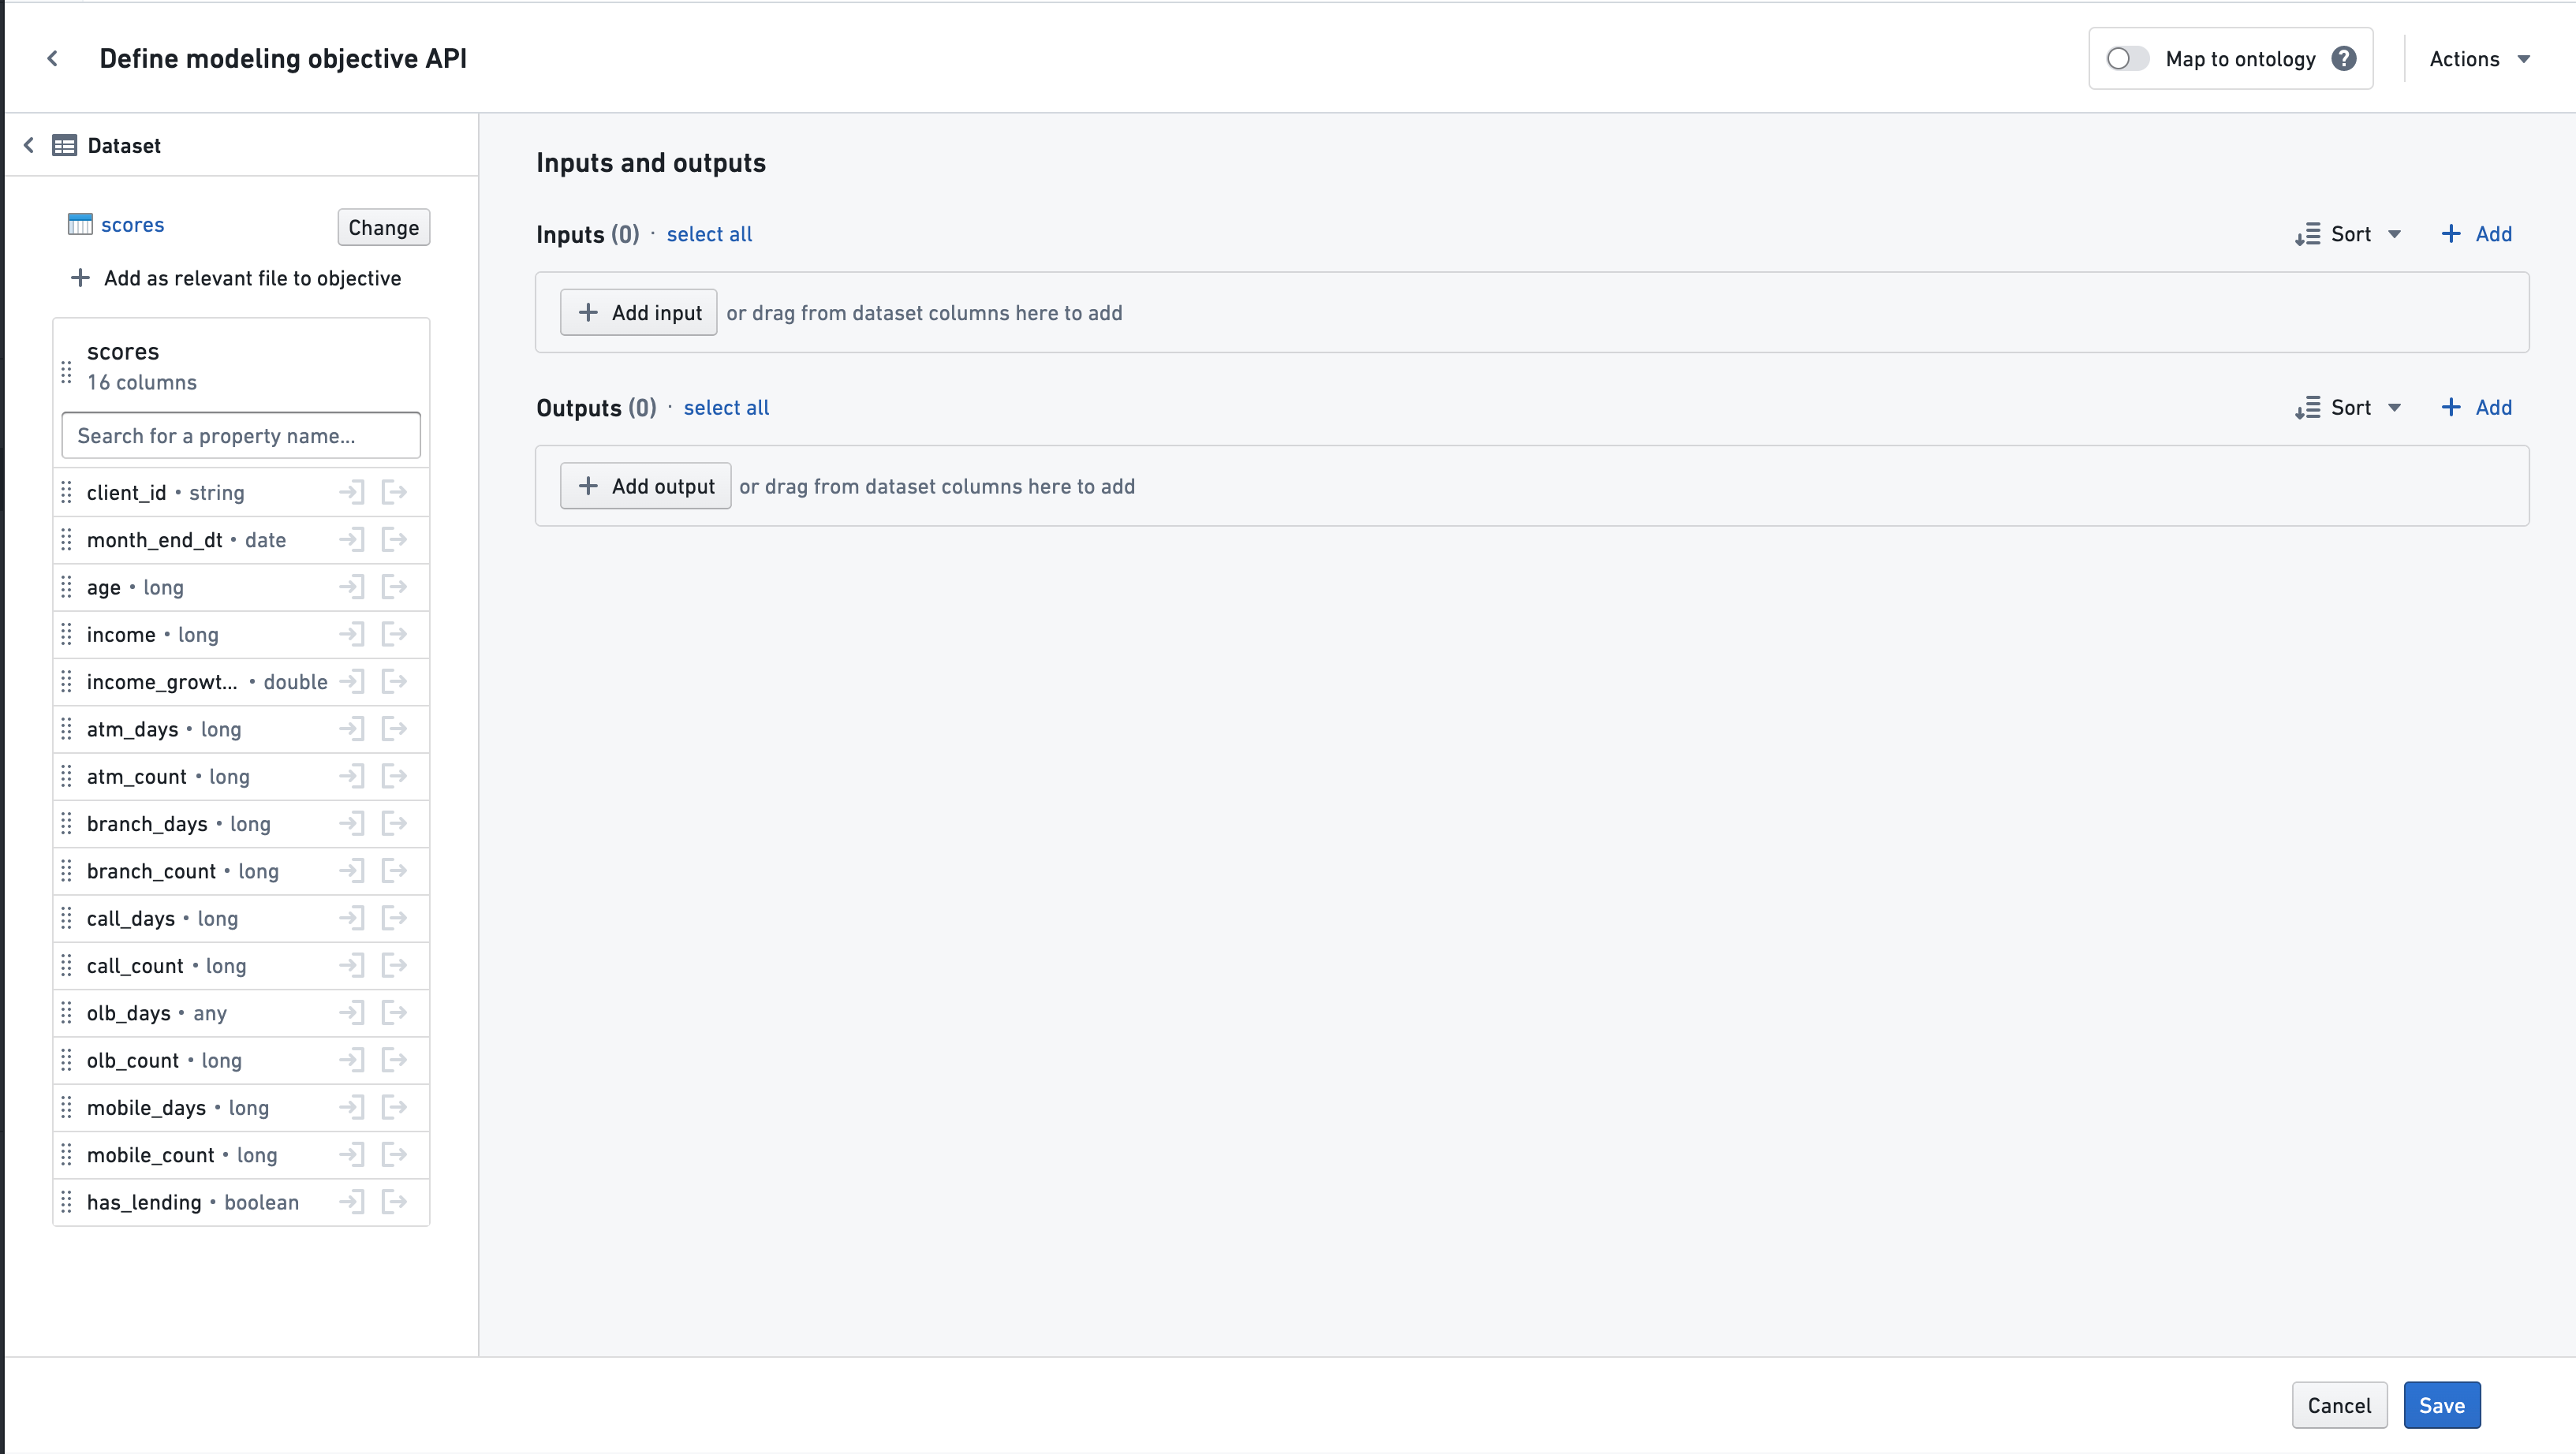
Use the In or Out buttons to add a column to the objective API's input or output. Properties can also be dragged in using the drag handle to the left of the column name. All properties from a dataset can be added at once by dragging the entire dataset card via the drag handle to the left of the dataset name.
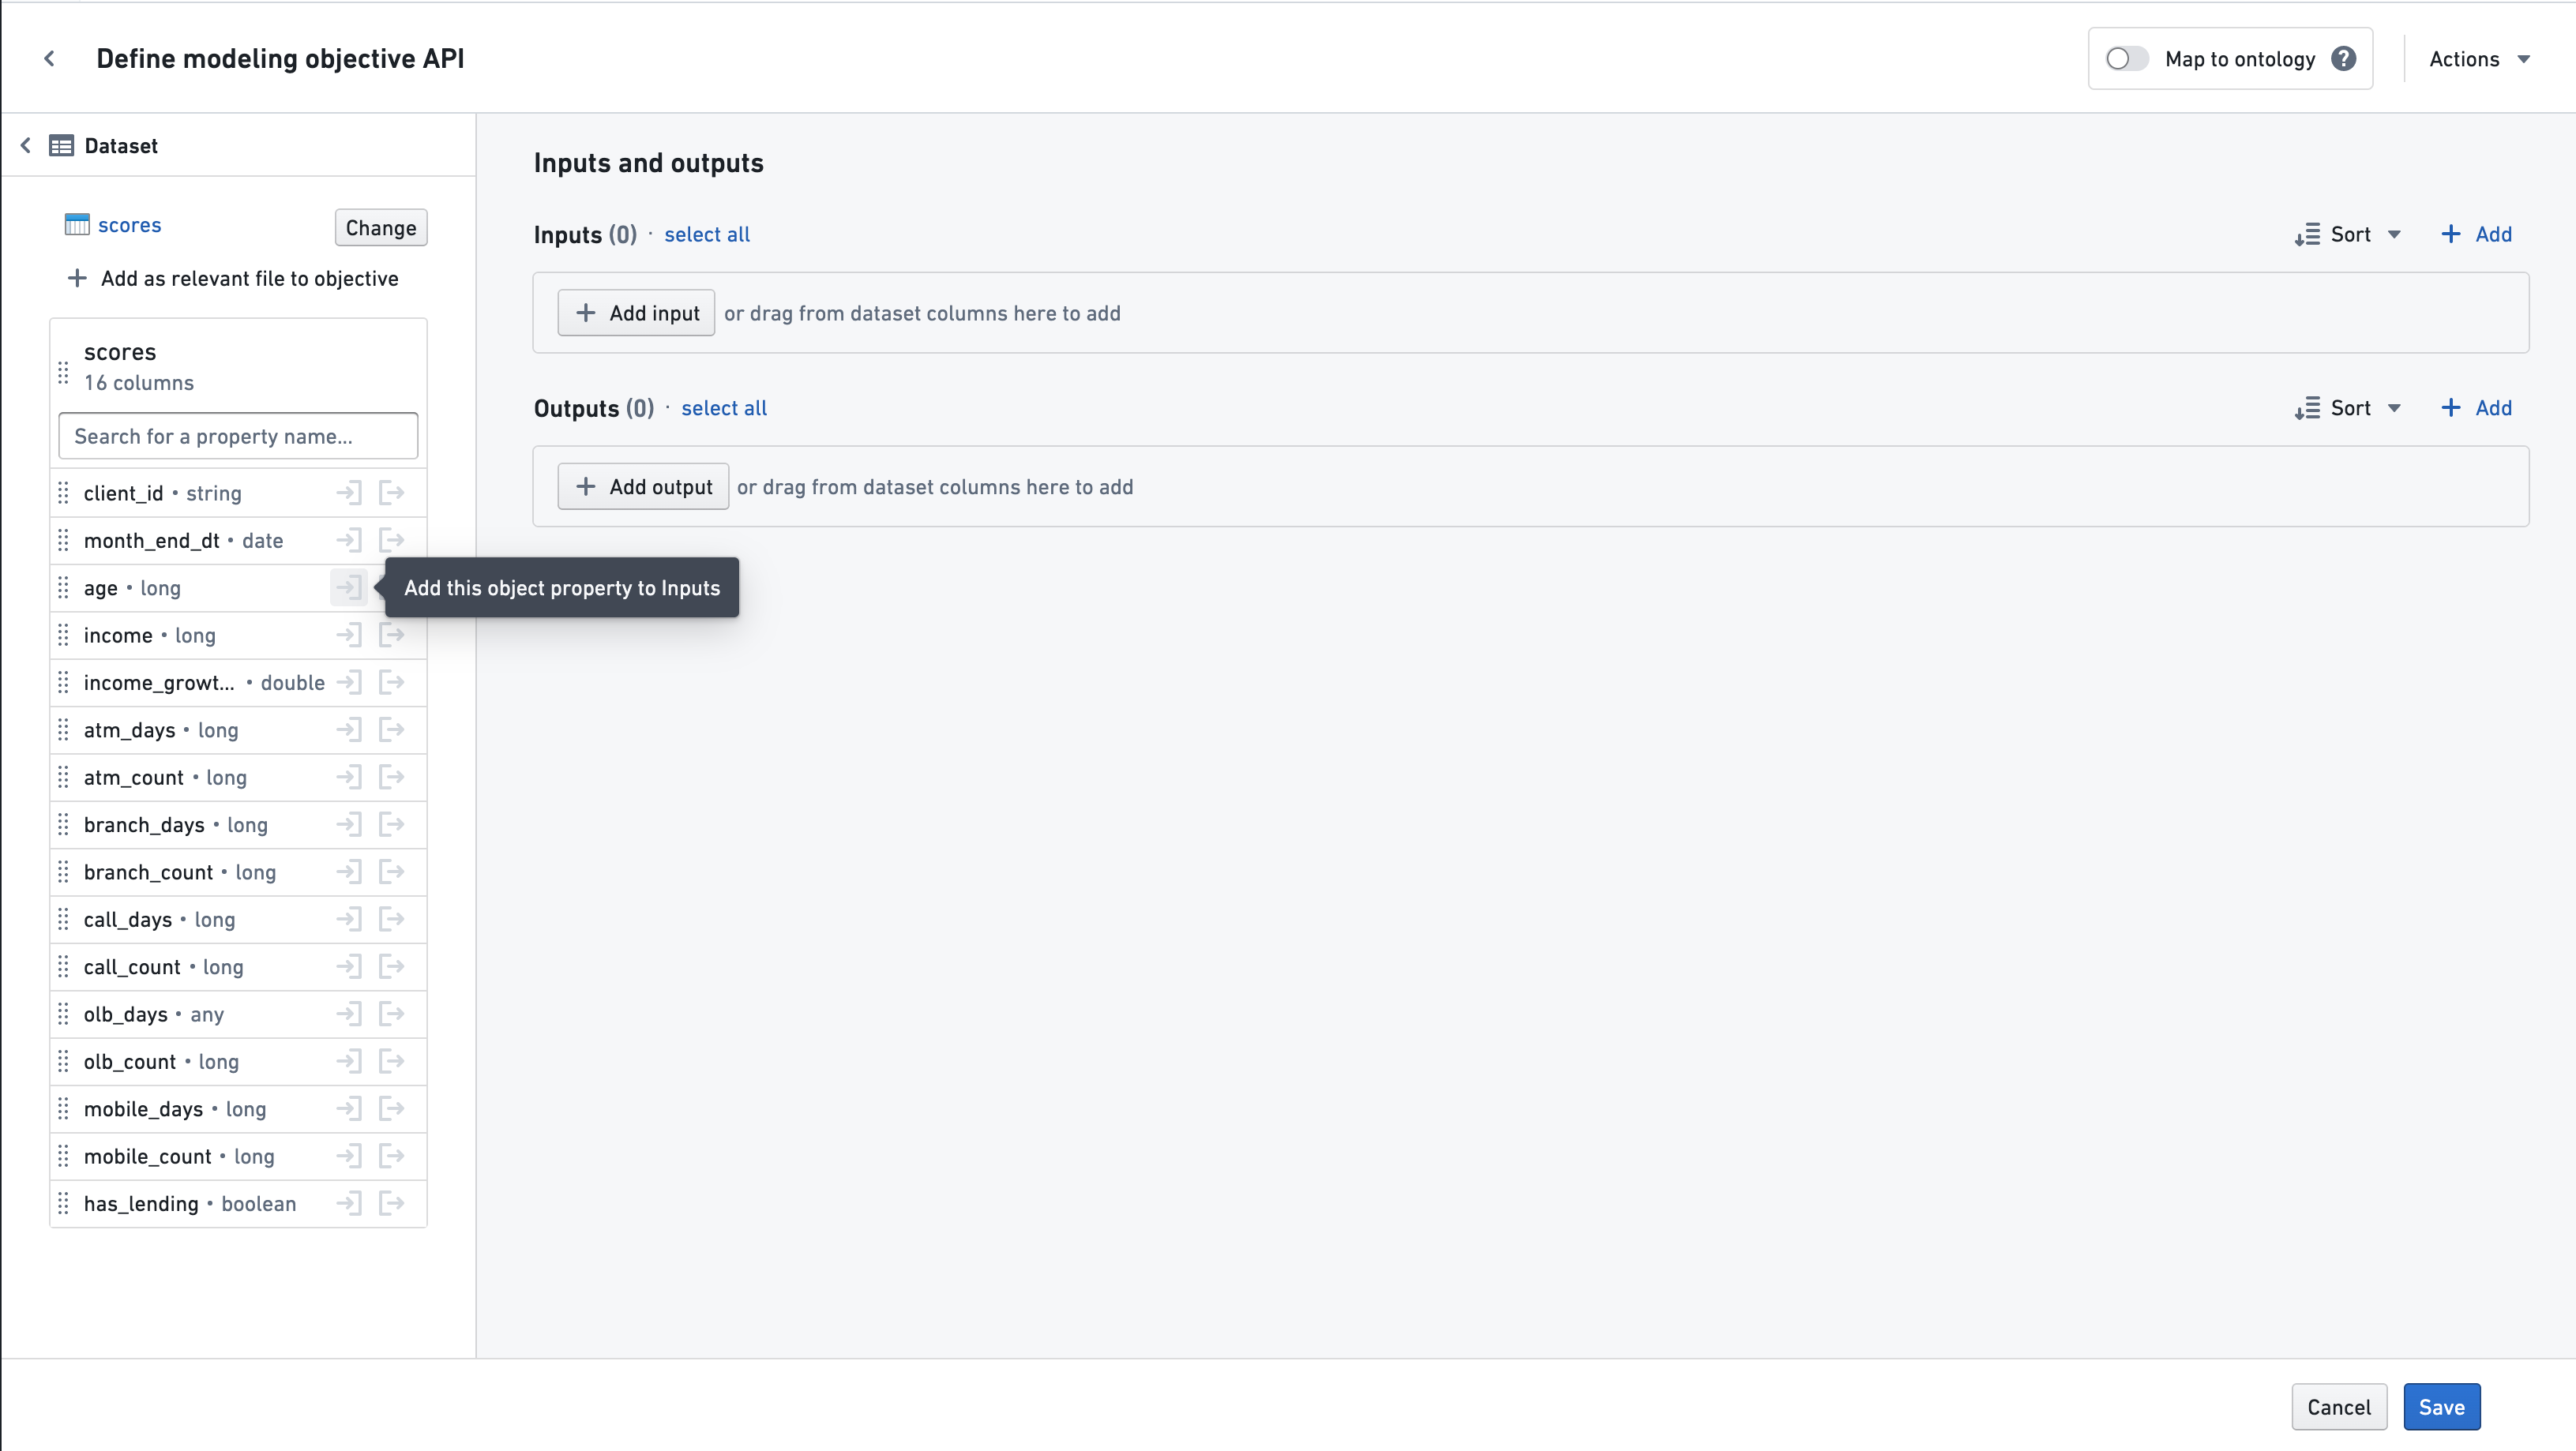
The column's base property type will be listed if it is a supported type of a modeling objective API. Otherwise, it will be listed as "any."
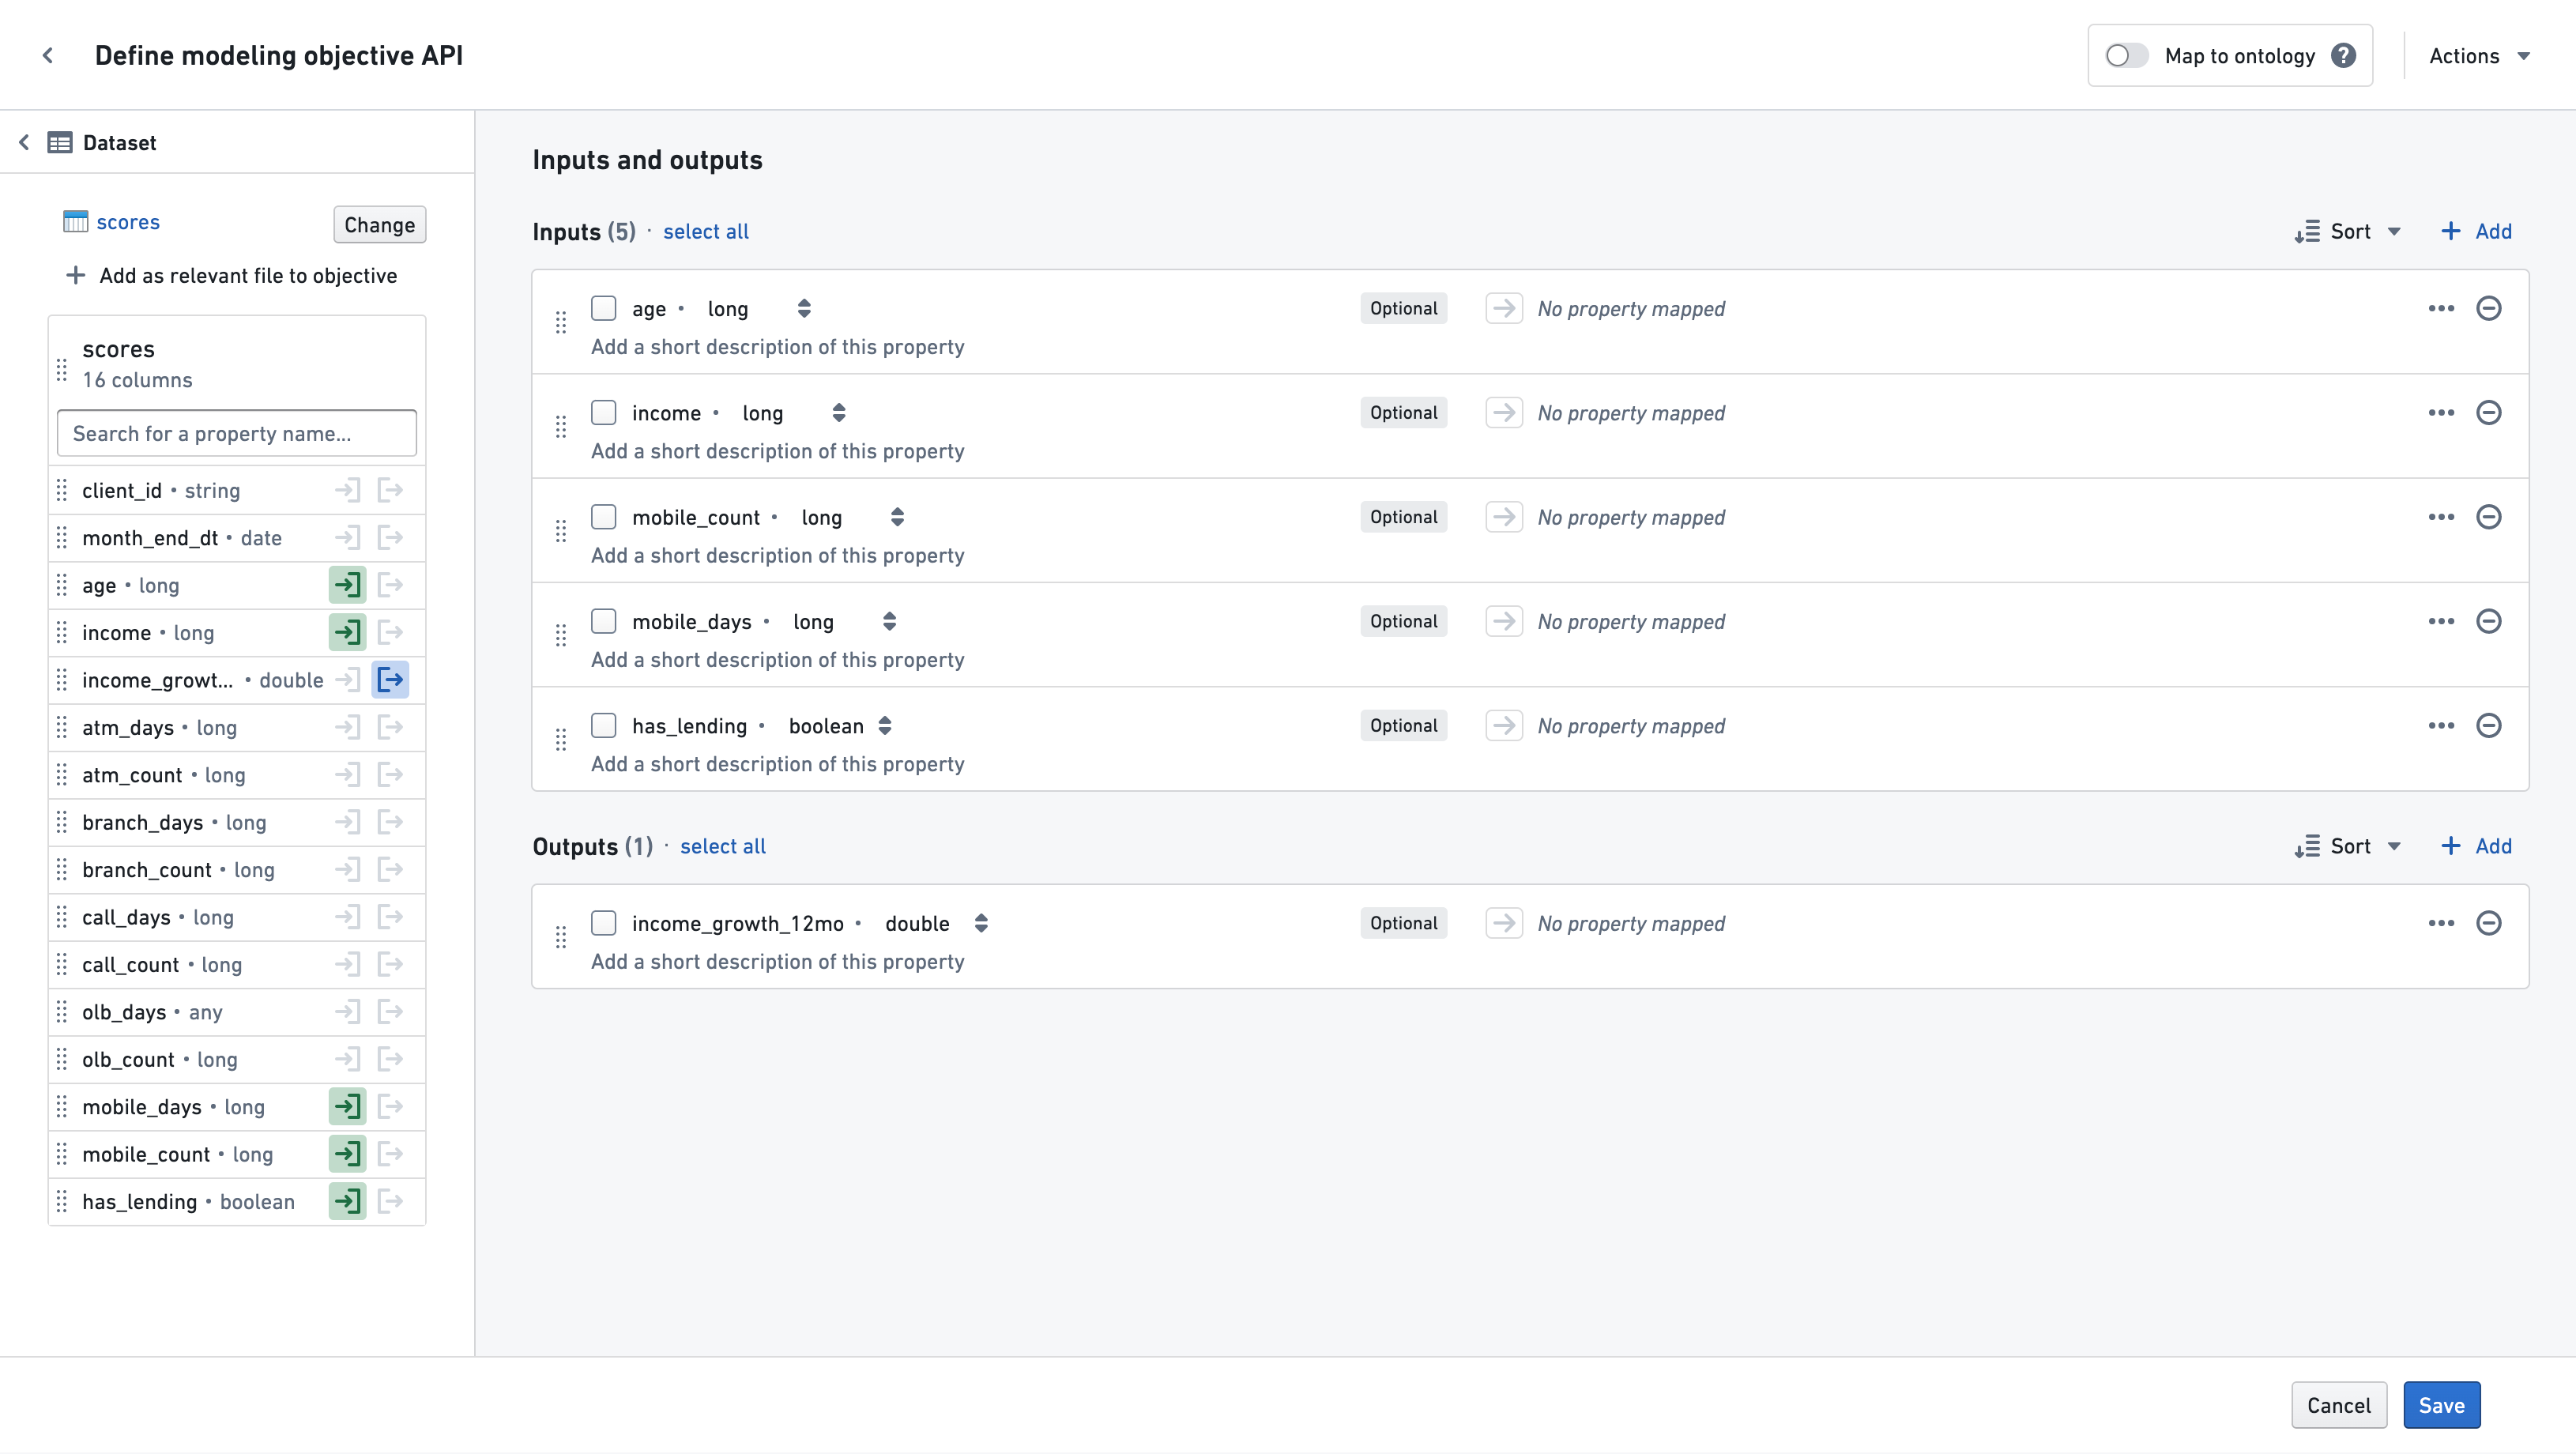
To save the dataset you are working from as a relevant file for the objective, select Add as relevant file to objective. At any point, you may select another dataset to work from by selecting Change in the sidebar. You may also map properties to the ontology by selecting Map to ontology and following the instructions to map object properties.
Choosing to Save at any point will save the objective API properties and take you back to the main objective page.
Adding properties from a model
Choose Model from the dropdown on the left side to start adding properties to your objective API from an existing Model.
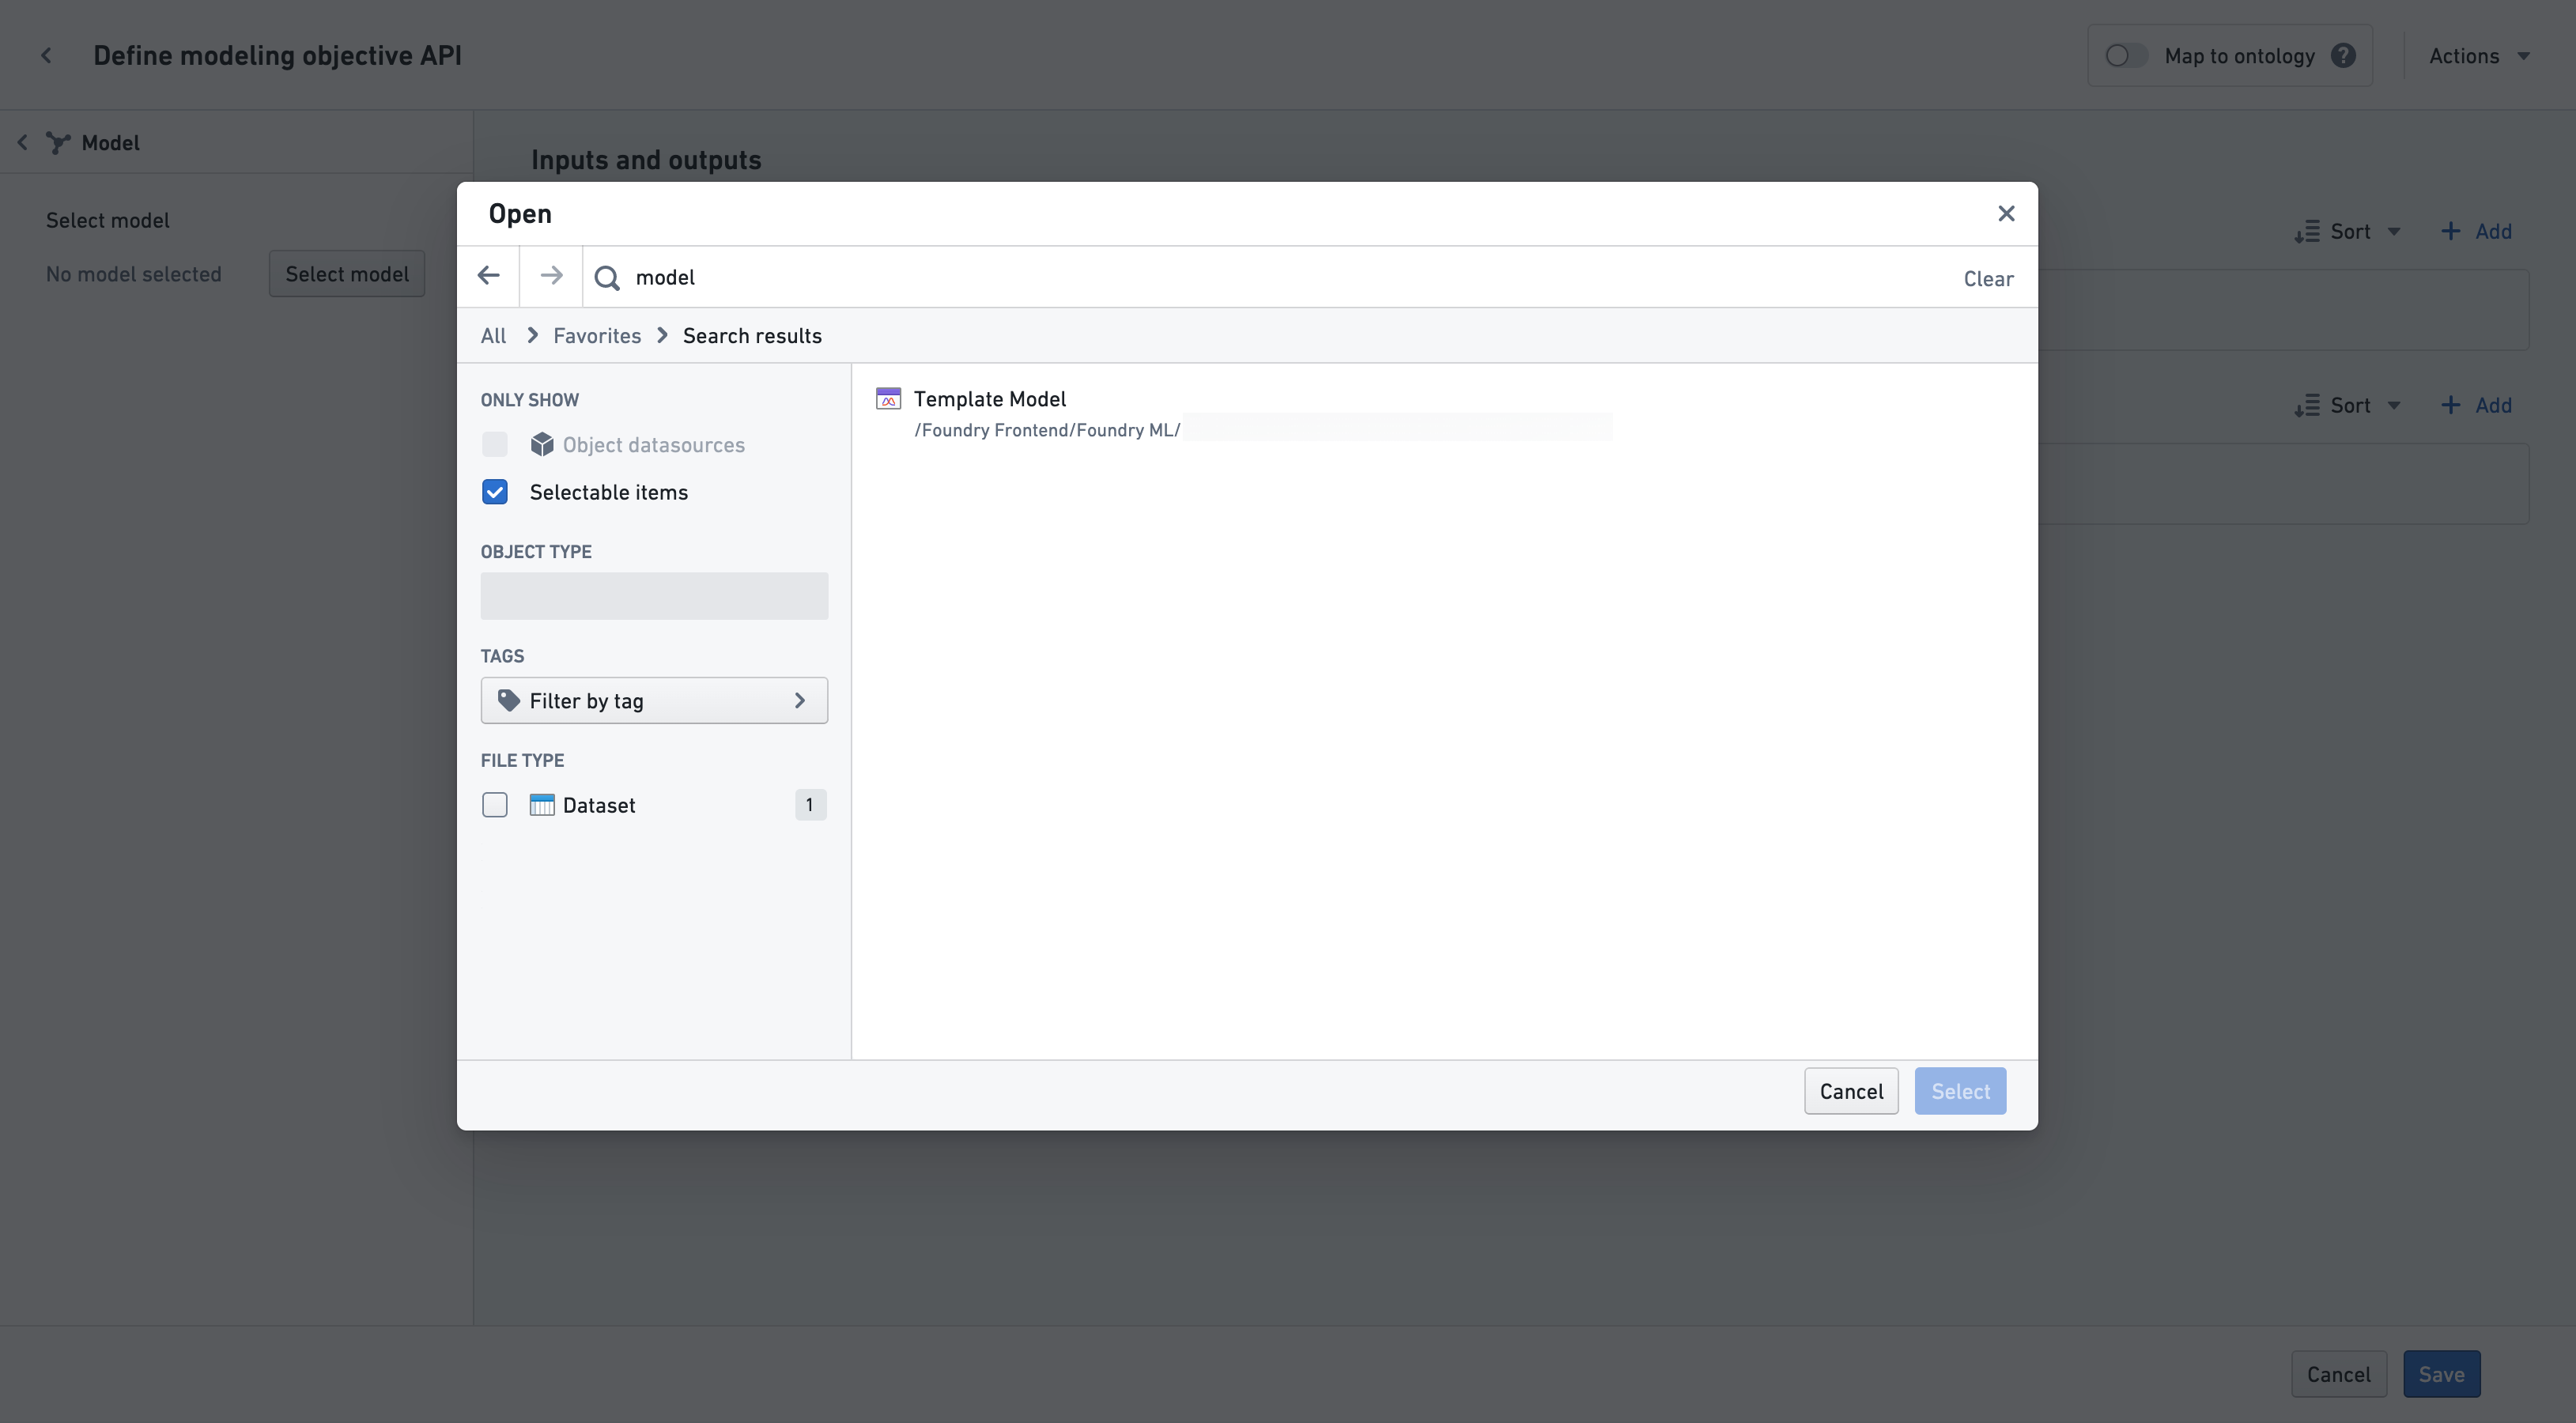
Use the Select Model button to browse the file directory and select a model.
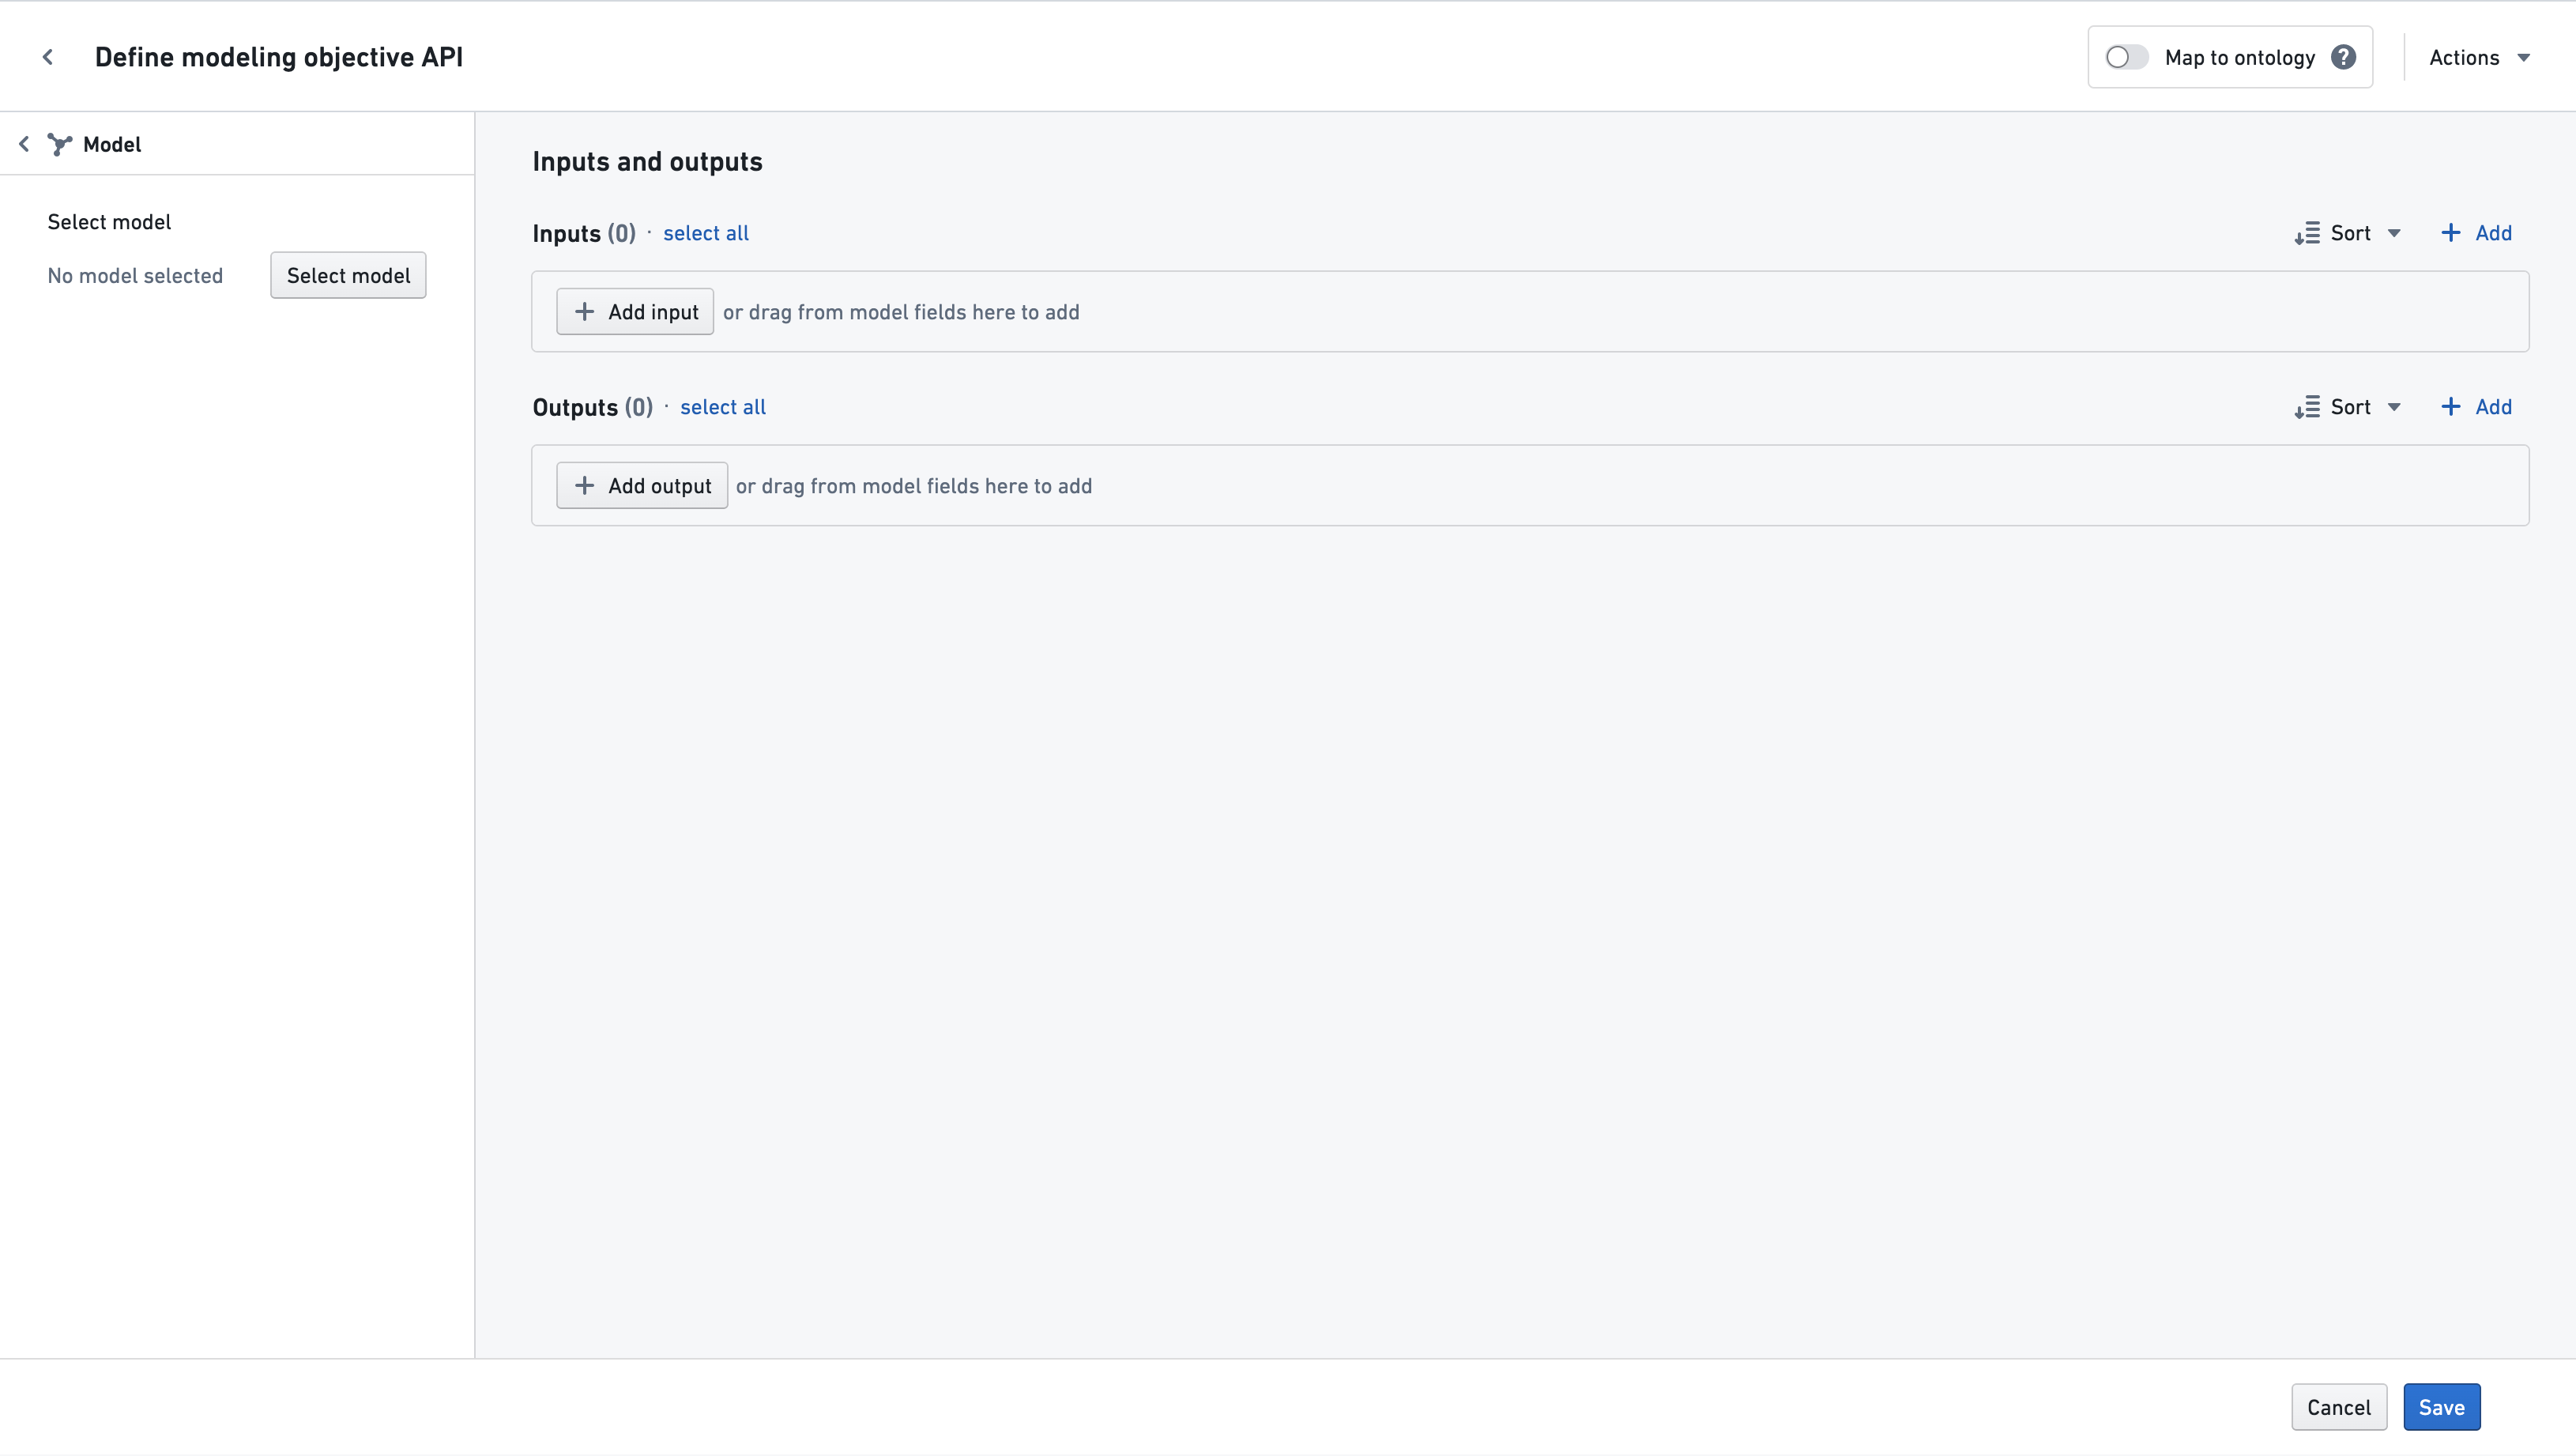
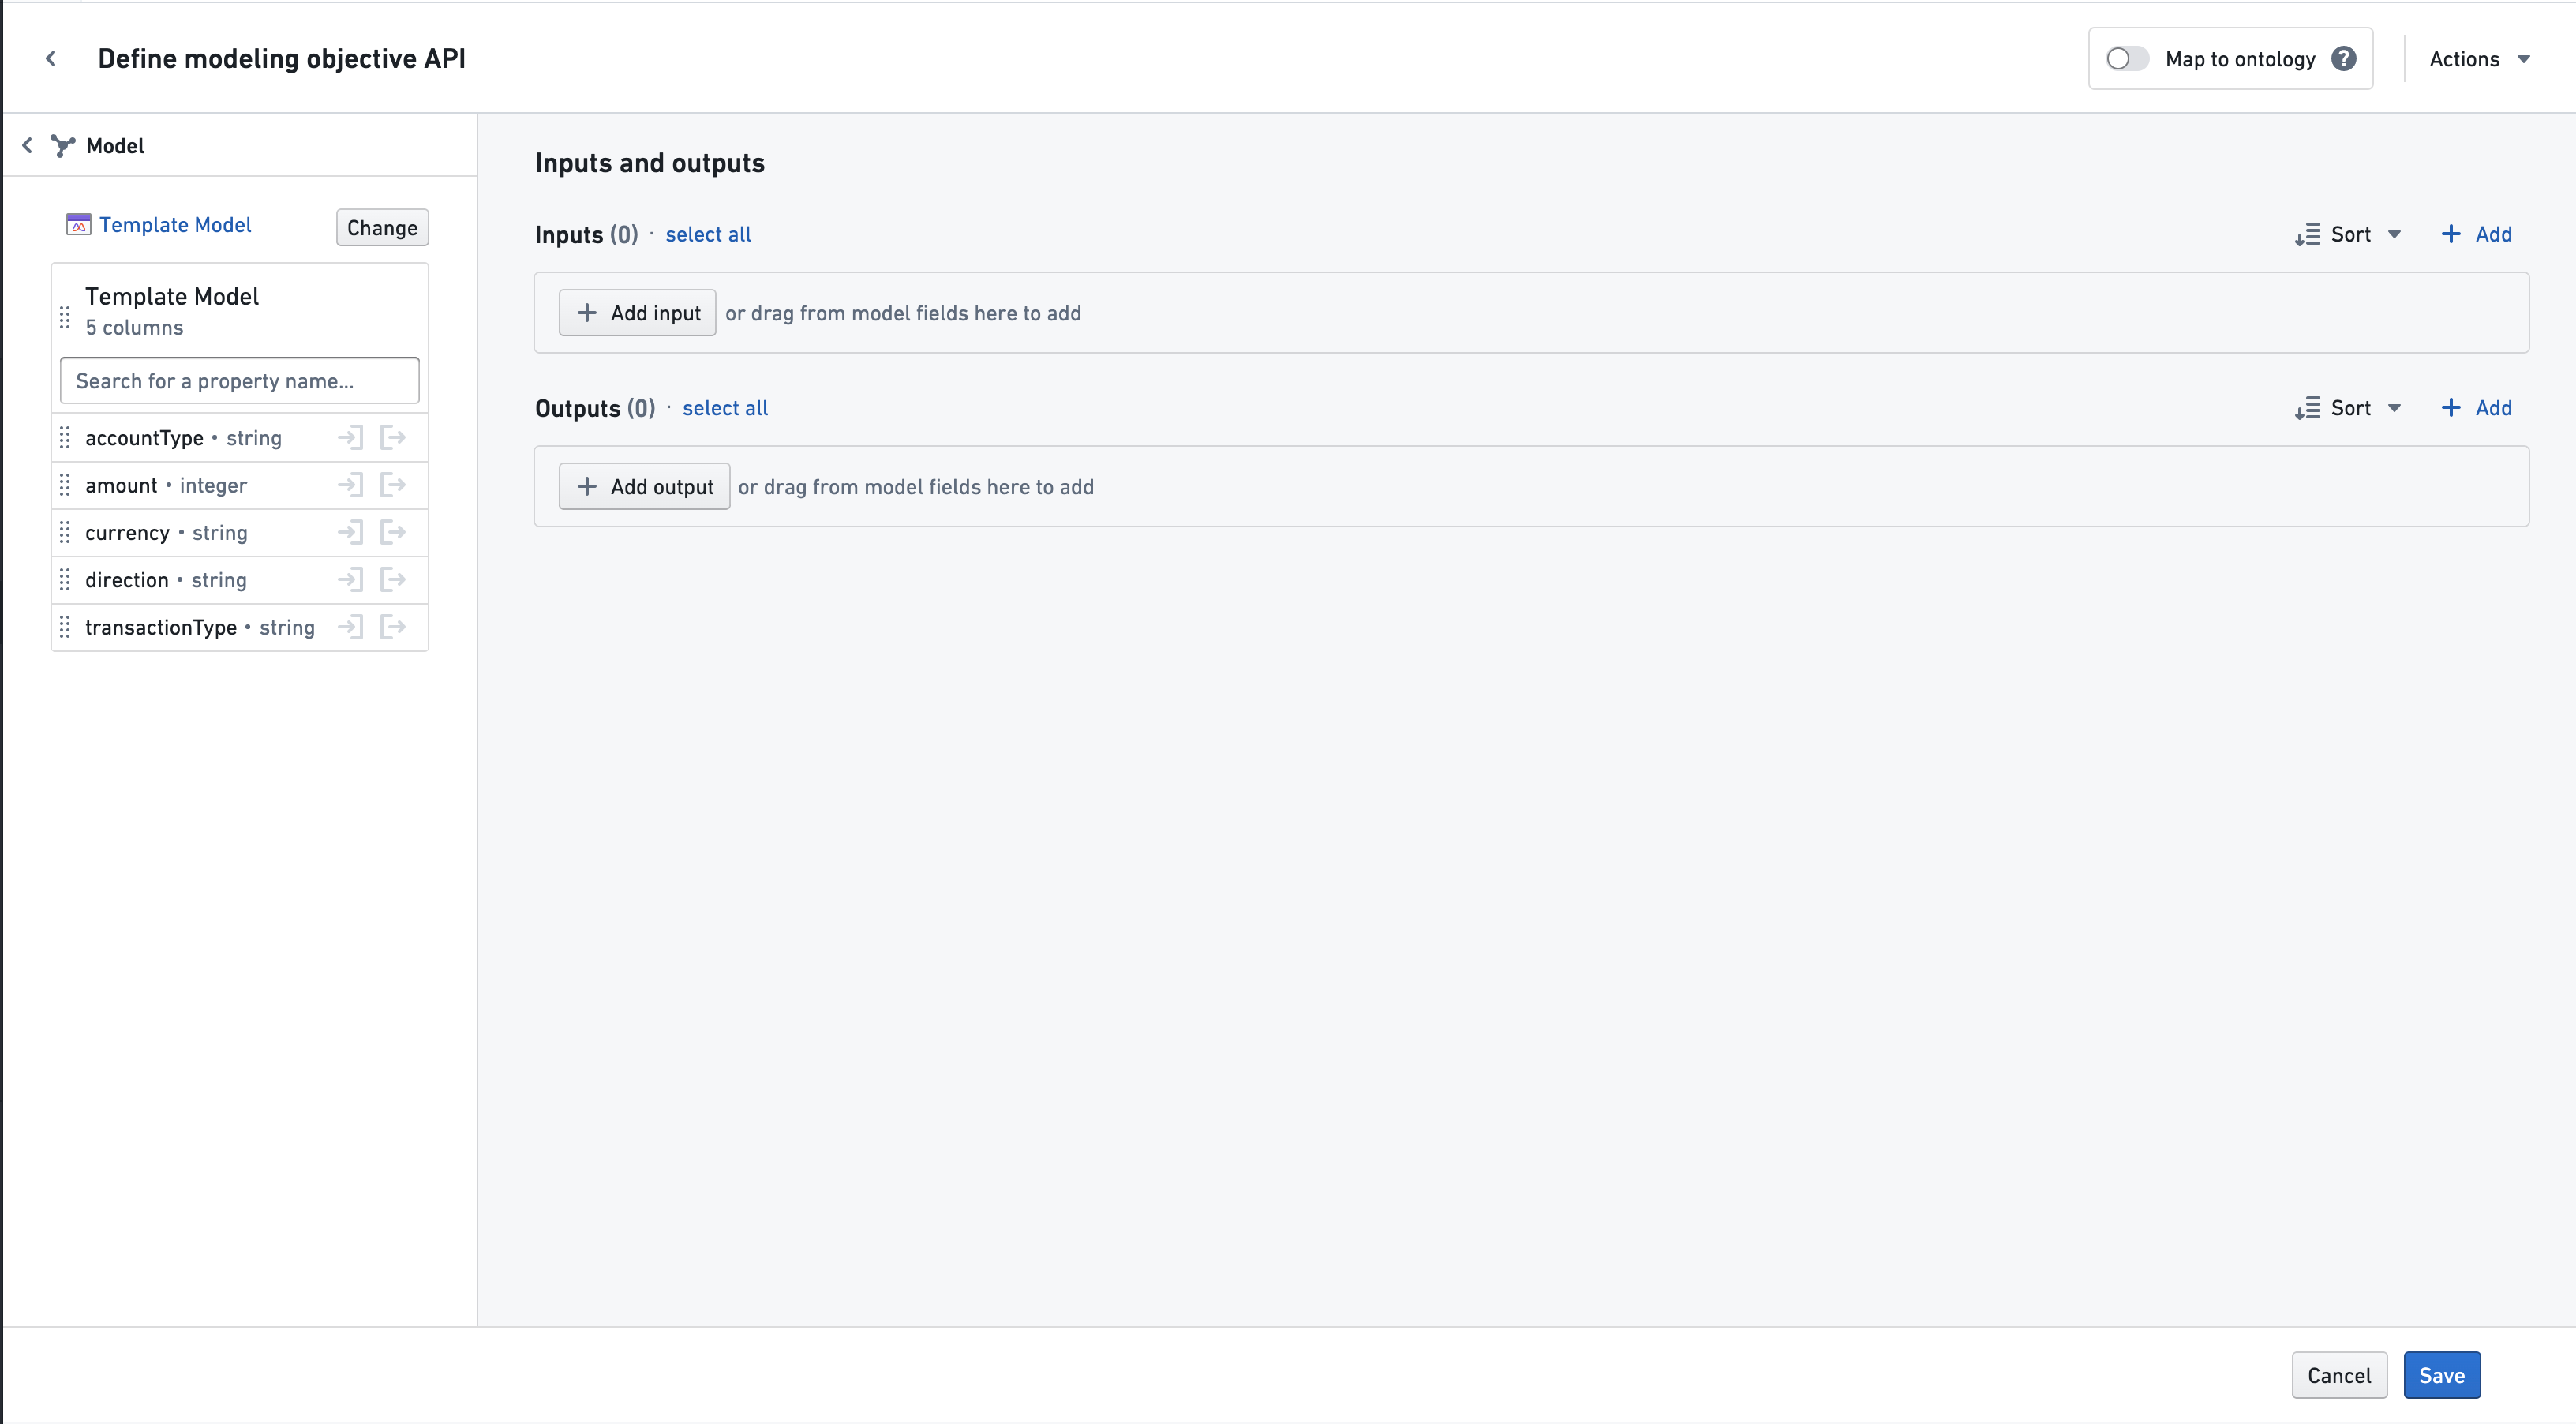
After selecting a model, you will see all of the model's input and output properties listed in the sidebar.
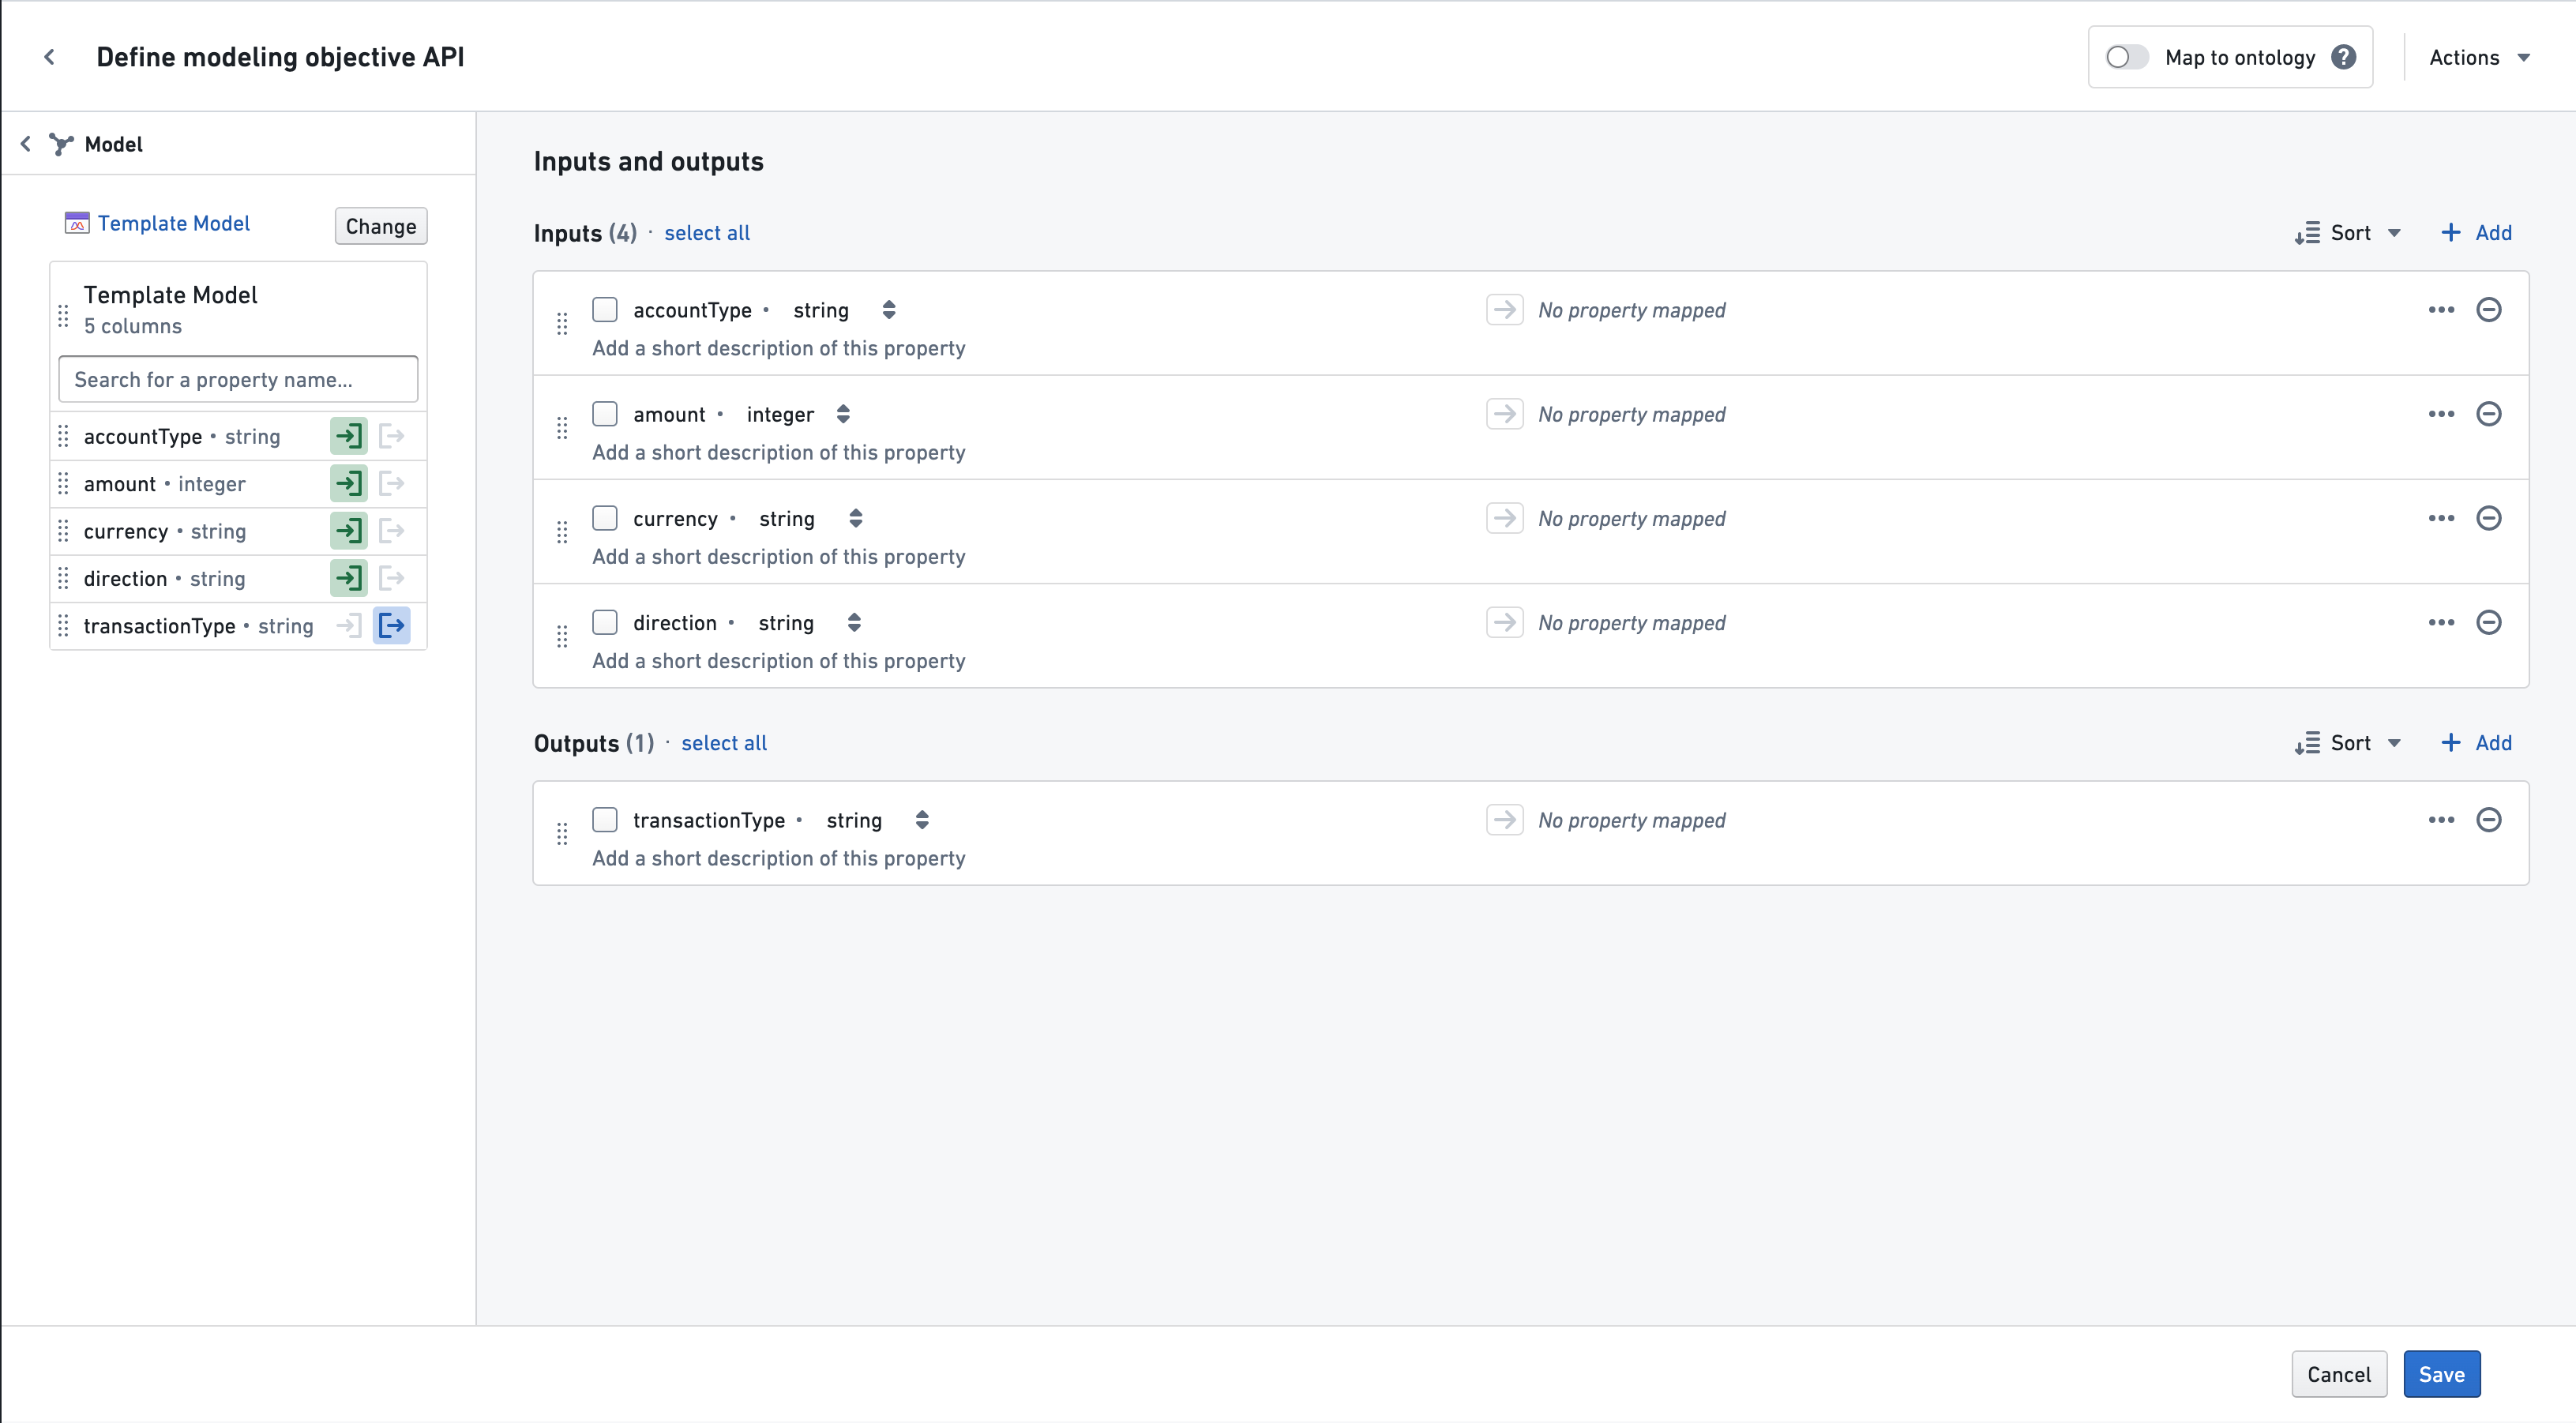
Use the In or Out buttons to add a column to the objective API's input or output. Properties can also be dragged in using the drag handle to the left of the column name. All properties from a model can also be added at once by dragging the entire model card via the drag handle to the left of the model name.
To save the model you are working from as a relevant file for the objective, select Add as relevant file to objective. At any point, you may select another model to work from by selecting Change in the sidebar. You may also map properties to the ontology by selecting Map to ontology and following the instructions to map object properties.
Clicking Save at any point will save the objective API properties and take you back to the main objective page.