15 - Document Your Pipeline with a README File
This content is also available at learn.palantir.com ↗ and is presented here for accessibility purposes.
📖 Task Introduction
You’ve added a Data Lineage graph as a measure of documentation. You’ll now add a README file in your passengers repository with additional details.
🔨 Task Instructions
- Open your
passengers_logiccode repository. - Create a new branch (from
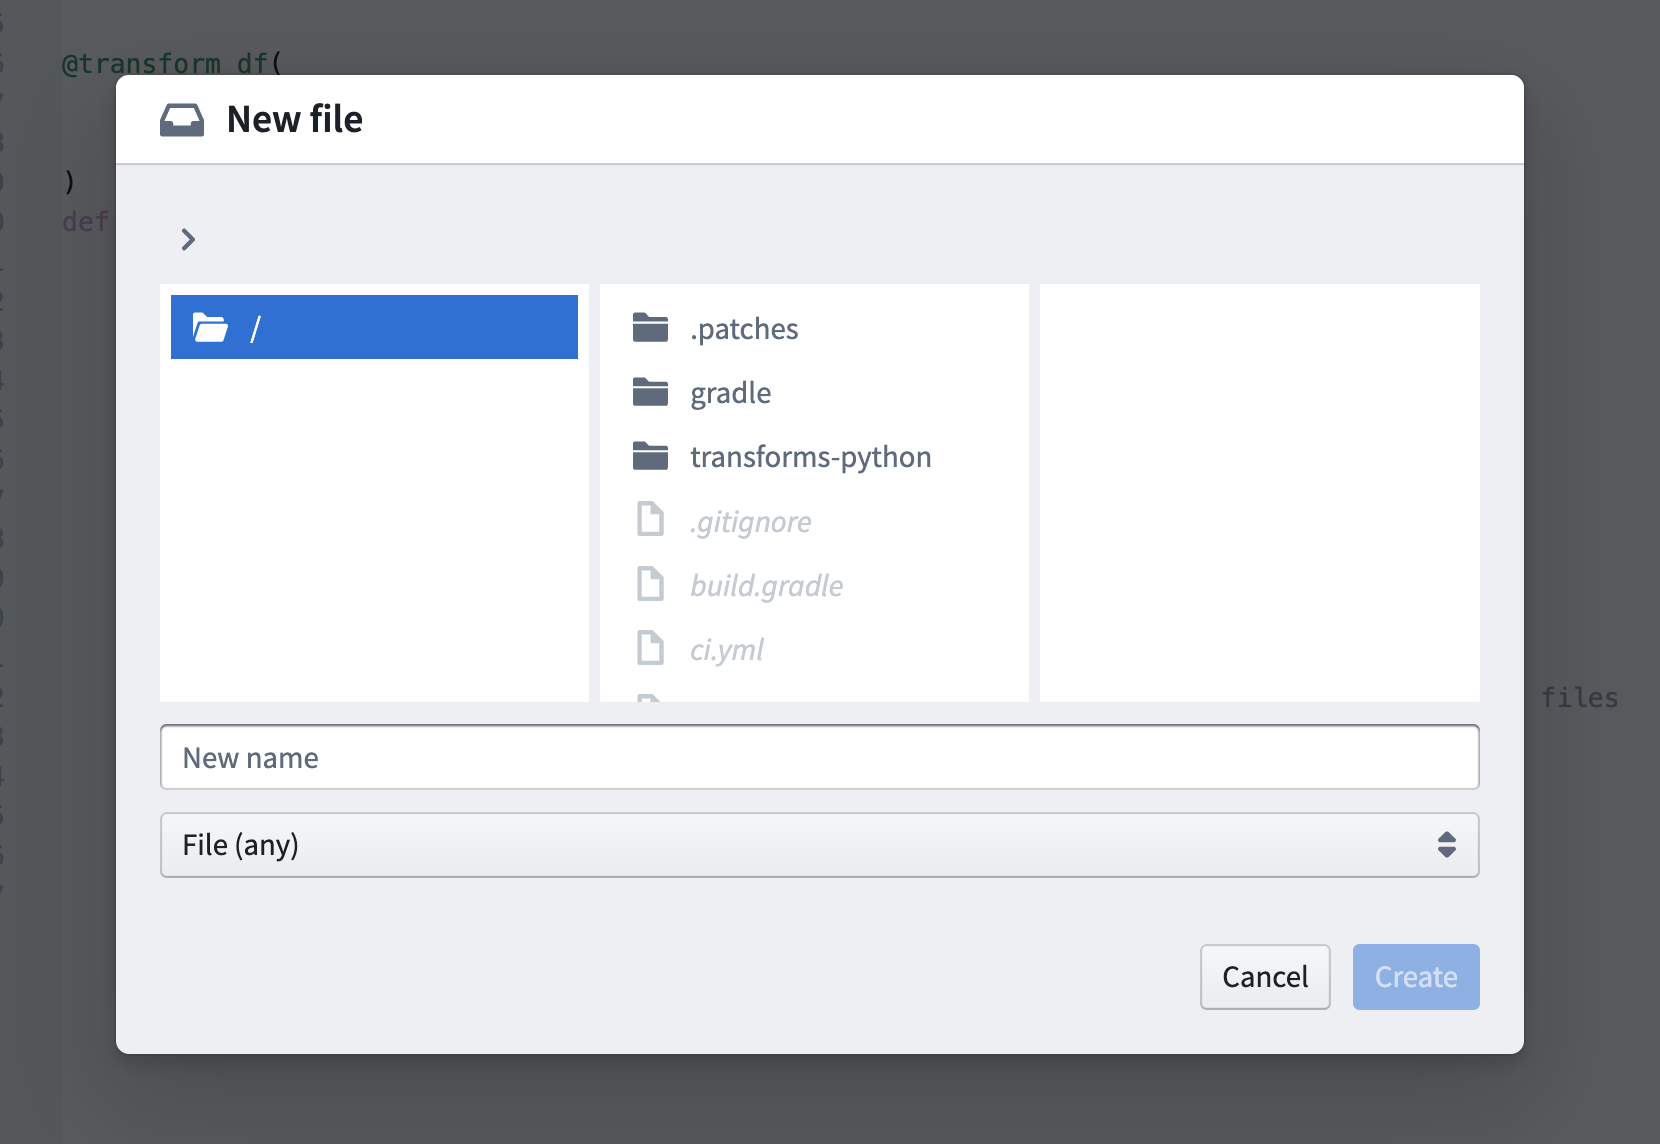
Master) namedyourName/feature/add_readme. - Click the ⊕ button just underneath the branch name in the top left of your repository and choose New file.
- In the New file window, scroll all the way to the left until you reach the root of the repository file structure. Then, click the
/to indicate you want to create a new file in the root folder as shown below.
-
Name your file
README.mdand click the blue Create button in the bottom right of the window. -
Open your new file and paste the following block into the editor window:
## Passengers Pipeline #### Ownership * Project team: Aviation Data Development * Project owner: yourName@yourOrganization.com #### Overview This pipeline takes raw data ingested from the Passengers datasource and: 1. Parses raw CSVs and JSONs into dataframes 2. Normalizes column names and data types across all raw datasets -
Commit your code (e.g., “feature: add readme”).
-
Complete the PR process to merge the branch into
Master. You will need to wait for CI checks to pass before completing the merge.