21 - Format Your Dashboard
This content is also available at learn.palantir.com ↗ and is presented here for accessibility purposes.
📖 Task Introduction
Now that you have created a dashboard, let's customize it with some formatting. In this task, you'll discover a few ways to edit the layout and annotate your dashboard.
🔨 Task Instructions
To make room for your formatting, consider closing the editor configuration panel on the right side of your screen if it's open.
-
Move the
Avg Route Departure Delaycard to the right of theFlight Departure Delaycard by clicking and dragging the dotted indicator at the top left corner of the card. -
Move the
Flights Delayed on Routecard to the right of theAvg Route Delaycard. -
Add a text card at the top of the dashboard by hovering above the first card clicking the grey
——➕——. -
Add the text
Flight Alert Context, and set the format to Large Heading and a centered text alignment. -
Open the dashboard editor sidebar by clicking the Settings "gear" icon in the top right corner next to Preview.
-
In the Editor sidebar choose Compact as the dashboard view style.
-
Under the INPUTS section of the Editor sidebar, click ⊕ Add Input and choose the
Flight Alertcard from the dropdown menu. -
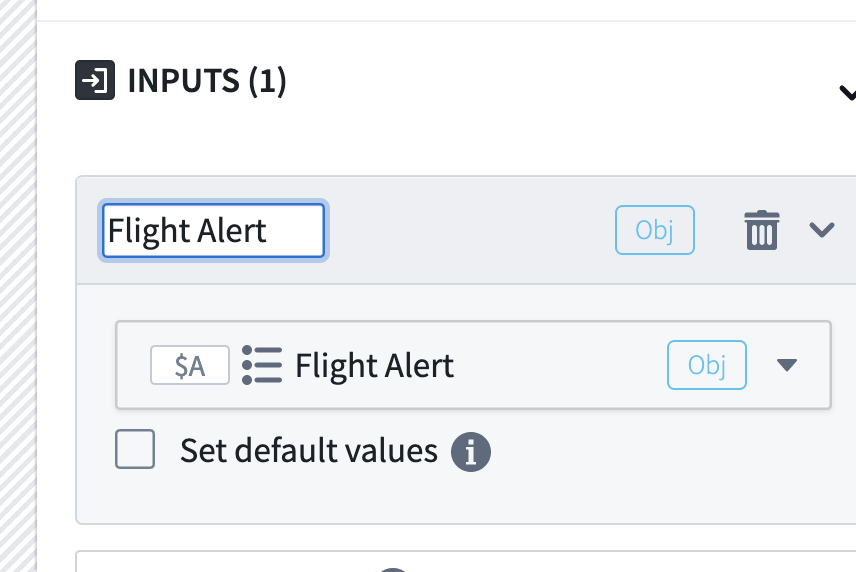
Change the label of the INPUTS block to also be
Flight Alertas shown in the image below. This is the name you'll use when embedding the dashboard into other areas of Foundry. -
Click the blue Save button in the top right corner to save your work.