3 - Adding an object to your analysis
This content is also available at learn.palantir.com ↗ and is presented here for accessibility purposes.
📖 Task Introduction
In this training, you’ll start with an arbitrary flight alert object, link to other object types in the Ontology, and then create visuals based on these related object sets. Let’s choose an arbitrary single starting flight alert object, bring it into our canvas, and prepare it for further analysis.
🔨 Task Instructions
-
Click the blue ➕ Add data to analysis button in the middle of the screen.
- The window that opens allows you to choose object types as you starting point. However, you want a particular object.
-
Click the Advanced button in the top right of the window.
- This new window will permit you to choose particular objects of a given type.
-
In the top right of your new window, switch the search content from Time Series to Objects & Object Sets (unless it already displays the latter).
-
Just below, you will see an alphabetized list of accessible object types in your Ontology. You will need to identify your flight alert object type, but in the likely case that you don’t see it listed, choose the small Show all link in the very bottom right of the window.
-
You now have a field in which you can search for your object type by name. When your flight alert object type comes up in your search results (as shown in the example below), choose it.
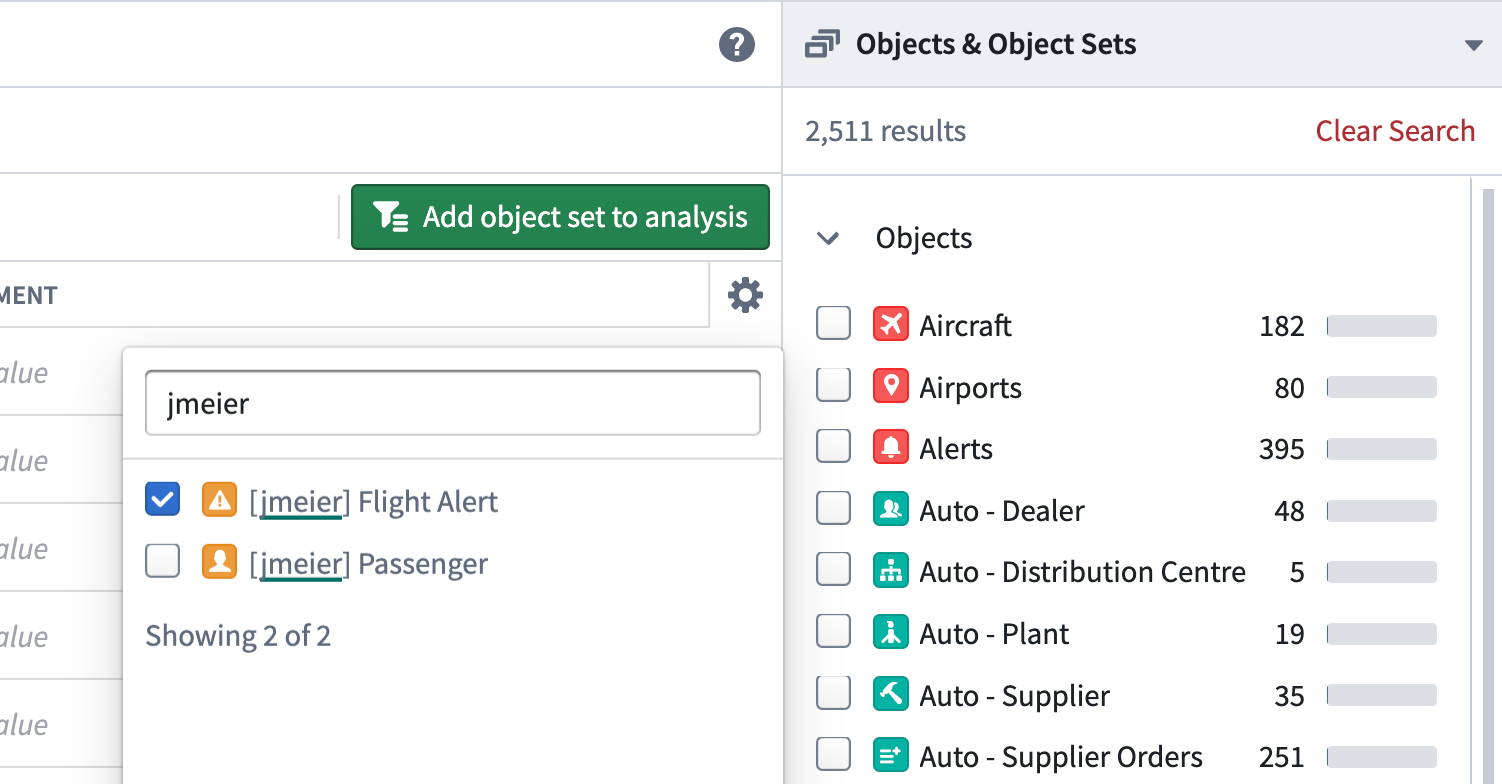
-
A new window appears behind your search results that lists all the objects of the type
[yourName] Flight Alert. Click the green ⊕ to the left of the top object in the list, not the green "Add object set to analysis" button.A green indicator at the top of your screen tells you that the object has been added to your analysis.
-
Choose the
xin the top right of your object selector window to close it.