- Capabilities
- Getting started
- Architecture center
- Platform updates
Example: Upload a scikit-learn model
The below documentation provides an example of how to integrate a model into Foundry from existing model files. For a step-by-step guide, refer to our documentation on how to publish a model from pre-trained files.
Create the model from model files
The following example uses a model that was trained locally using the Iris classification dataset ↗ published by UC Irvine. The dataset has four features; sepal_length, sepal_width, petal_length and petal_width and can be used to build a model that predicts the specific specifies of the iris flower.
In this example, we assume the model was trained locally as a K-nearest neighbors classifier ↗ with the scikit-learn library ↗. This example also assumes the model was trained with Python 3.8.0 and scikit-learn 1.3.2.
After training, the model is saved as a pickle file ↗, as defined below.
Copied!1 2 3 4 5 6 7 8 9 10 11 12 13 14 15 16 17 18from sklearn.datasets import load_iris from sklearn.model_selection import train_test_split from sklearn.neighbors import KNeighborsClassifier import pickle iris = load_iris() X = iris.data y = iris.target X_train, X_test, y_train, y_test = train_test_split( X, y, test_size=0.4, random_state=4) knn = KNeighborsClassifier(n_neighbors = 5) knn.fit(X_train, y_train) with open("iris_model.pkl", "wb") as f: pickle.dump(knn, f)
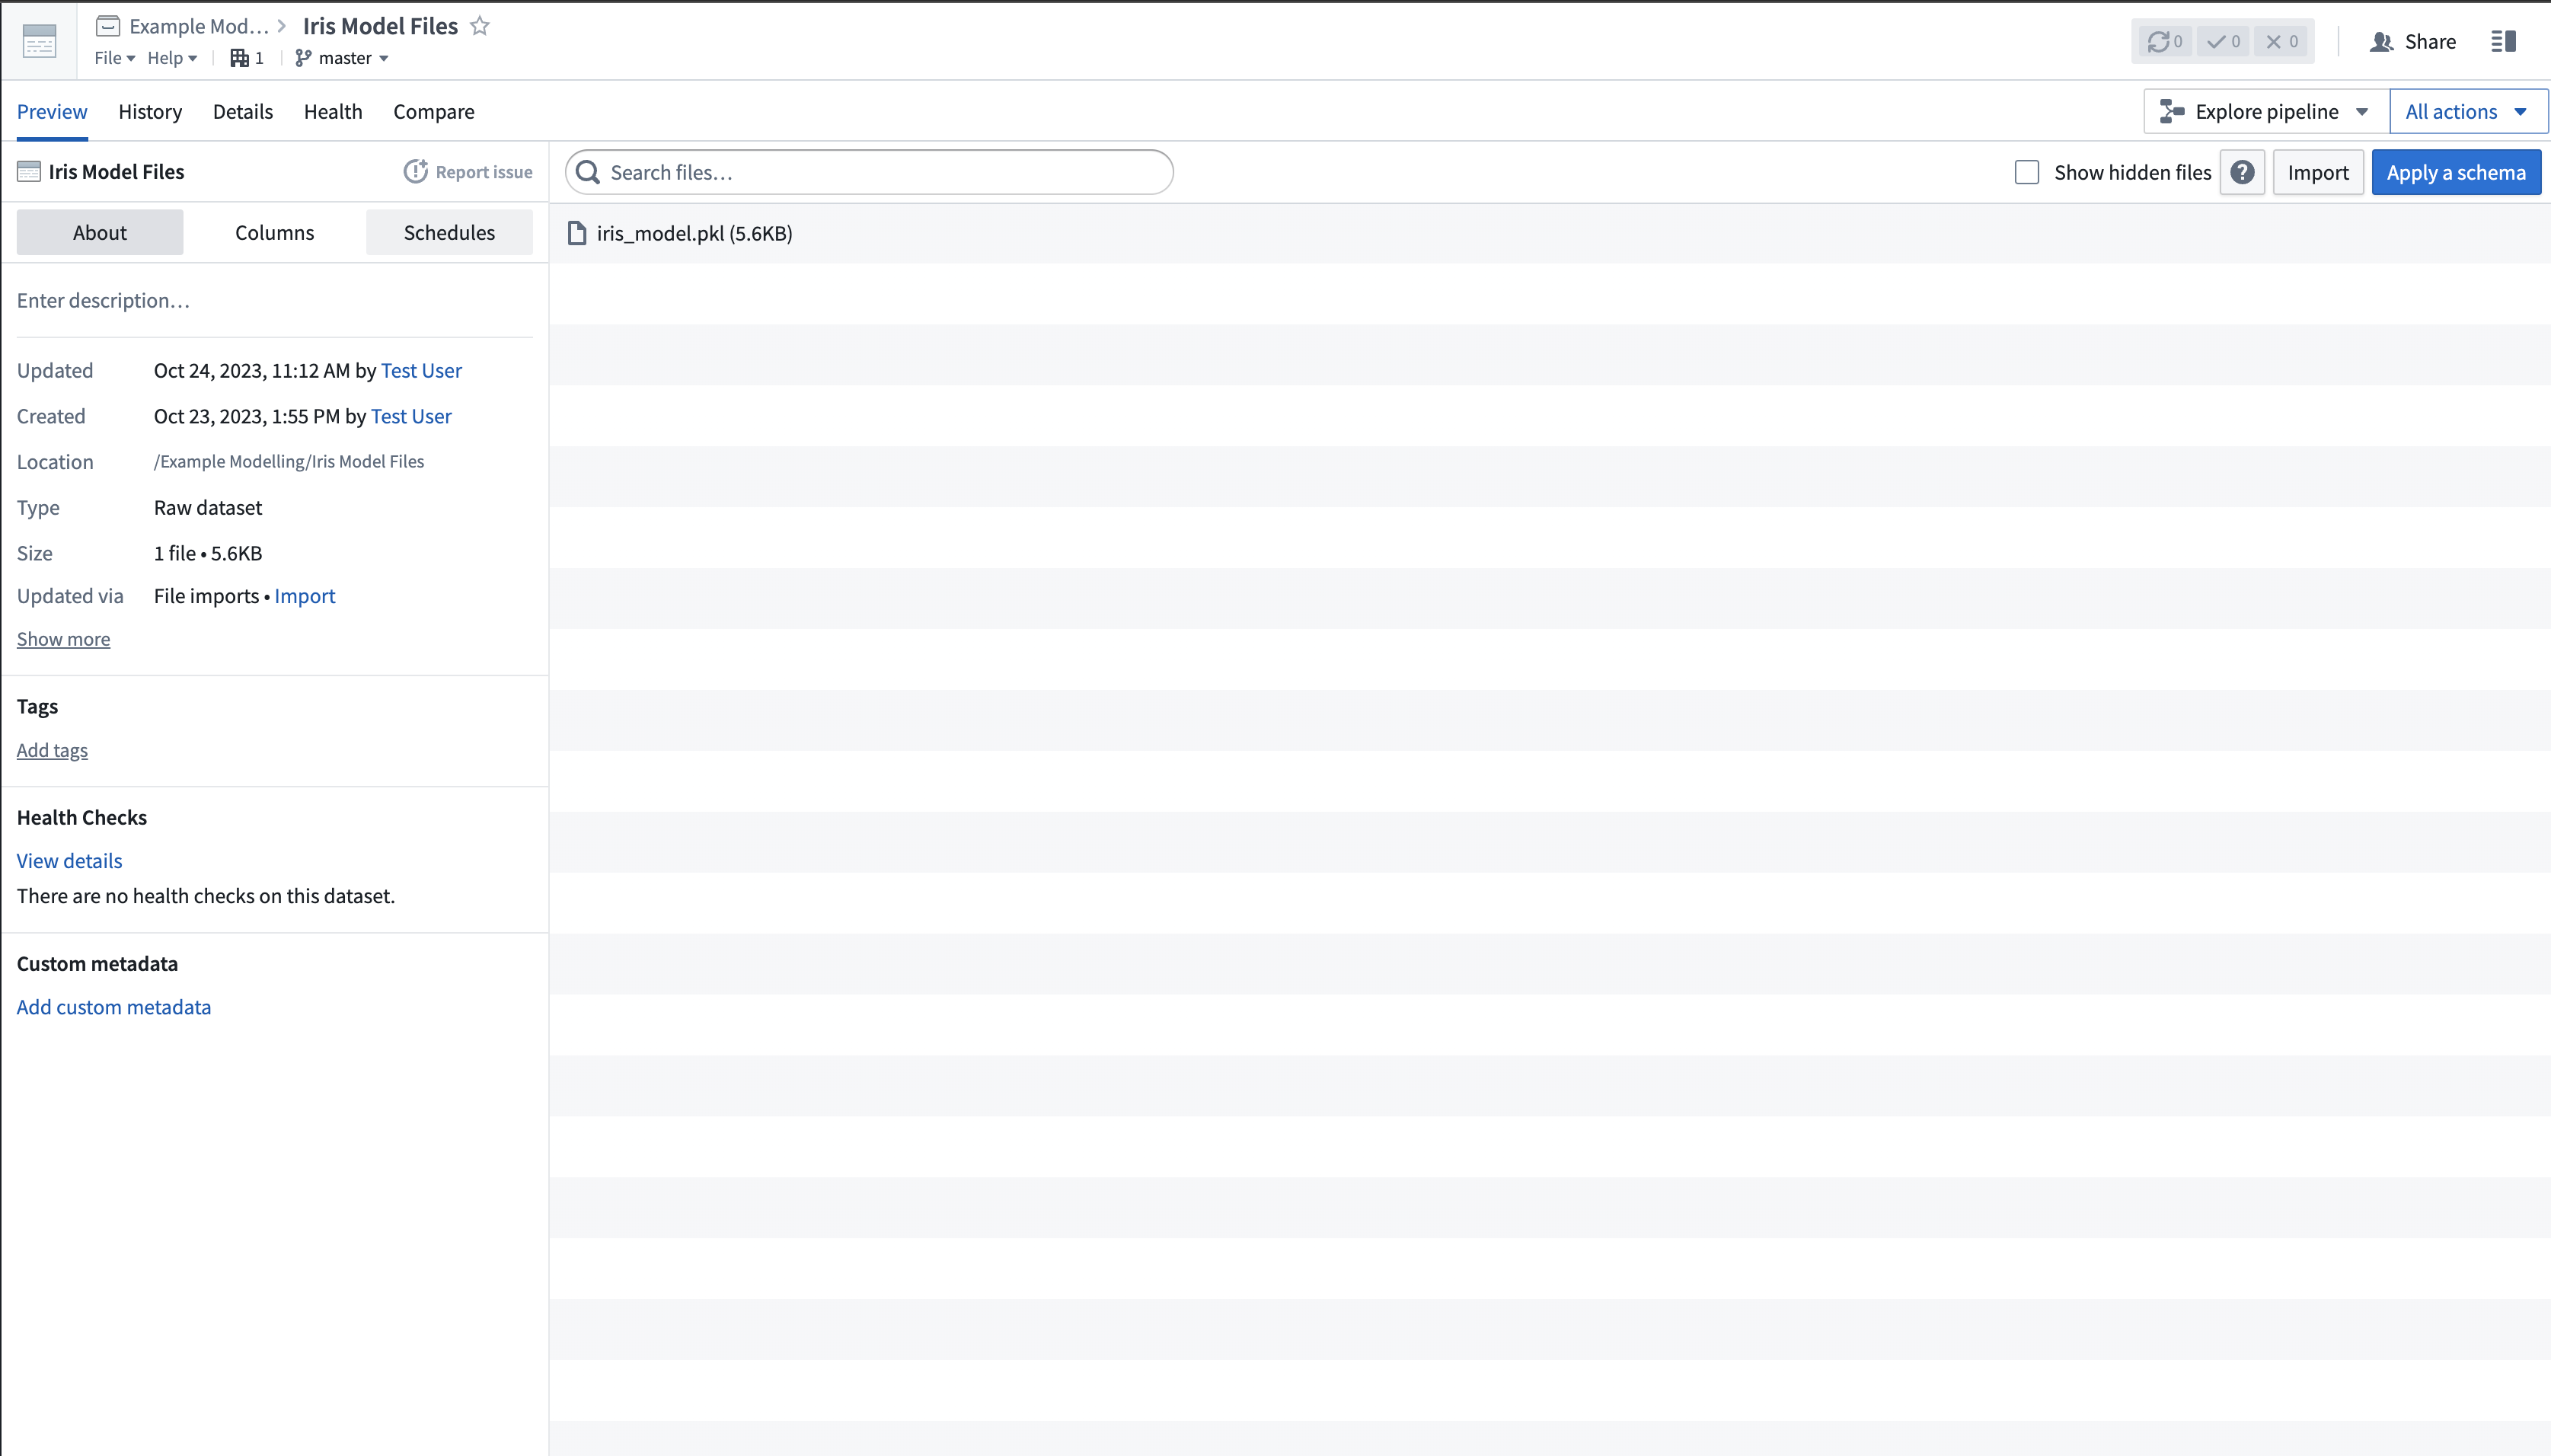
1. Upload the model files to an unstructured dataset
The scikit-train model files are uploaded to Palantir as an unstructured dataset, as shown in the image below:
2. Create a Model Training template to define your model adapter logic
In the Code Repositories application, create a new Model Integration repository with the Model Training language template, then add a dependency on scikit-learn 1.3.2. Define your logic to read the model files and publish a model.
3. Publish your model files as a model
Once the model adapter logic is executed, the model will be published in the platform.
Copied!1 2 3 4 5 6 7 8 9 10 11 12 13 14 15 16 17 18 19 20 21 22 23 24 25 26 27 28 29 30 31 32 33 34 35 36 37 38 39 40 41 42 43 44 45 46 47from transforms.api import transform, Input import palantir_models as pm from palantir_models.transforms import ModelOutput from palantir_models.serializers import DillSerializer import pickle import os @transform( model_files=Input("<Your Input Path>"), model_output=ModelOutput("<Your Output path>") ) def compute(model_files, model_output): fs = model_files.filesystem() with fs.open("iris_model.pkl", "rb") as f: model = pkl.load(f) model_adapter = IrisModelAdapter(model, "target") model_output.publish( model_adapter=model_adapter ) class IrisModelAdapter(pm.ModelAdapter): @auto_serialize( model=DillSerializer(), prediction_column_name=DillSerializer() ) def __init__(self, model, prediction_column_name="target"): self.model = model self.prediction_column_name = prediction_column_name @classmethod def api(cls): column_names = ["sepal_length", "sepal_width", "petal_length", "petal_width"] columns =[(name, float) for name in column_names] inputs = {"df_in": pm.Pandas(columns=columns)} outputs = {"df_out": pm.Pandas(columns=columns+[("target", int)])} return inputs, outputs def predict(self, df_in): inference_data = df_in predictions = self.model.predict(inference_data.values) inference_data[self.prediction_column_name] = predictions return inference_data
4. Consume the published model
Once the model is published, it is ready to be consumed for inference in the platform. For this example, we will create a new modeling objective and submit the model.
- Create a new modeling objective by navigating to the Project folder where you wish the objective to live, then selecting New > Modeling Objective. This will open the Modeling Objectives application.
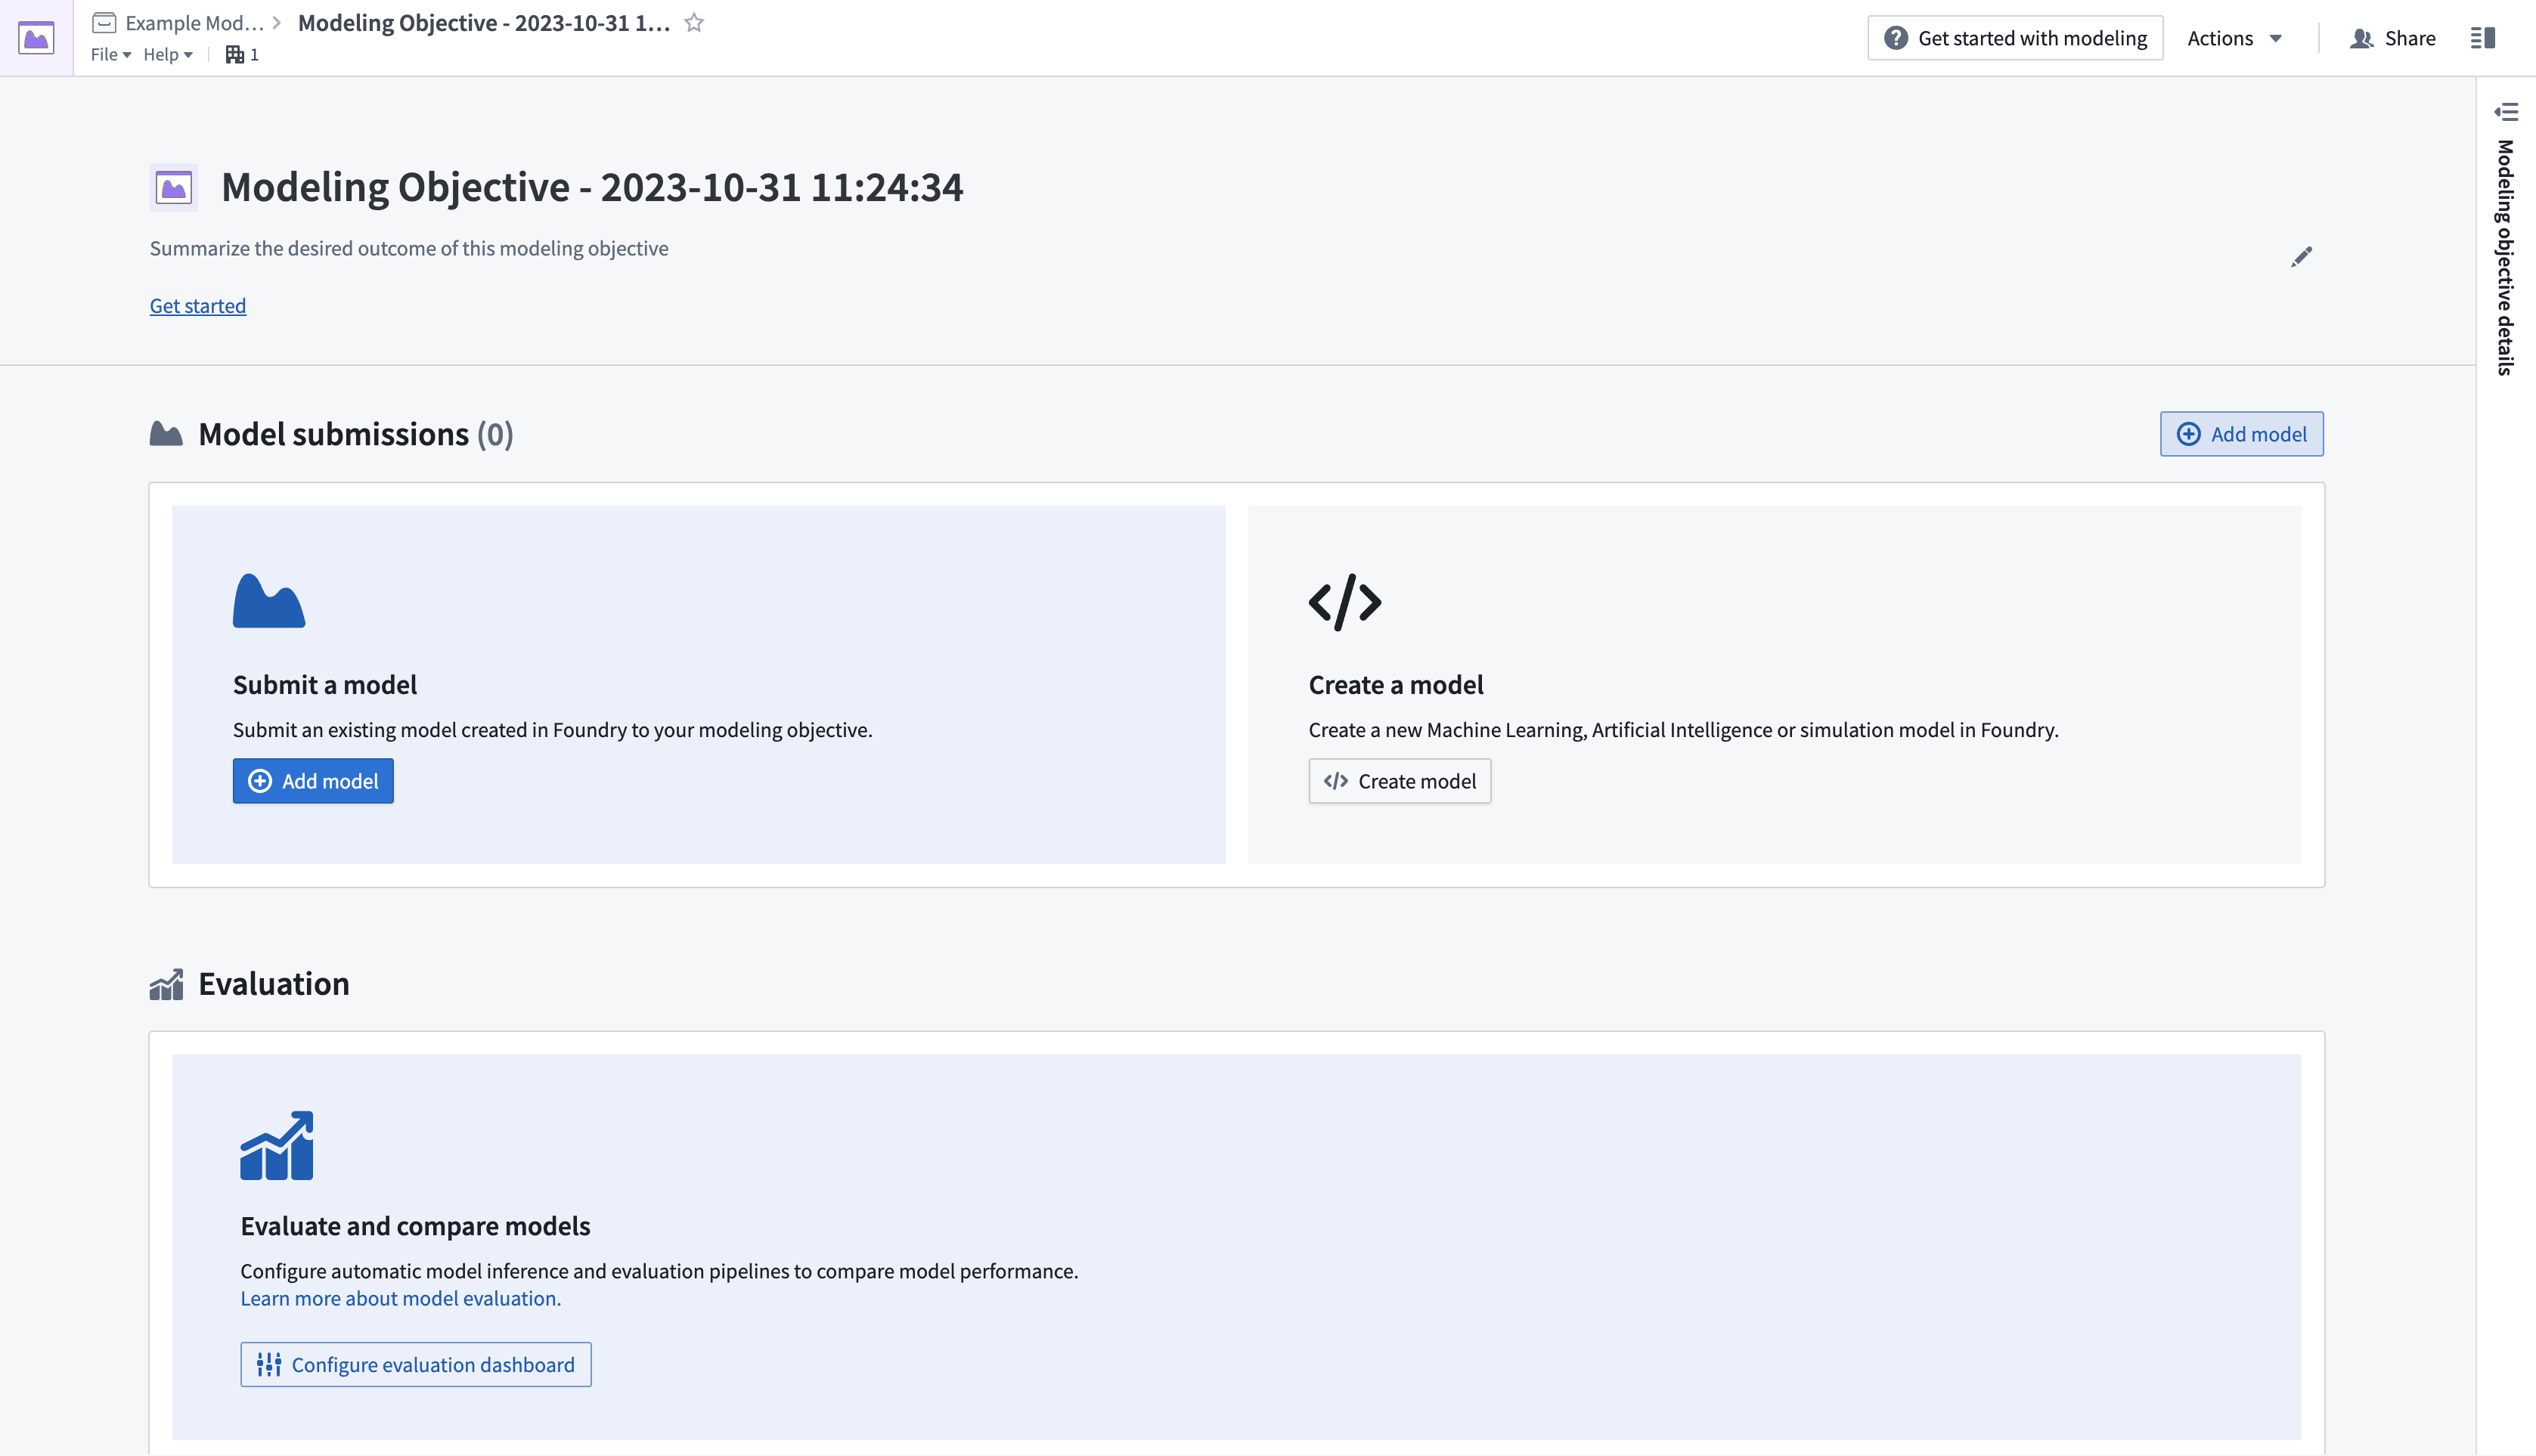
- Next, submit a model to the objective. In the Model Submissions > Submit a Model section, select Add Model to open a dialog, as shown below.
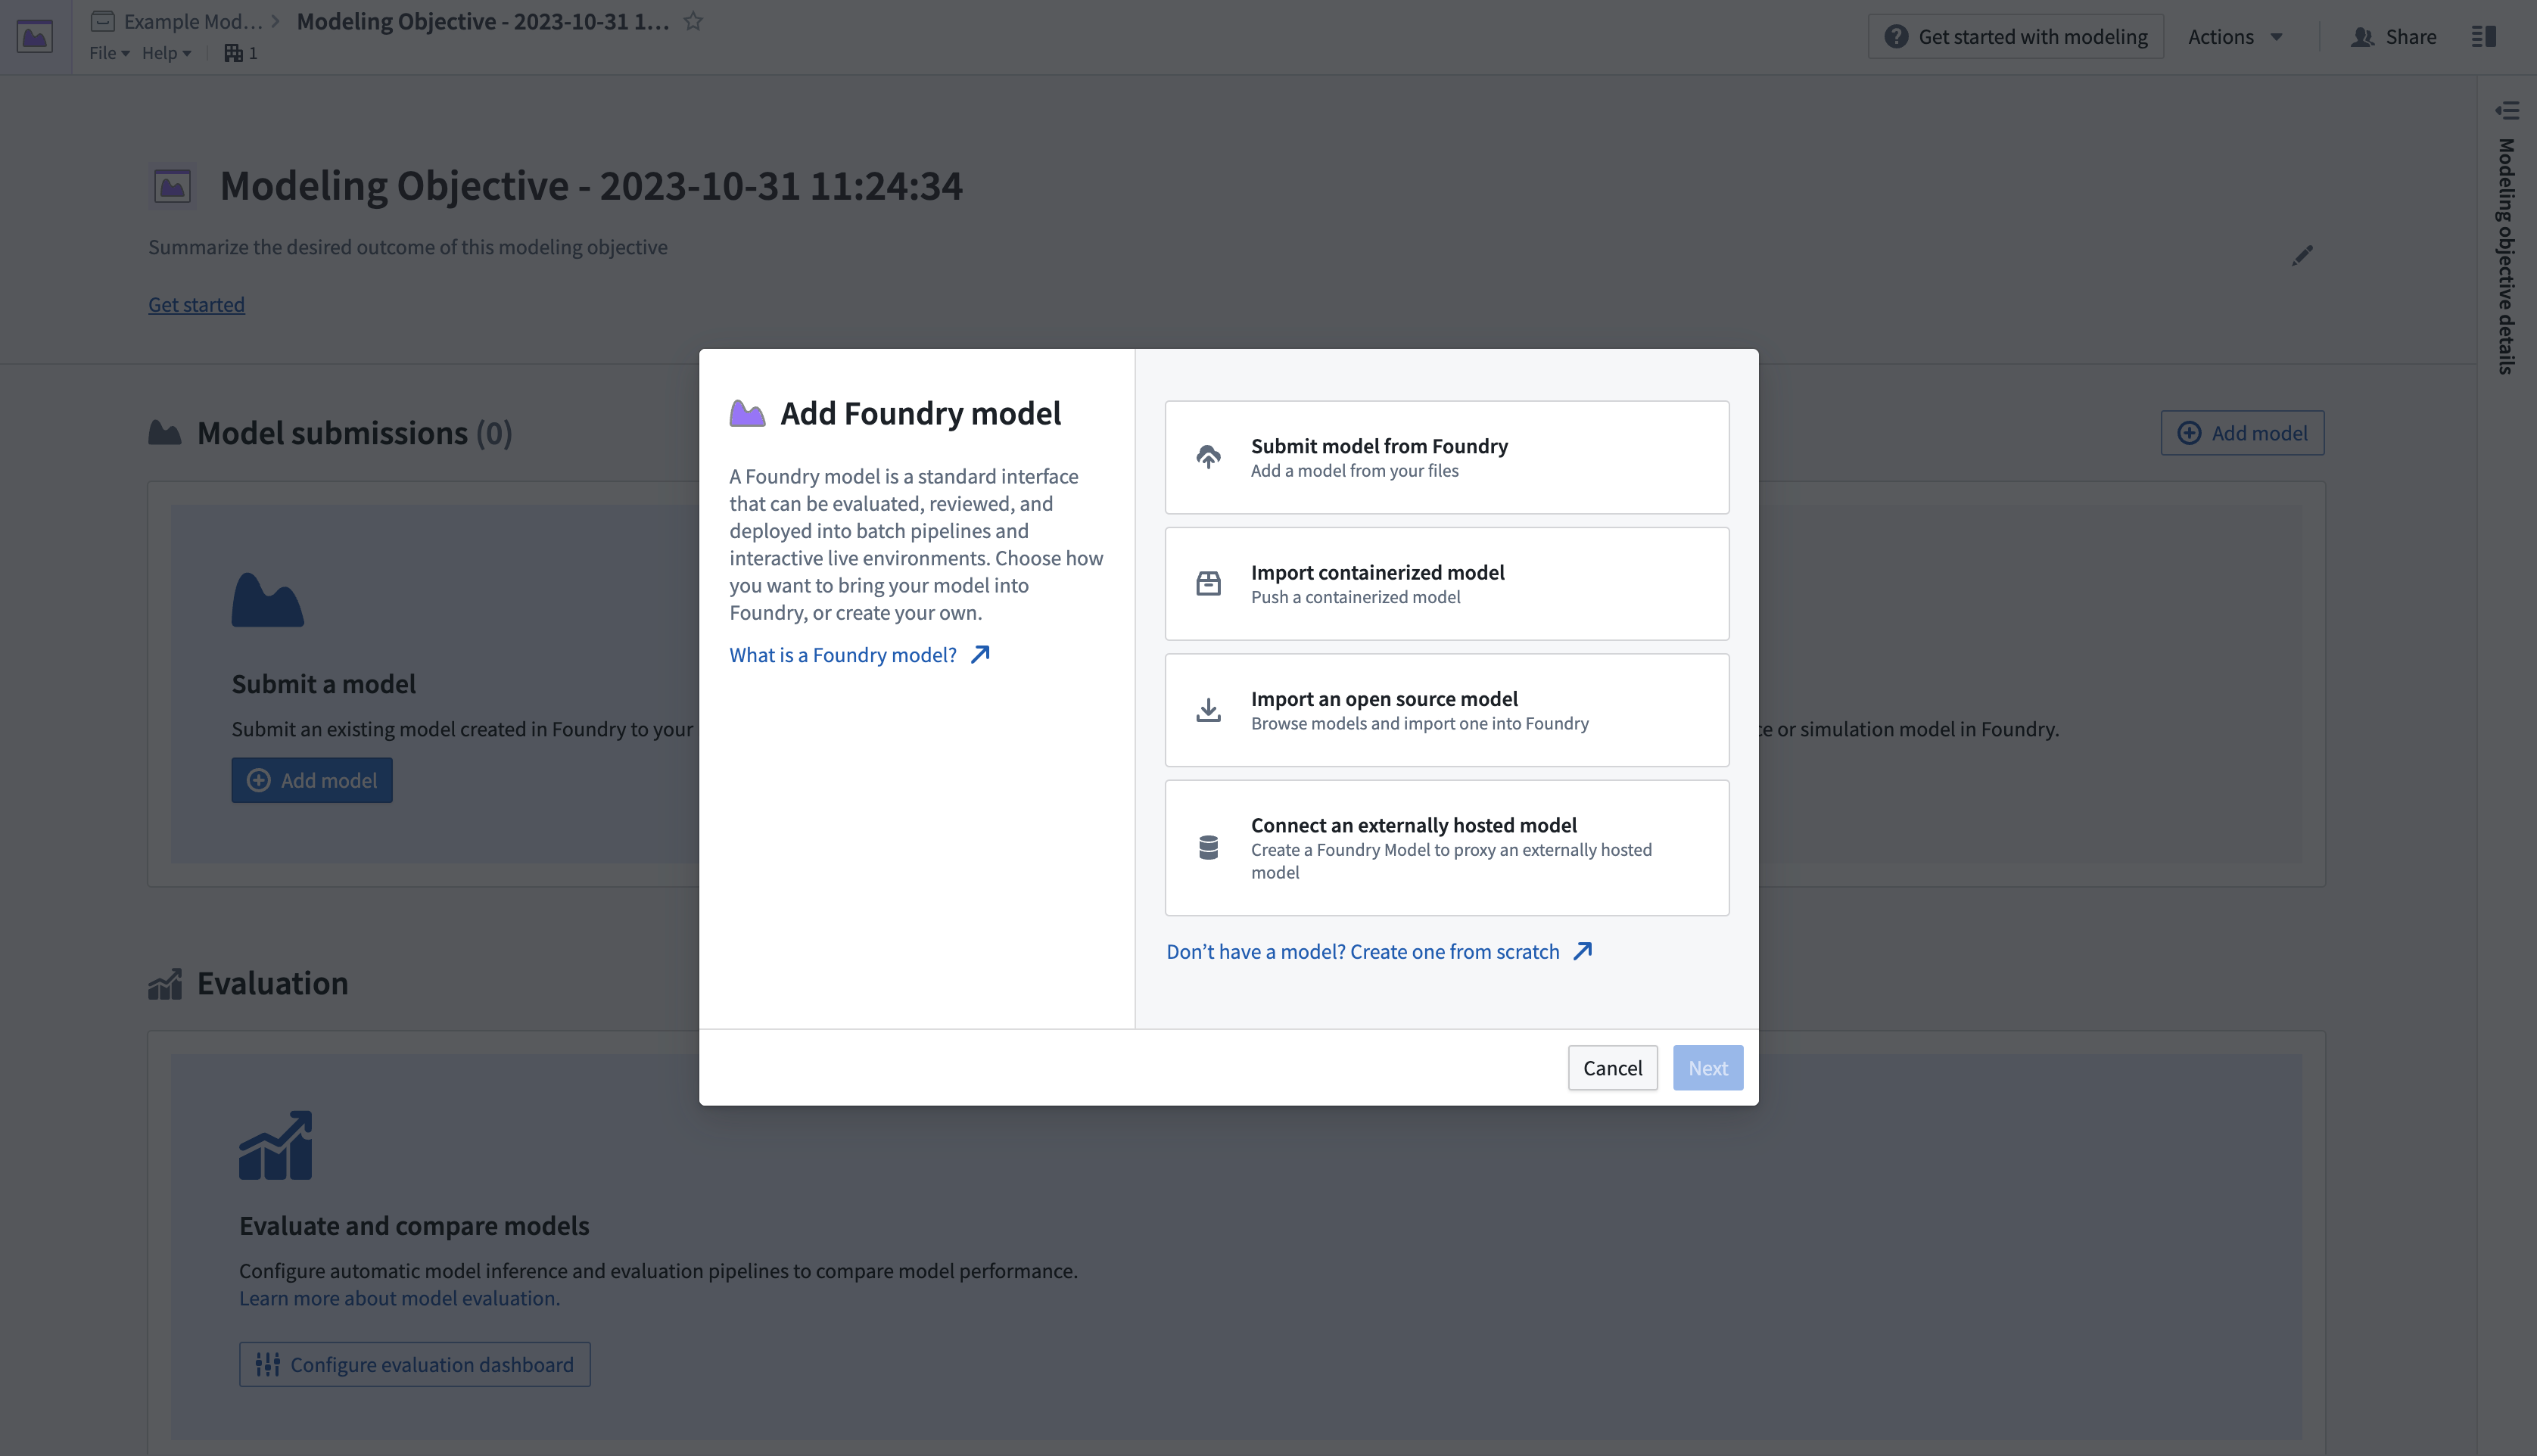
- Select Submit model from Foundry, then select Next to open a dialog where you can load the published model from its location in the platform.
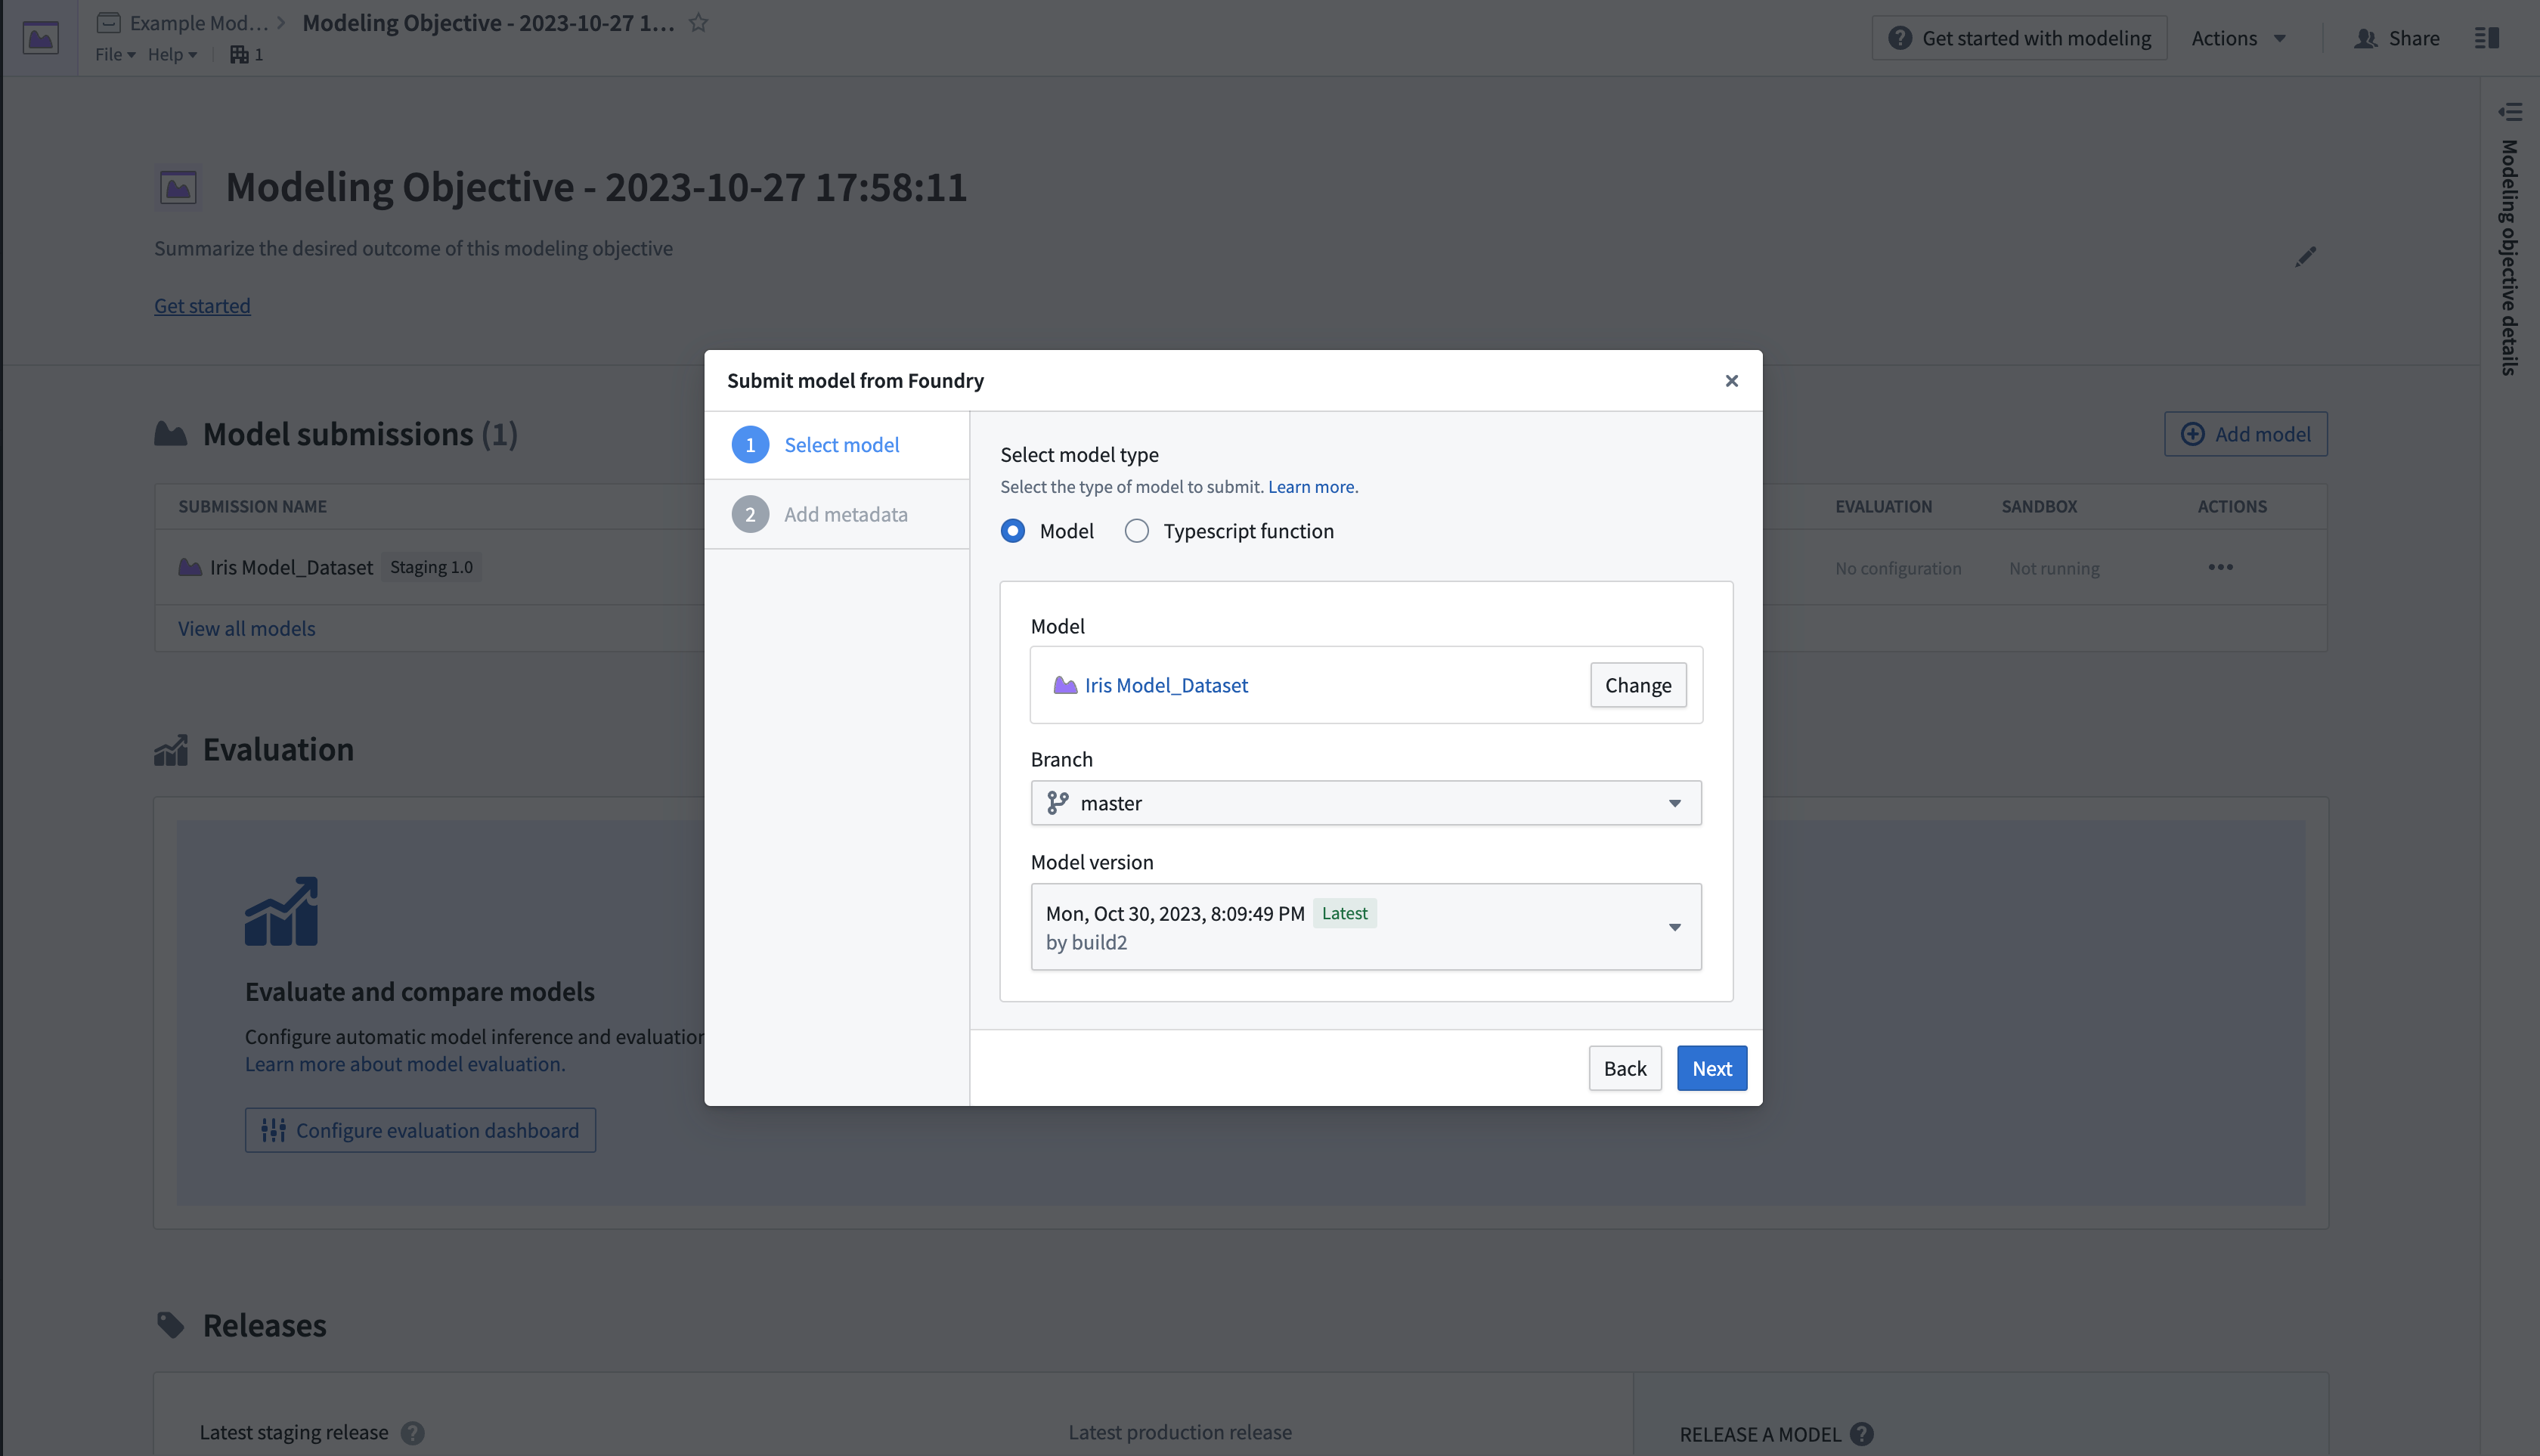
- Once the model is submitted, you will be directed back to the modeling objective overview page, where a Model submissions section will show information about the submission.
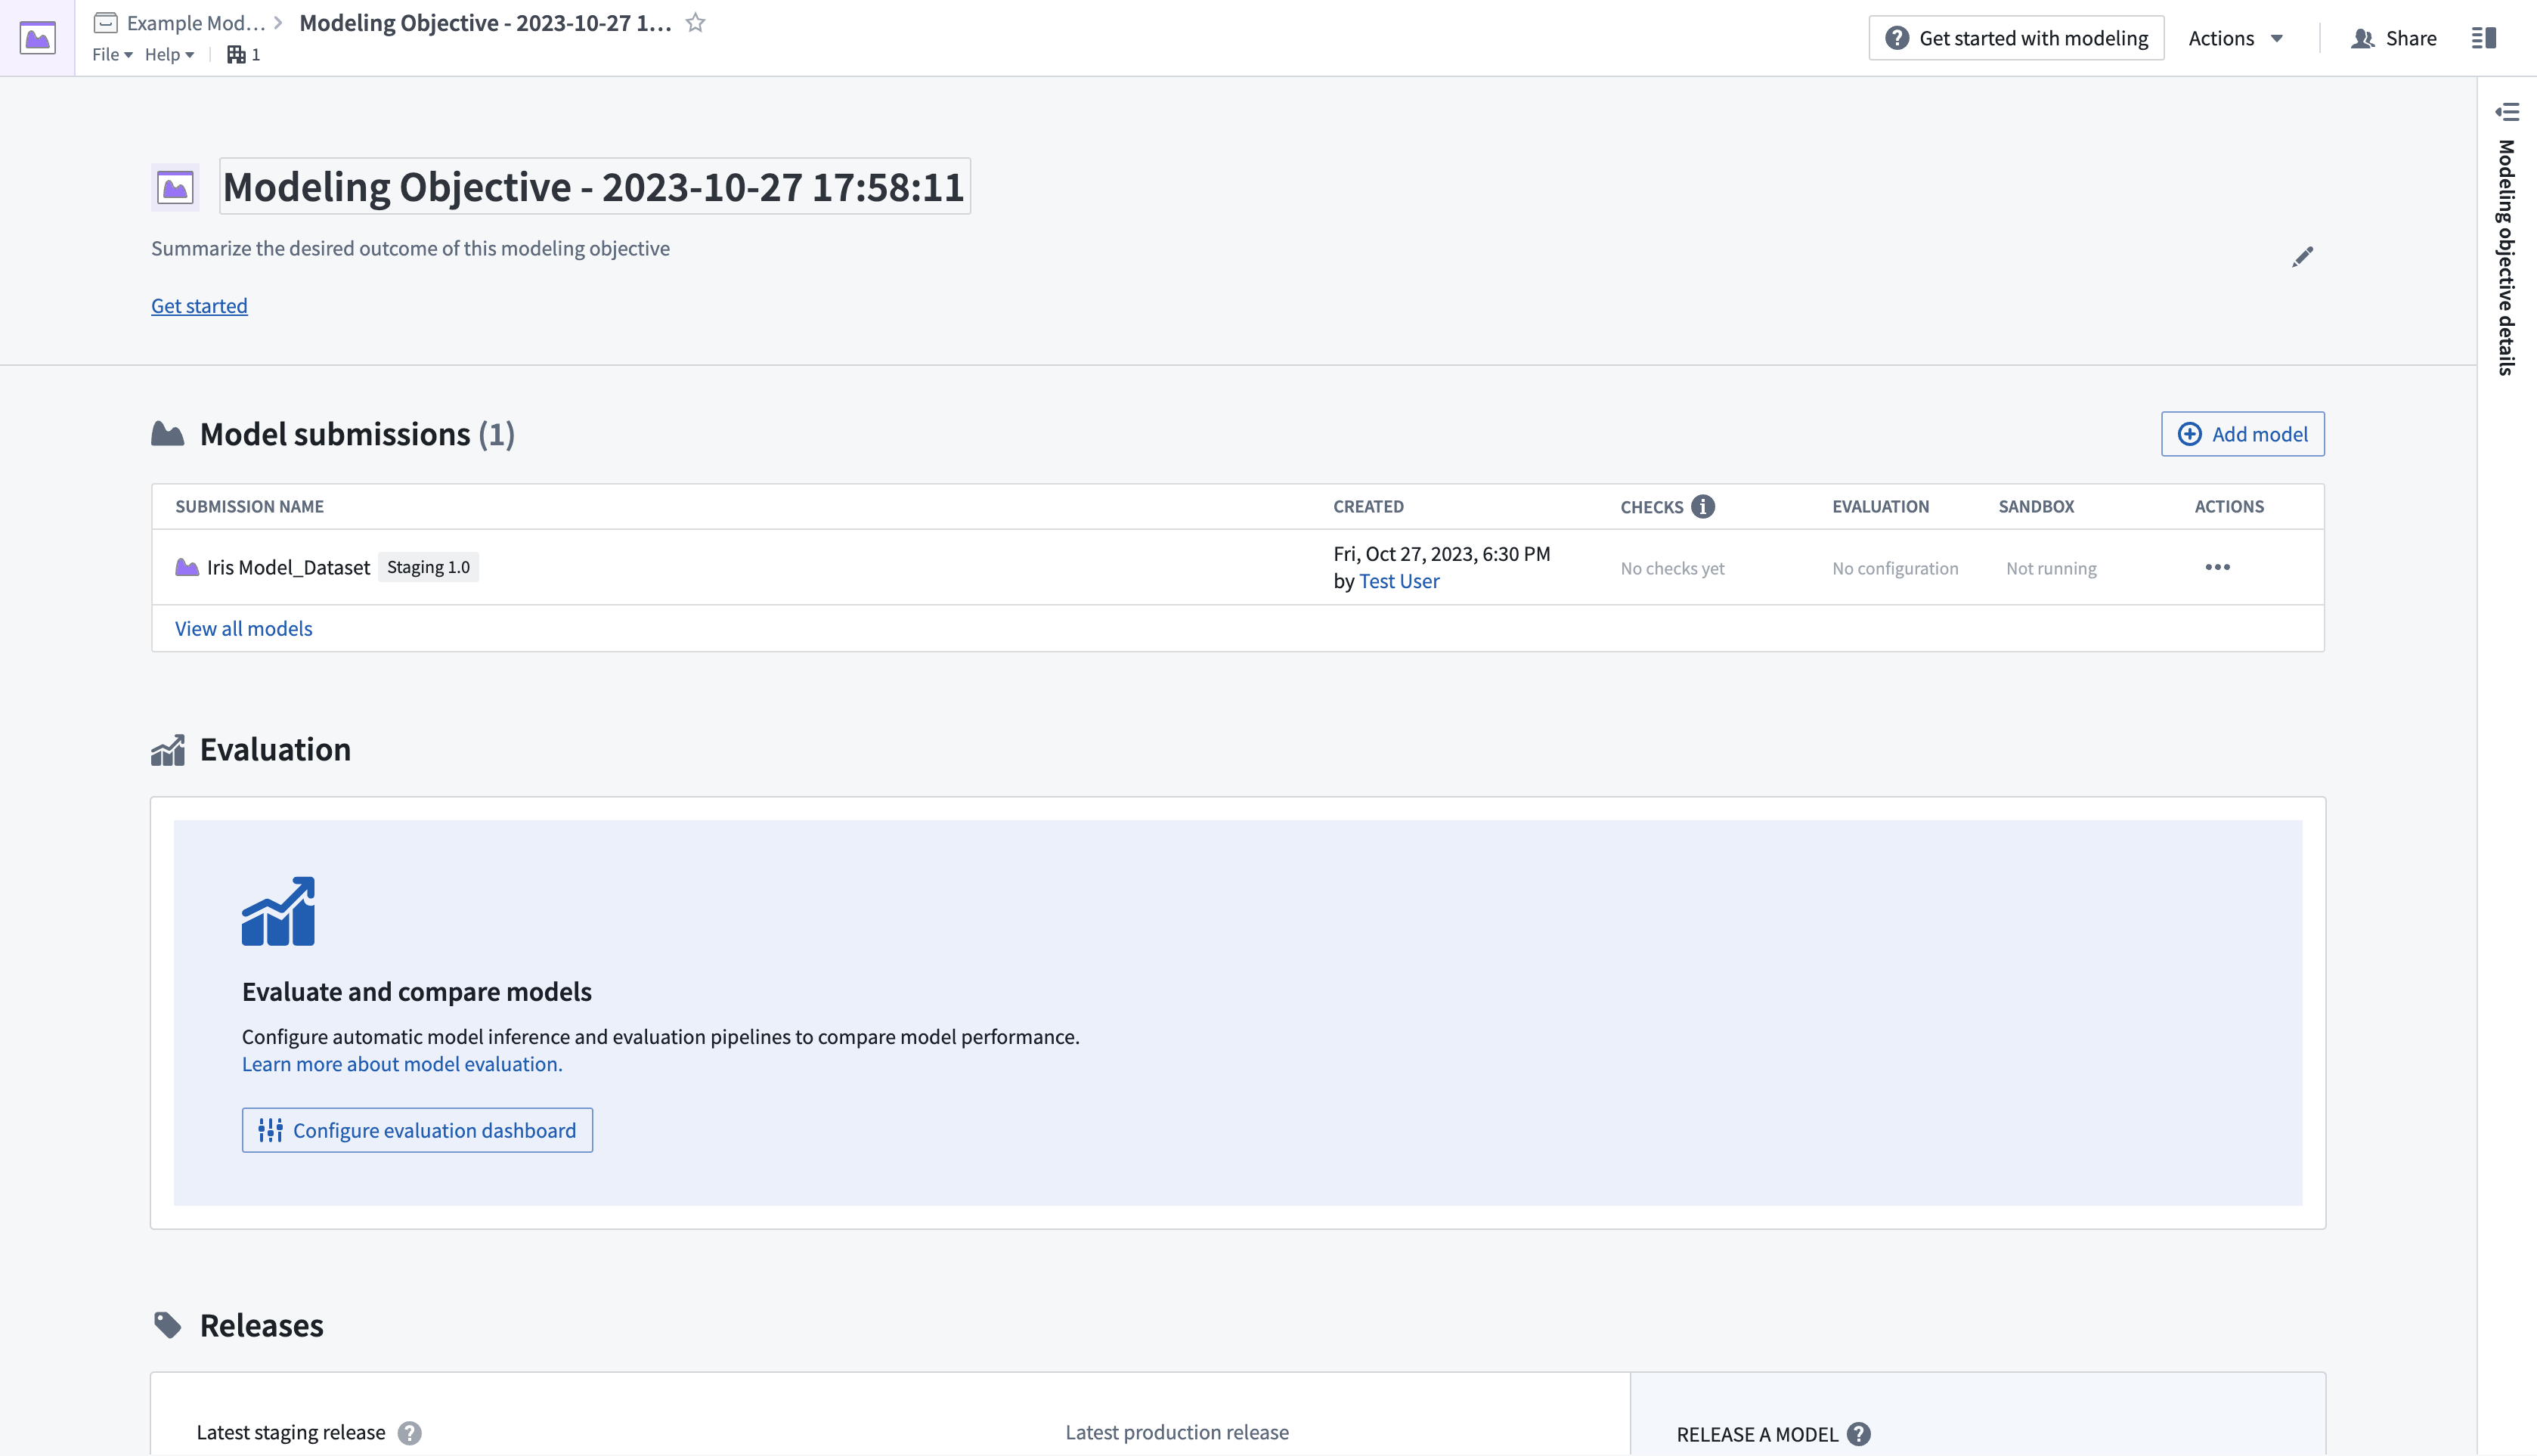
- Select the newly submitted model from the Model submissions section to open the model page.
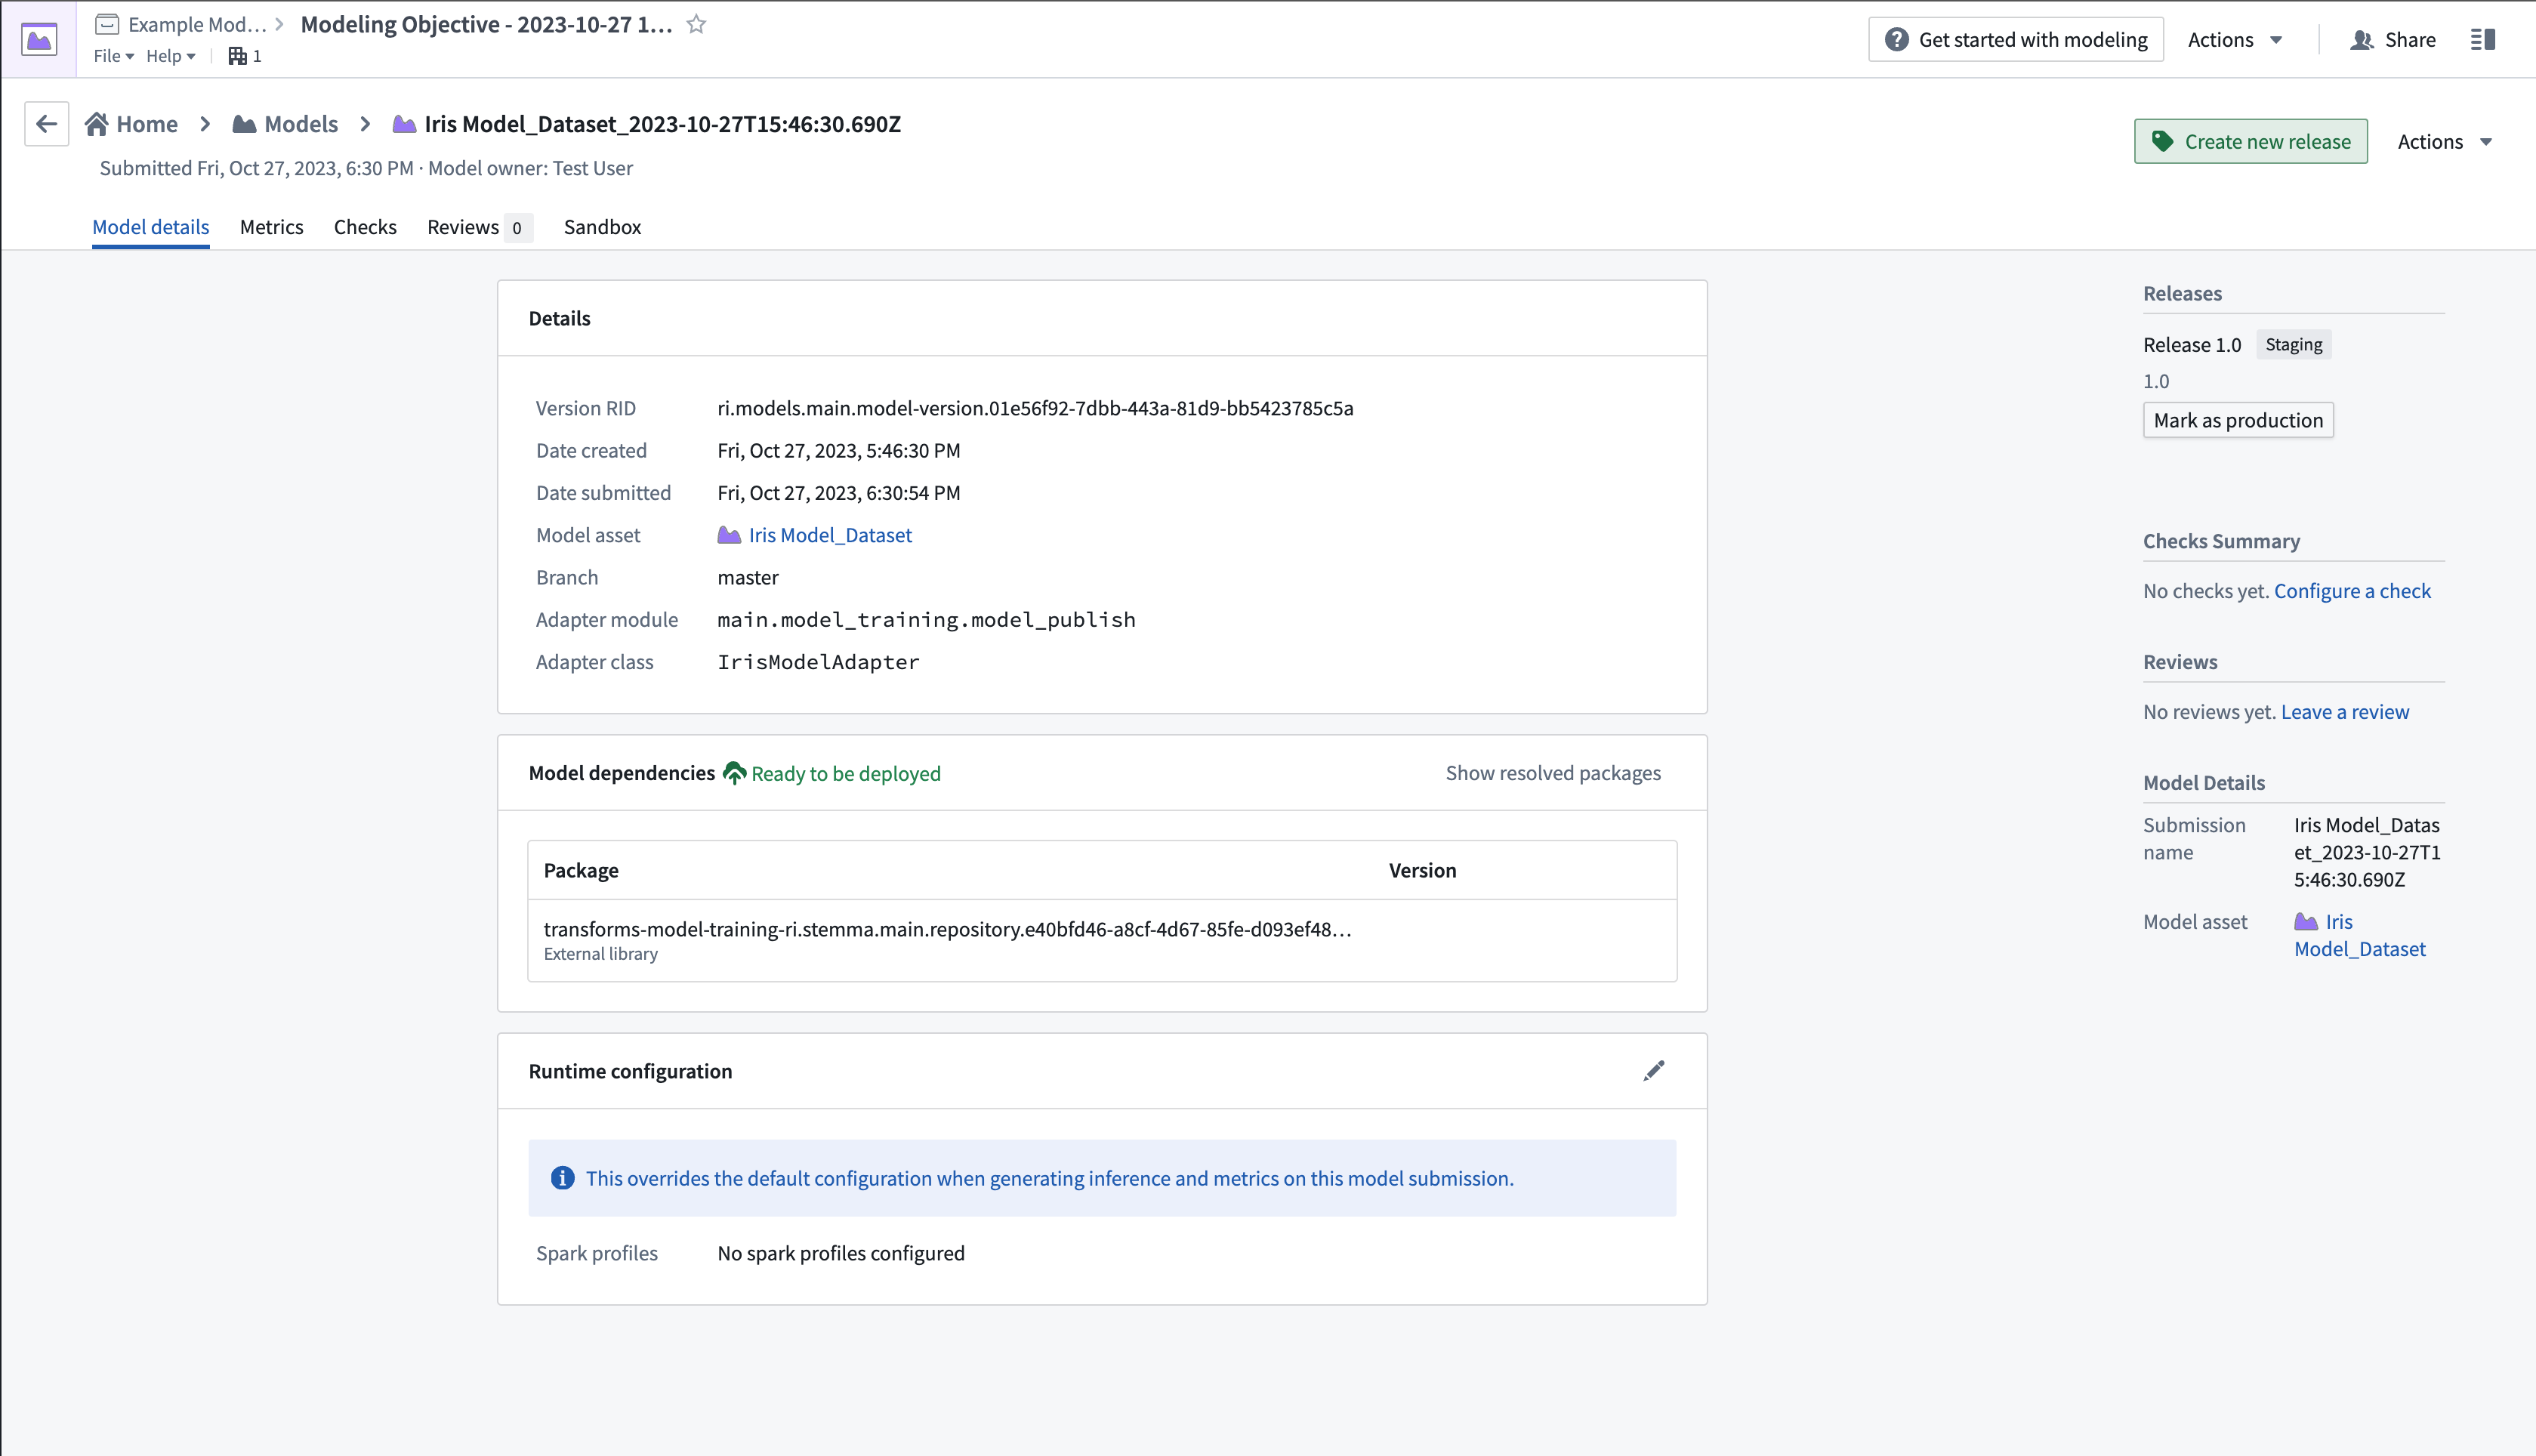
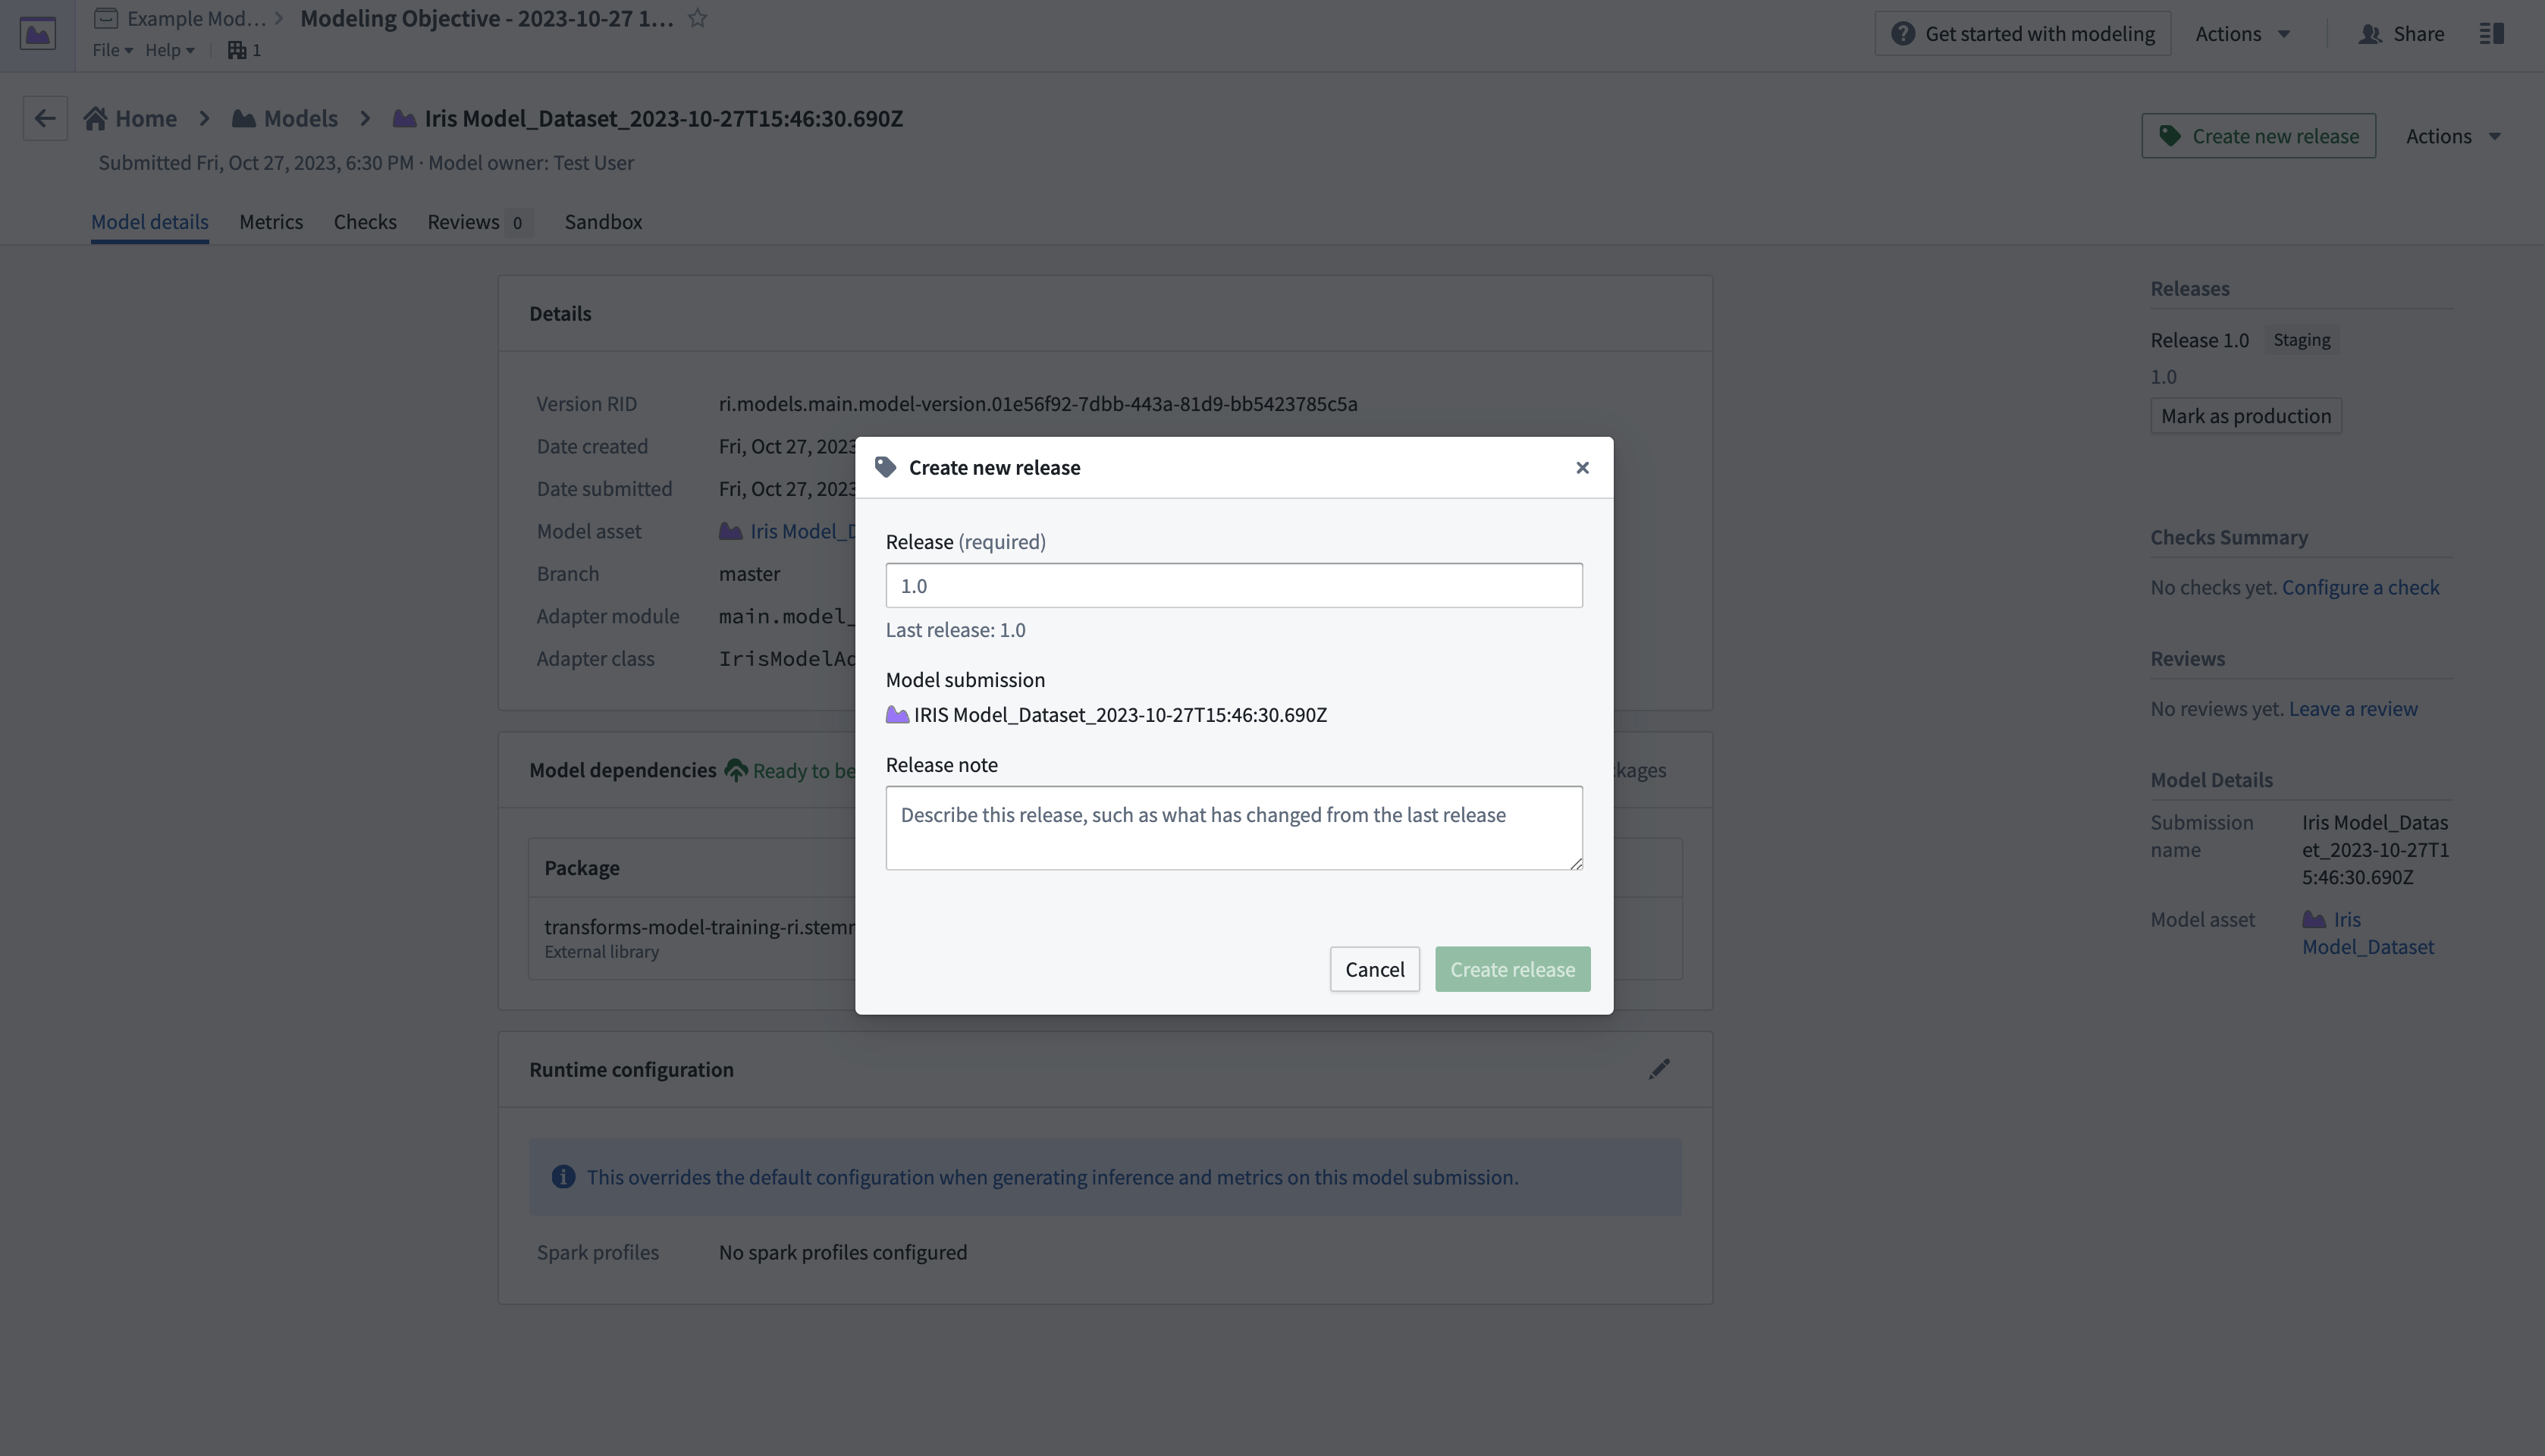
- Select Create new release in the upper right corner to open a new window to create a release.
- After creating a release, return to the modeling objective overview page by selecting the name in the top left of the screen. Scroll down to Deployments, then select Create deployment to open another dialog window.
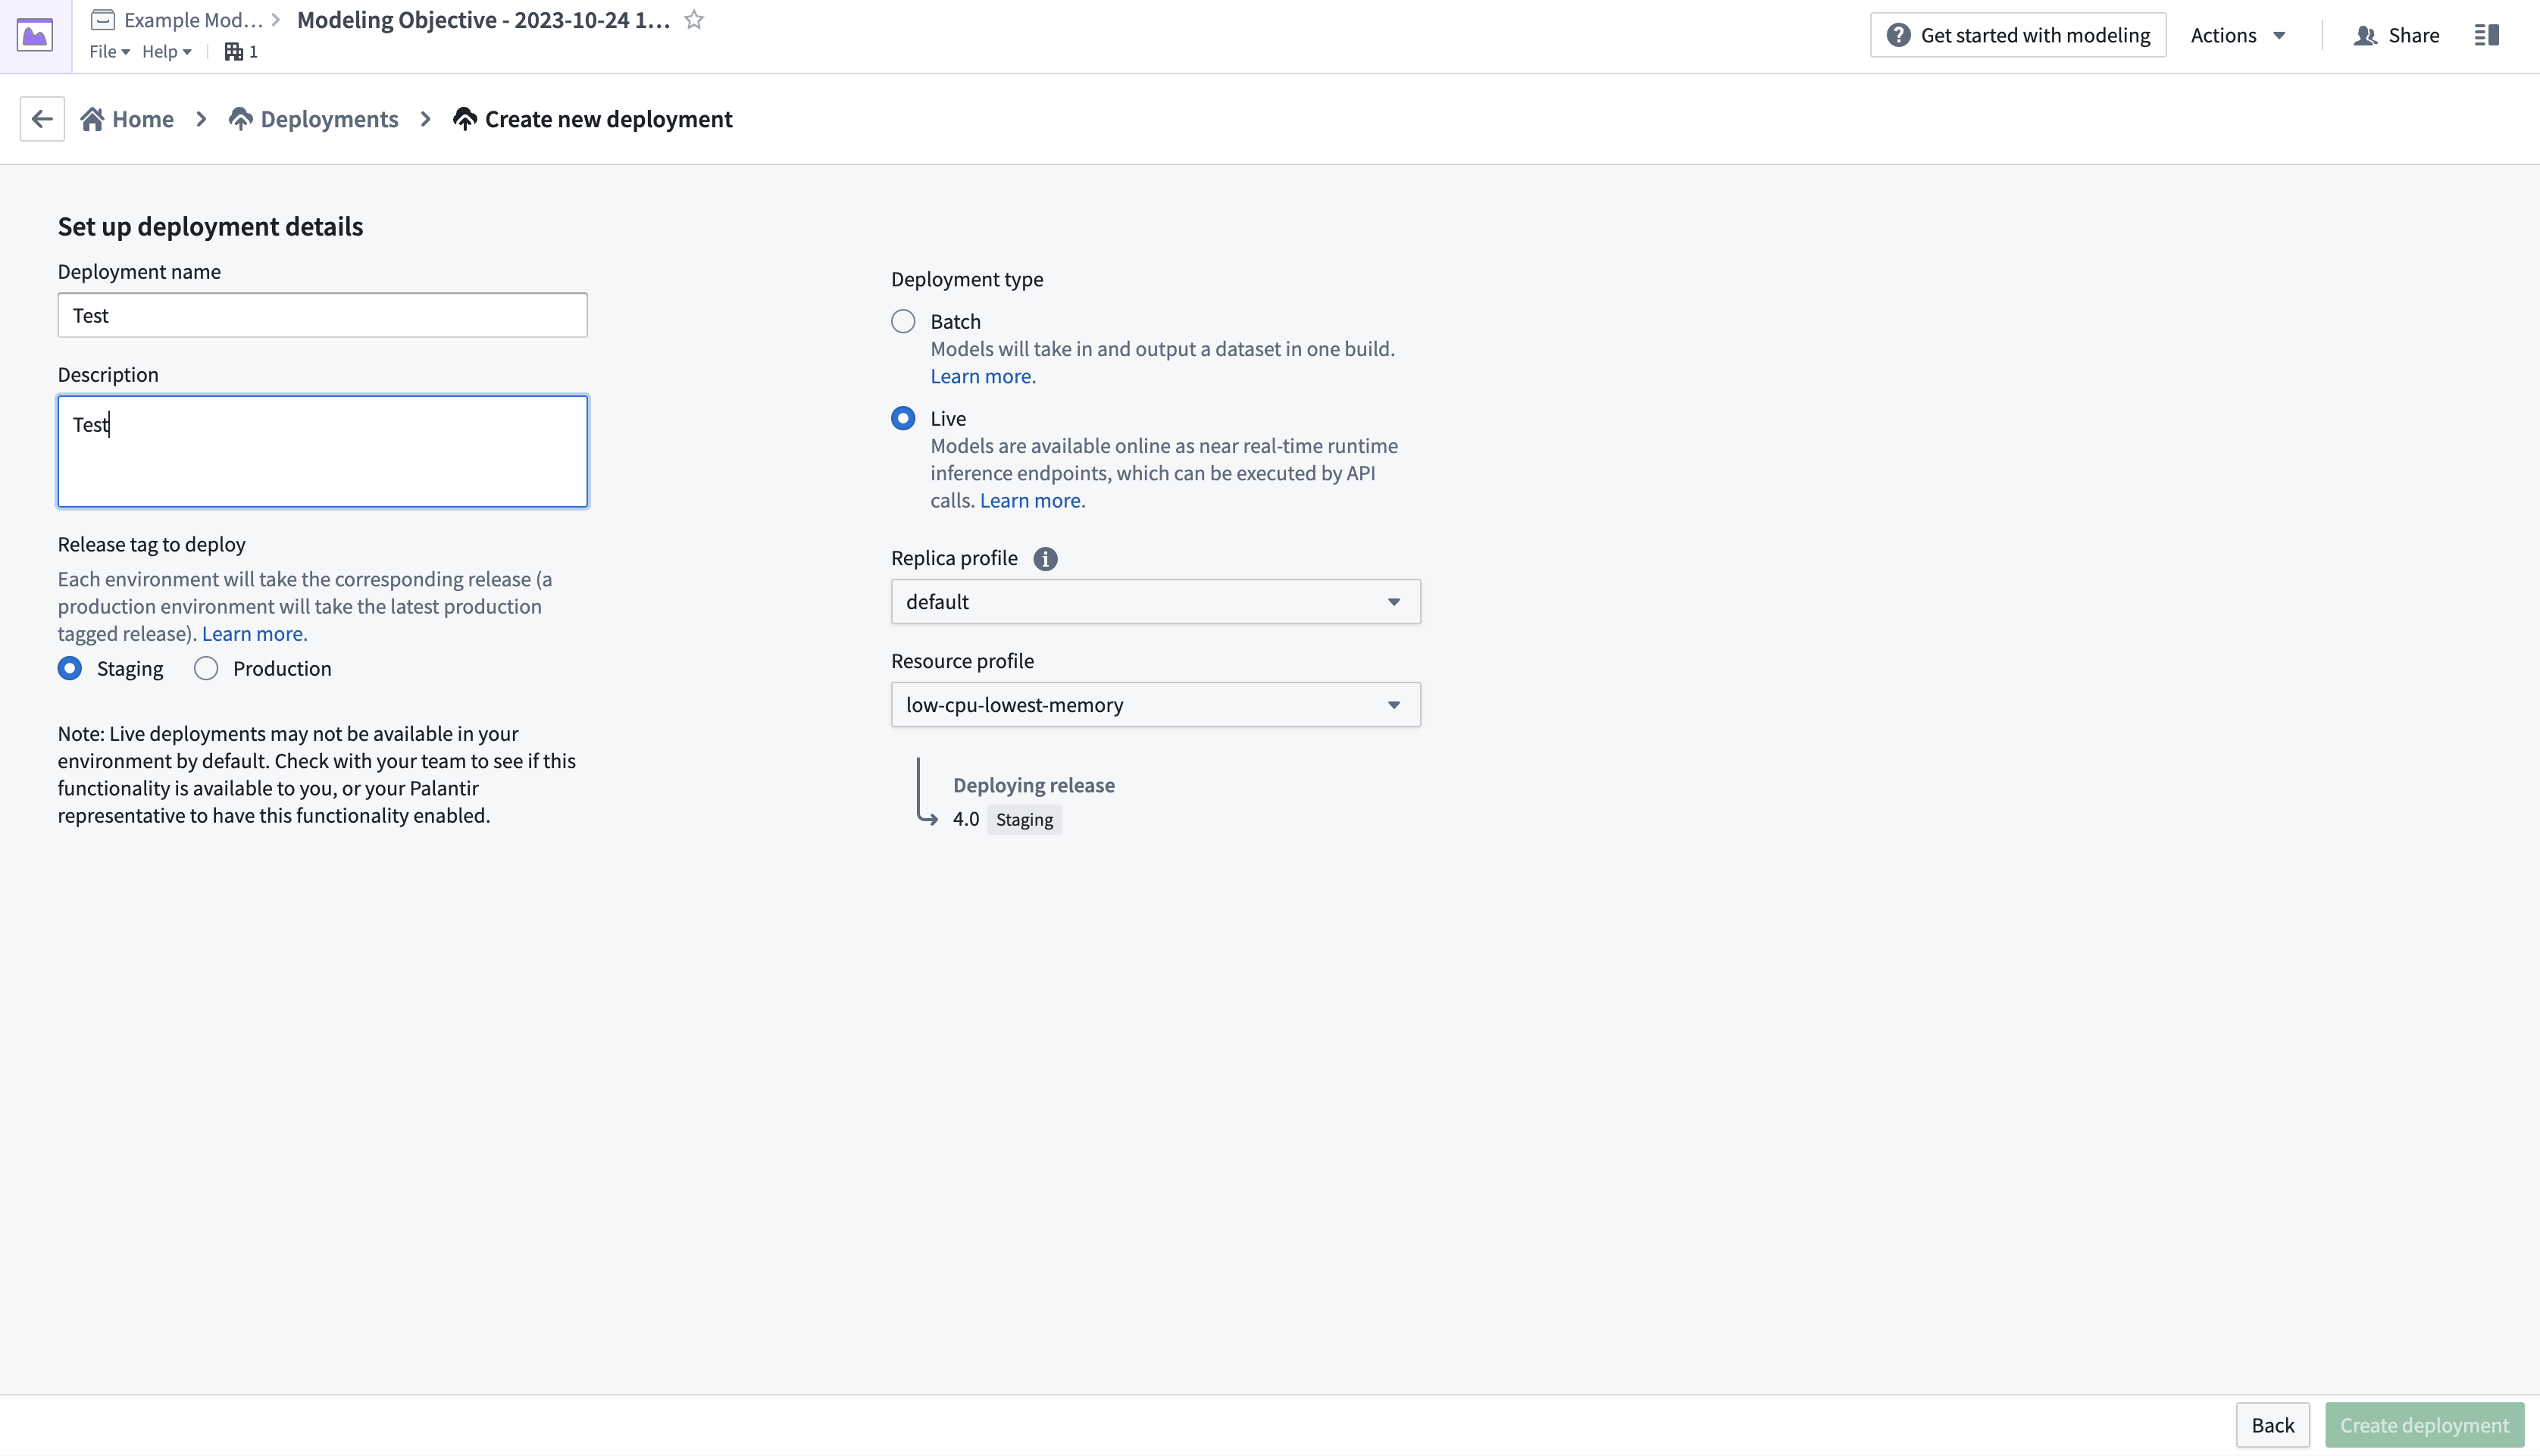
- Complete the setup form, then select Create deployment in the bottom right corner. Return to the modeling objective overview, scroll down to Deployments, then select the newly deployed model to test.
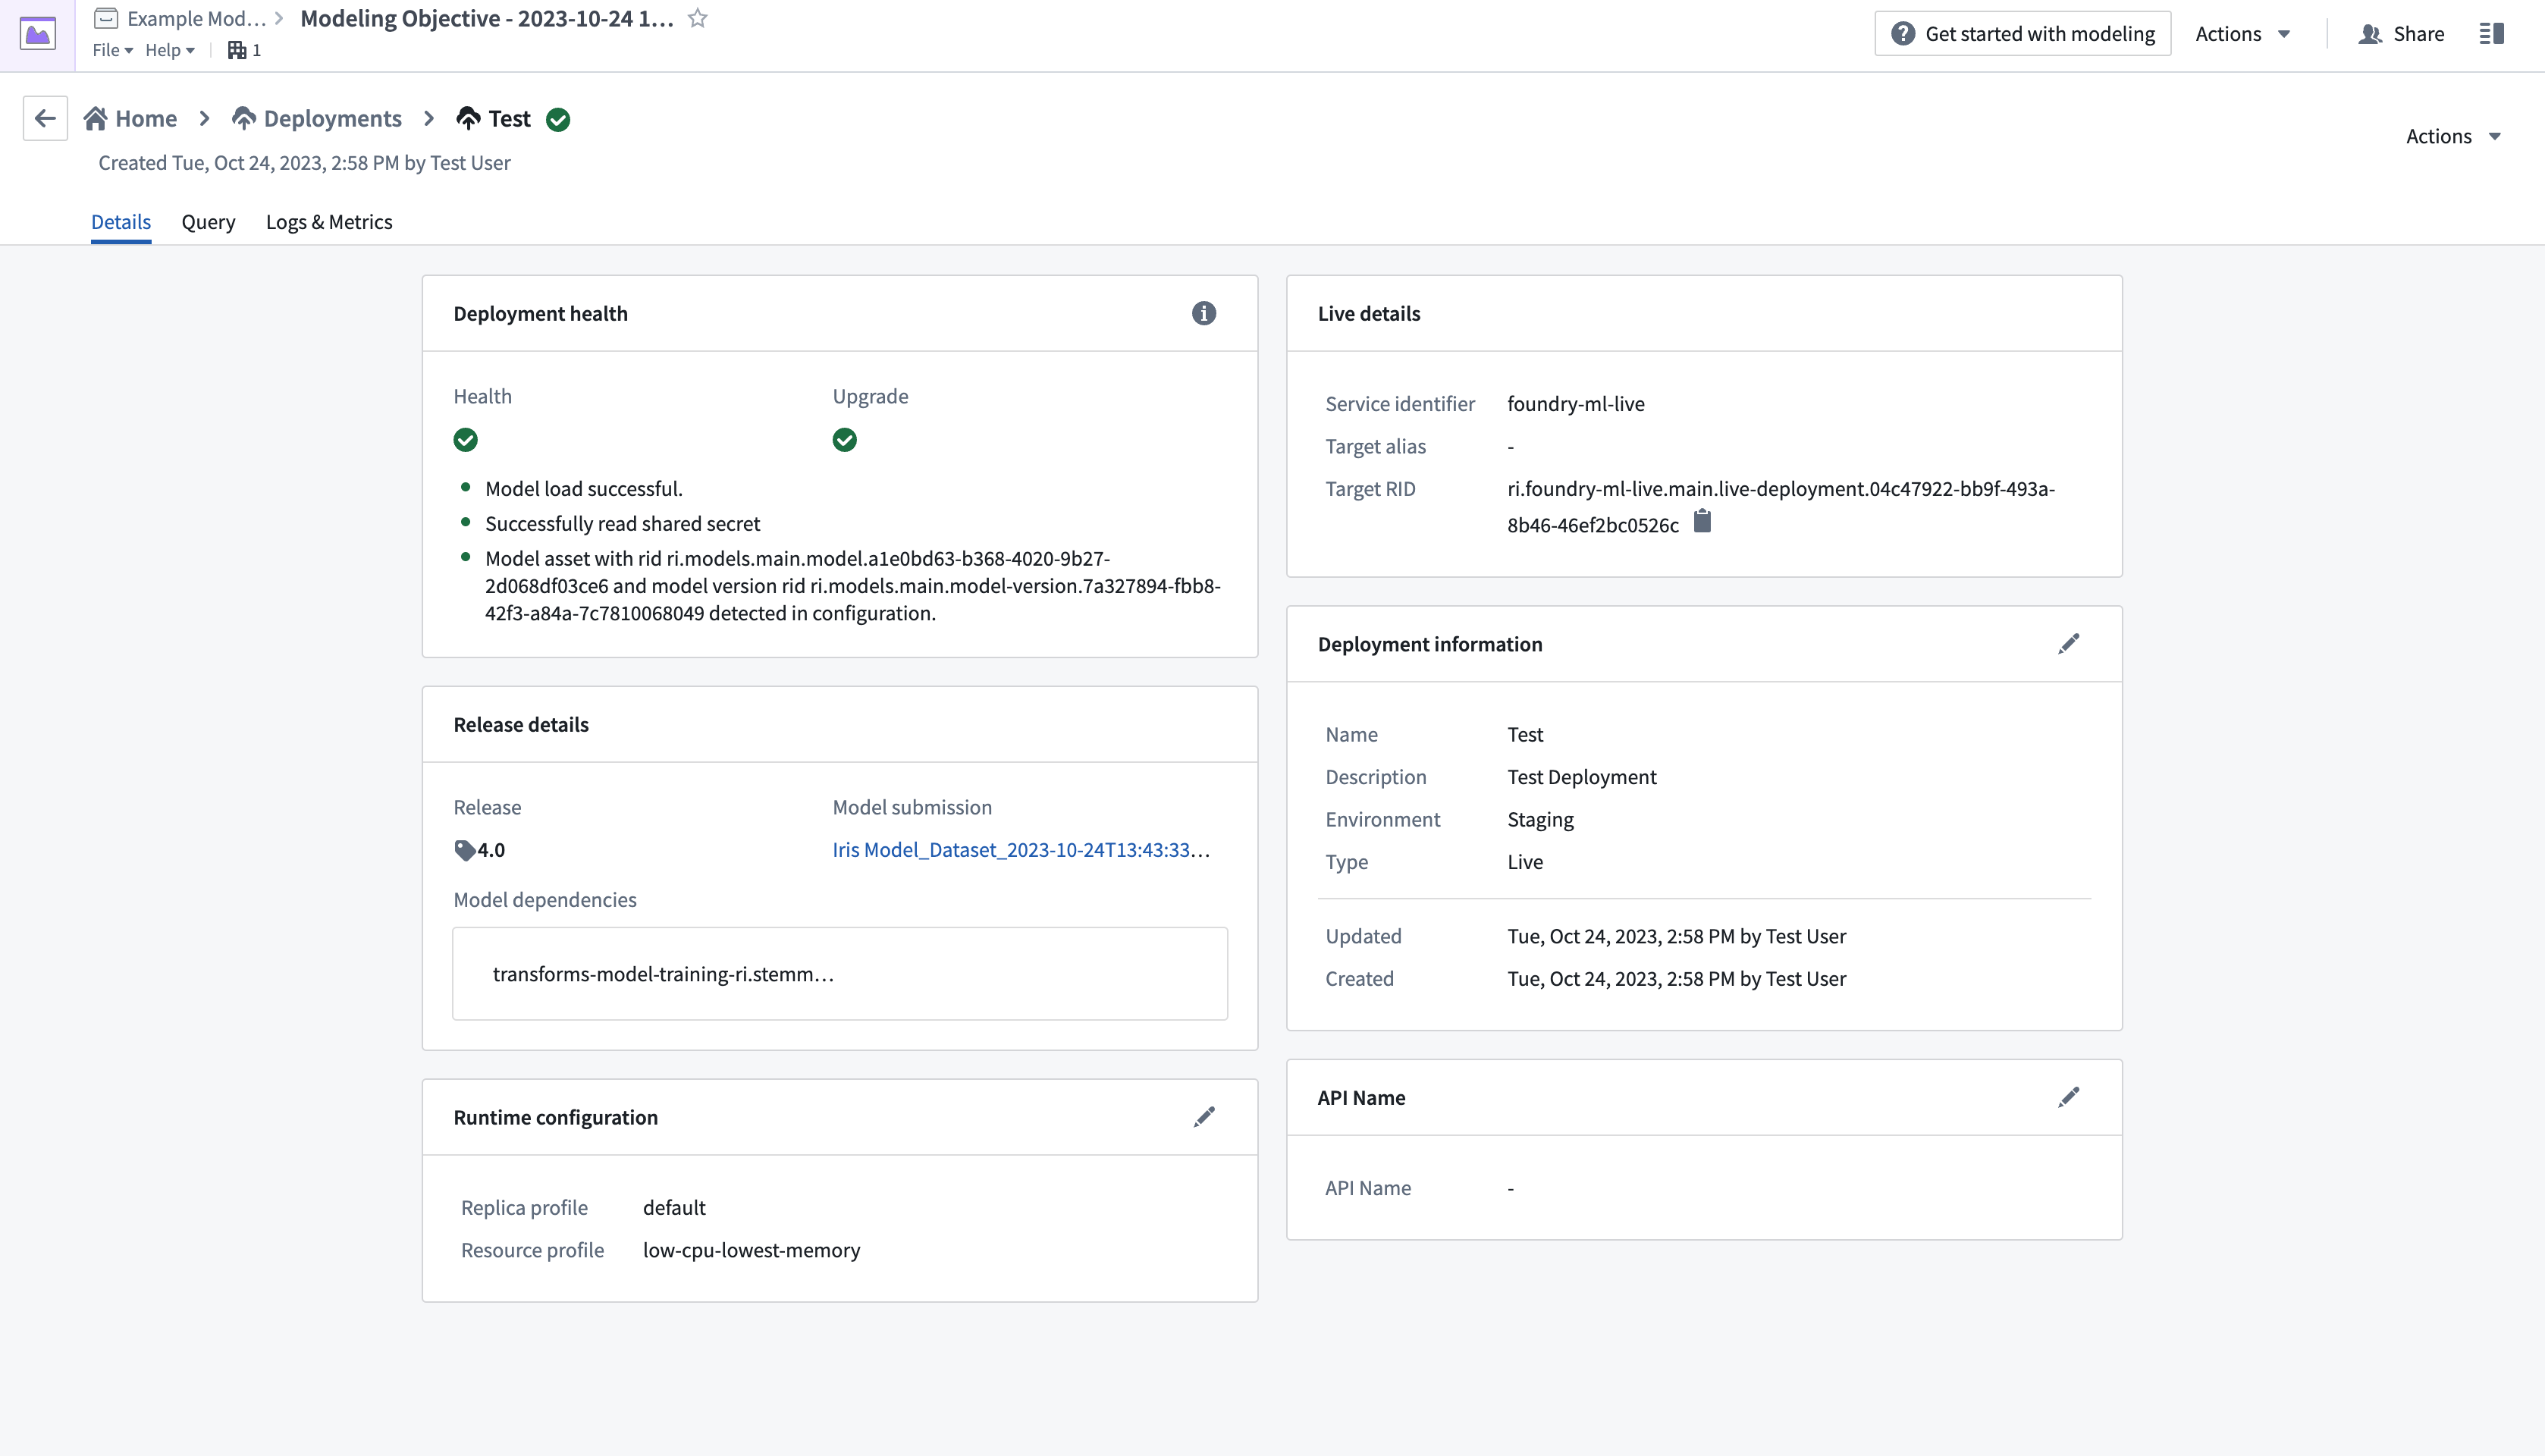
- From the Query tab on the top left of the page, test the model by adding values and observing the outputs.

More details on creating and querying a live deployment can be found in the live deployment documentation.