- Capabilities
- Getting started
- Architecture center
- Platform updates
Create a product
This page contains instructions for creating a new product in Foundry DevOps. Users can browse and install available products via the Marketplace storefront. Read more about use cases for which you may want to create a product.
Stores
To create a new product, select a store in which to publish your product. To select an existing store or create a new one, select the Change Store option in the top-right.
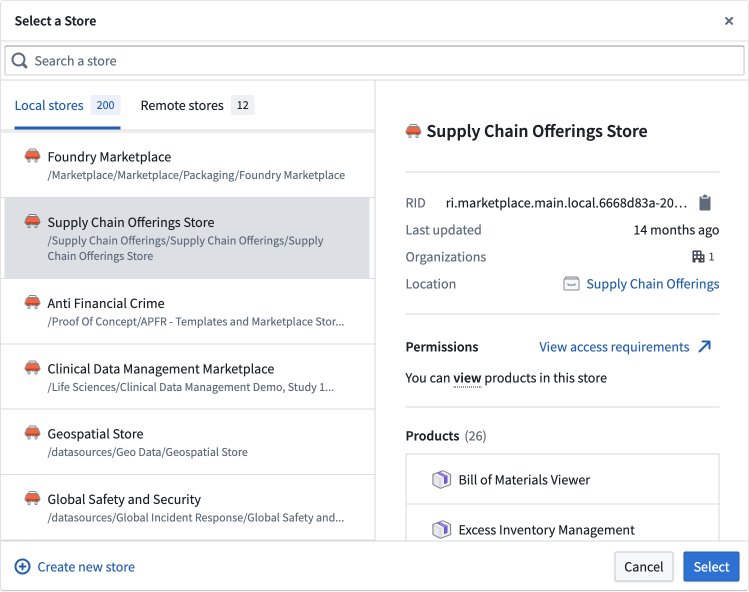
New stores are saved to a project and inherit the permissions of that project. Specifically, anyone with edit access to a store's project can create new products and edit existing products in that store, and anyone with view or edit access to the store's project can install products from that store.
Product creation
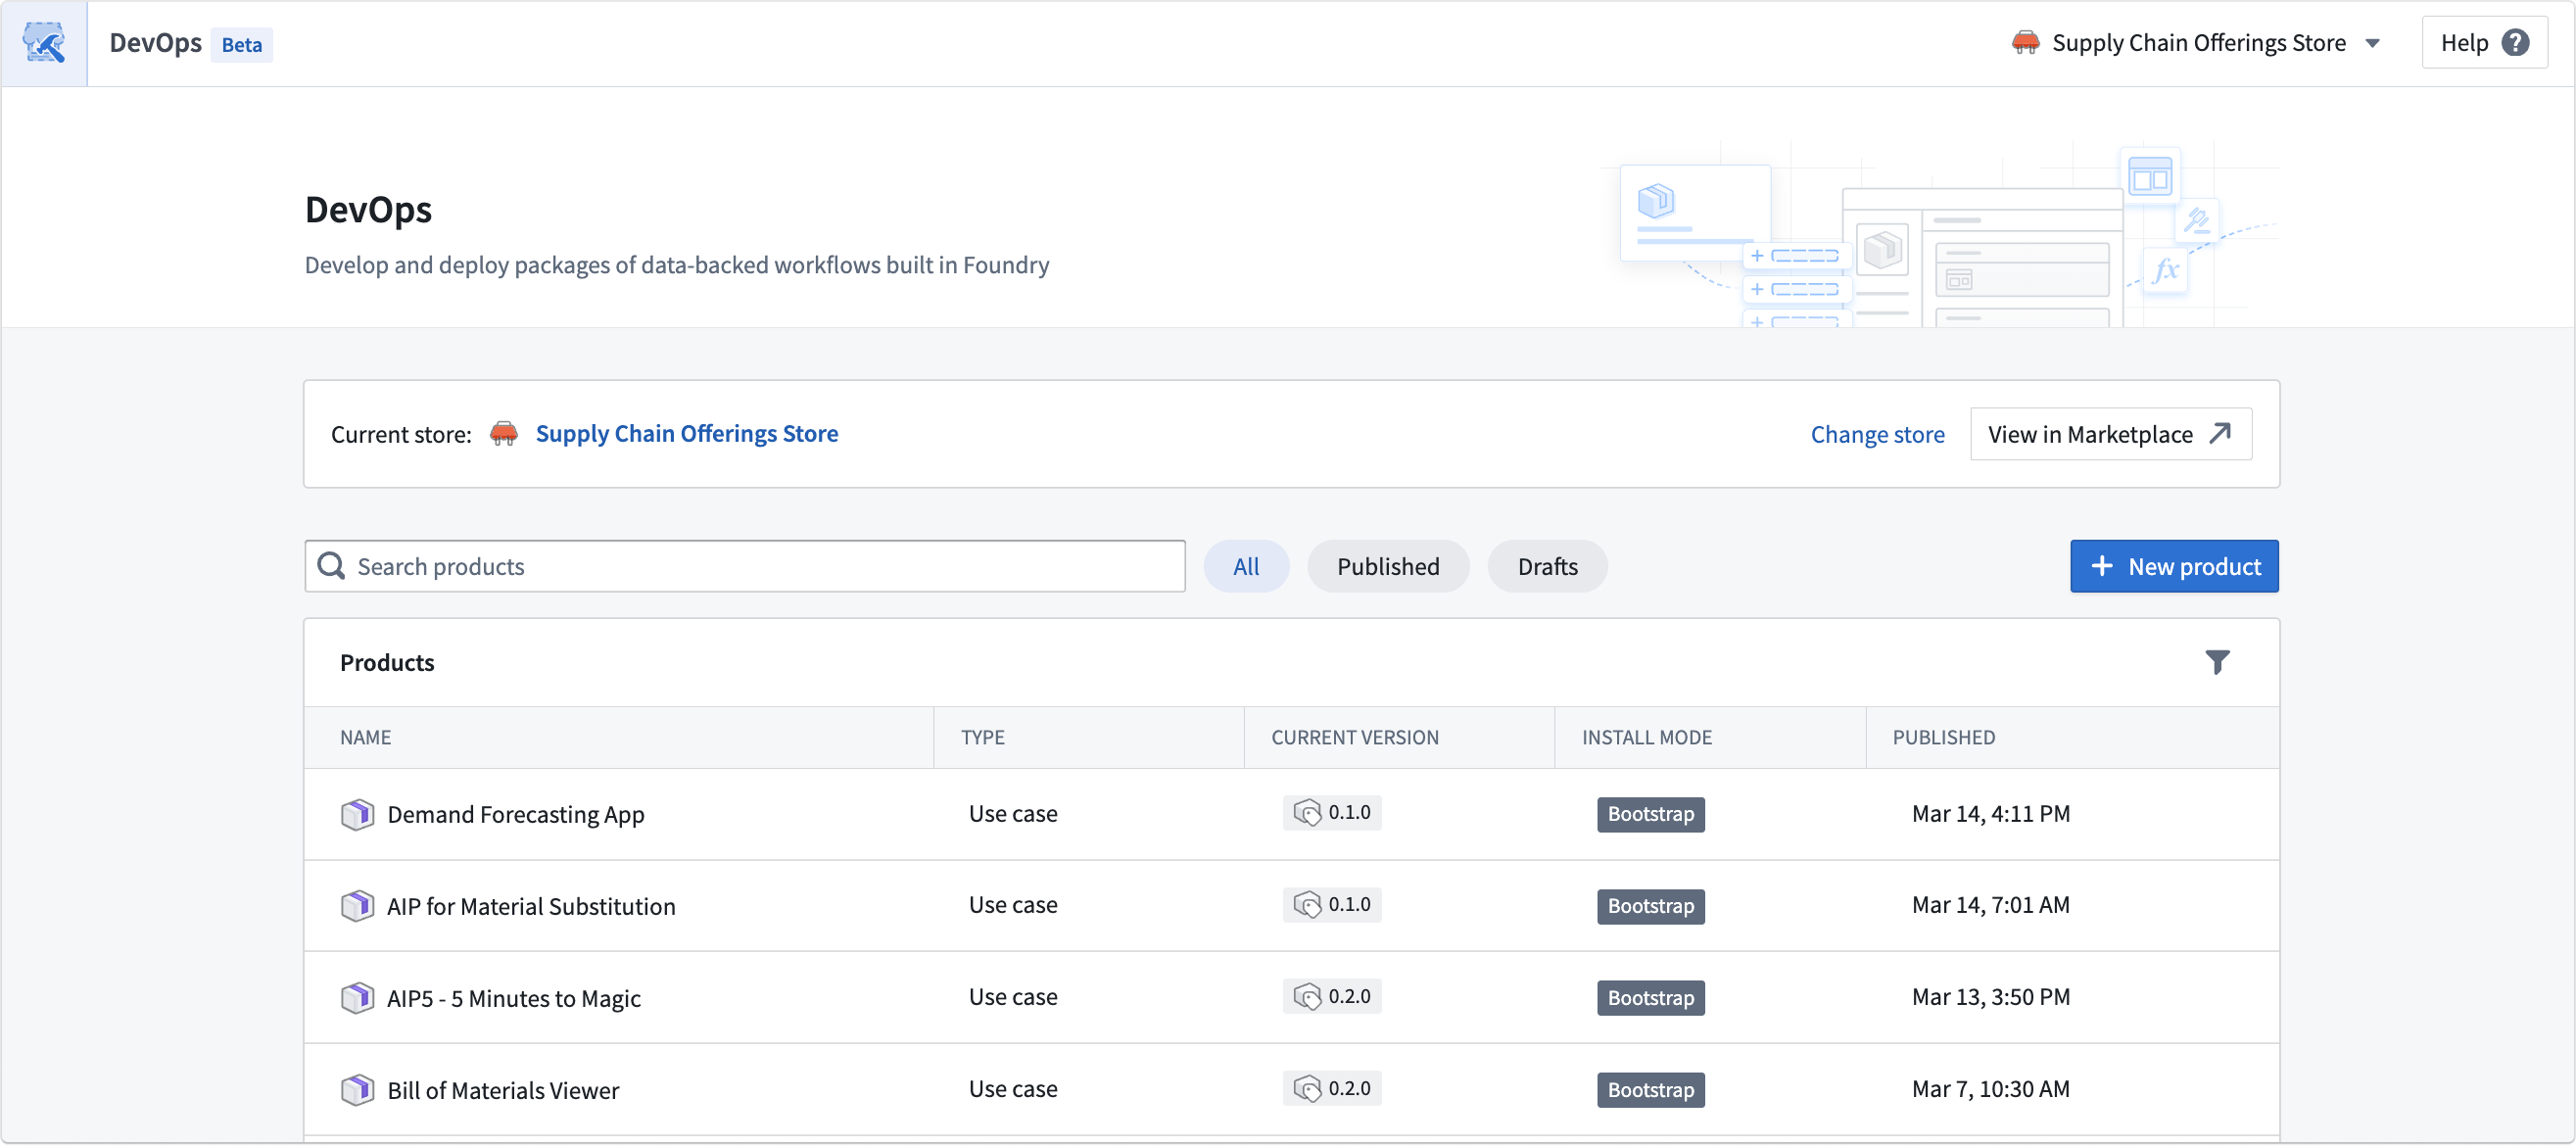
Once you've chosen a store, select New product to begin creating your product.
Configure a new product draft
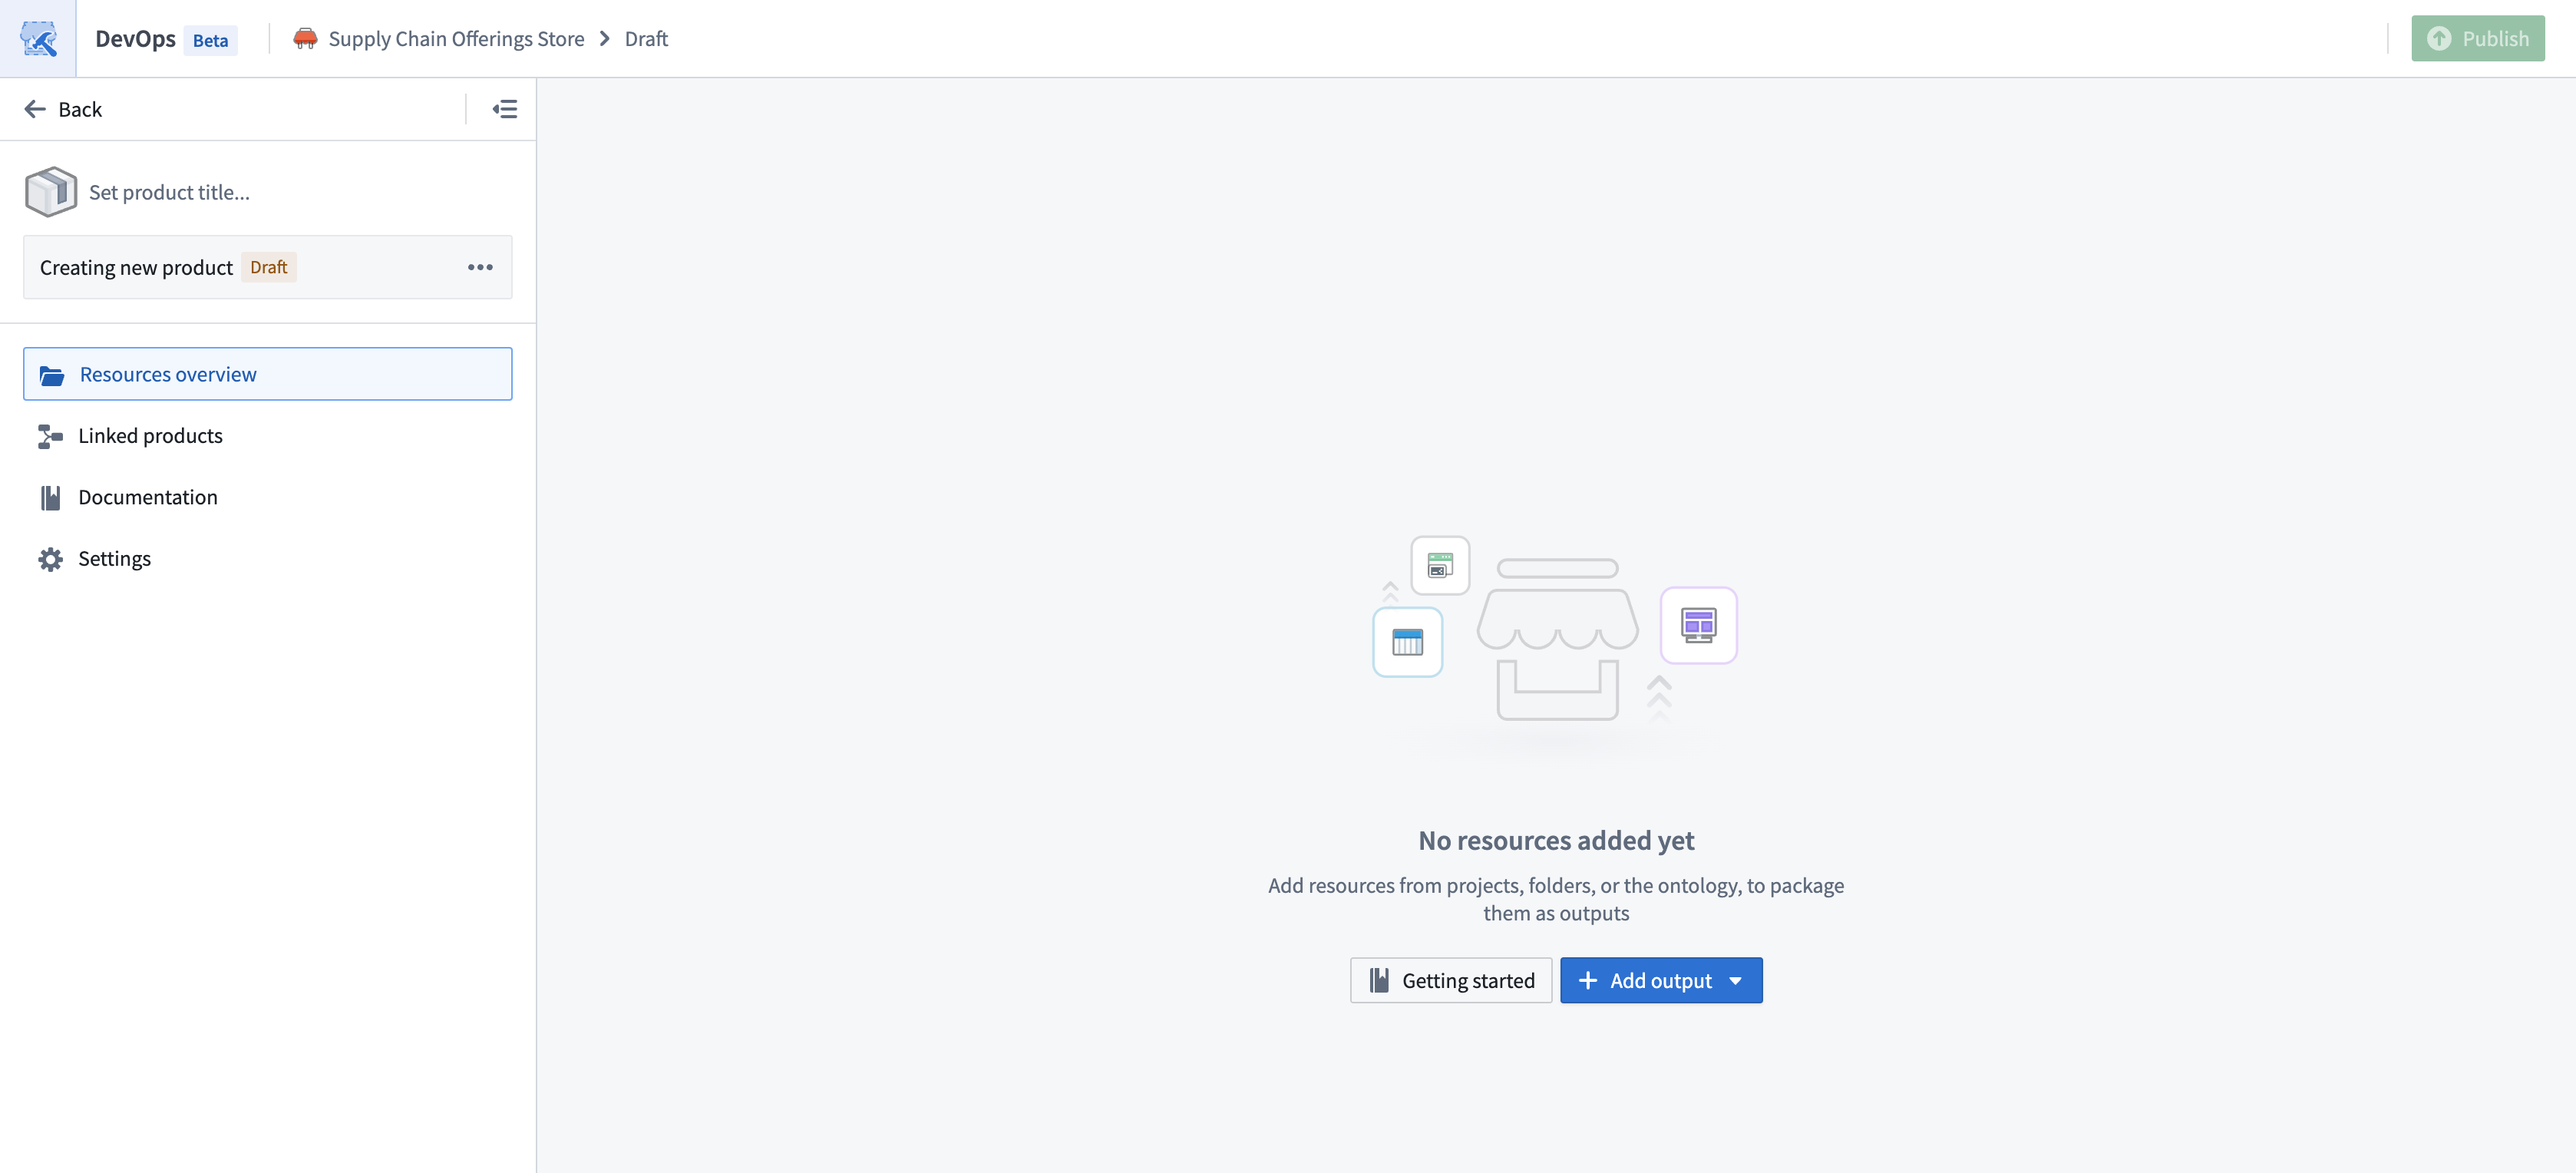
Provide a name for your draft product in the Set product title... input box in the top-left.
When starting a product draft, you can either:
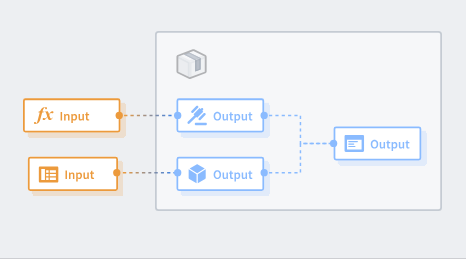
- Add resources: Manually choose resources from projects, folders, or the ontology, to package them as outputs.
- Track a folder: The product will track a source folder. New versions of the product will automatically bring in new outputs from the folder.
In the example below, we choose to manually add resources. At any point, the draft can be migrated to folder tracking.
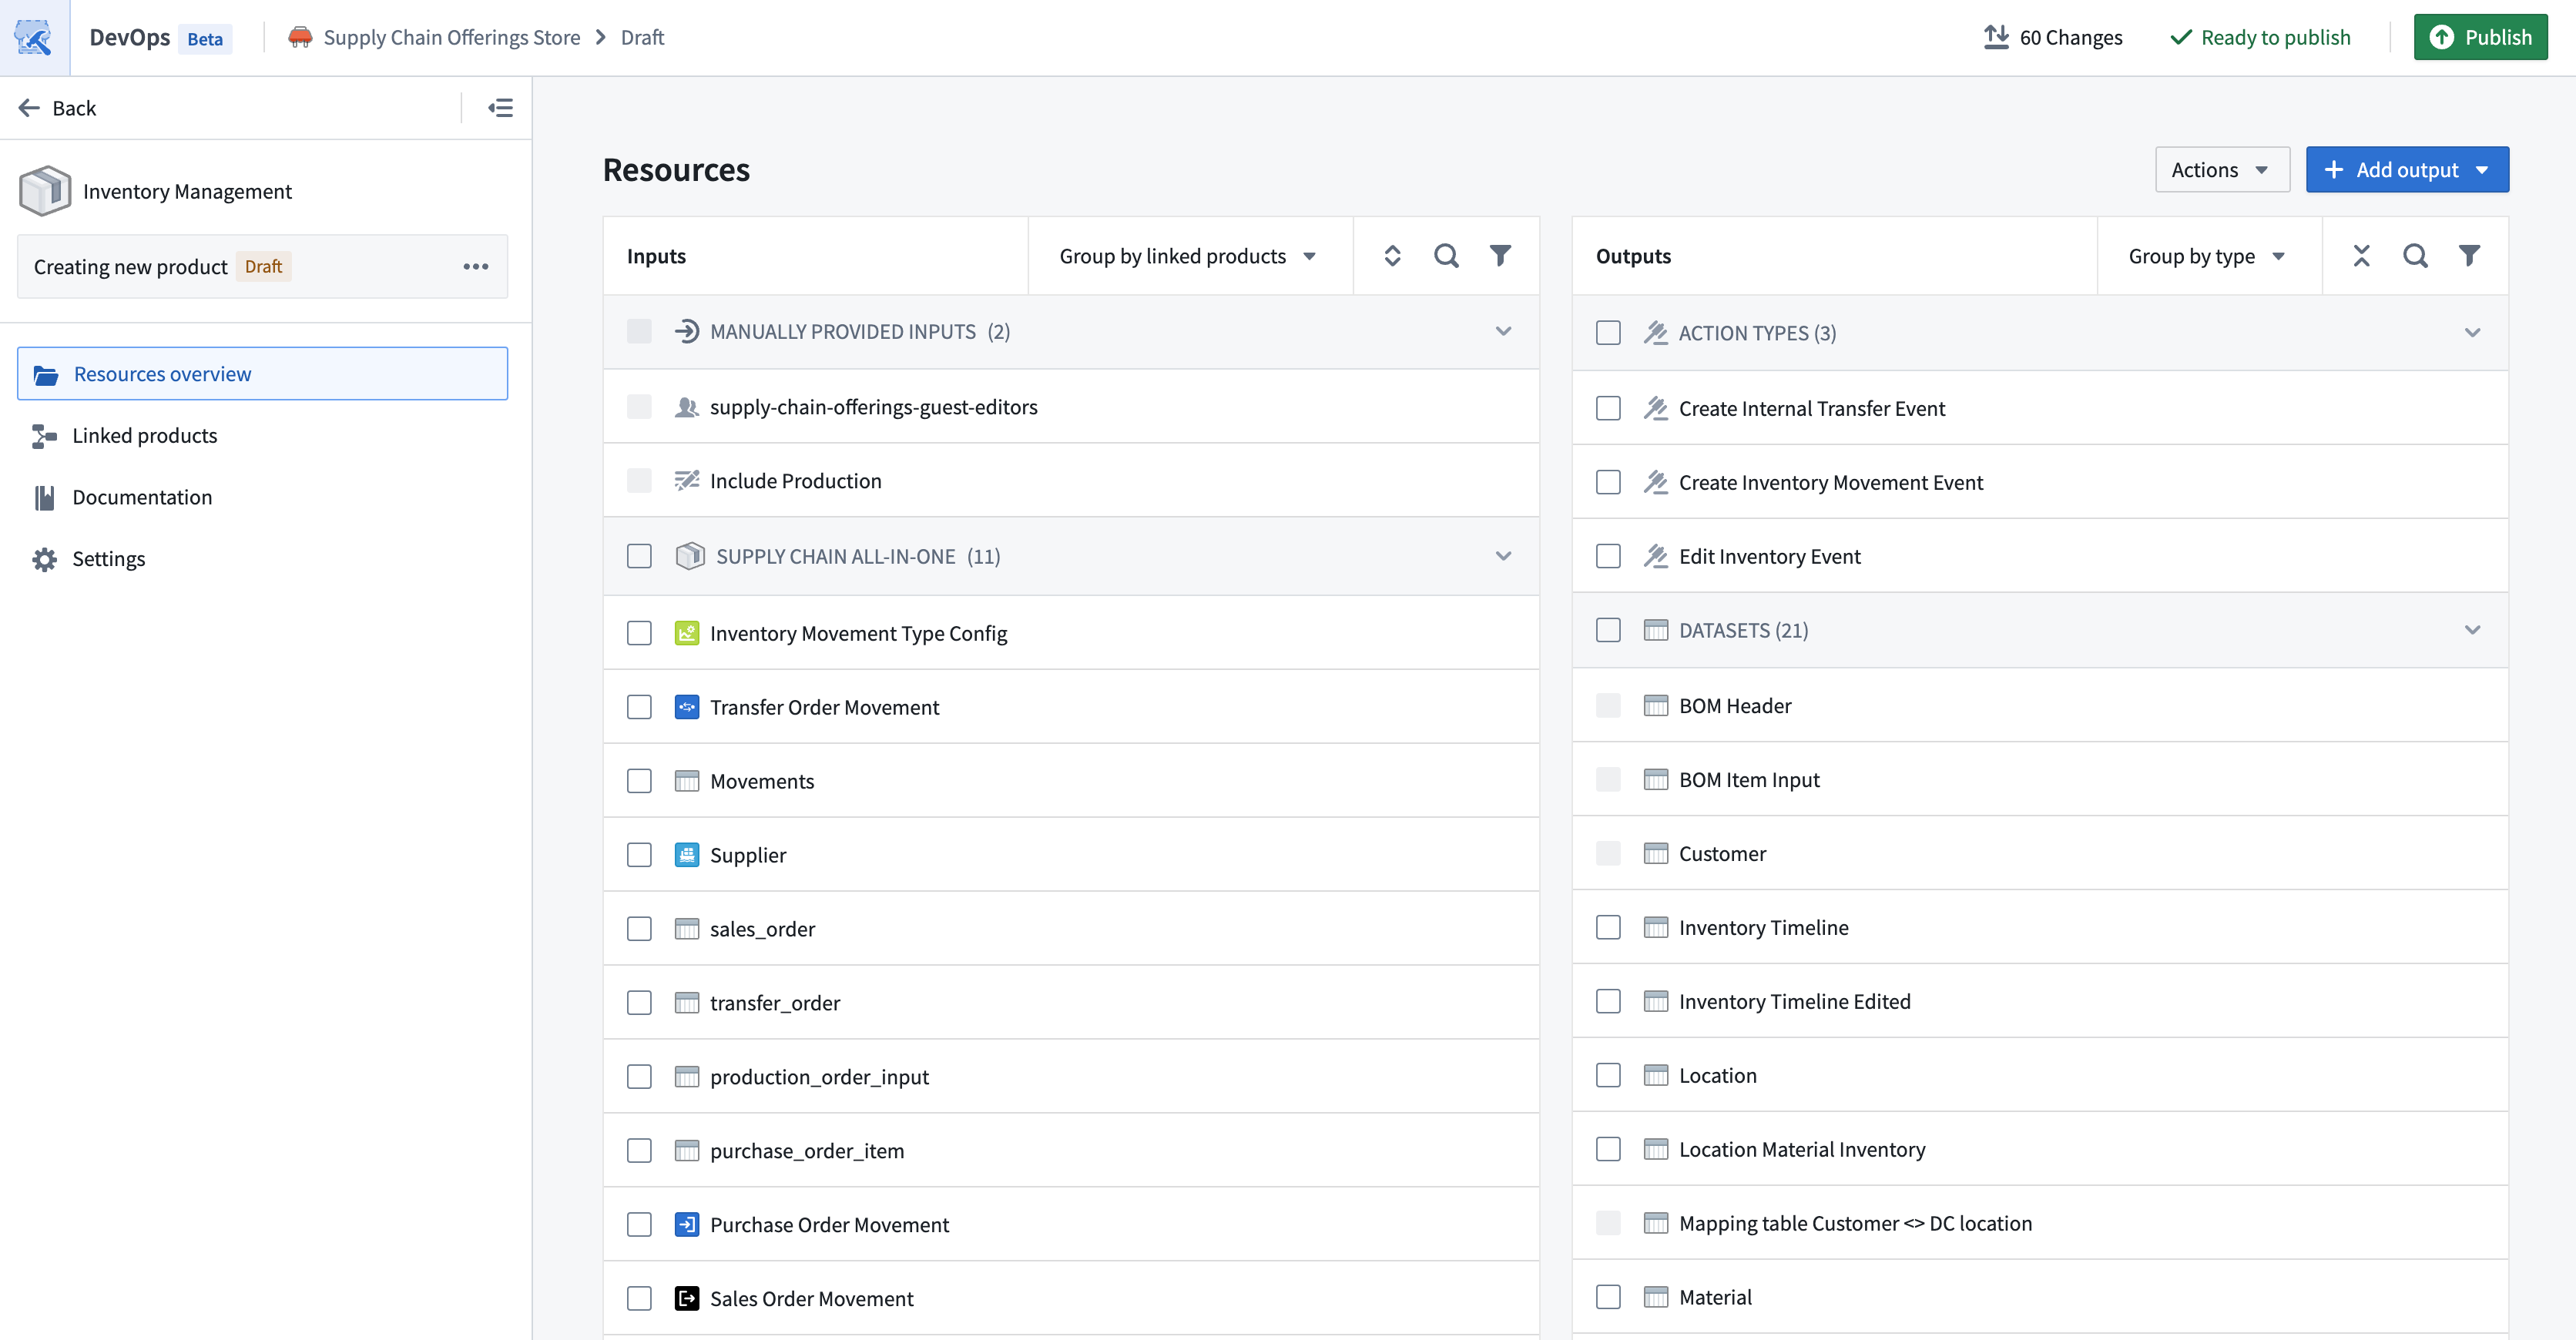
Add outputs
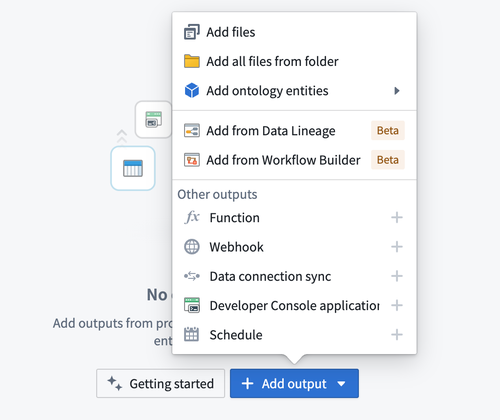
Choose Add output to select the outputs to include in your draft product; these outputs are the resources that Marketplace recreates when users install your product. You can choose Add files to select most resource types within the Compass filesystem. If a resource is not available to select through Compass, then DevOps provides its own selection option, such as Add ontology resources.
DevOps automatically identifies resource dependencies, so you should add the furthest downstream resources first. For example, if you want to package a Workshop application and four object types, you should only add the Workshop application.
DevOps also enables you to add outputs in bulk. For one-time bulk addition of outputs, select Add all files from folder. You can also use Add from Data Lineage and Add from Workflow Lineage to add resources from a graphical dependency view. For a more automated way of tracking outputs that syncs changes with the source folder as the product evolves, consider tracking a source folder.
After you add outputs to your draft product, select a resource to launch its Details panel on the right side of your screen.
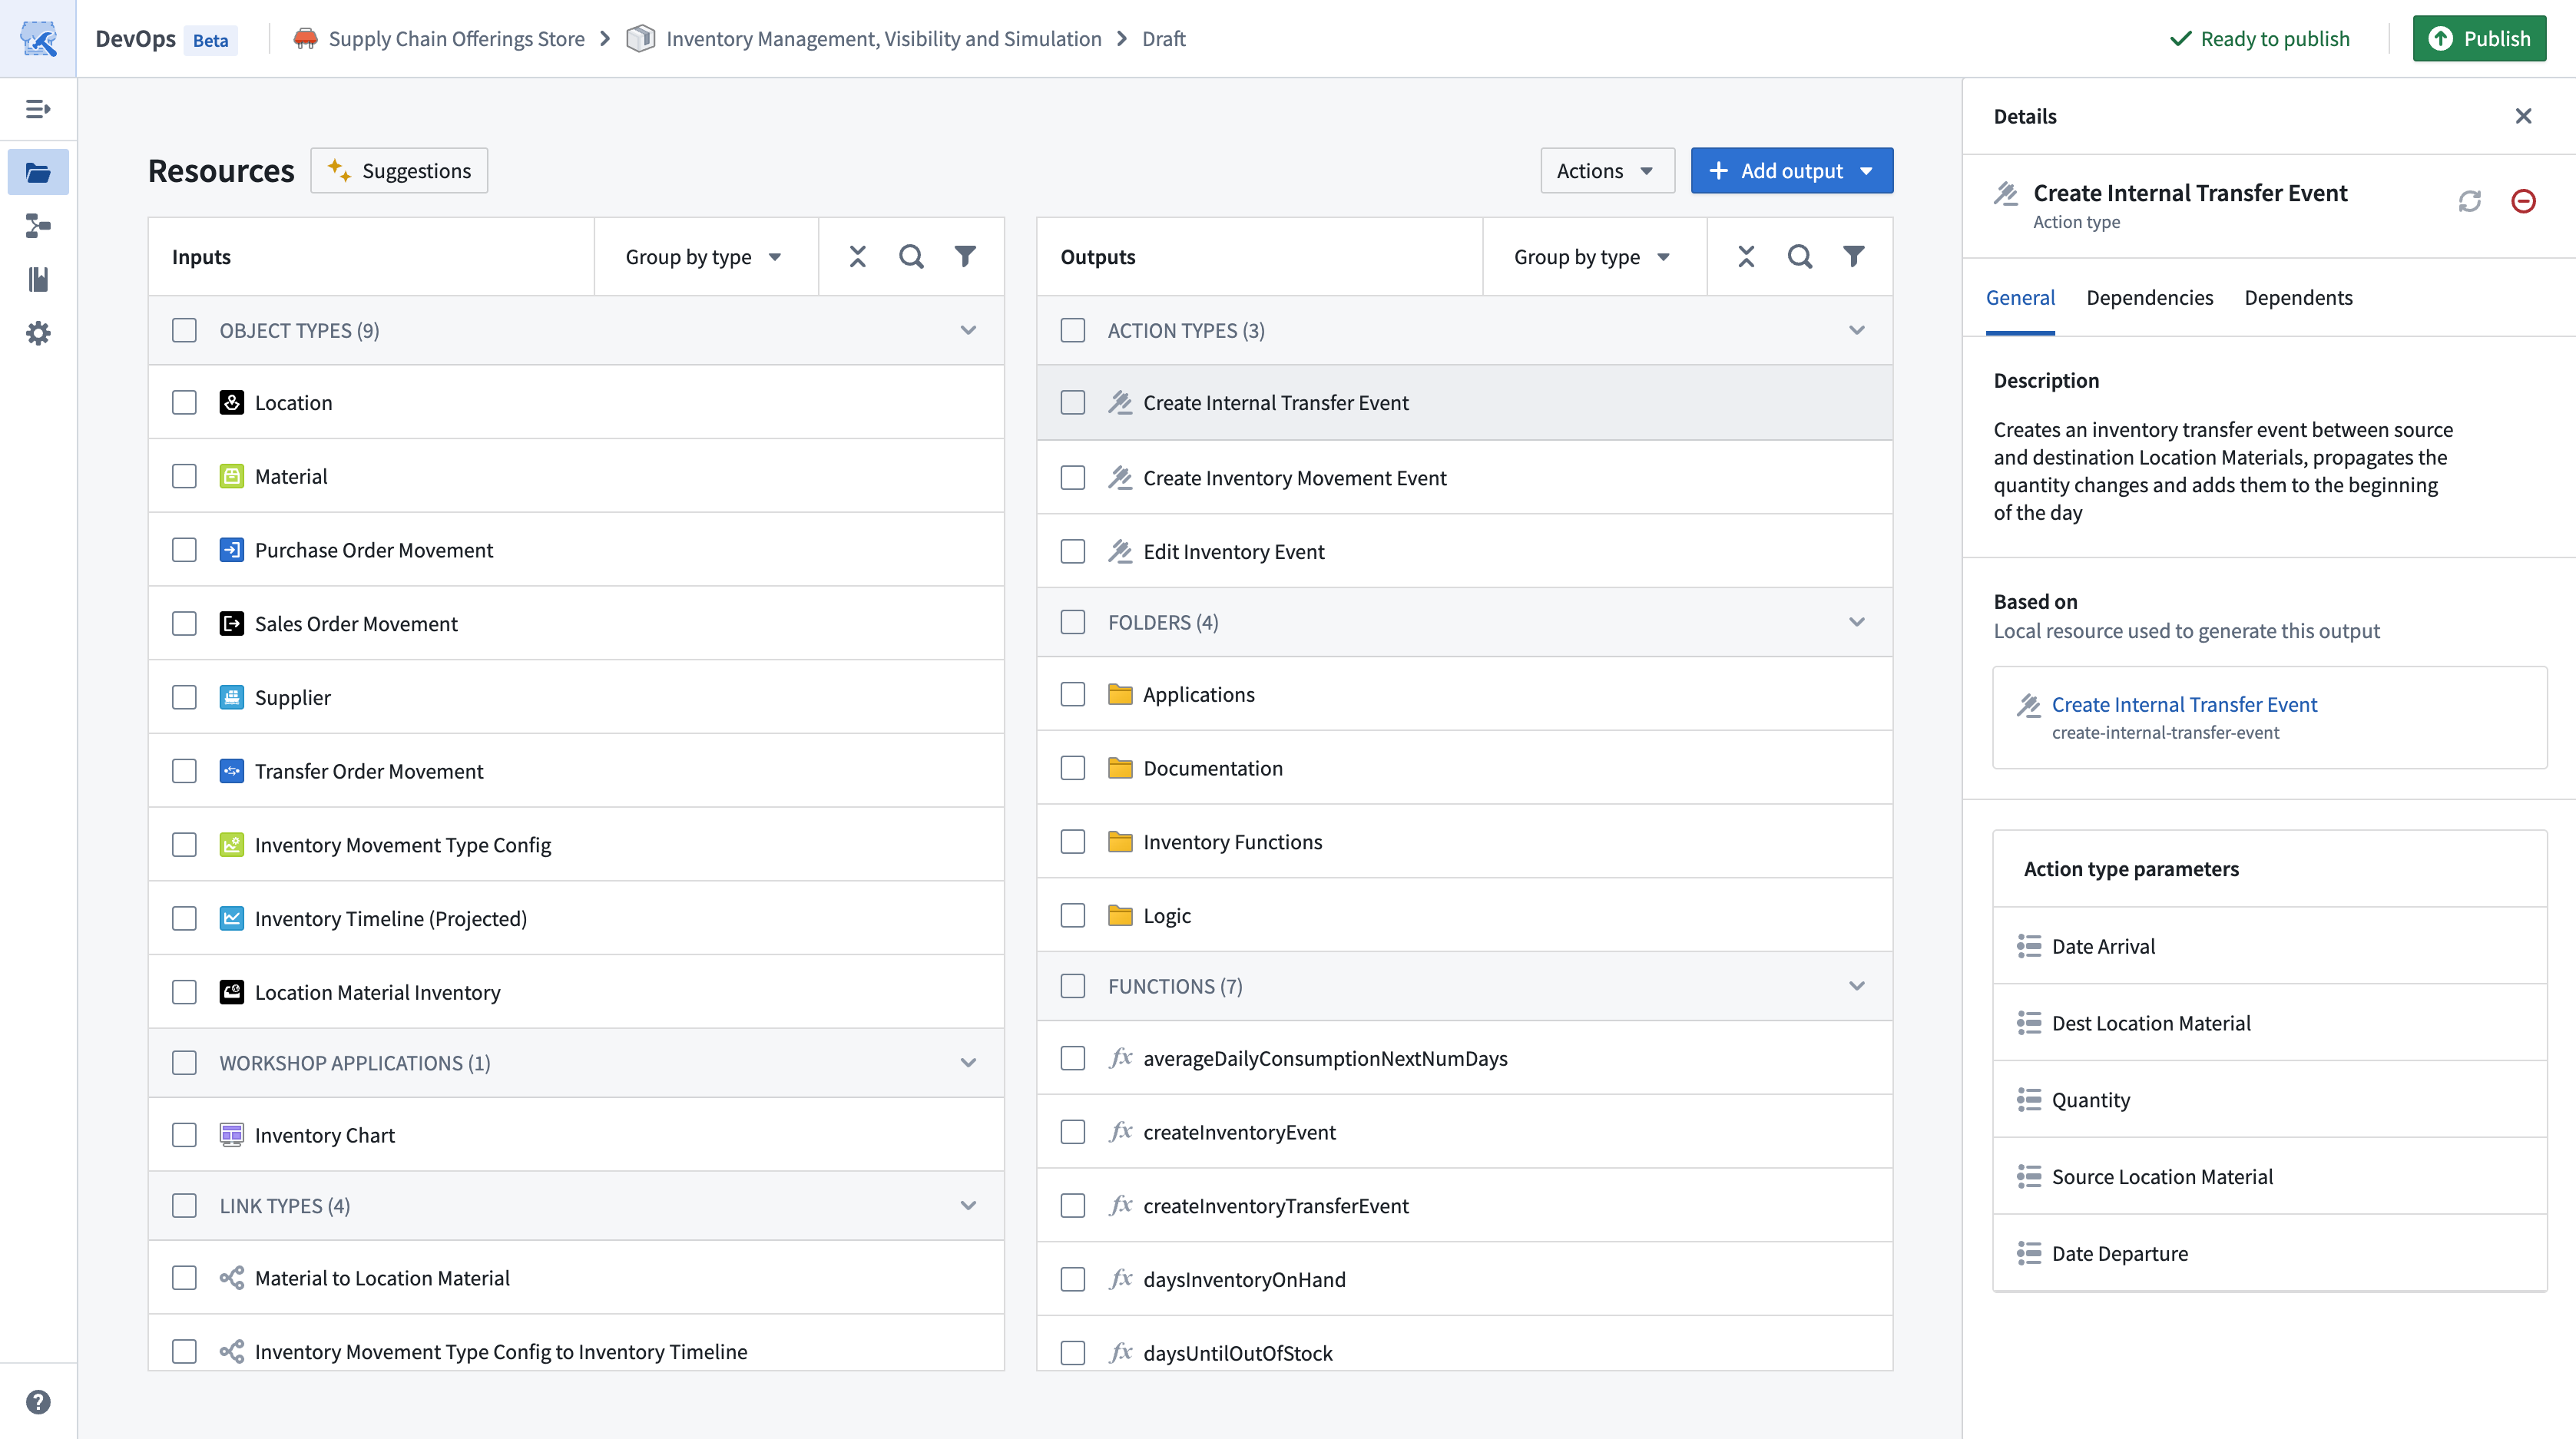
Select the Dependencies tab to review the output's dependencies, which DevOps also surfaces as inputs.
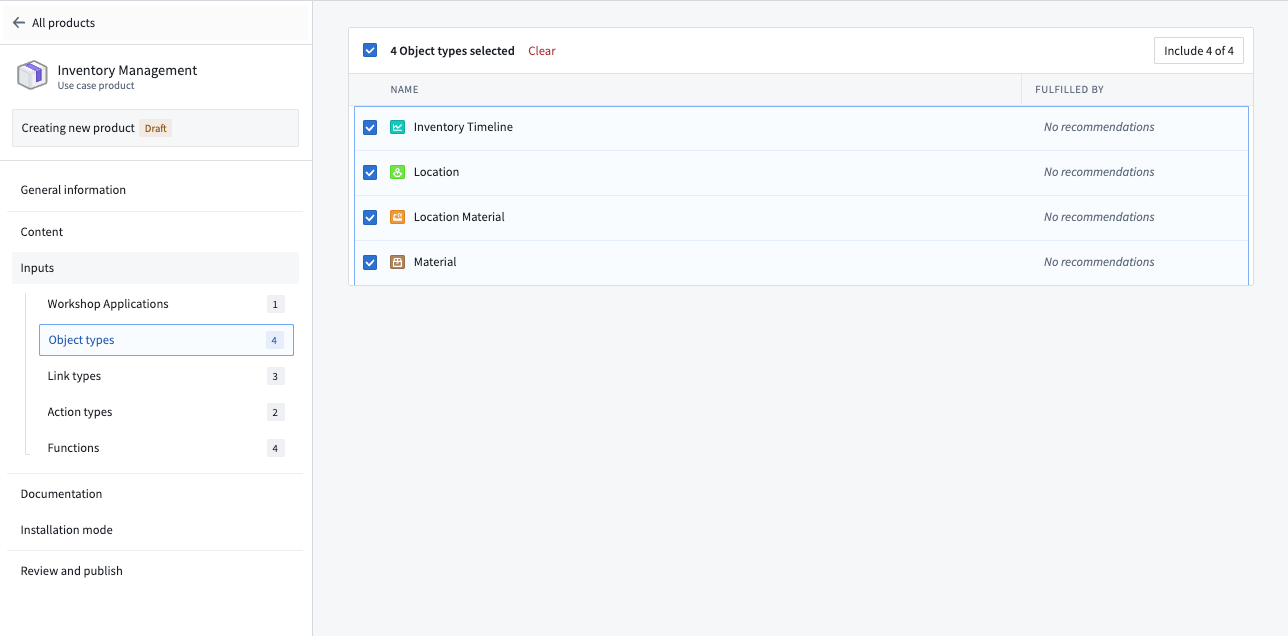
Add inputs
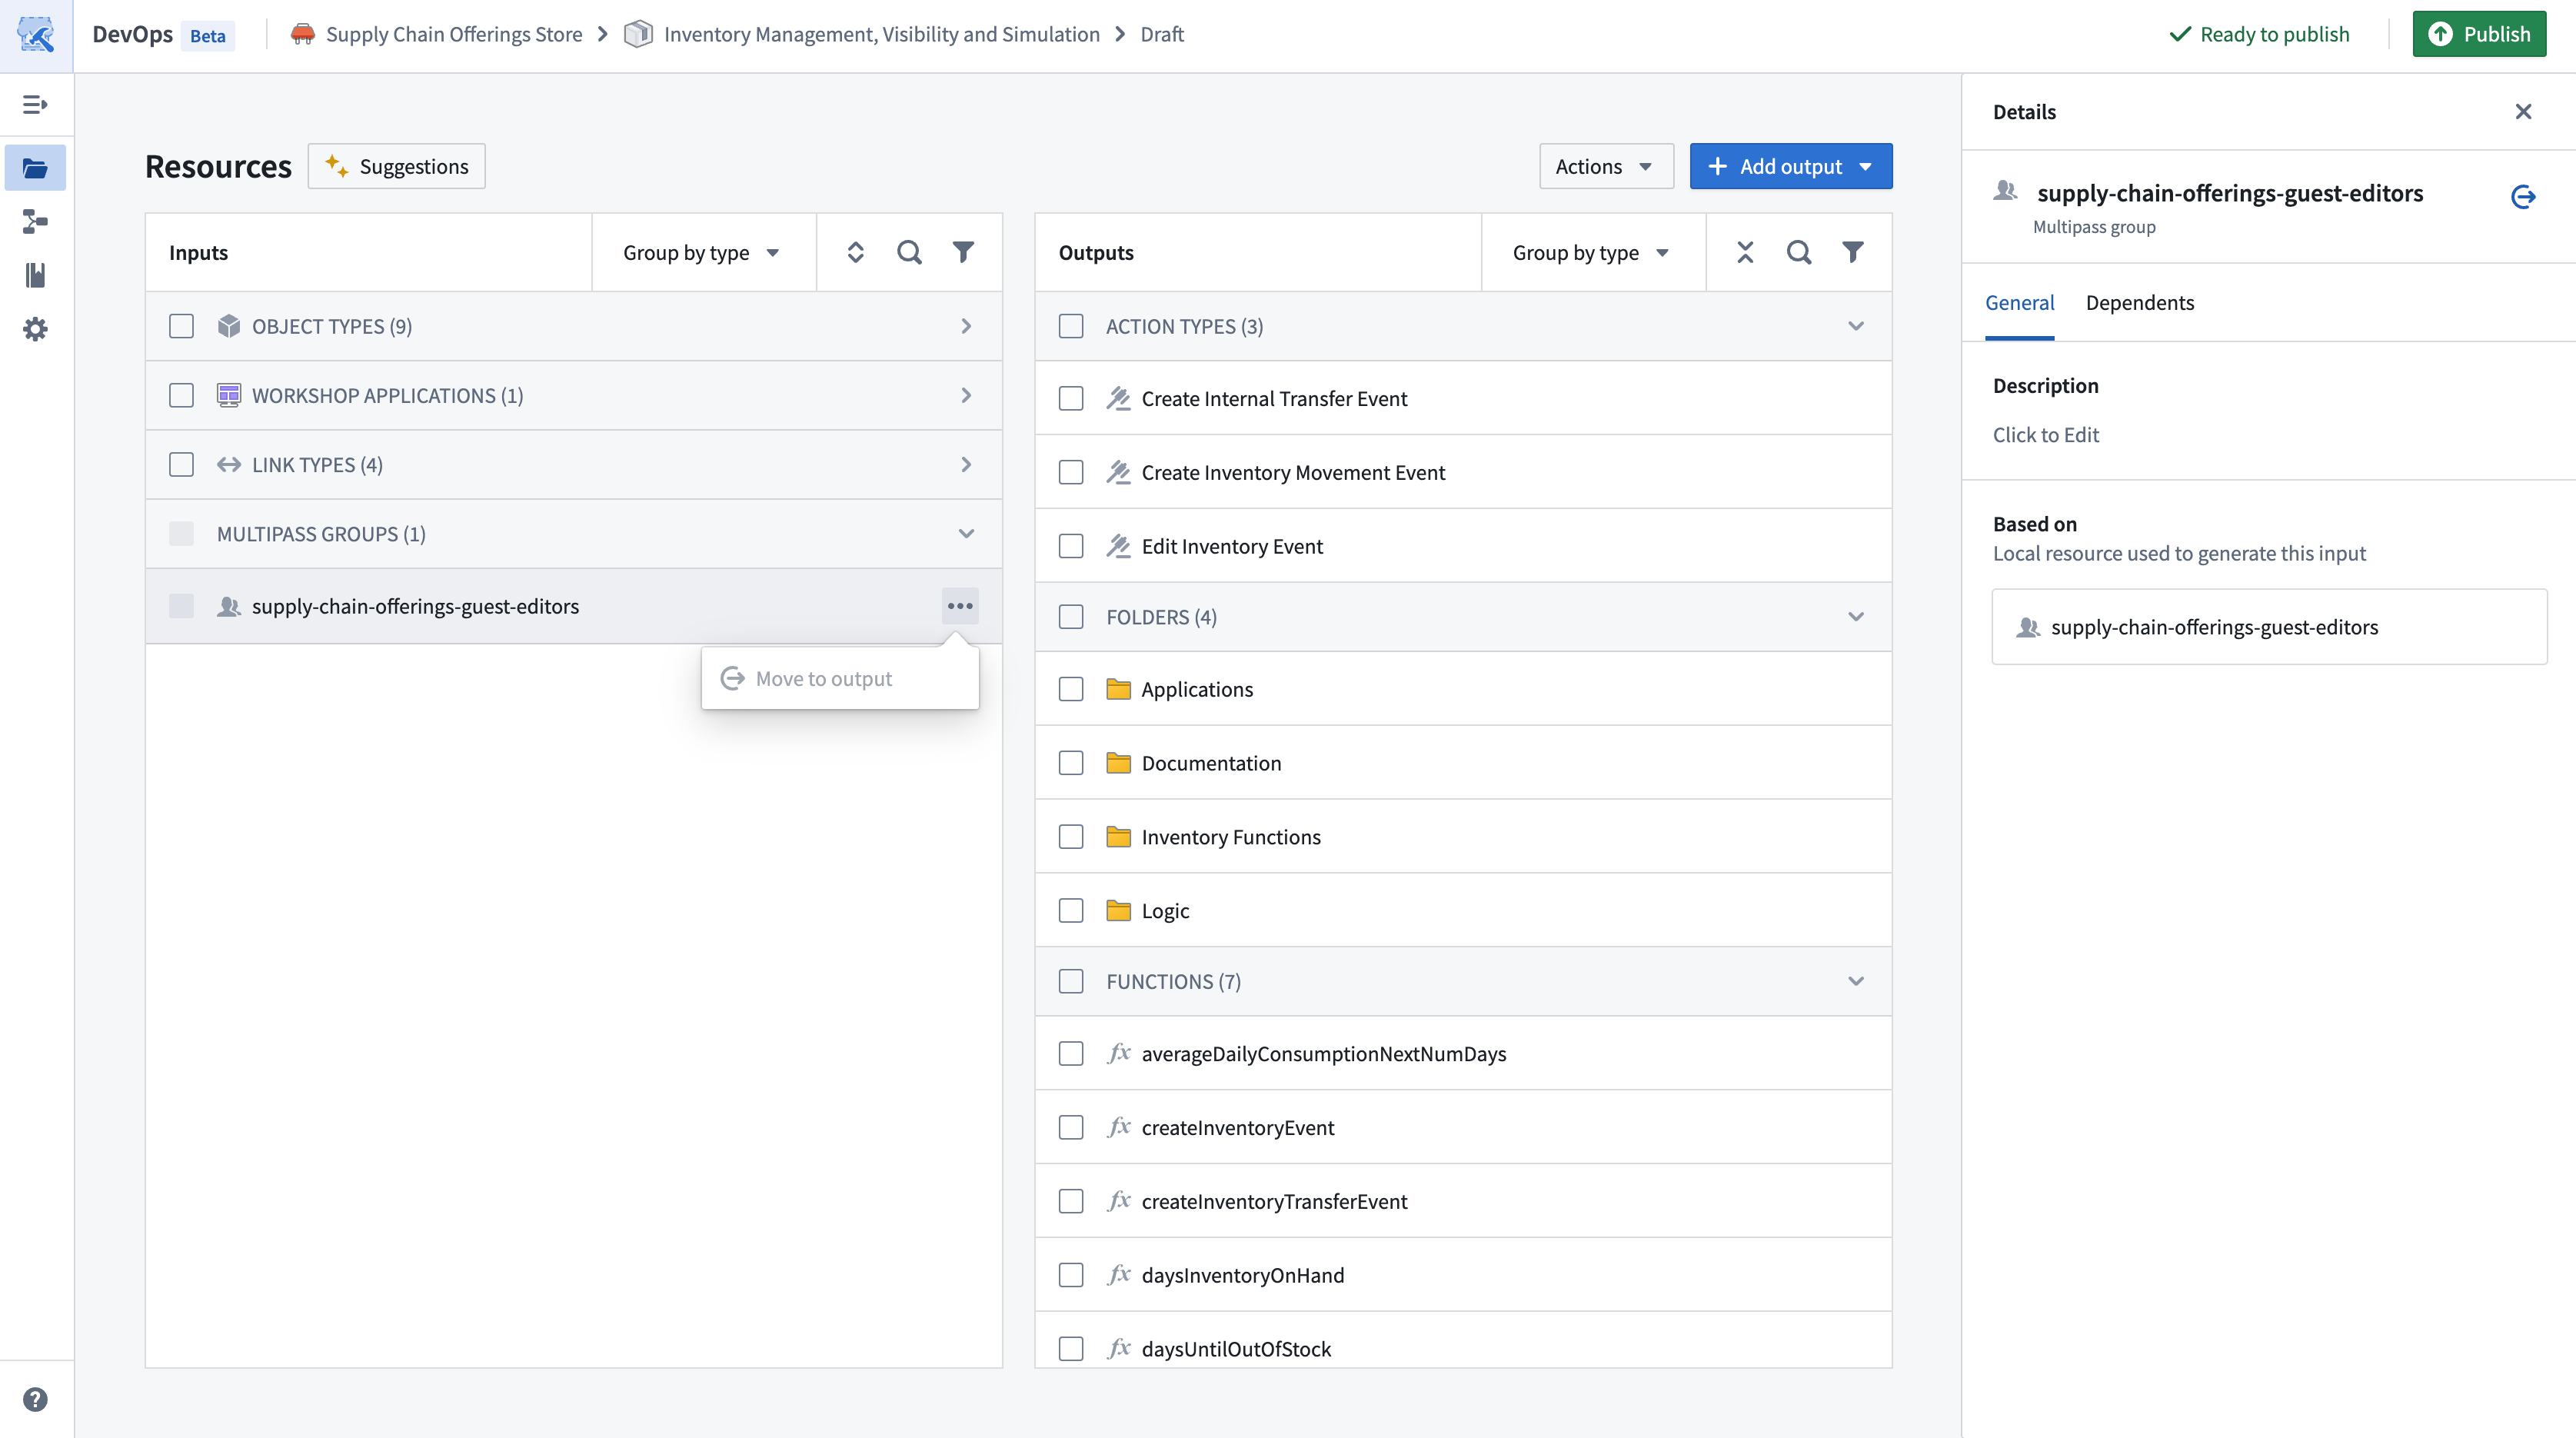
DevOps automatically surfaces output dependencies as Inputs as you add outputs to your draft product. Users who install your finished product must provide resources to satisfy each input.
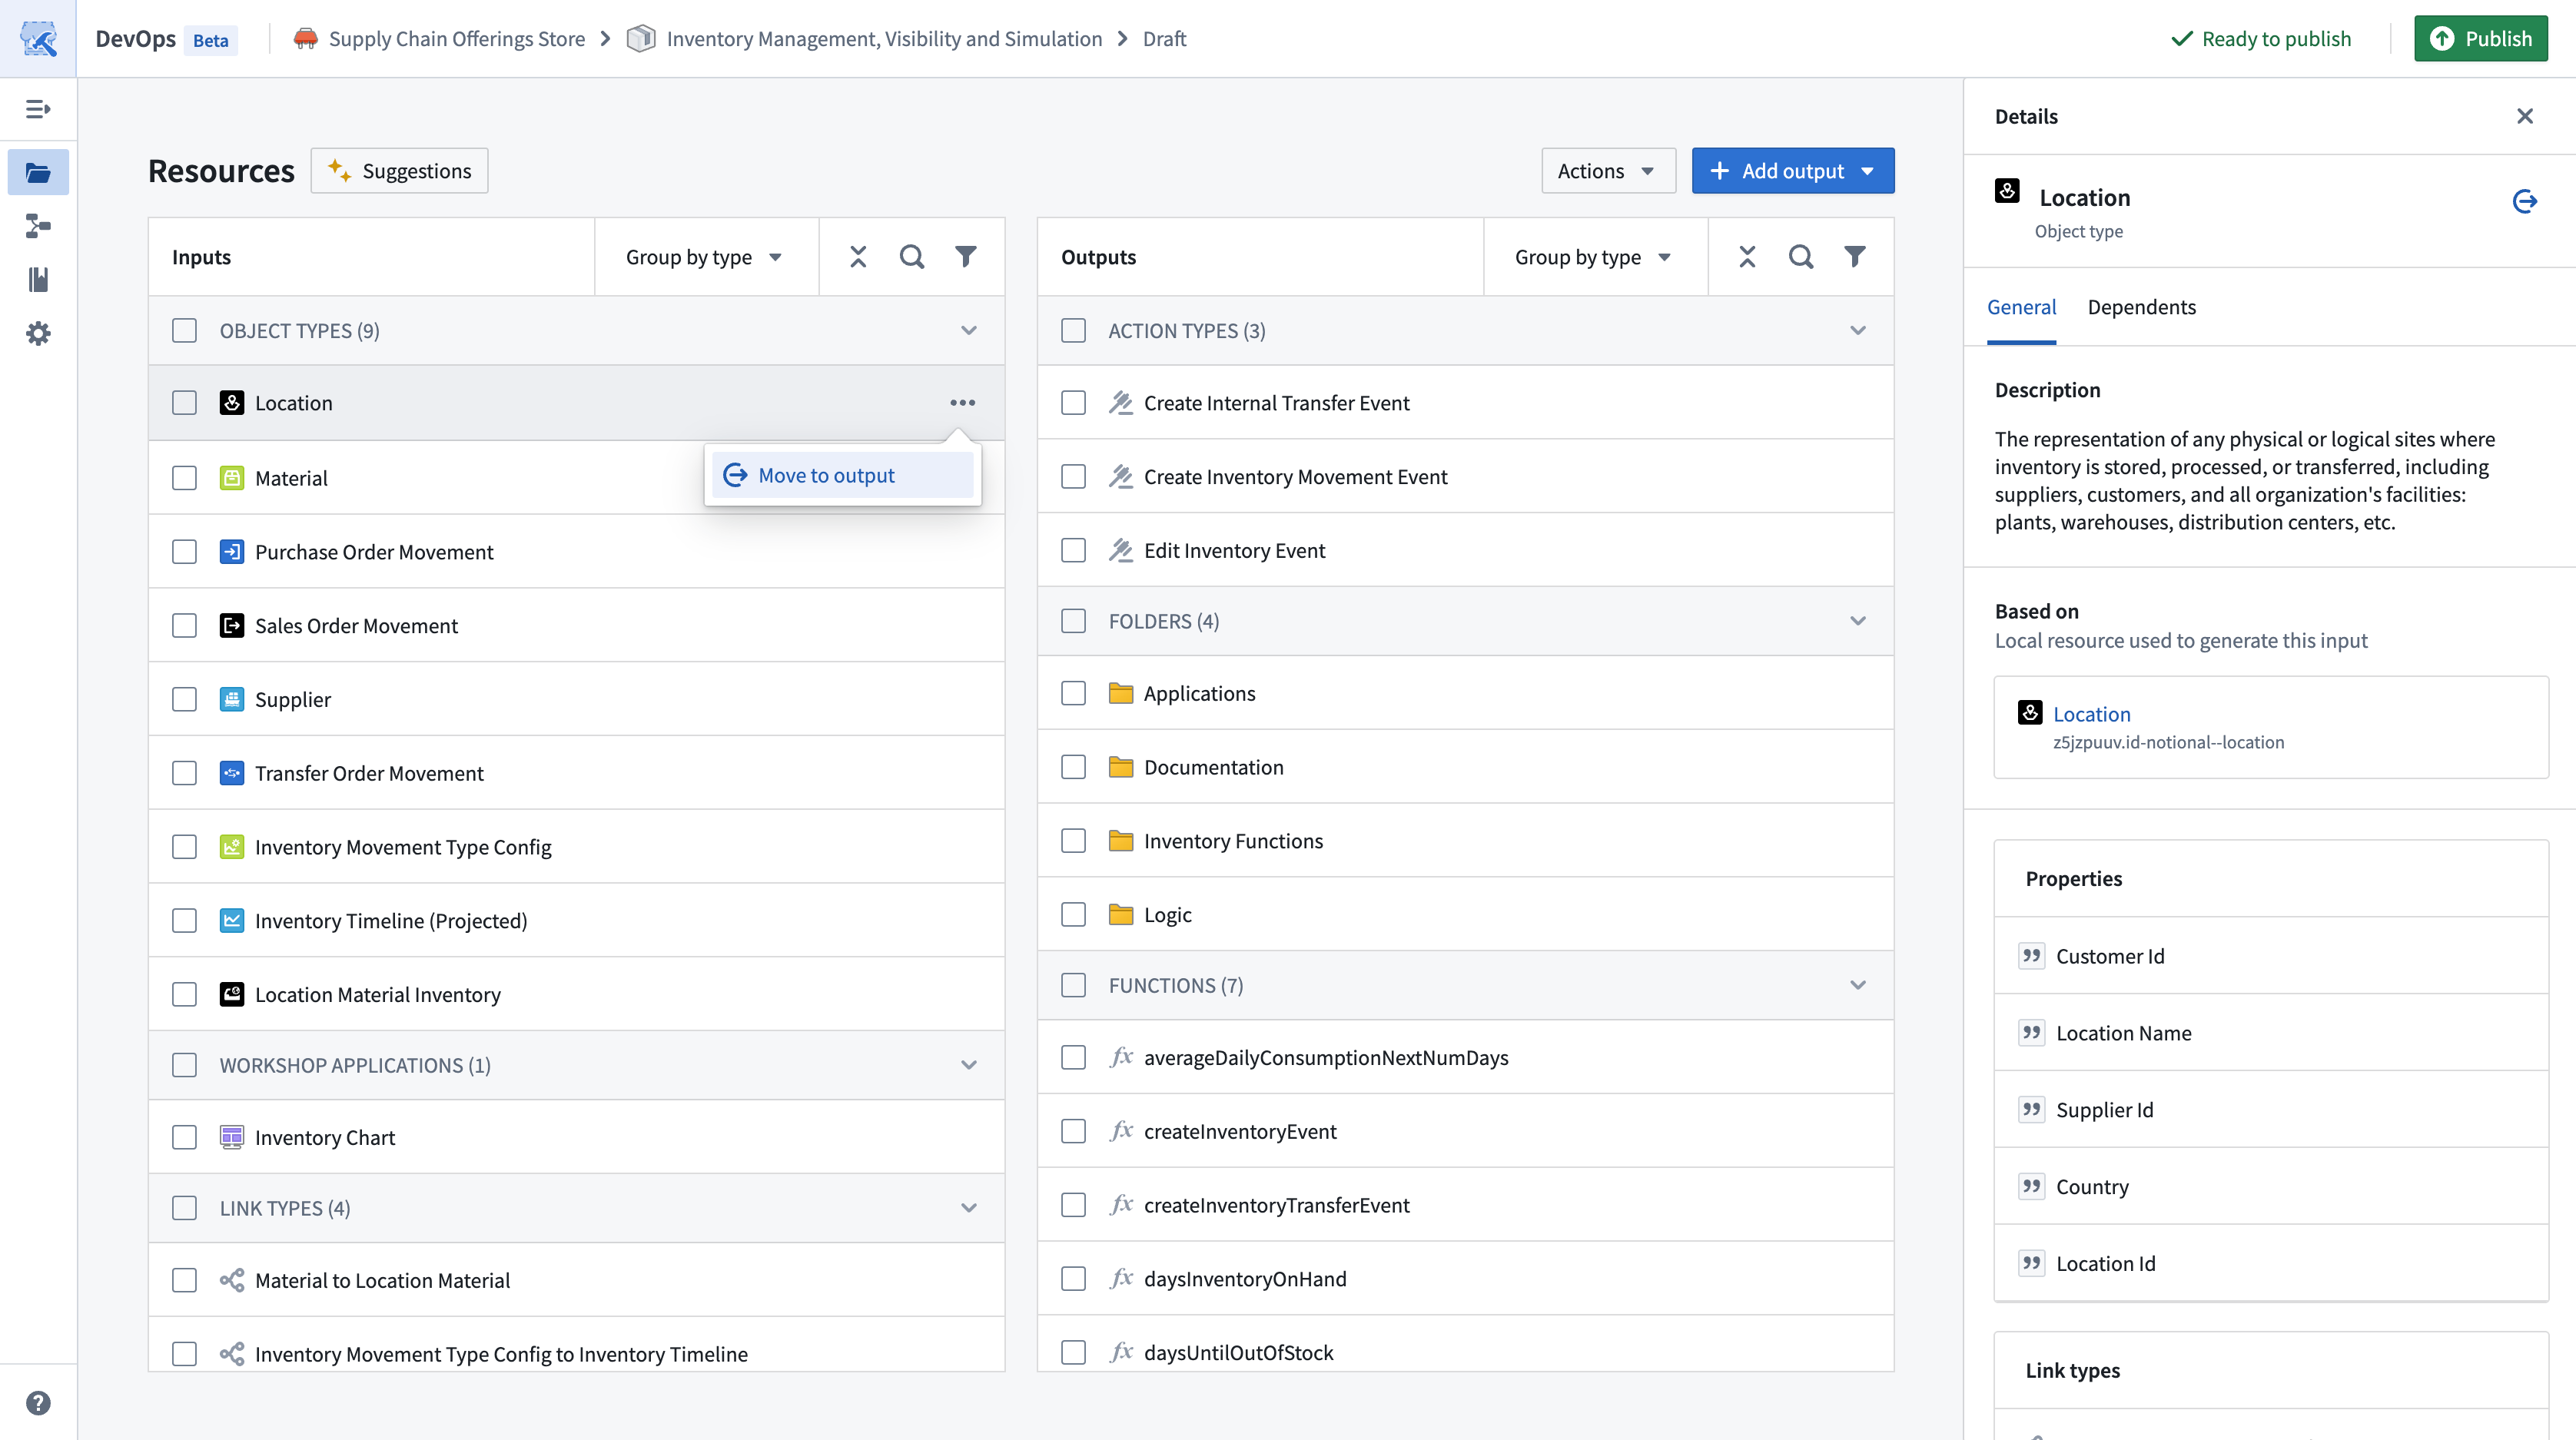
When designing your product, you can promote inputs for inclusion as outputs. Select the ellipsis icon before choosing Move to output on the input row to promote it to an output.
You can also move inputs to outputs in bulk by selecting multiple inputs and choosing Move {N} to outputs from the popup at the bottom of your screen.
As a general rule, if you want installers to provide their own version of a resource, such as their own dataset or object type, then you should list that requirement as an input. If you want your product to instead provide a resource for your installers, then you should promote the input to be an output.
If you iteratively promote all inputs to outputs, then users who install your product will not need to map anything during installation.
You cannot move certain input types, such as parameters or groups, to outputs since DevOps requires their configuration for installation.
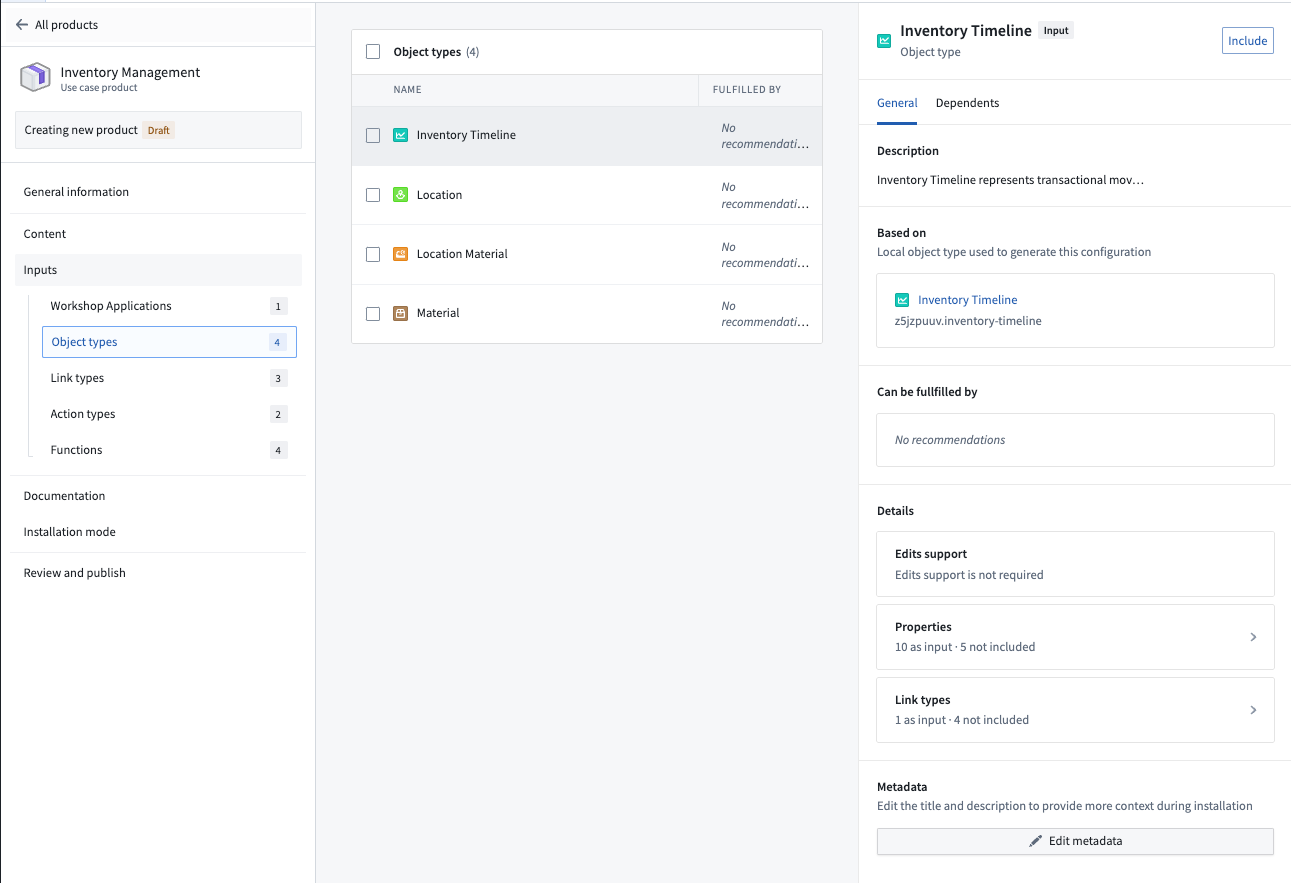
To view more information about a specific input, select the input to launch the Details panel. The Dependents tab includes information on which content resources require this input. From here, you can also configure presets for an input, which allow you to restrict the options of an input and provide a default to installers.
Manage inputs and outputs
DevOps provides multiple options to help you manage products with a large number of outputs. Use the Group by Folder option in the Outputs panel to preview outputs in their destination folders if you enable folder structure to replicate the organization of packaged resources during installation.
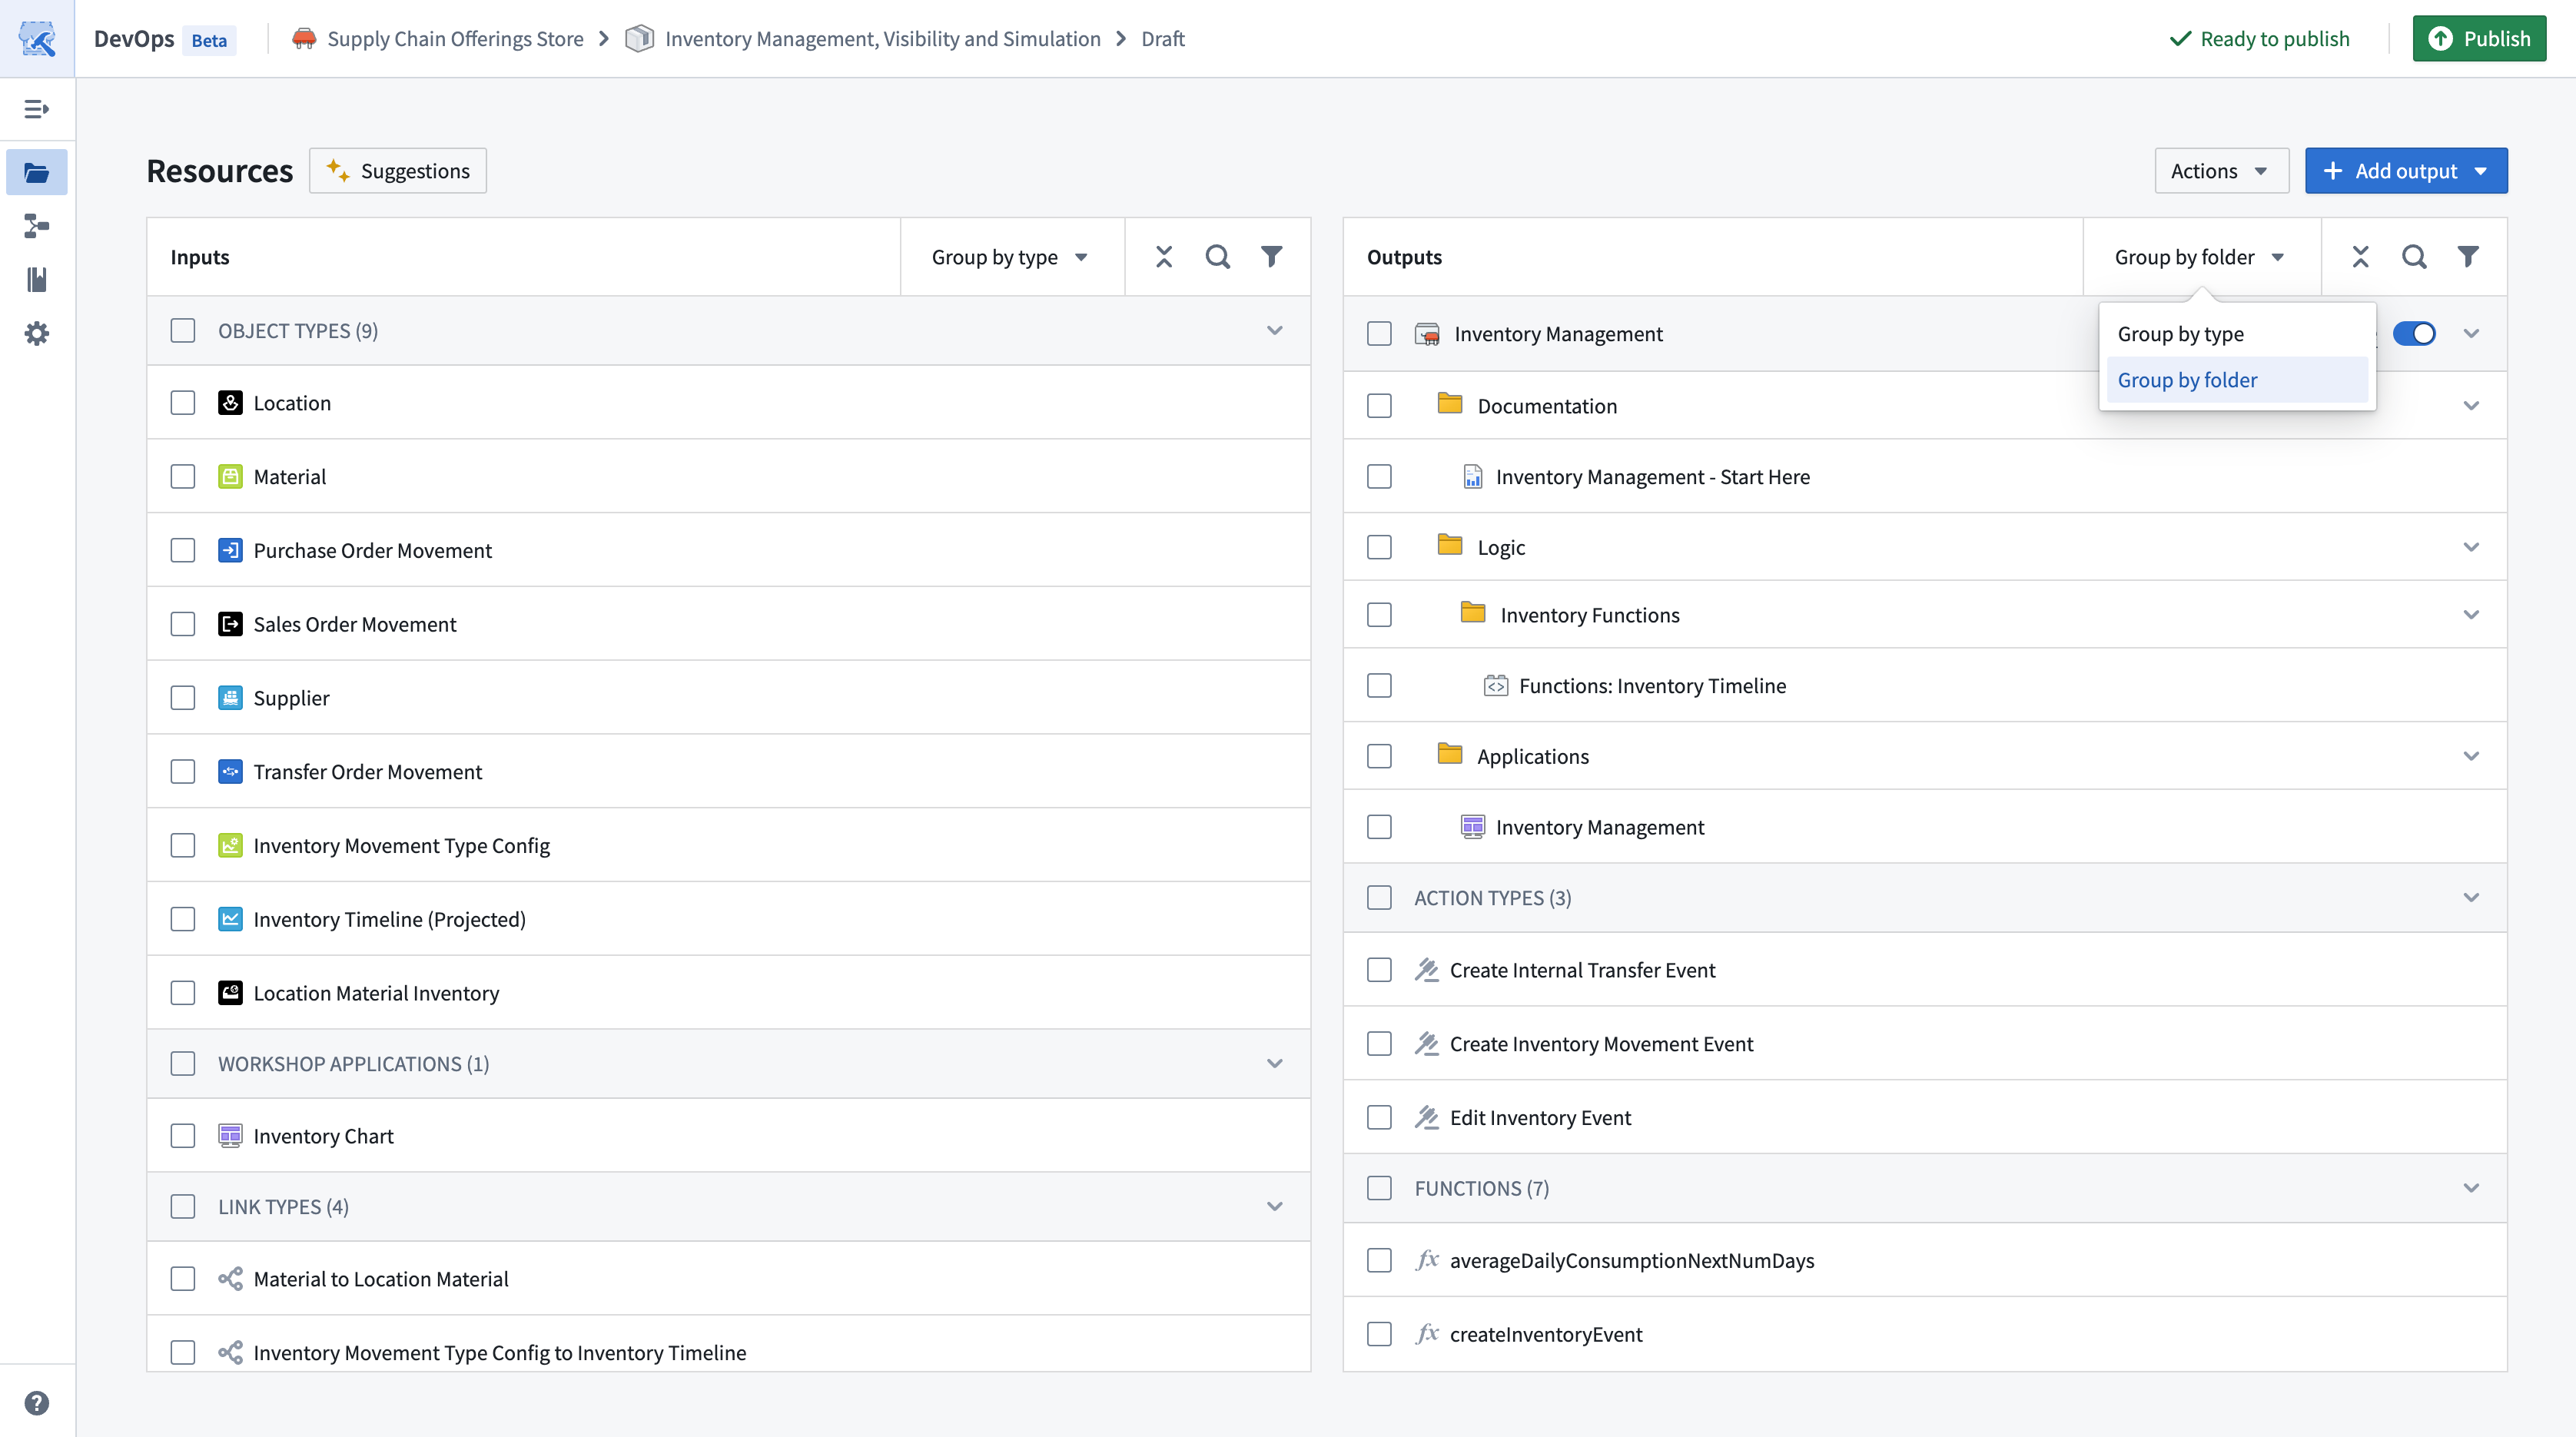
You can also select the filter icon in the ribbon of both the Inputs and Outputs panels to filter the resources they display. For example, this enables you to display only those resources that have an error message or are of a specific type.
Preview linked products
Select the Linked products tab from the left panel of your product to preview all available linked products, which can provide inputs for your products.
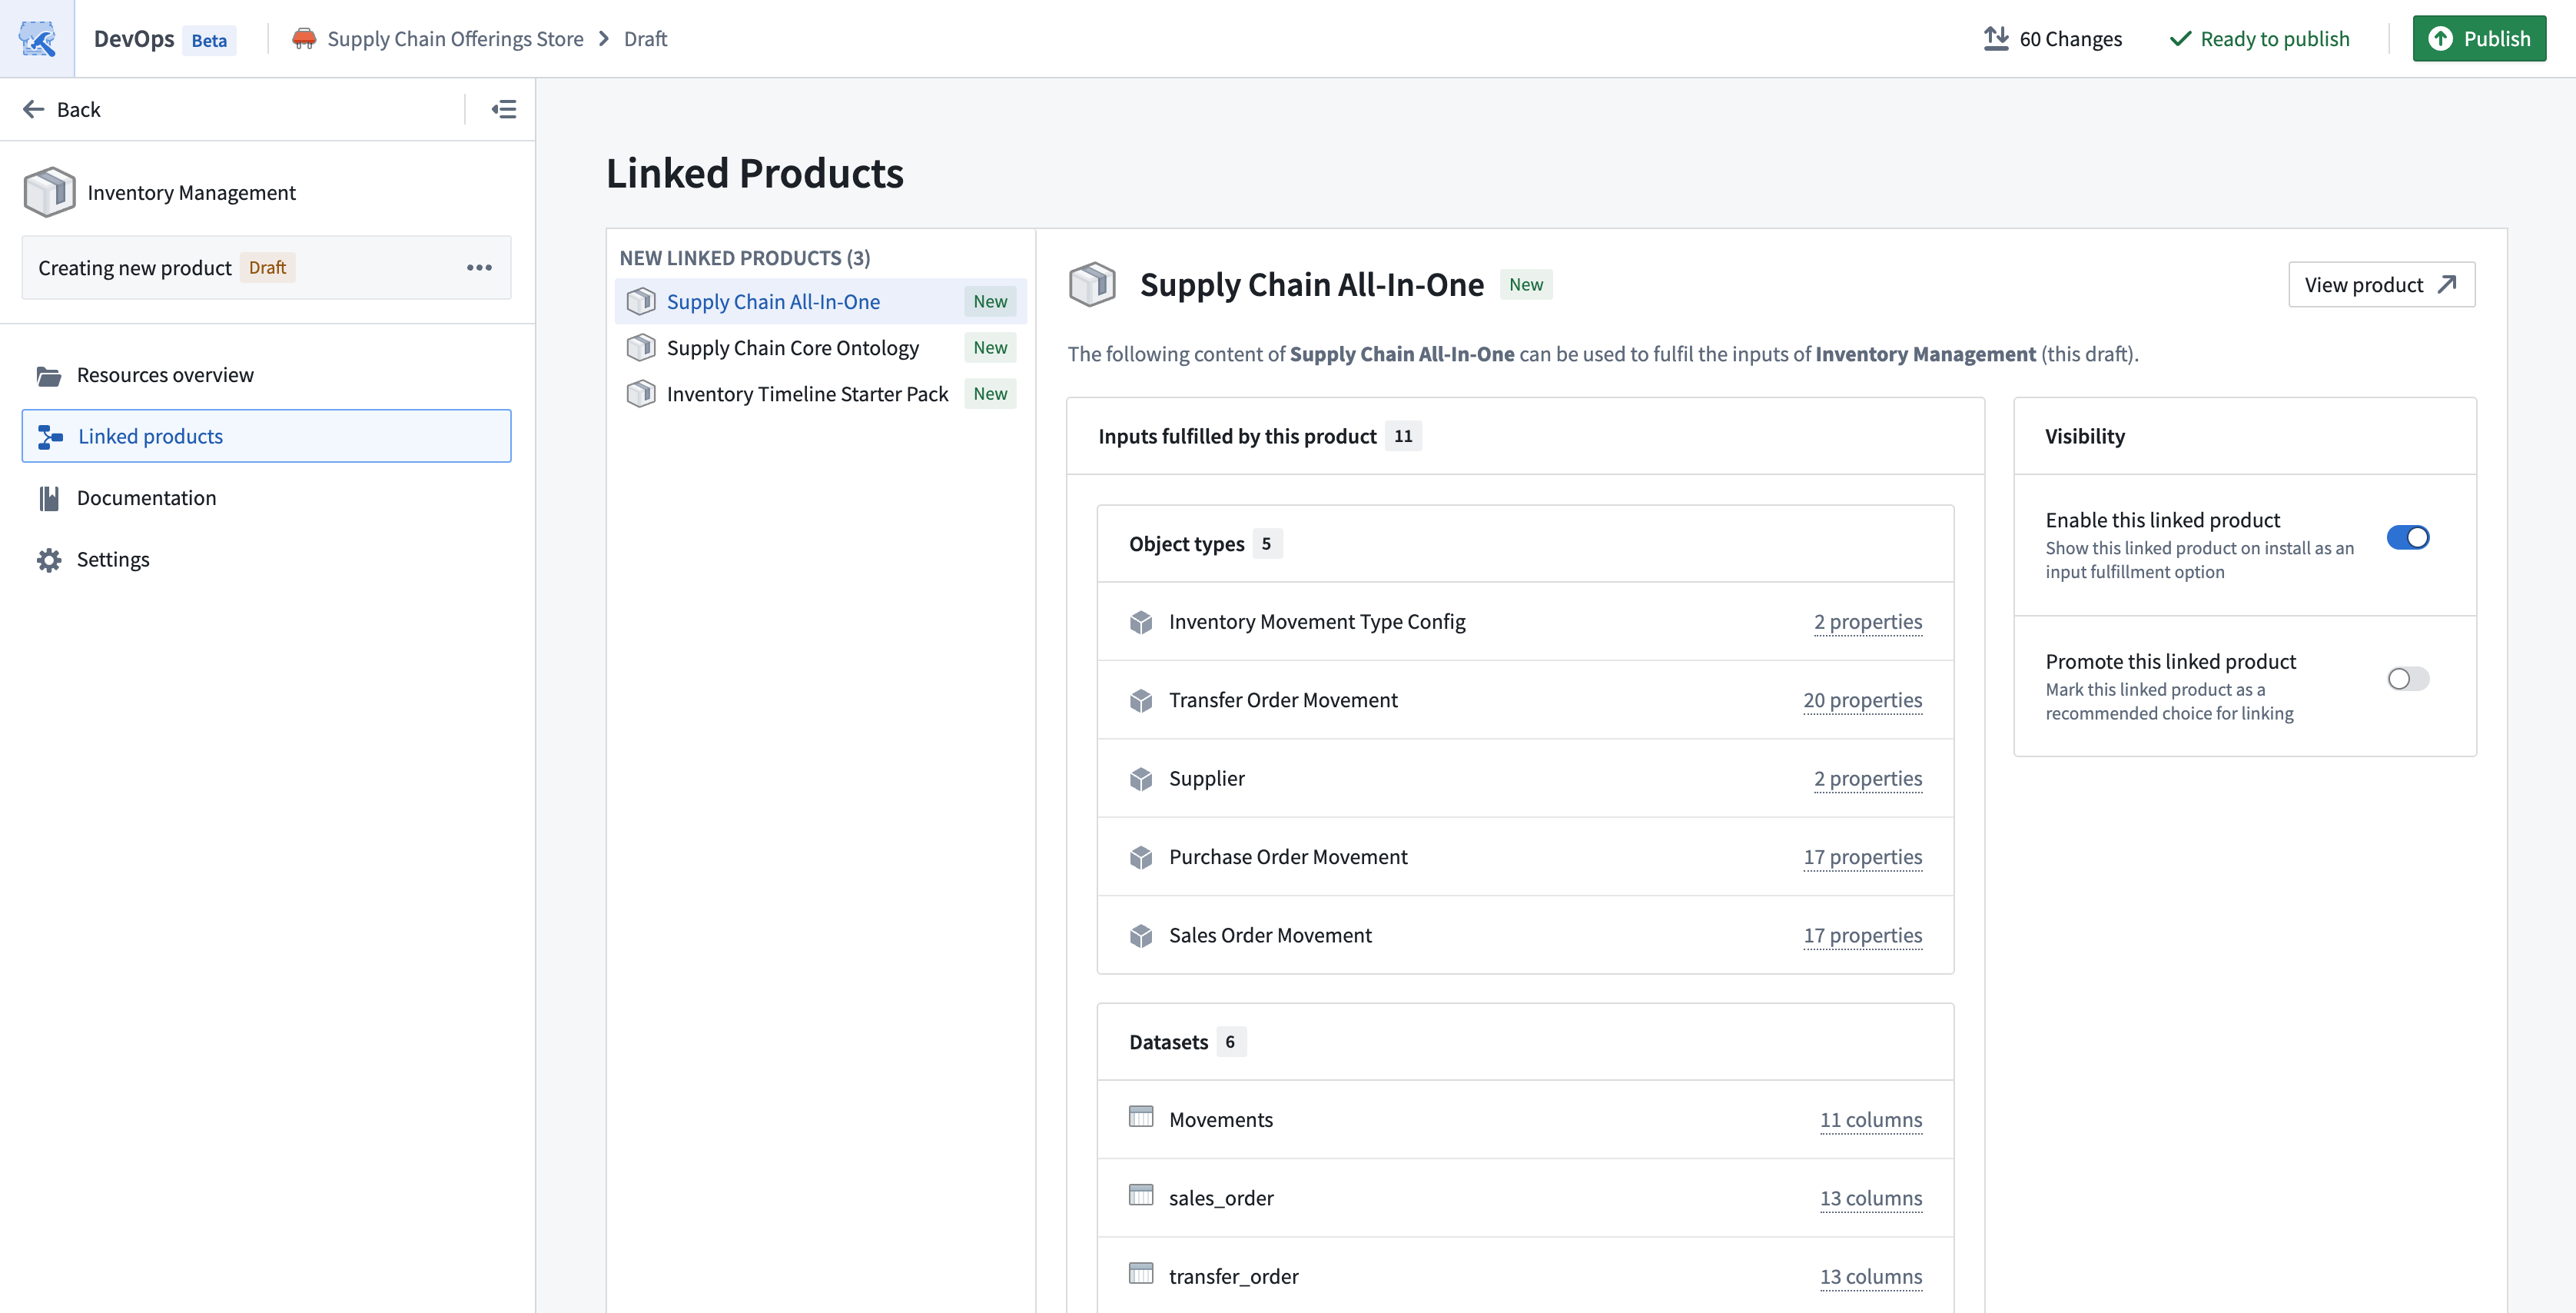
You can also use the Group by linked products option in the Inputs table to preview the inputs provided by each of the upstream linked products.
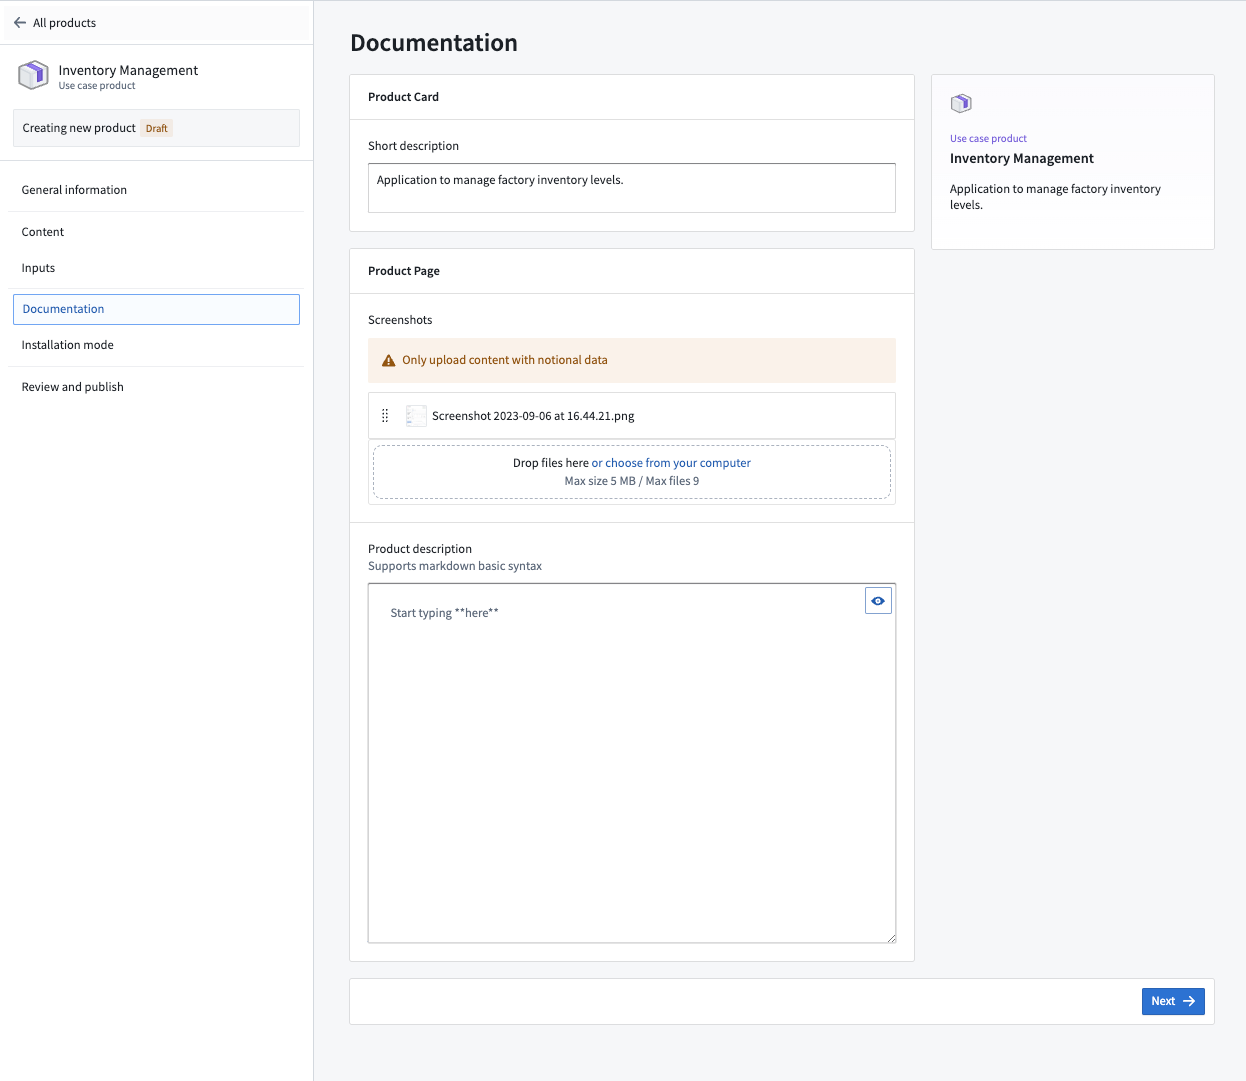
Add product documentation
Select the Documentation tab from the left panel of your product to add information visible to users who are browsing products in the storefront. Use the Description section to write a short description of your product before adding an image to serve as its Thumbnail.
You can add additional Images as a preview of your product's content. Optionally, enter a longer Product description using Markdown ↗ syntax that contains detailed product use instructions.
Configure product settings
Select the Settings tab to configure additional product settings.
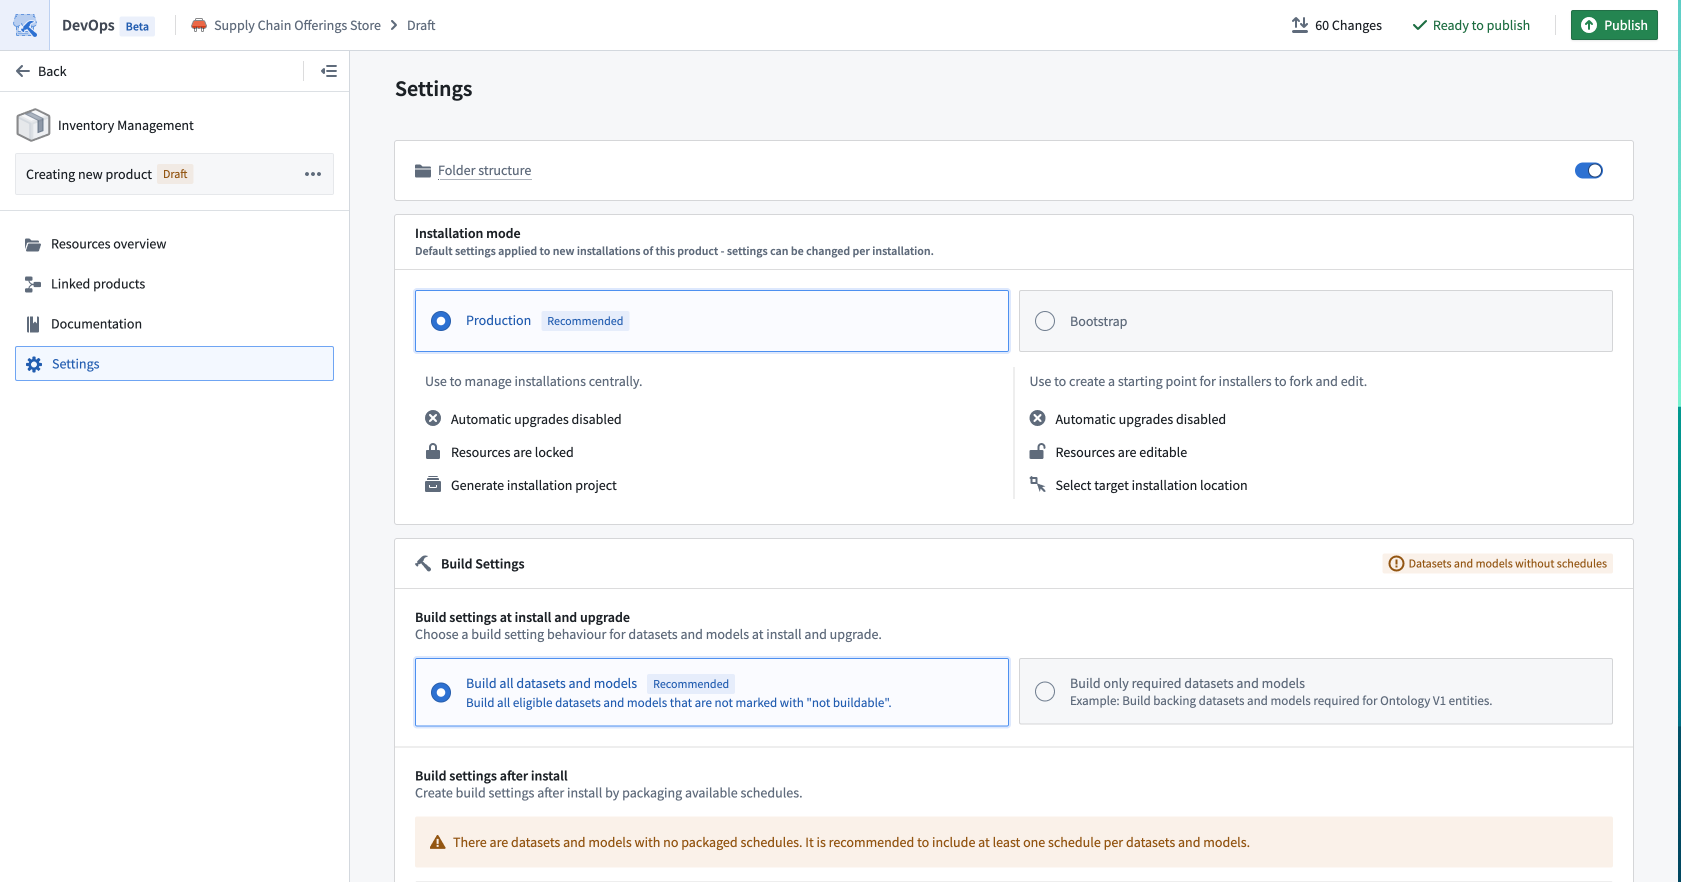
Folder structure
Enable folder structure by toggling on Folder structure to have DevOps create folders during installation that match the original organization.
DevOps packages folders up until the lowest common ancestor, which on installation will be replaced by the installation project.
Installation mode
Use Installation mode to set the default settings for any installations of your product. These settings can be changed per installation.
- Production: Recommended when you want to manage all installations centrally and use features such as automatic upgrades. By default, installations have automatic upgrades disabled. Installers will be given the option to lock down their project to ensure safe upgrades.
- Singleton: The same settings as Production mode, with the restriction that there can only be one installation of the product per space and ontology.
- Bootstrap: Recommended when you expect that installers will use your product as a starting point for their own custom work. By default, installations have automatic upgrades disabled and installers can install into any location where they have edit access.
Build settings
Use Build settings to determine whether or not DevOps builds datasets and models automatically during the Marketplace installation job. This ensures that DevOps hydrates all datasets across the newly deployed resources upon job completion.
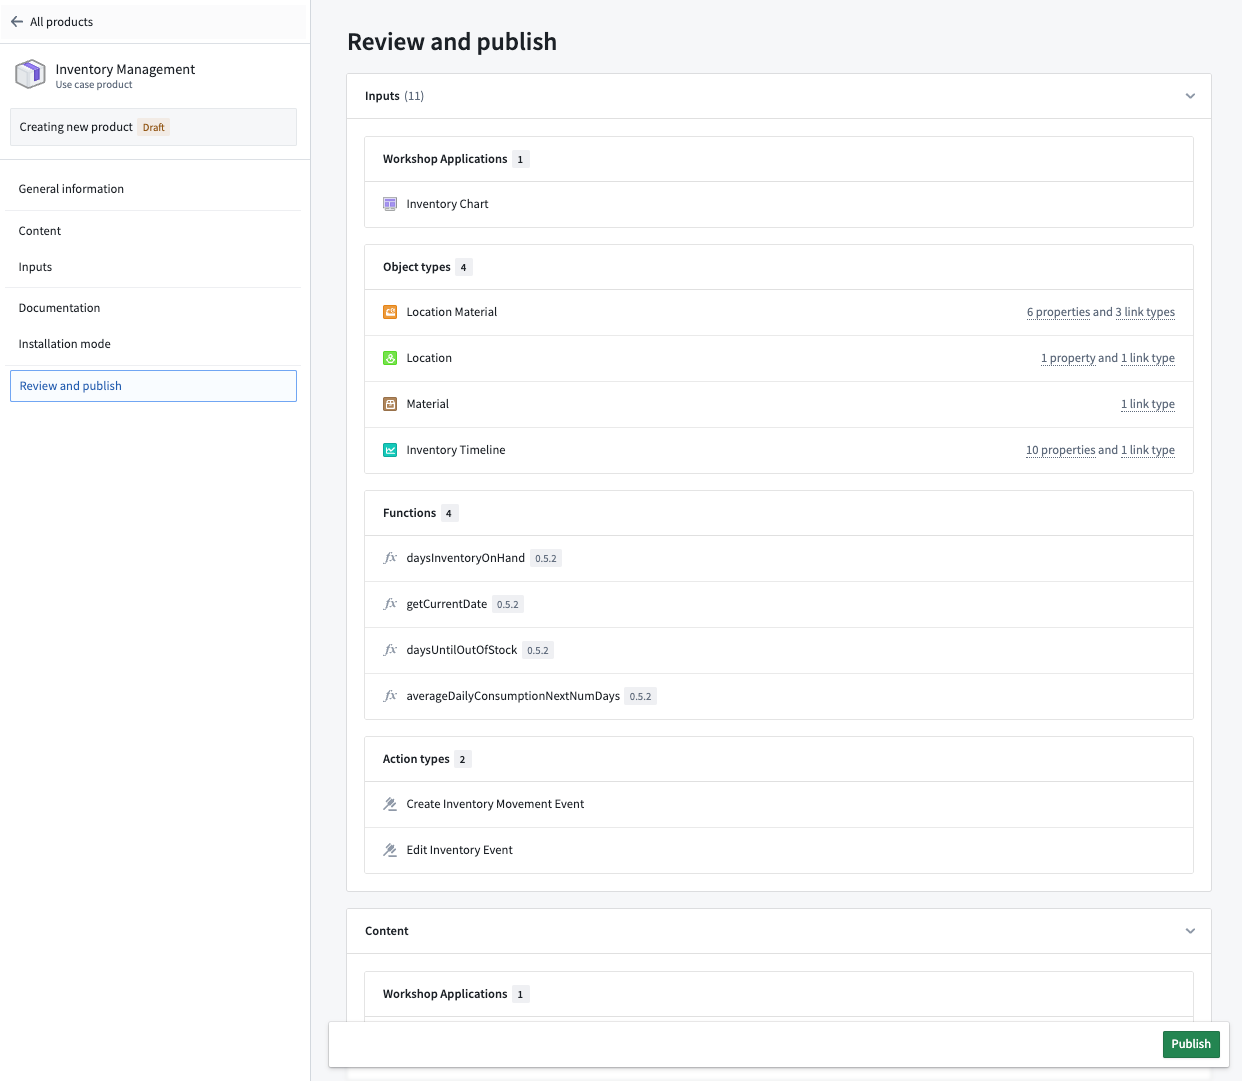
Review and publish
Once you are satisfied with your product, select Publish to make the product available in the storefront. This launches the Review Changes and Publish popup, where you can review changes in your product and add a Changelog description. Publishing may take up to a few minutes depending on your product's size.