Authorizing third-party application access
Authorizing third-party applications
Once a third-party application has been registered and enabled, the process for authorizing the third-party application is simple.
If the desired third-party application has not been registered and enabled, register and enable it before proceeding with the authorization process or contact your Palantir representative to request registration and/or enablement.
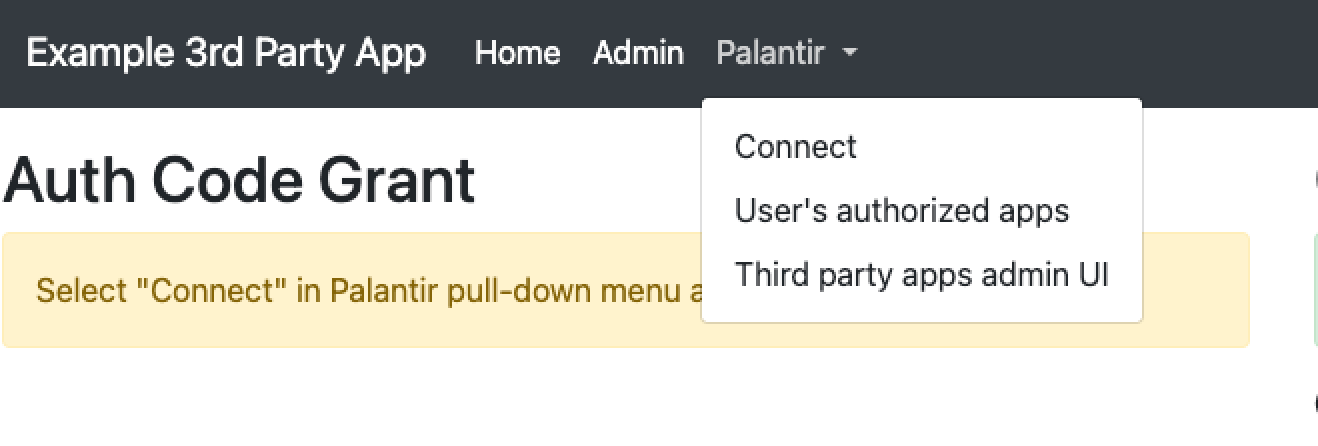
In this example, we’ll use a simple test application to demonstrate the workflow for authorizing a registered and enabled third-party application for Gotham access. Third-party applications may offer some kind of Connect option, as seen below.

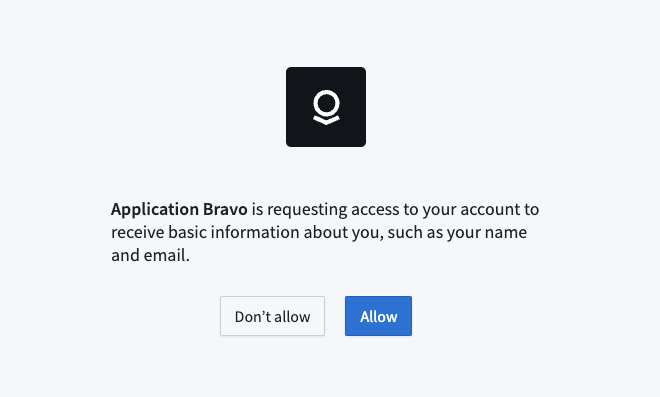
Attempting to connect or authorize a third-party application that has been registered and enabled will direct you to the platform and open a confirmation screen, as seen below, in which you can choose to Allow or Don’t allow access. This confirmation screen will display the set of operations for which the third-party application is requesting permissions; this set of operations is determined by the author of the third-party application connector.

After allowing access, you should be redirected back to the third-party application and receive a confirmation of access permission.
Managing Authorized Applications
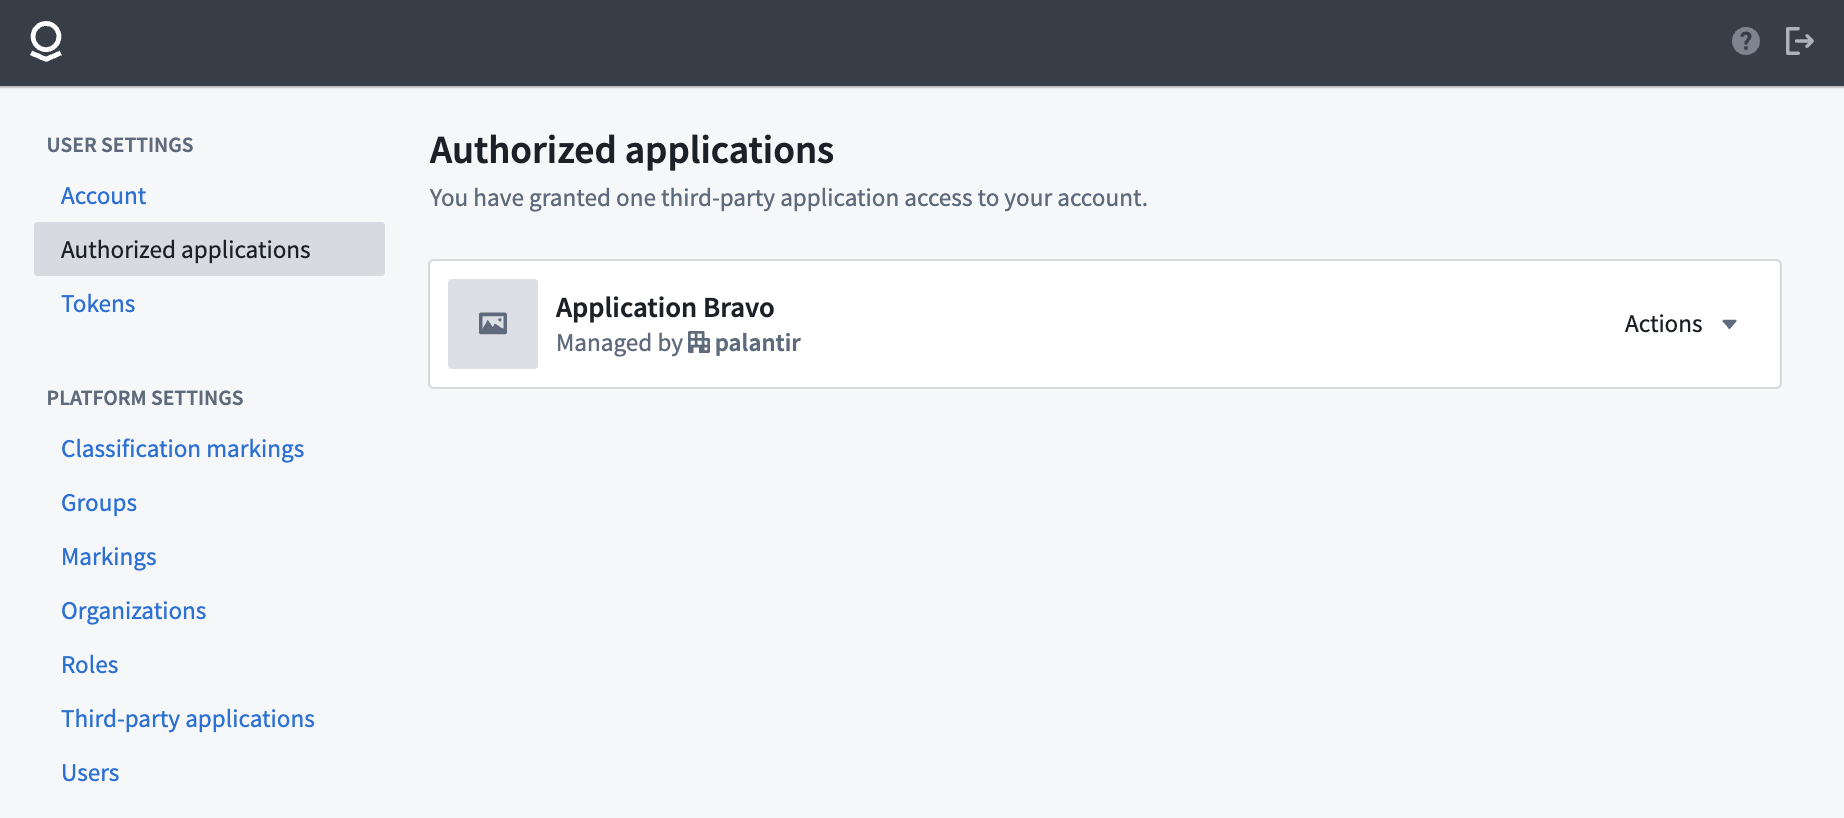
The User Settings > Authorized Applications tab displays the third-party applications that have been approved for access.

Clicking on the Actions dropdown menu brings up the following options: Details and Revoke.
Selecting Details displays information about the data that the third-party application can access.
Selecting Revoke brings up a confirmation screen; revoking access removes the application’s ability to access information in your account.
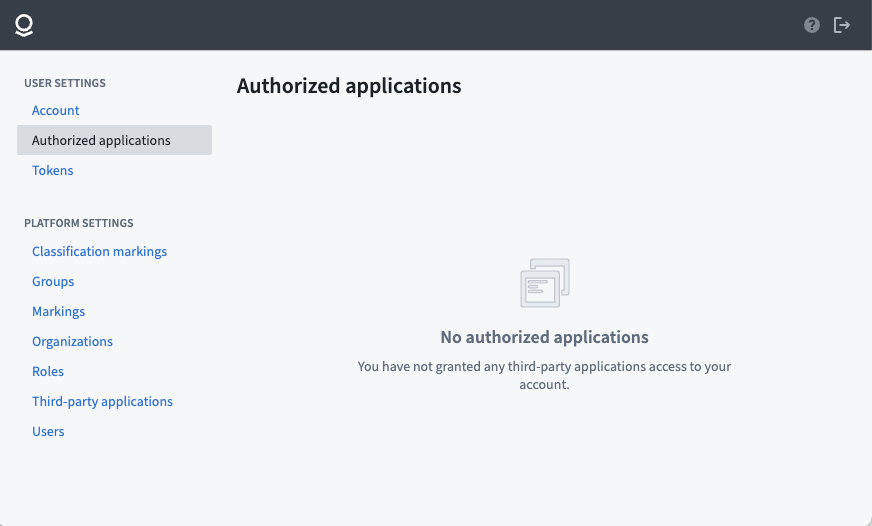
After revoking access, we see that no applications have been authorized to access your account. An application whose access has been revoked can be added again by repeating this workflow.
