Set up a local Kubernetes cluster
This guide will walk through setting up a local Kubernetes cluster on your local machine.
These steps are only intended for development environments. For production environments, you should use a CNCF-certified distribution of Kubernetes.
-
Install Docker on your local machine.
- For macOS, you can run the following command:
Copied!1brew install docker- Learn more about the different ways to install Docker.
-
Install kind on your local machine. You should install kind in a safe folder on your machine, such as
My Documents.- For macOS, you can run the following command:
Copied!1brew install kind- Learn more about installing kind.
-
If you are using Docker desktop, run the following command to get started:
Copied!1docker run -d -p 80:80 docker/getting-started -
Create an empty directory on your desktop to store the files necessary for registering your cluster in Apollo. Note the location of this directory.
-
In the directory you created in the previous step, create a file titled
cluster.ymland add the following configuration:Copied!1 2 3 4 5 6 7 8 9 10kind: Cluster apiVersion: kind.x-k8s.io/v1alpha4 # Apollo requires a multi-node cluster nodes: - role: control-plane - role: control-plane - role: control-plane - role: worker - role: worker - role: worker -
In the directory you created above, run the following command to create a new Kubernetes cluster with the configuration from the previous step.
Copied!1kind create cluster --config cluster.yml -
Wait for the cluster to install and get started.
-
When it is finished, you can run
kubectl get nodesto view all of the nodes that were created. This command should return the following output. Note that yourAGEandVERSIONinformation may differ from the example below.Copied!1 2 3 4 5 6 7 8$ kubectl get nodes NAME STATUS ROLES AGE VERSION kind-control-plane Ready control-plane 1h v1.24.0 kind-control-plane2 Ready control-plane 1h v1.24.0 kind-control-plane3 Ready control-plane 1h v1.24.0 kind-worker Ready <none> 1h v1.24.0 kind-worker2 Ready <none> 1h v1.24.0 kind-worker3 Ready <none> 1h v1.24.0 -
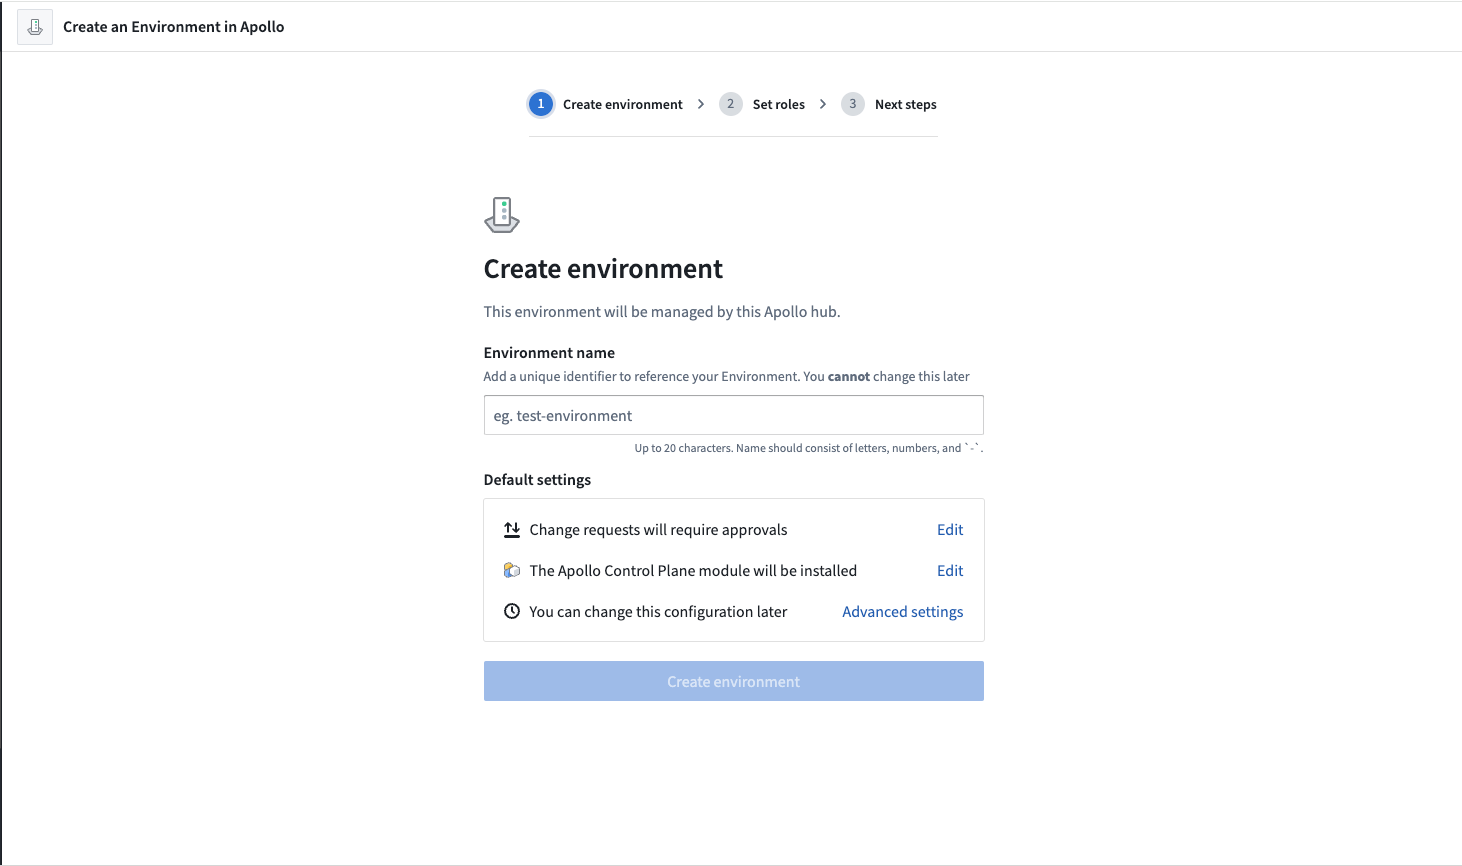
You can now use this cluster to set up a Spoke Environment in Apollo. Navigate to the Create Environment workflow in Apollo to continue setting up your Spoke Environment.